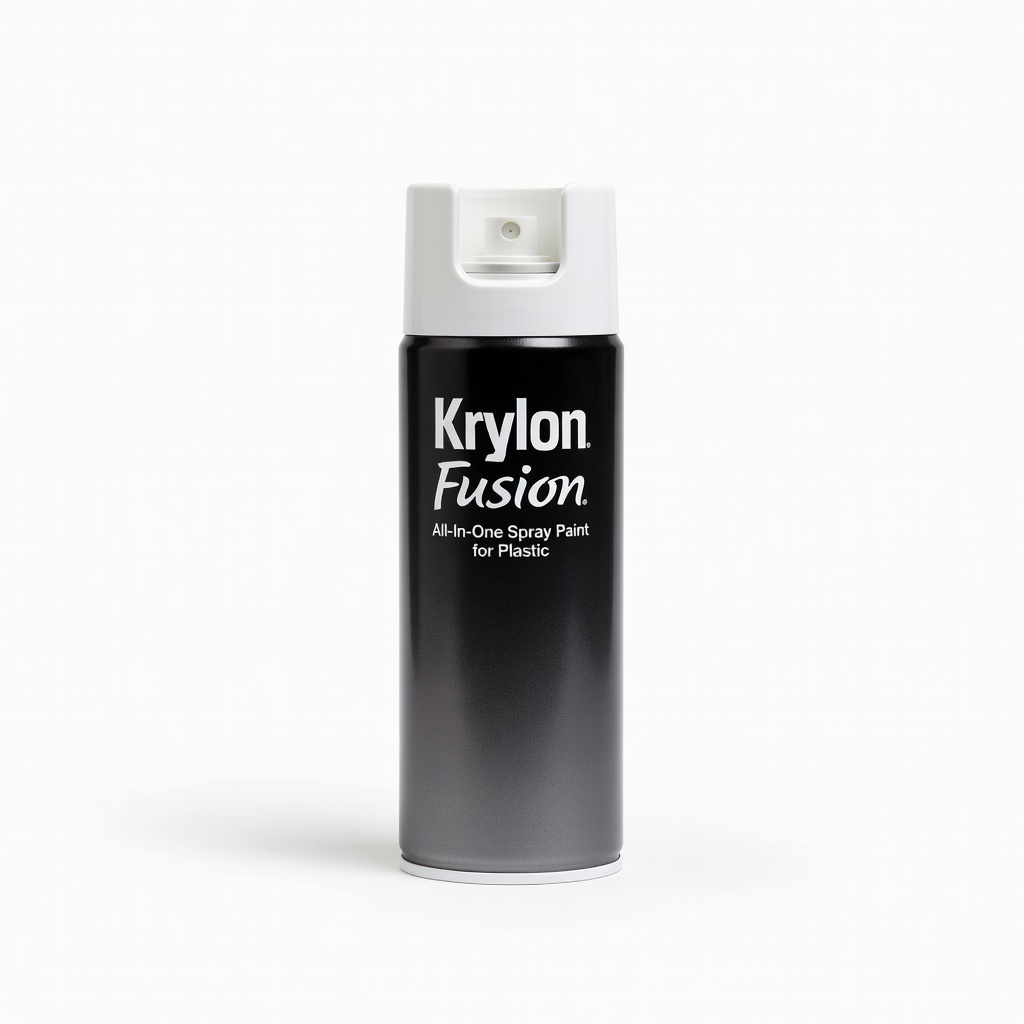
Krylon Fusion All-In-One Spray Paint for Plastic
Base colors on toppers; multiple shades available.
$9.99
Krylon Fusion All-In-One Spray Paint for Plastic No primer needed, bonds directly to plastic for durable truck use.
Get the App
Better experience on mobile
Transform your stock truck antenna topper into a personalized statement piece with paint, decals, and seals in just 1-2 hours.
Truck owners love standing out on the road, but bland antenna toppers get lost in the crowd. Customizing your antenna topper—those iconic balls on CB antennas—adds personality, whether it's a skull with flames, a bullet with your initials, or a themed design matching your rig's style. It's a fun, affordable mod that protects your investment from highway wear.
In this guide, you'll learn step-by-step how to prep, paint, detail, and seal a topper for pro results. No advanced skills needed beyond basic crafting; intermediate DIYers will nail it. Expect 1-2 hours active time plus drying (overnight ideal), using common supplies.
By the end, you'll have a durable, eye-catching topper that withstands wind, rain, and vibes—perfect for truck shows or daily hauls.
Estimated Time: 1-2 hours active + 24 hours drying Difficulty: intermediate
Unscrew the antenna topper from your truck's CB antenna mast. Most twist off counterclockwise by hand or with pliers wrapped in cloth to avoid scratches.
Wipe it down with rubbing alcohol and a microfiber cloth to remove dirt, oils, and factory residue. This ensures paint adhesion—skipping it leads to peeling later.
Success looks like: A spotless, grease-free surface ready for sanding. Dry completely (5-10 mins).
💡 Tips:
⚠️ Warnings:
Lightly sand the entire topper with 220-grit sandpaper in circular motions, then finish with 400-grit for smoothness. This creates 'tooth' for paint to grip plastic.
Wipe away dust with a tack cloth or damp rag. Expect a matte, slightly rough texture.
Success looks like: Uniform dull finish without deep scratches—test by running your finger; it should feel grippy, not slick.
💡 Tips:
⚠️ Warnings:
Shake plastic primer can 1 minute, hold 8-12 inches away, and apply thin, even coats. Do 2-3 light passes, 15 mins apart.
Why? Primer bonds paint to slick plastic. Let dry 1 hour.
Success looks like: Even gray/white coat, no drips or bare spots.
💡 Tips:
Sketch ideas on paper (e.g., flames, logos). Use painter's tape to mask off base color areas.
This prevents overspray. Dry-fit tape for crisp lines.
Success looks like: Topper taped like a pro stencil, design planned.
💡 Tips:
Apply 2-3 thin coats of spray paint (e.g., Krylon Fusion), 20 mins apart. Rotate for even coverage.
Why thin coats? Avoid runs. Full cure: 2 hours.
Success looks like: Vibrant, opaque color with no orange peel texture.
💡 Tips:
⚠️ Warnings:
Remove tape, then hand-paint fine details with brushes or apply decals/epoxy. Let each layer dry 30 mins.
Details make it unique—initials, webs, chrome accents.
Success looks like: Sharp, layered design popping against base.
💡 Tips:
Apply 3-4 UV-resistant clear coats, 20 mins apart. This protects from sun fade, rain, and 70mph winds.
Full cure: 24 hours.
Success looks like: Glossy, armored finish—buff lightly if needed.
💡 Tips:
⚠️ Warnings:
Twist back onto antenna. Drive test: Check stability at speed.
Admire from mirrors!
Success looks like: Secure, custom topper turning heads.
💡 Tips:
Problem: Paint bubbling or peeling
Solution: Surface not clean/sanded; strip, recoat from step 1.
Problem: Topper wobbles at highway speeds
Solution: Tighten threads or add rubber shim; check antenna mount.
Problem: Colors bleeding
Solution: Tape failed; use frisket film next time.
Problem: Cloudy clear coat
Solution: Moisture in air; recoat in dry conditions.
No primer needed, bonds directly to plastic for durable truck use.
Best for: Base colors on toppers; multiple shades available.
Price Range: $9.99
Ensures flawless adhesion on smooth antenna balls.
Best for: Prep step for all custom paints.
Price Range: $7.99
Popular plastic base, perfect blank canvas for customization.
Best for: Starting point for skull-themed trucks.
Price Range: $14.99
UV-resistant seal protects designs from elements.
Best for: Final coat for outdoor durability.
Price Range: $6.99
Creates glossy 3D embeds for premium details.
Best for: Advanced effects like embedded gems/logos.
Price Range: $29.99
Base colors on toppers; multiple shades available.
Krylon Fusion All-In-One Spray Paint for Plastic No primer needed, bonds directly to plastic for durable truck use.
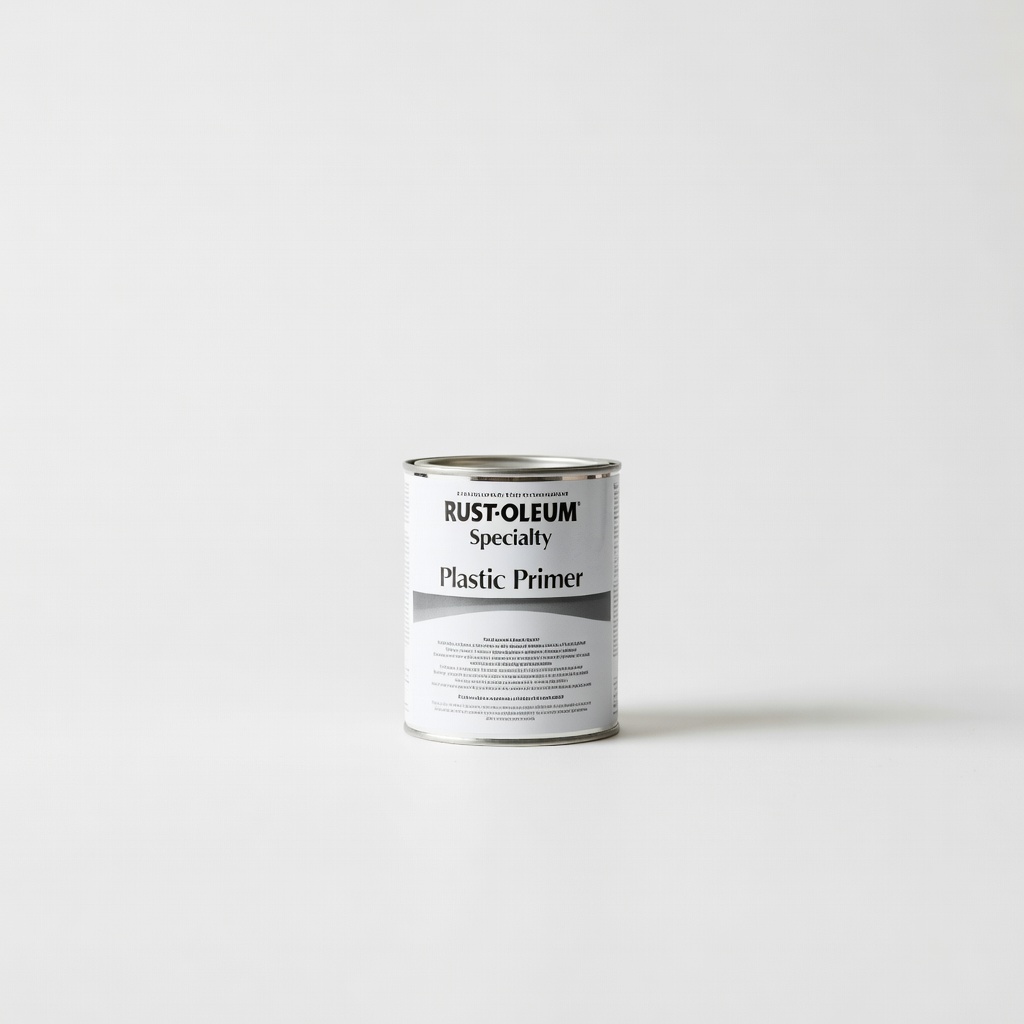
Prep step for all custom paints.
Rust-Oleum Specialty Plastic Primer Ensures flawless adhesion on smooth antenna balls.
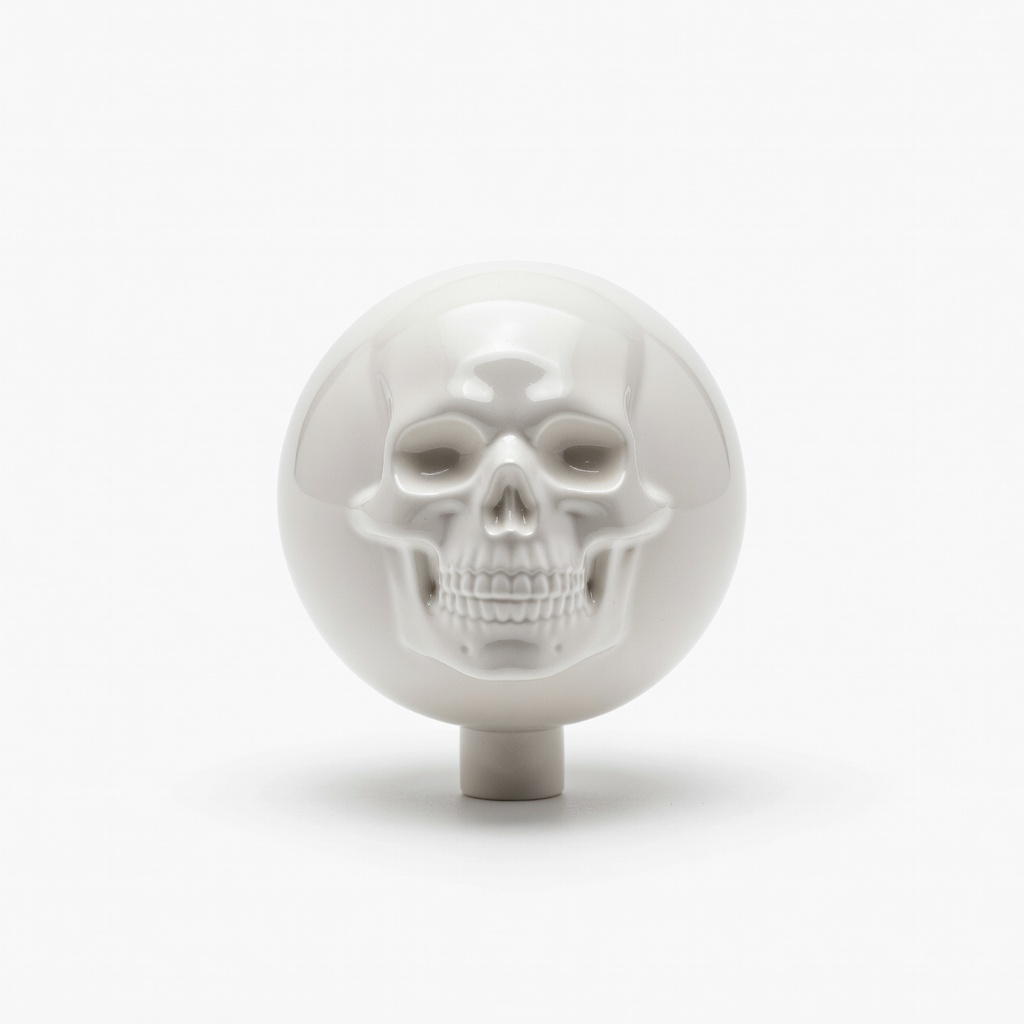
Starting point for skull-themed trucks.
Hizpo Skull Ball Antenna Topper Popular plastic base, perfect blank canvas for customization.
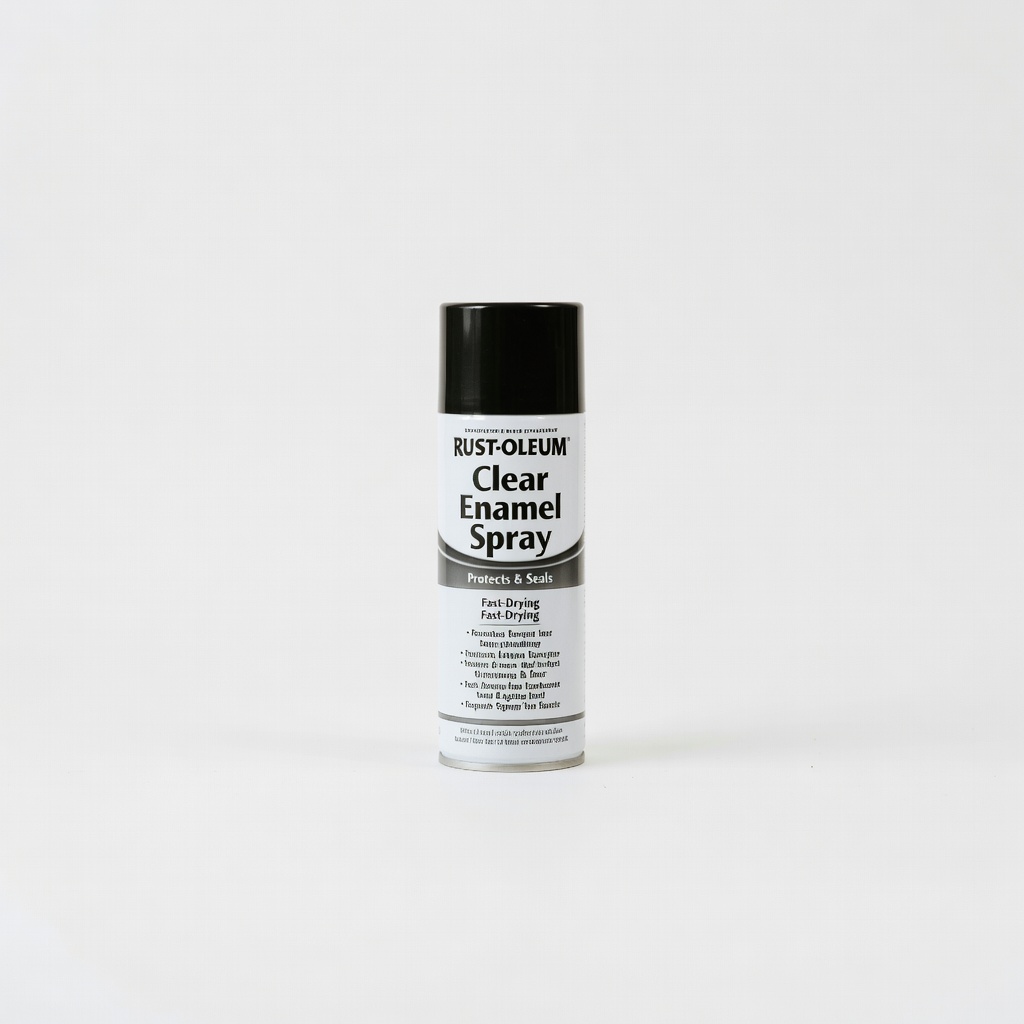
Final coat for outdoor durability.
Rust-Oleum Clear Enamel Spray UV-resistant seal protects designs from elements.
Advanced effects like embedded gems/logos.
ArtResin Epoxy Kit Creates glossy 3D embeds for premium details.