Tired of bland active sweatshirts that look like everyone else's at the gym? Custom embroidery adds a personal touch, like your initials, motivational quotes, or logos, making your workout wear stand out while staying functional. This guide tackles the challenges of embroidering stretchy fleece or poly-blend fabrics, ensuring your designs don't pucker or distort.
You'll learn everything from selecting the right sweatshirt and stabilizing stretchy material to hooping, stitching, and finishing for professional results. Perfect for intermediate crafters with basic machine embroidery experience. The process takes 45-90 minutes per sweatshirt, depending on design complexity.
Expect crisp, vibrant embroidery that withstands washes and wear—ideal for active use.
▸What You'll Need
- •Active sweatshirt (fleece or cotton-poly blend, smooth surface for embroidery)
- •Home embroidery machine (with hoop, e.g., 4x4" or 5x7")
- •Embroidery design file (DST, PES format; download or create)
- •Cut-away or tear-away stabilizer (essential for knits)
- •Embroidery hoop matching your machine
- •Embroidery threads (polyester for stretch fabrics)
- •Ballpoint or stretch embroidery needles (size 75/11)
- •Scissors or snips for thread trimming
- •Seam ripper or needle puller
- •Iron and pressing cloth (optional, for pre-shrinking)
- •Design software like Embrilliance (optional)
Estimated Time: 45-90 minutes
Difficulty: intermediate
▸Step-by-Step Instructions
Step 1: Choose and Prep Your Active Sweatshirt
Select a sweatshirt with a smooth, even fleece or poly-blend surface—avoid heavy ribbing or seams in your design area. Pre-wash and dry on low to pre-shrink, preventing future puckering.
Lay it flat and mark the embroidery spot (e.g., left chest, 3-4 inches from center). This ensures balanced placement and accounts for stretch.
Success looks like: A clean, taut fabric ready for hooping—no wrinkles or loose fibers.
💡 Tips:
- •Test wash a scrap first to confirm colorfastness.
- •Choose lighter colors for better design visibility.
⚠️ Warnings:
- •Skip pre-washing on new synthetics; they may not shrink much.
Step 2: Select or Create Your Embroidery Design
Pick a simple, bold design (under 4x4 inches for starters) suited for apparel—logos or text work best on activewear. Download free from sites like EmbroideryDesigns.com or use software to digitize.
Resize and test stitch-out on paper or scrap fabric to check density. Adjust for stretch: lower density by 10-20%.
Success looks like: A digital preview showing clear, non-overlapping stitches.
💡 Tips:
- •Use fonts with thick strokes for readability after washing.
Step 3: Cut and Layer Stabilizers
Cut two layers of cut-away stabilizer larger than your hoop (one for top, one bottom). For stretchy activewear, this sandwich prevents shifting and distortion.
Place bottom stabilizer in hoop, then fabric (right side up), then top stabilizer. Ensures even tension.
Success looks like: A stable, wrinkle-free fabric sandwich hooped taut like a drum.
💡 Tips:
- •Use temporary adhesive spray between layers for extra hold.
⚠️ Warnings:
- •Don't skimp on stabilizer—knits need it to avoid puckering.
Step 4: Hoop the Stabilized Sweatshirt
Secure the layered sandwich in the hoop: inner ring under, outer ring on top, tightening evenly. For sweatshirts, hoop only the design area—fold rest loosely outside.
Align marked spot under needle using machine's laser or template.
Success looks like: Fabric drum-tight with no pulls or sags; design centered.
💡 Tips:
- •Hoop from the inside out to avoid creases.
Step 5: Thread Machine and Load Design
Install ballpoint embroidery needle. Wind bobbin with matching thread, thread top with design colors.
Load design file via USB, select colors, and run air threading if available.
Success looks like: Machine ready with test stitch on scrap confirming tension.
💡 Tips:
- •Test tension on similar fabric scrap first.
Step 6: Embroider the Design
Start machine at low speed (500-600 SPM). Monitor first few stitches for issues. Let it run fully, trimming jump threads midway if needed.
Activewear stretches, so pause if pulling occurs.
Success looks like: Smooth, even stitches filling the design without gaps or bunching.
Step 7: Remove Hoop and Finish
Unhoop carefully. Tear or rinse away excess stabilizer (cut-away leaves some for support). Trim threads close.
Press from wrong side with cloth—no direct iron on stitches.
Success looks like: Crisp design, soft fabric, ready to wear.
💡 Tips:
- •Let cool 10 mins before pressing.
⚠️ Warnings:
- •Avoid washing for 24 hours.
Step 8: Cure and Test
Hang 24 hours to set stitches. Wash inside-out on gentle cycle, air dry.
Inspect: design intact, no fraying.
Success looks like: Durable embroidery surviving first wash.
▸Pro Tips
- •Always use polyester thread—matches stretch fabrics better than rayon.
- •Float the hoop for larger sweatshirts to avoid bulk.
- •Add a light fusible backing post-embroidery for extra durability.
- •Batch prep multiple sweatshirts for efficiency.
- •Use design software previews to simulate stretch distortion.
- •Low-loft batting under design adds dimension for logos.
- •Store threaded bobbins by color for quick swaps.
▸Common Mistakes to Avoid
- •Skipping stabilizer: Causes puckering on stretchy fleece—always layer.
- •Wrong needle: Sharp needles skip on knits—use ballpoint only.
- •Loose hooping: Leads to misalignment—tighten evenly.
- •High density designs: Distorts after washing—reduce by 10-15%.
- •Direct ironing: Melts synthetics—press wrong side only.
▸Troubleshooting
Problem: Puckering around design
Solution: Add more stabilizer layers or loosen hoop tension slightly; rehoop.
Problem: Skipped stitches or birds nests
Solution: Check/rethread machine; swap to fresh ballpoint needle.
Problem: Design shifting mid-stitch
Solution: Use hoop adhesive spray; ensure even stabilizer sandwich.
Problem: Frayed edges after wash
Solution: Apply fray-check or extra cut-away stabilizer; wash gently.
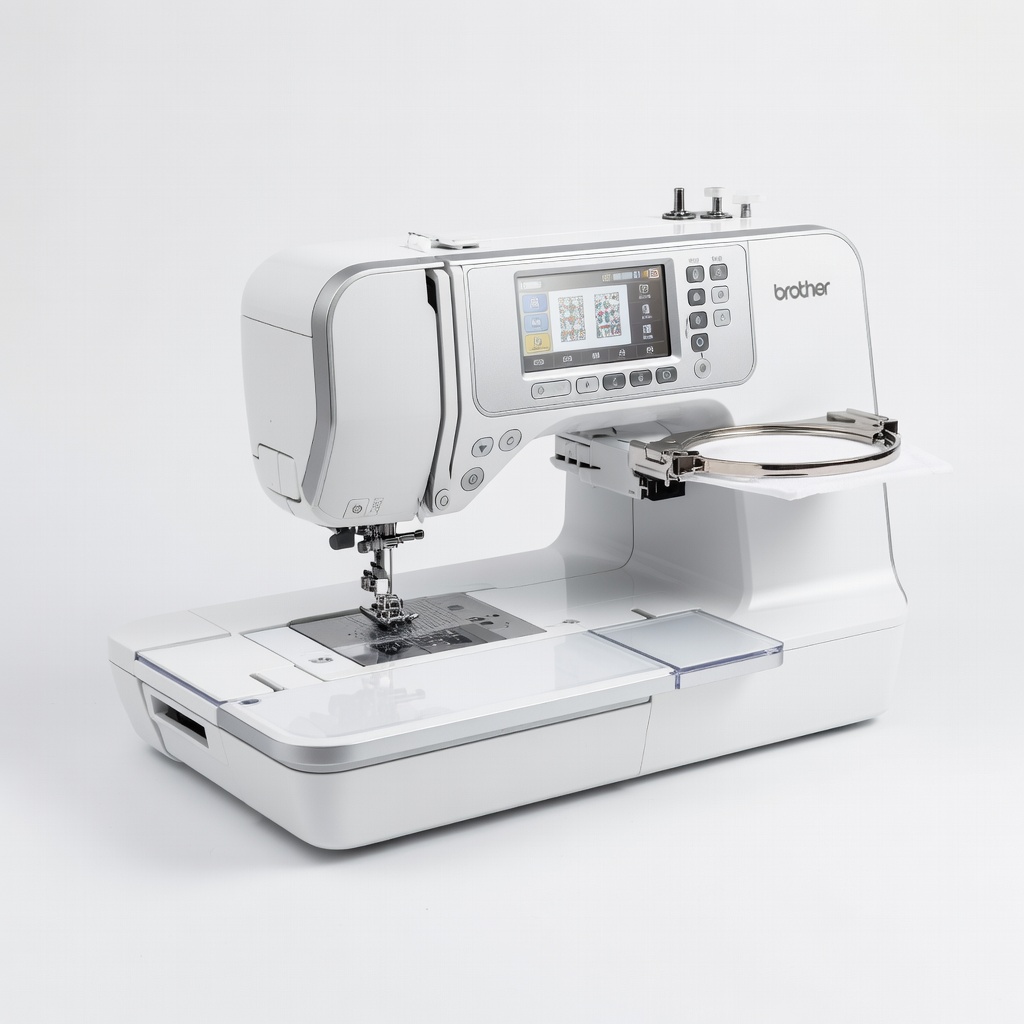
Brother SE600 Sewing and Embroidery Machine
Compact machine perfect for apparel projects with built-in designs and easy USB loading for intermediates.
Best for: All steps from hooping to stitching custom designs on sweatshirts.
Price Range: $399.99
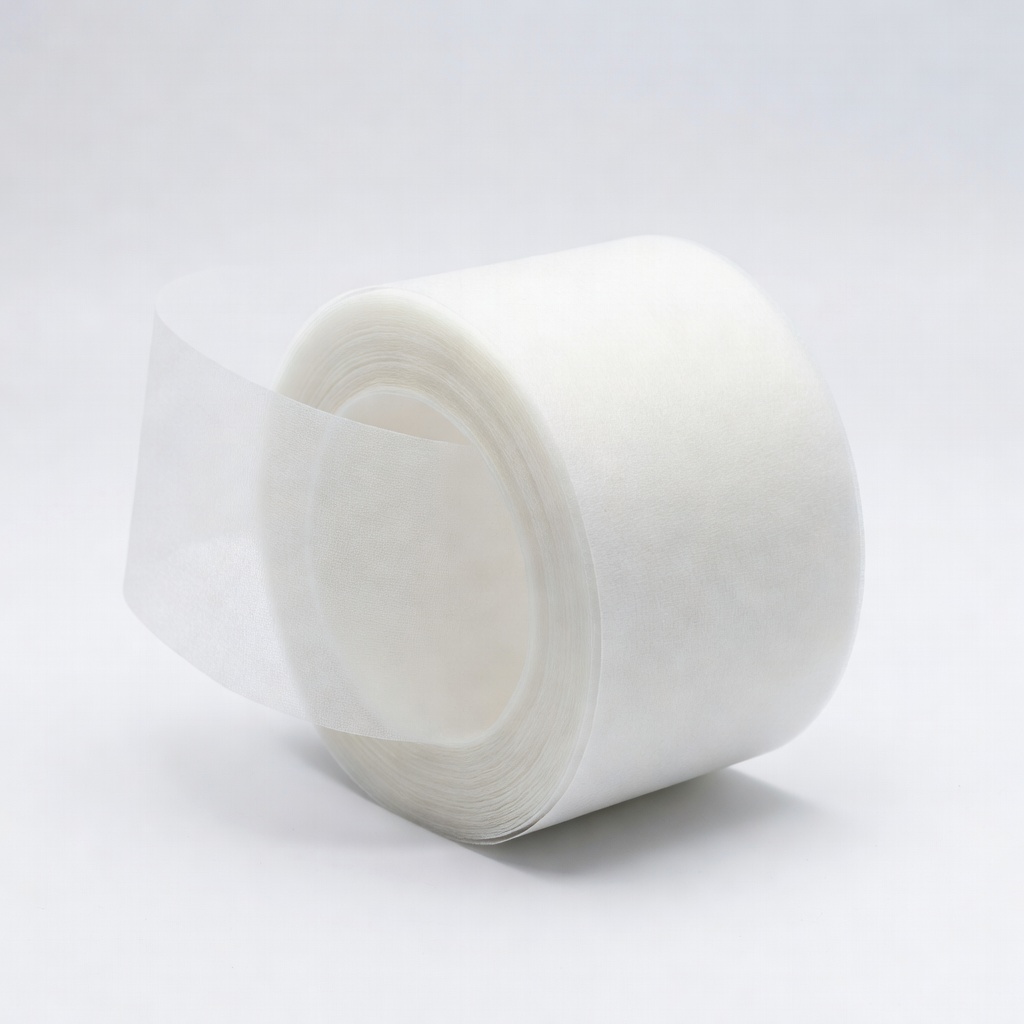
Sulky Cut-Away Plus Stabilizer
Heavy-duty for knits, tears cleanly without residue, prevents distortion on activewear.
Best for: Layering under and over sweatshirt fabric for stable hooping.
Price Range: $14.99
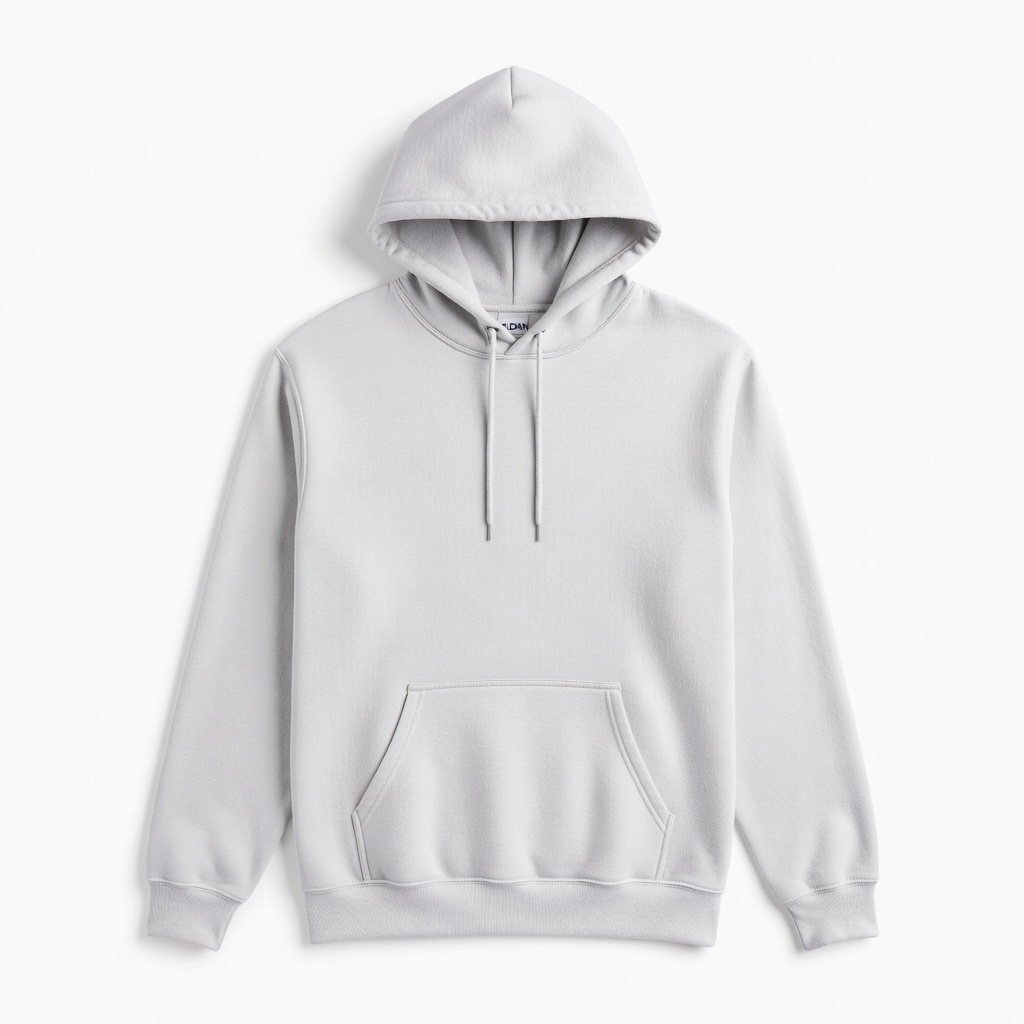
Gildan DryBlend Fleece Pullover Hoodie
Budget-friendly active sweatshirt with smooth poly blend ideal for embroidery blanks.
Best for: Base garment for customization; holds stitches well post-wash.
Price Range: $20-$30
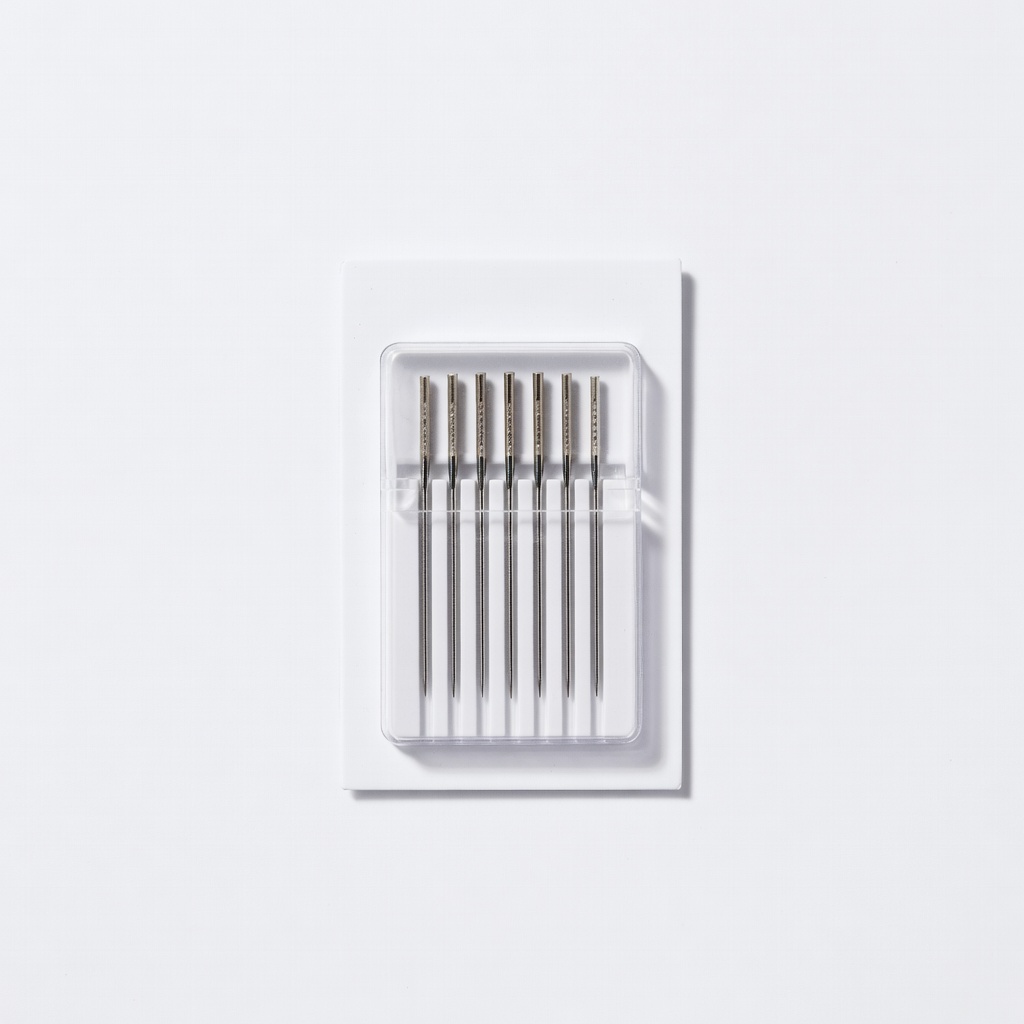
Schmetz Topstitch Embroidery Needles Size 75/11
Ballpoint tips glide through stretch fleece without snags or skips.
Best for: Threading and stitching on synthetic active fabrics.
Price Range: $5.99
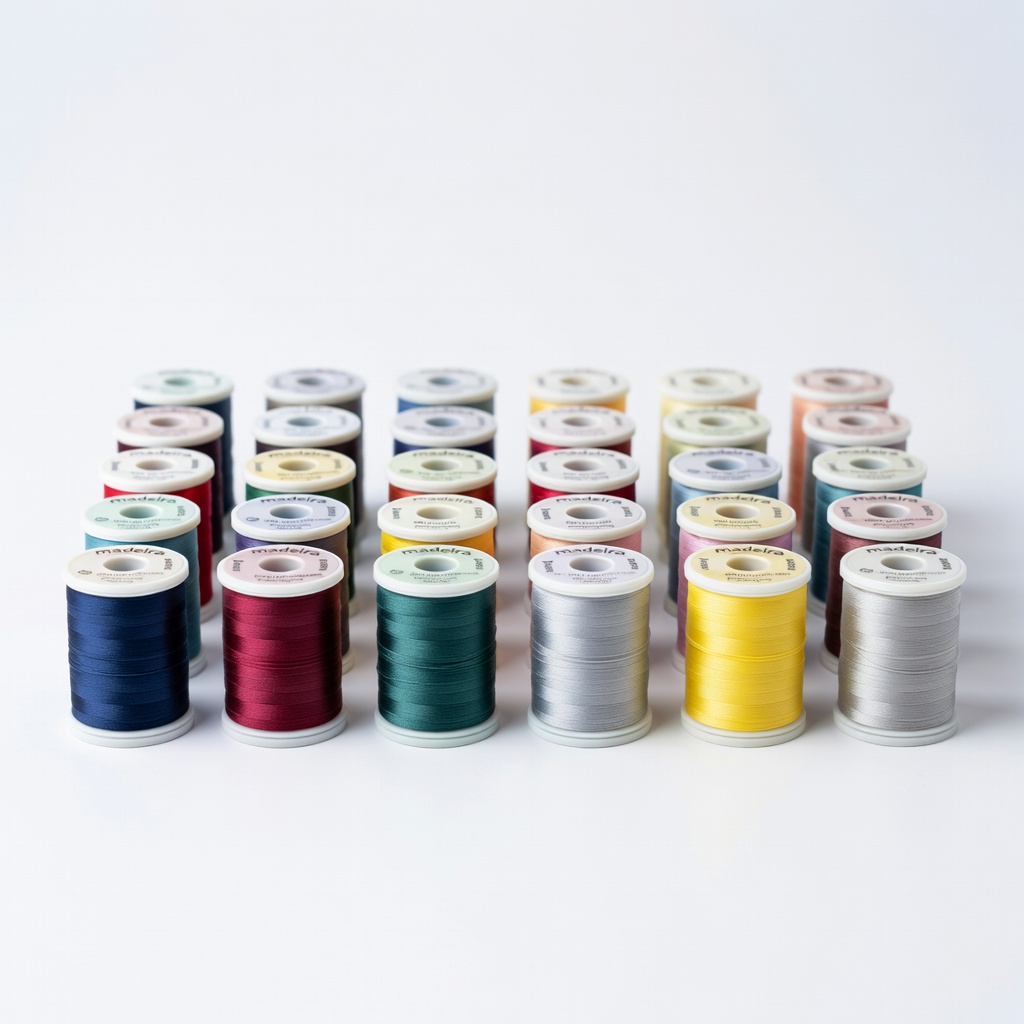
Madeira Polyneon Embroidery Thread 40 Spool Set
Stretchy polyester resists breaking on knits, vibrant colors for activewear.
Best for: Multi-color designs like logos or text.
Price Range: $49.99