
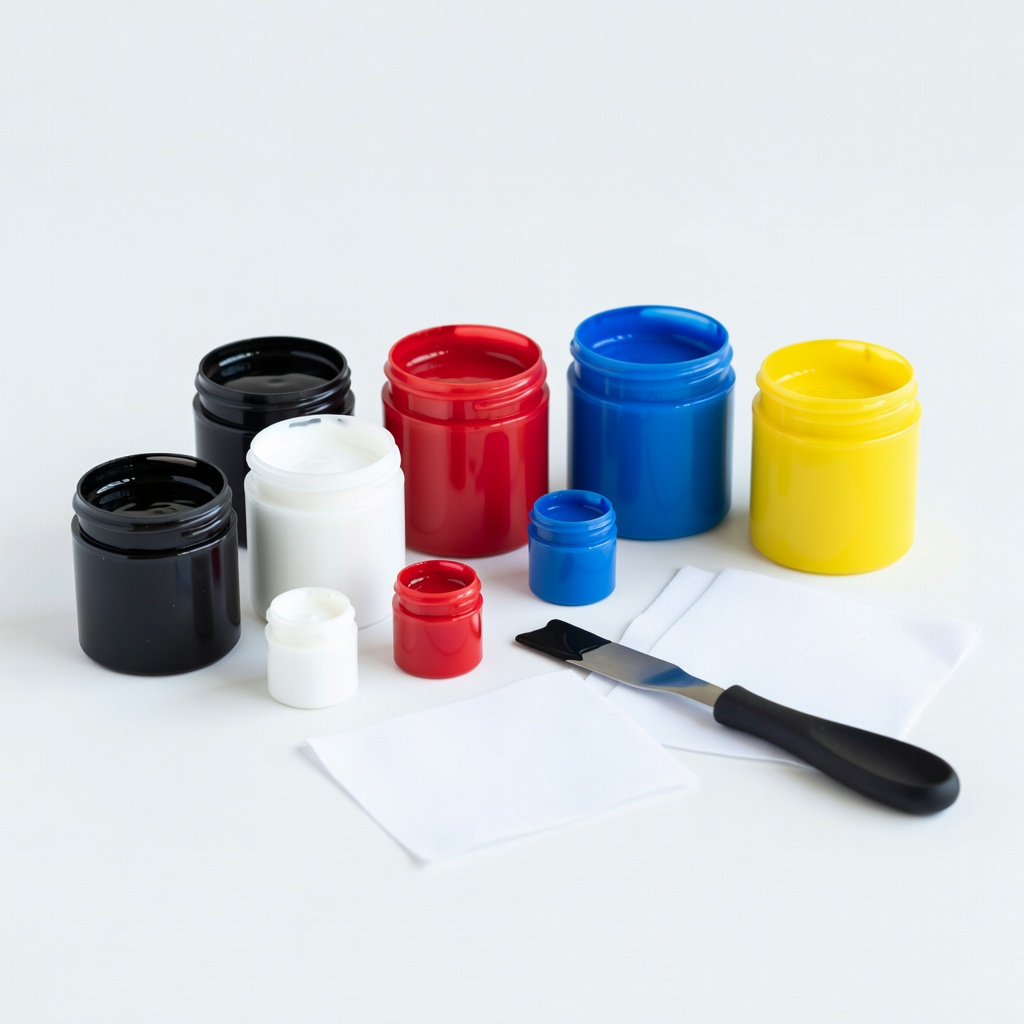
Speedball 2-Color Poly Screen Print Fabrics Kit
Single to dual-color custom gym tees.
$59.99
Speedball 2-Color Poly Screen Print Fabrics Kit Complete kit with poly-friendly inks, screens, and tools—ideal for active shirts without buying extras.
Get the App
Better experience on mobile
Master screen printing on moisture-wicking active shirts to create durable, pro-quality custom designs at home in a few hours.
Personalizing active shirts lets you stand out during workouts or team events, turning generic tees into branded gear that withstands sweat and washes. Many gym-goers and small teams struggle with low-quality iron-ons that crack or fade—screen printing delivers vibrant, long-lasting results on polyester blends.
In this guide, you'll learn the full process from design to curing, tailored for intermediate DIYers comfortable with basic crafting. Expect professional hand-feel on activewear with the right inks. The process takes 4-6 hours total, including drying, and assumes you have some art software experience.
We'll cover polyester-specific tips to avoid bleeding or cracking, so your shirts perform as good as they look.
Estimated Time: 4-6 hours (including drying and curing; 2-3 hours hands-on) Difficulty: intermediate
Start by creating a vector-based design optimized for screen printing. Use software like Adobe Illustrator to make bold, simple graphics with at least 50-100pt fonts—no fine details under 1pt, as they won't resolve well on mesh screens.
Convert colors to spot colors (one per screen). For active shirts, design for 1-4 colors max to keep it intermediate. Output as 100% opaque black positives on transparency film at high resolution (300 DPI). Success: Crisp film positive that blocks light completely where ink should print.
💡 Tips:
⚠️ Warnings:
Select a 110-156 mesh screen for active shirts—higher for detail, lower for heavy ink deposit. Clean the frame thoroughly with degreaser and rinse. Dry completely. This removes oils for even emulsion adhesion.
Tape off edges to prevent leaks. Success: Screen feels squeaky clean and water beads off.
💡 Tips:
⚠️ Warnings:
Mix emulsion with sensitizer per instructions (usually 10:1). Use scoop coater to apply thin, even layer on both sides (substrate side thicker). Dry in dark for 1-2 hours or use fan. Aim for 15-20 microns thick.
Success: Uniform green coating that doesn't drip or streak.
💡 Tips:
⚠️ Warnings:
Place film positive ink-side down on emulsion-coated screen, taped secure. Expose under UV light (10-15 mins for 1000W halogen, follow kit chart). Success: Styrene smell indicates proper exposure; unexposed areas wash out easily.
For active shirts, precise exposure prevents ink bleed.
💡 Tips:
⚠️ Warnings:
Rinse with cool water pressure washer or hose until design opens clearly (5-10 mins). Block out pinholes with tape/emulsion. Dry screen 30-60 mins. Success: Sharp stencil with open image area.
💡 Tips:
⚠️ Warnings:
Pre-treat poly shirts with spray if needed for adhesion. Stretch shirt taut on platen. Register screen with tape marks for multi-color. Success: Shirt flat, no wrinkles.
💡 Tips:
⚠️ Warnings:
Flood ink across screen, then pull squeegee at 45° angle with firm pressure. Lift screen straight up. Off-contact 1/16". For poly, use low-bleed ink. Success: Smooth, opaque print without smudges.
💡 Tips:
⚠️ Warnings:
Flash cure between colors (160°F 10 sec). Final cure at 320°F for 60-90 sec in heat press. Cool, inspect. Wash test: Survives cold wash/hot dry. Success: Flexible print that doesn't crack.
💡 Tips:
⚠️ Warnings:
Problem: Pinholes in stencil
Solution: Block with emulsion tape; recoat next time with even layer.
Problem: Ink bleeding on poly
Solution: Use low-bleed ink + pretreatment; reduce flood amount.
Problem: Fuzzy edges
Solution: Higher mesh screen + sharper film positive; check exposure.
Problem: Print cracks after wash
Solution: Undercured—increase heat/press time; use flex additive.
Complete kit with poly-friendly inks, screens, and tools—ideal for active shirts without buying extras.
Best for: Single to dual-color custom gym tees.
Price Range: $59.99
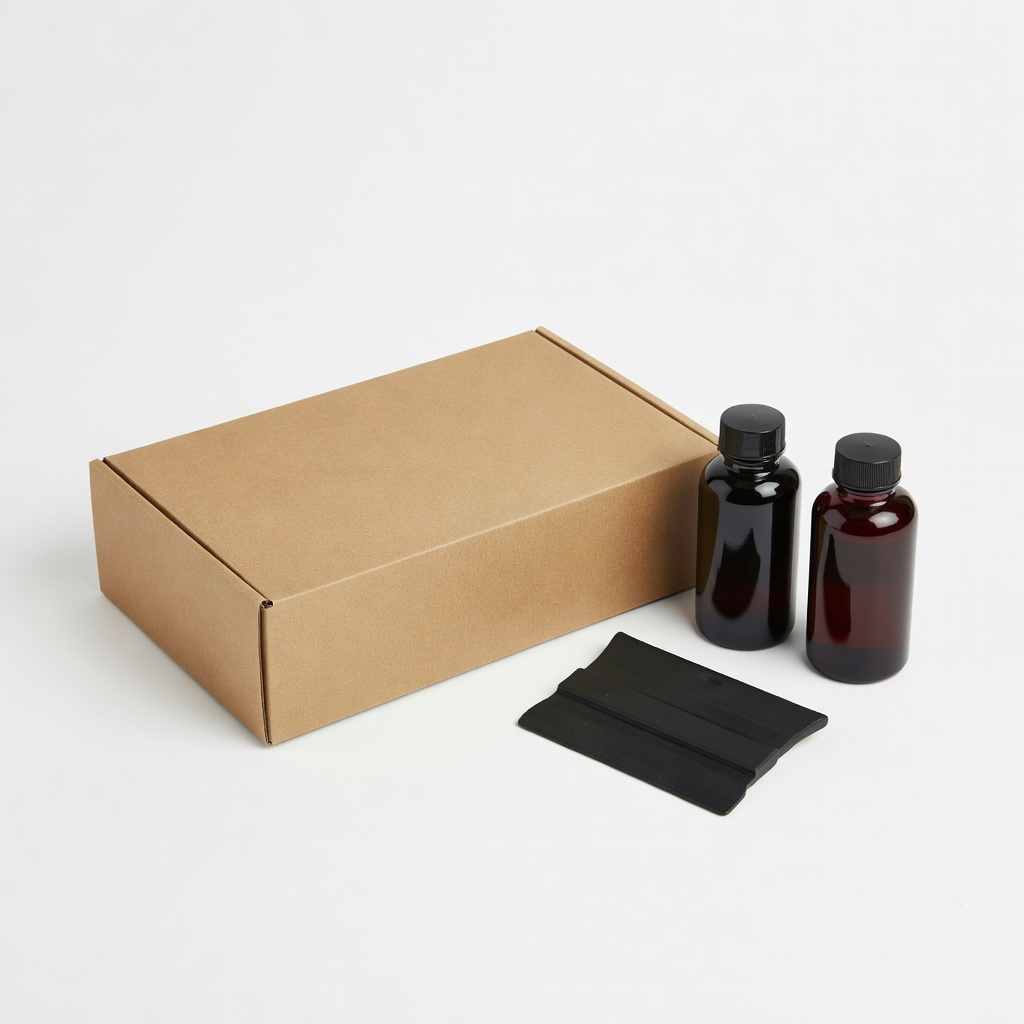
Prevents cracking on polyester activewear for durable prints.
Best for: Multi-color designs on moisture-wicking shirts.
Price Range: $29.99-$49.99
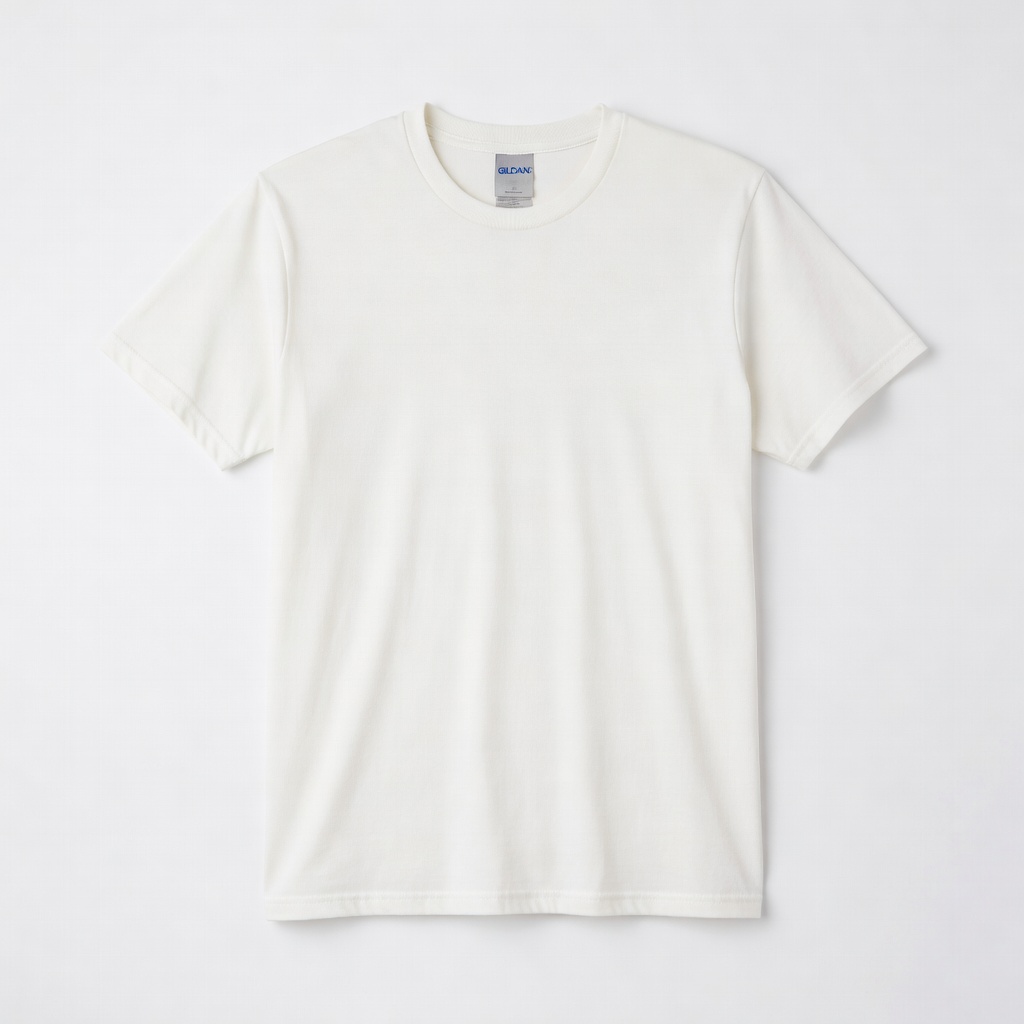
Perfect poly-blend base—inks adhere well, holds shape through washes.
Best for: Budget blanks for teams or personal use.
Price Range: $8-$12 each
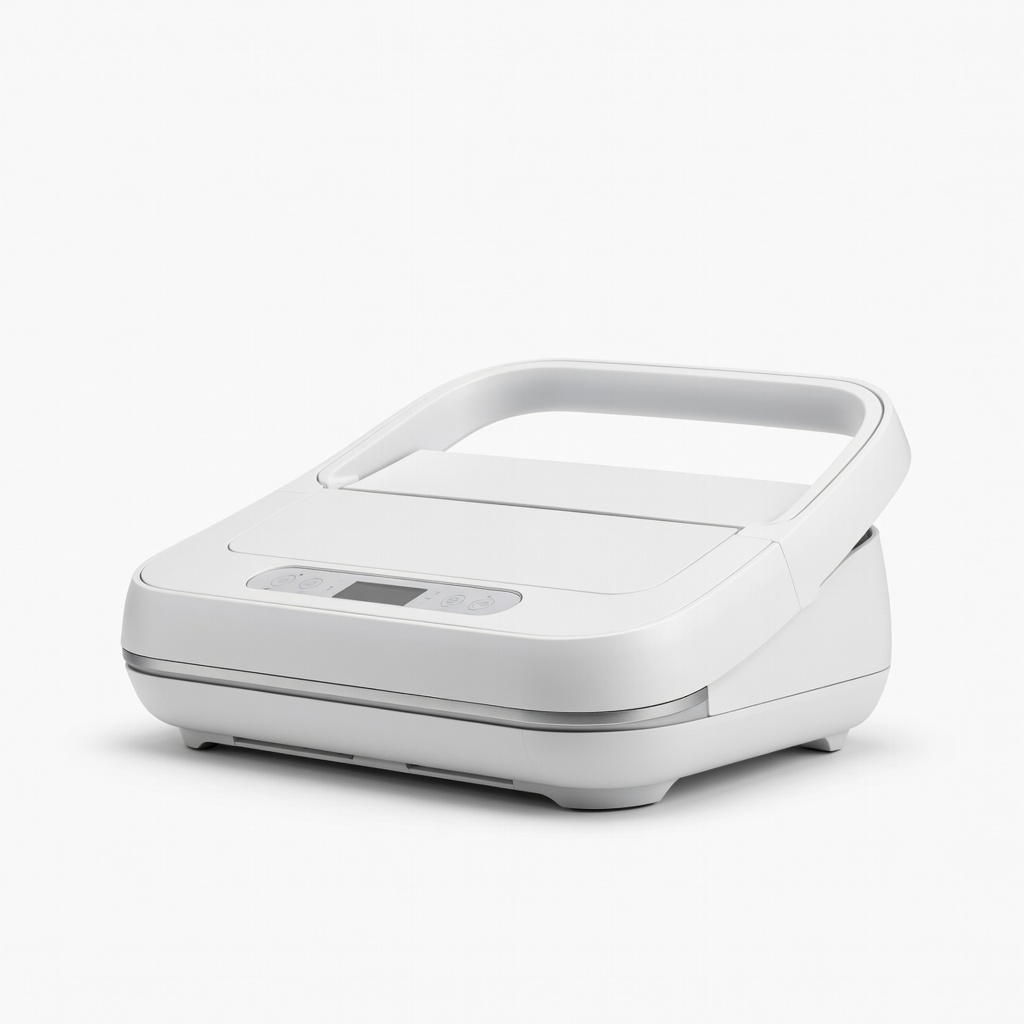
Even heat for perfect curing without scorching active fabrics.
Best for: Final step for soft, flexible prints.
Price Range: $149.99
Reliable for sharp stencils on repeated use.
Best for: Custom screens for frequent printing.
Price Range: $19.99
Single to dual-color custom gym tees.
Speedball 2-Color Poly Screen Print Fabrics Kit Complete kit with poly-friendly inks, screens, and tools—ideal for active shirts without buying extras.
Multi-color designs on moisture-wicking shirts.
Ryonet Low Bleed Plastisol Ink Starter Set Prevents cracking on polyester activewear for durable prints.
Budget blanks for teams or personal use.
Gildan DryBlend 50/50 T-Shirt (Active Blank) Perfect poly-blend base—inks adhere well, holds shape through washes.
Final step for soft, flexible prints.
Cricut EasyPress 2 Heat Press Even heat for perfect curing without scorching active fabrics.
Custom screens for frequent printing.
Speedball Photo Emulsion Kit Reliable for sharp stencils on repeated use.