
Vallejo Surface Primer - Grey (60ml)
Priming all figure parts before painting.
$8-10
Vallejo Surface Primer - Grey (60ml) Provides superior adhesion on PVC/plastic without clogging details.
Get the App
Better experience on mobile
Transform your action figures into unique, professional-looking masterpieces with step-by-step painting techniques for intermediate hobbyists.
Action figures are more than toys—they're collectibles ripe for personalization. Whether you're weathering a superhero, repainting a villain's armor, or creating a custom skin tone, painting lets you stand out in the collector community. Many enthusiasts struggle with chipping factory paint or bland designs, but with the right methods, you can achieve durable, eye-catching results.
In this guide, you'll learn the full process: from prepping and priming to detailing, shading, and sealing. Expect intermediate skills like brush control and color mixing. Total active time is 2-4 hours, spread over 1-2 days for drying. By the end, your figure will look custom-sculpted and ready for display.
No prior painting experience? This builds on basic hobby skills—perfect for those who've assembled kits but want to level up.
Estimated Time: 2-4 hours active time + 24 hours drying Difficulty: intermediate
Choose a well-ventilated area with good lighting—cover surfaces with newspaper or a drop cloth to catch overspray and drips.
Organize tools within arm's reach. Why? A clean setup prevents contamination and frustration. Expect a tidy station that supports hours of focused work.
Pro move: Use a rotating lazy Susan for 360-degree access to the figure.
💡 Tips:
⚠️ Warnings:
Gently twist or use a screwdriver to remove heads, arms, weapons, and accessories. Note positions with photos.
This exposes hidden areas for even painting and prevents glue damage. Success: All parts separated without breaks—most figures pop apart easily.
If glued, warm with a hairdryer (low heat) for 30 seconds.
💡 Tips:
⚠️ Warnings:
Wash parts in warm soapy water, rinse thoroughly, and dry. Lightly sand glossy areas with 600-grit paper for tooth.
Removes factory oils/mold lines, ensuring paint adhesion. Expect a matte, dust-free surface ready for primer.
Wipe with isopropyl alcohol (90%) for final degrease.
💡 Tips:
⚠️ Warnings:
Shake primer well; apply thin, even coats from 8-10 inches away (spray) or brush thinly. Let dry 30-60 mins, then second coat.
Primer creates a bond between plastic and paint, preventing peeling. Success: Uniform gray/black surface, no pools or bare spots.
Brush-on for indoors; spray for speed.
💡 Tips:
⚠️ Warnings:
Mix paint to milk consistency with water/thinner. Apply 2-3 thin base coats per color, drying 10-20 mins between.
Covers primer solidly for clean canvas. Expect vibrant, opaque coverage without brush strokes.
Block in large areas: skin, armor, clothing.
💡 Tips:
⚠️ Warnings:
Use fine brushes for eyes, logos, belts. Blend shadows with thin glazes (paint + medium).
Brings depth and realism. Success: Gradients from dark to light, no harsh lines.
Layer progressively: details last.
💡 Tips:
⚠️ Warnings:
Drybrush highlights (dab excess paint, stroke lightly). Add scratches/dirt with sponge or dry pigment.
Pops details, simulates wear. Expect battle-worn, dynamic look.
Optional: Gloss on eyes/teeth for realism.
💡 Tips:
⚠️ Warnings:
Apply 2-3 thin varnish coats, dry 1 hour between. Reattach parts once fully cured (24 hours).
Protects from chips/UV. Final: Durable, matte finish figure ready for posing.
Display immediately!
💡 Tips:
⚠️ Warnings:
Problem: Paint not adhering or chipping
Solution: Re-prime after thorough cleaning/sanding; use plastic-specific primer.
Problem: Brush strokes visible
Solution: Thin paint more and use quality synthetic brushes; apply faster strokes.
Problem: Colors too bright/dull
Solution: Mix with white/black for tones; add glaze medium for vibrancy.
Problem: Varnish frosts/milks
Solution: Thin varnish and apply in humidity <50%; use fresh product.
Provides superior adhesion on PVC/plastic without clogging details.
Best for: Priming all figure parts before painting.
Price Range: $8-10
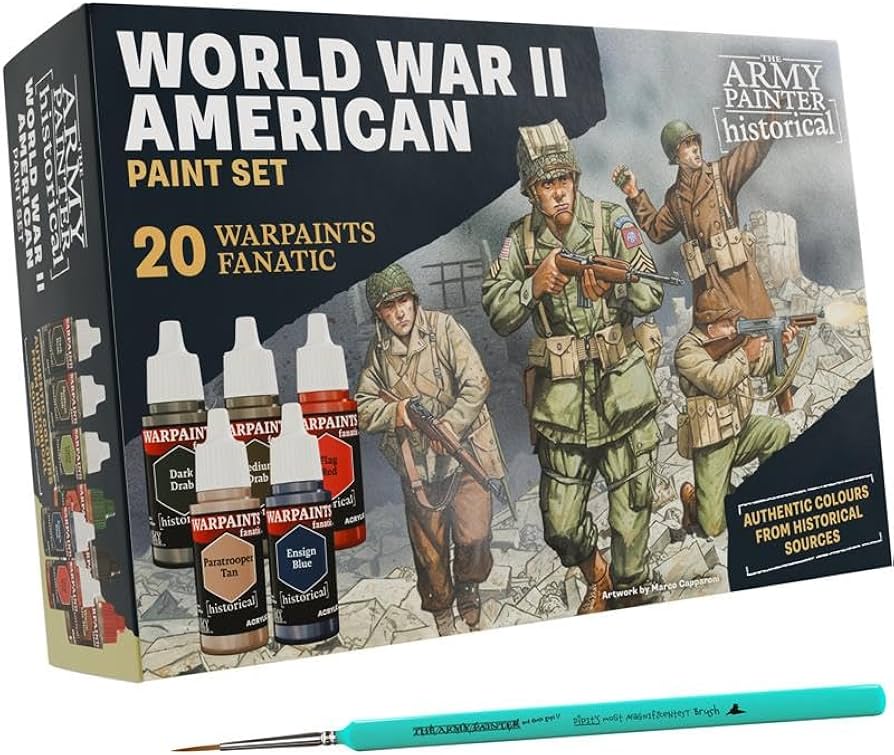
High-pigment acrylics optimized for minis/figures, with dropper bottles for easy mixing.
Best for: Base coats, shading, and details on skin/armor.
Price Range: $40-50
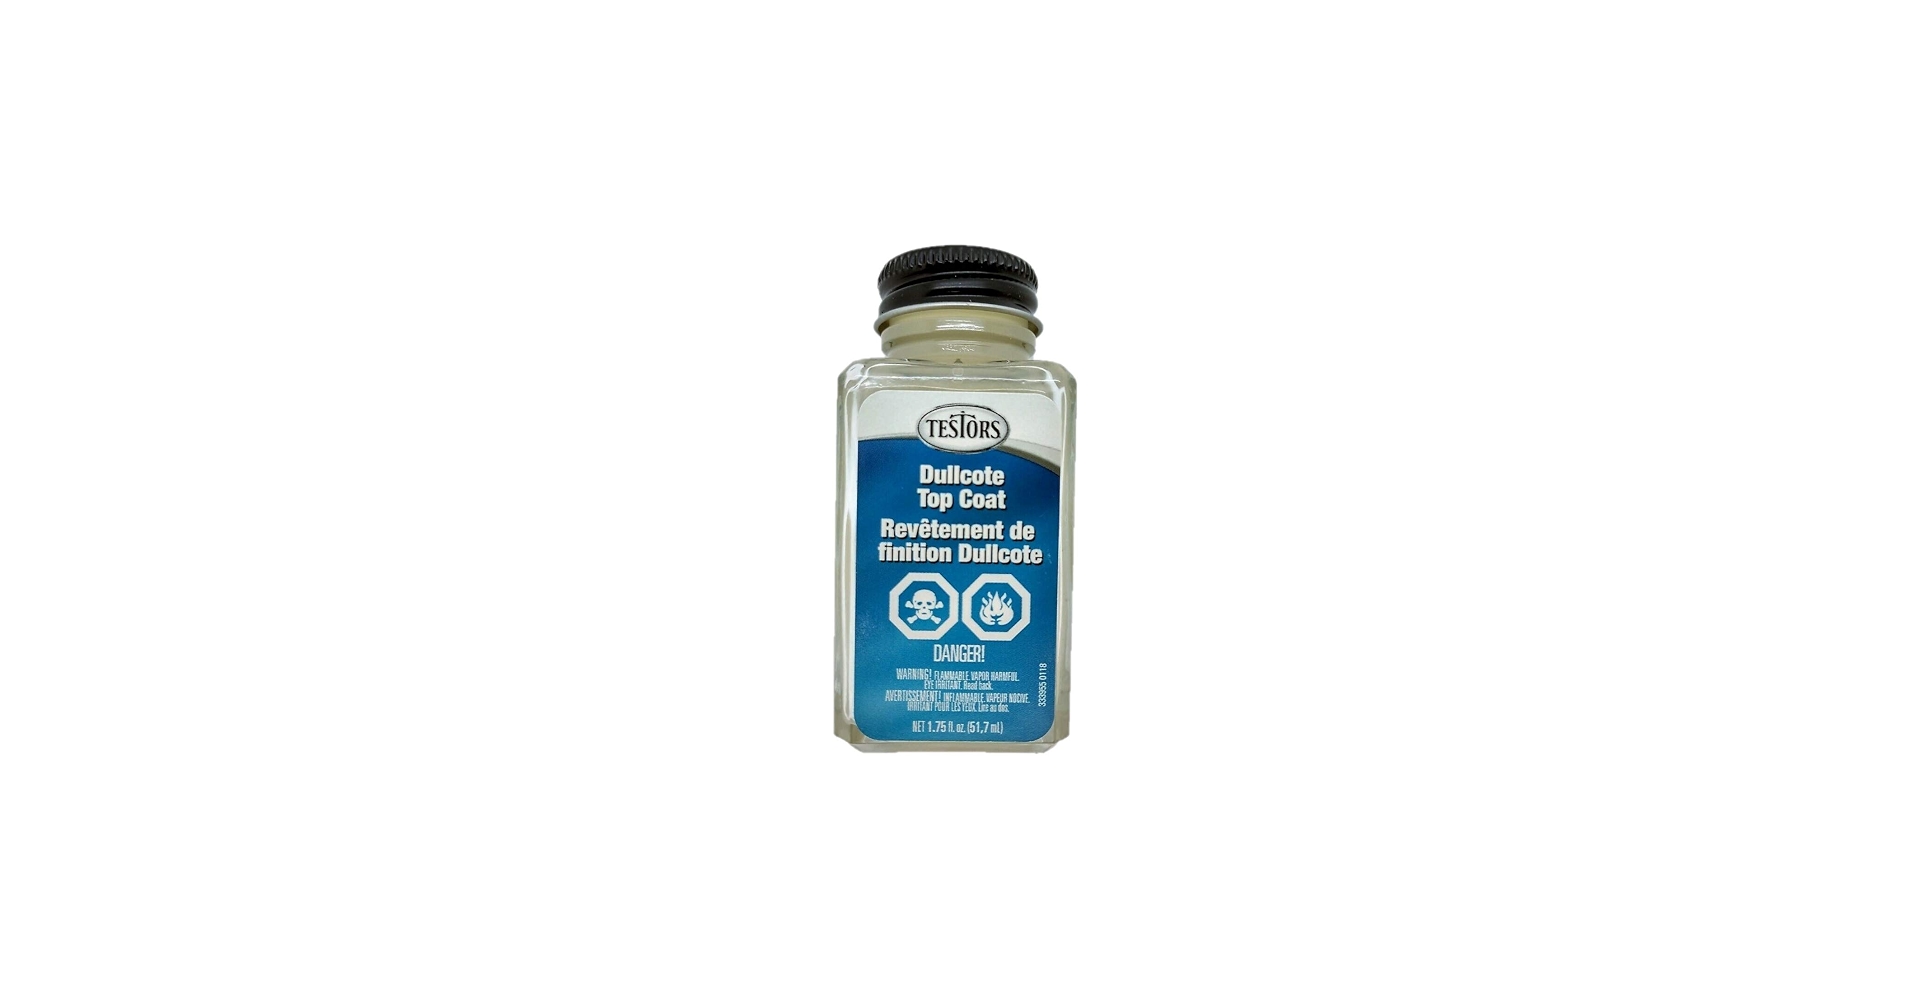
Industry-standard sealer prevents yellowing and adds realistic matte texture.
Best for: Final protection layer over all painted surfaces.
Price Range: $15-18
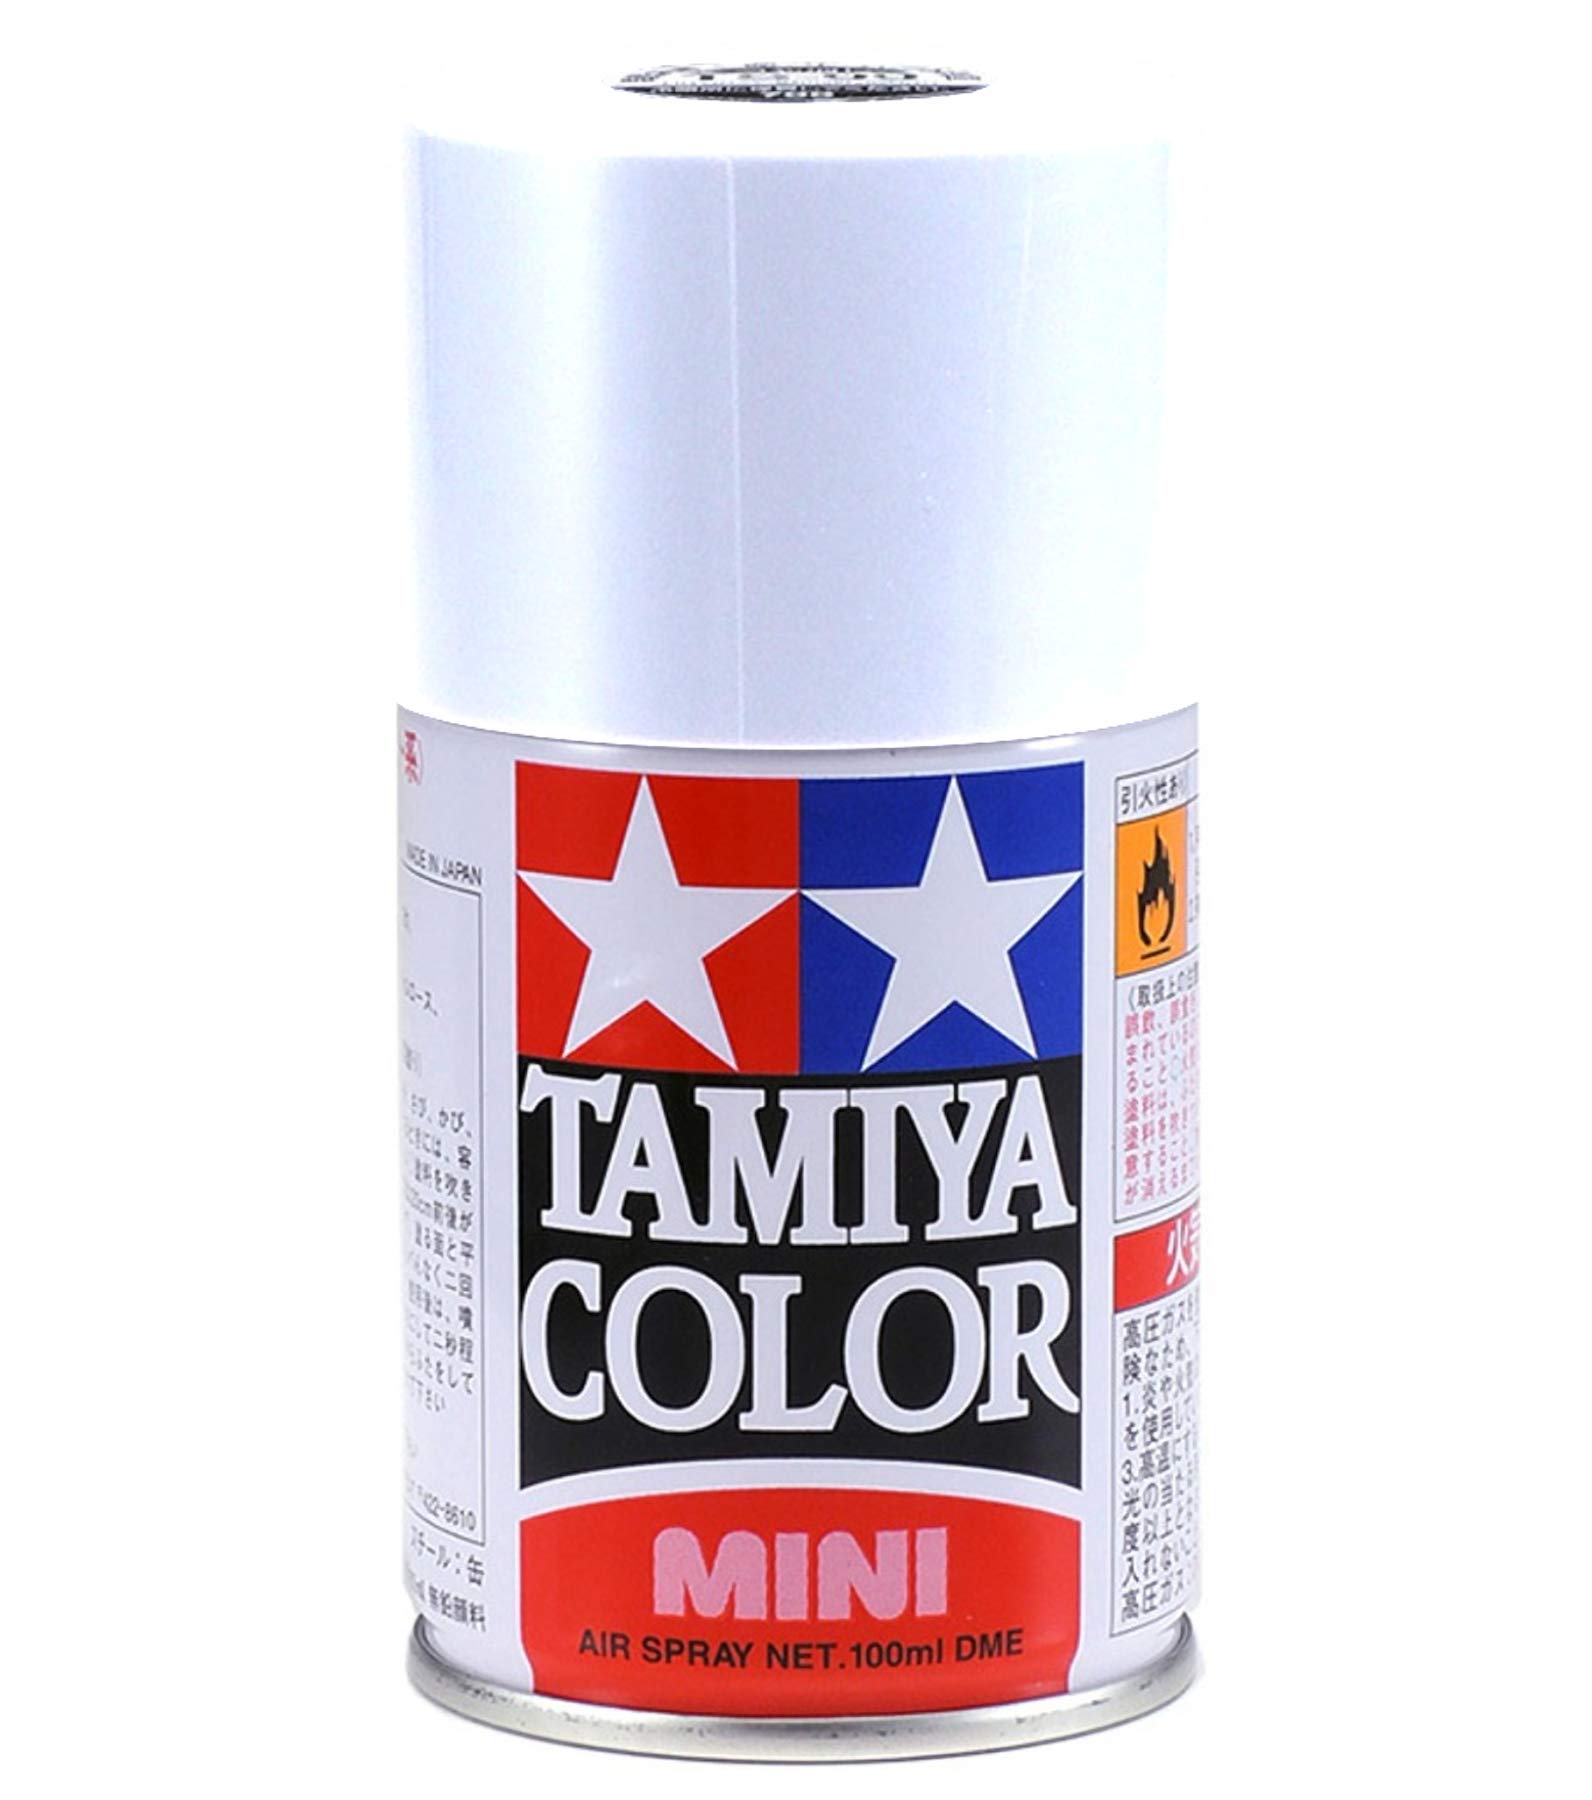
Quick-drying, durable alternative for larger parts or gloss effects.
Best for: Sealing or base for weathering.
Price Range: $10-12
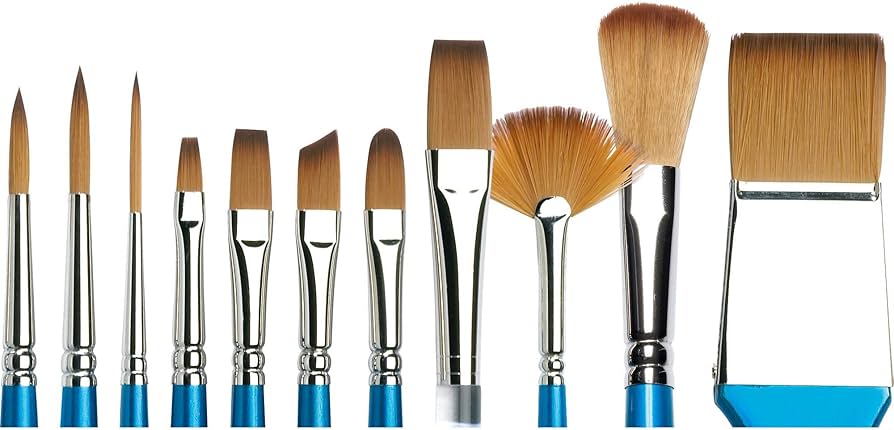
Synthetic bristles hold shape for precision work without shedding.
Best for: Detailing eyes, edges, and highlights.
Price Range: $20-25
Priming all figure parts before painting.
Vallejo Surface Primer - Grey (60ml) Provides superior adhesion on PVC/plastic without clogging details.
Base coats, shading, and details on skin/armor.
Army Painter Warpaints Starter Paint Set (20 colors) High-pigment acrylics optimized for minis/figures, with dropper bottles for easy mixing.
Final protection layer over all painted surfaces.
Testors Dullcote Matte Finish (6 oz) Industry-standard sealer prevents yellowing and adds realistic matte texture.
Sealing or base for weathering.
Tamiya TS-80 Flat Clear Lacquer Spray Quick-drying, durable alternative for larger parts or gloss effects.
Detailing eyes, edges, and highlights.
Winsor & Newton Cotman Detail Brush Set Synthetic bristles hold shape for precision work without shedding.