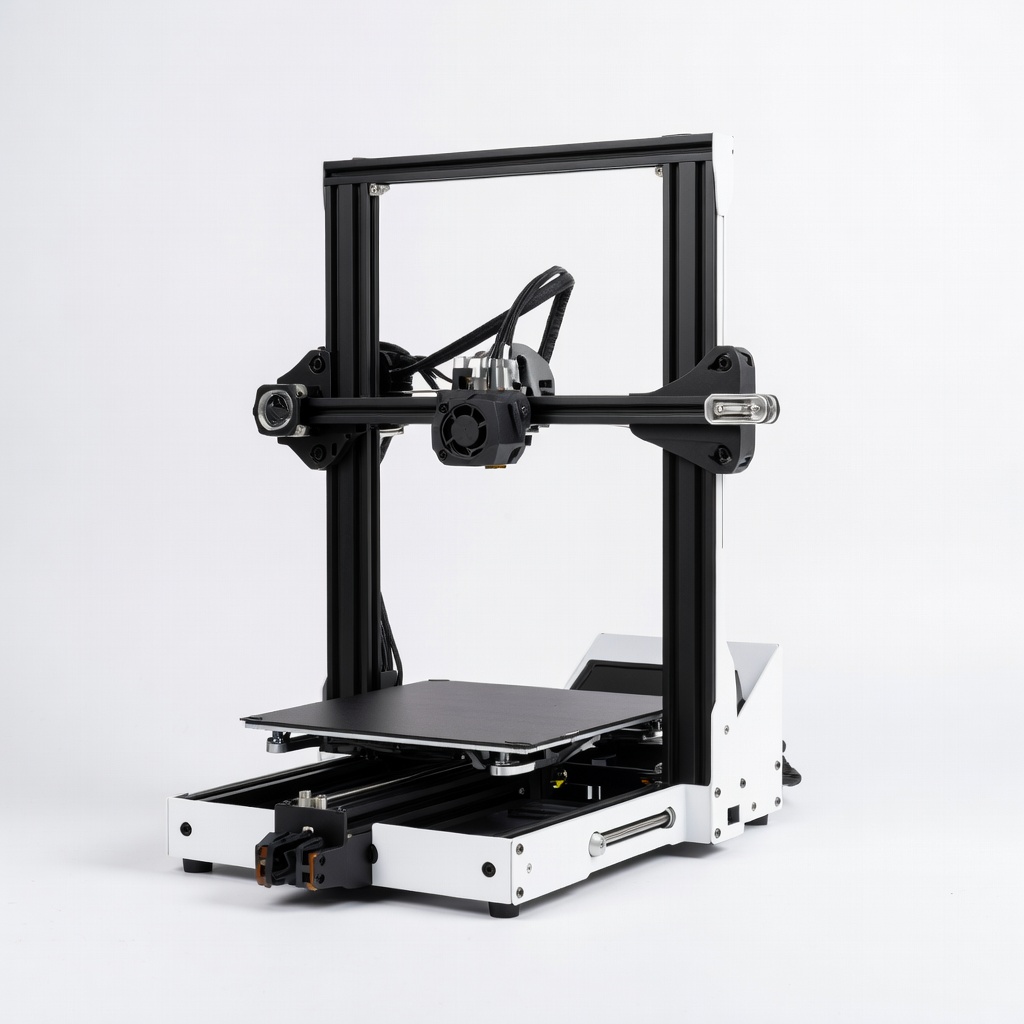
Creality Ender 3 V3 SE 3D Printer
Printing custom parts quickly with minimal failures.
$199-$220
Creality Ender 3 V3 SE 3D Printer Reliable entry-to-mid FDM printer with auto-leveling for consistent mini/figure prints.
Get the App
Better experience on mobile
Master advanced techniques to design, print, and integrate custom 3D parts into action figures for unique, pro-level customizations.
Tired of mass-produced action figures that lack personality? Customizing with 3D printed parts lets you create one-of-a-kind heroes with weapons, armor, or accessories tailored exactly to your vision. This advanced guide is for hobbyists comfortable with 3D modeling and printing who want to elevate their collection.
You'll learn the full workflow: from planning and precise measurement to seamless integration and finishing. Expect 4-8 hours of hands-on work plus printing time (2-12 hours per part), spread over 2-3 days. No prior figure modding needed, but familiarity with Blender or similar software is assumed.
By the end, you'll have a battle-ready custom figure that looks factory-fresh, ready to display or pose in epic dioramas.
Estimated Time: 4-8 hours active + 2-12 hours printing, over 2-3 days Difficulty: advanced
Start by deciding what to add—e.g., a new weapon, cape, or armor piece. Sketch ideas and reference real figures for proportions. Measure key areas with digital calipers (e.g., arm socket diameter to 0.01mm accuracy).
Why it matters: Precise planning prevents redesigns. Expect a 1:1 scale model; note articulation points to avoid blocking joints.
Success looks like: Detailed notes with dimensions and a rough sketch ready for modeling.
💡 Tips:
⚠️ Warnings:
Photogrammetry apps (e.g., Polycam) or manual measurement create a digital base. Take 50+ photos in good light or use calipers for sockets/joints.
Import into Blender: Scale model to match (e.g., 6-inch figure = 152.4mm height). Boolean or trace for attachment points.
Success: Accurate digital twin of mod area, verified by printing a 10% scale test.
💡 Tips:
Open Blender/Fusion 360. Model from primitives or sculpt; extrude for weapons, use modifiers for armor.
Incorporate tolerances (0.15mm gap), supports, and clips. Add details like rivets for realism.
Success: Watertight mesh, preview render matches sketch. Export as STL.
💡 Tips:
⚠️ Warnings:
Import STL to Cura. Set 0.2mm layer height, 20% infill, supports enabled. Bed 60°C, nozzle 200°C for PLA.
Preview for bridges/supports; generate G-code.
Success: Slicer preview shows clean print without stringing.
💡 Tips:
Level bed, start print. Monitor first layers.
PLA takes 2-6 hours; let cool fully.
Success: Part removes cleanly, minimal warping.
⚠️ Warnings:
Sand progressively: 400 grit rough, 2000 finish. Fill gaps with filler primer, re-sand.
Remove supports carefully; heat gun smooths strings.
Success: Smooth, paint-ready surface matching figure plastic.
💡 Tips:
Mark attachment points. Drill/enlarge sockets with pin vise (0.1mm increments).
Test fit dry—no glue yet.
Success: Part snaps in securely without play.
⚠️ Warnings:
Apply thin super glue/epoxy to contact points. Clamp 5-10 min; pin with wire for strength if needed.
Success: Seamless bond, full articulation preserved.
💡 Tips:
Spray primer thin coats. Base coat, layer details, varnish.
Weather with drybrush for realism.
Success: Custom matches original sheen, poses dynamically.
💡 Tips:
Problem: Print won't stick to bed
Solution: Clean bed with IPA, increase temp to 65°C, add brim.
Problem: Part doesn't fit figure
Solution: Re-measure, scale +0.2% or sand socket.
Problem: Layer lines visible after paint
Solution: Higher resolution print (0.1mm) or filler primer multiple coats.
Problem: Glue bond breaks under stress
Solution: Embed brass pins, use epoxy over super glue.
Reliable entry-to-mid FDM printer with auto-leveling for consistent mini/figure prints.
Best for: Printing custom parts quickly with minimal failures.
Price Range: $199-$220
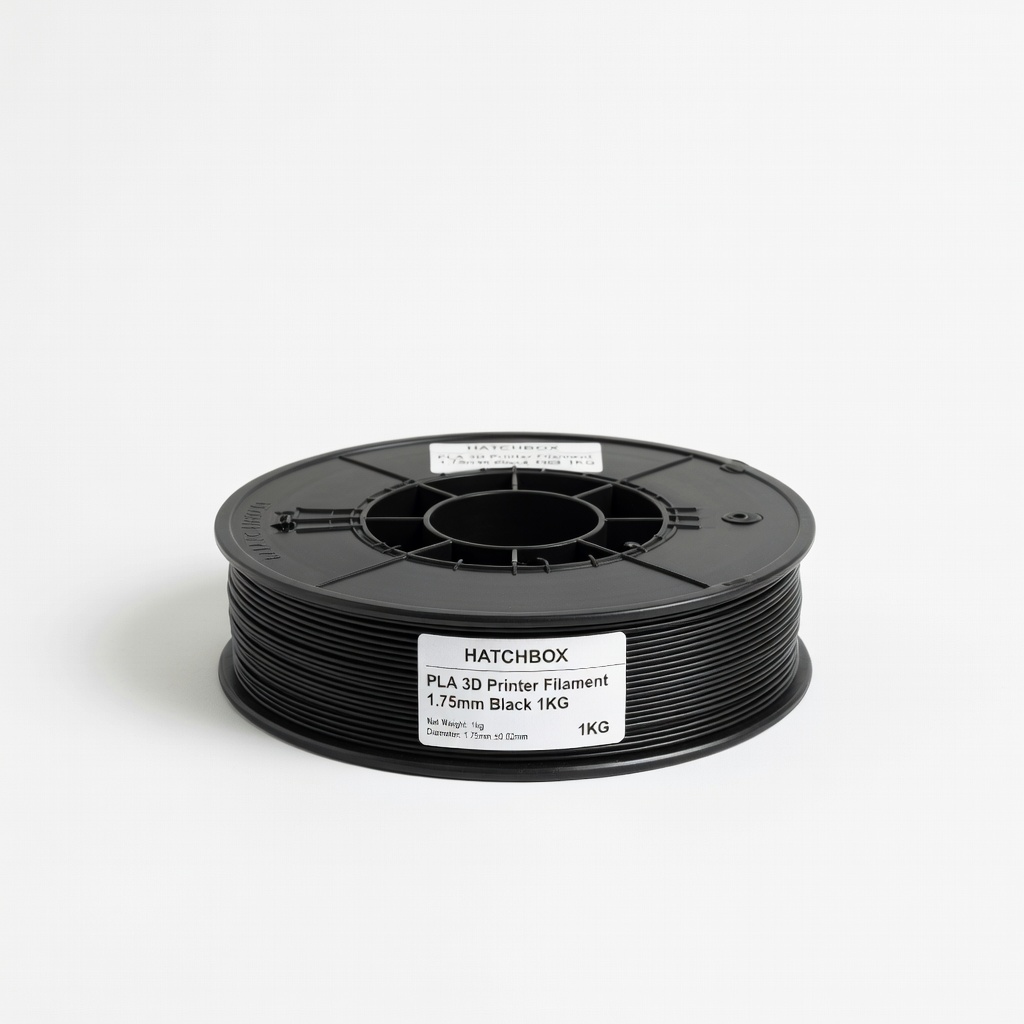
High-quality, low-warp PLA ideal for detailed action figure parts.
Best for: Durable black base for painting over.
Price Range: $20-$25
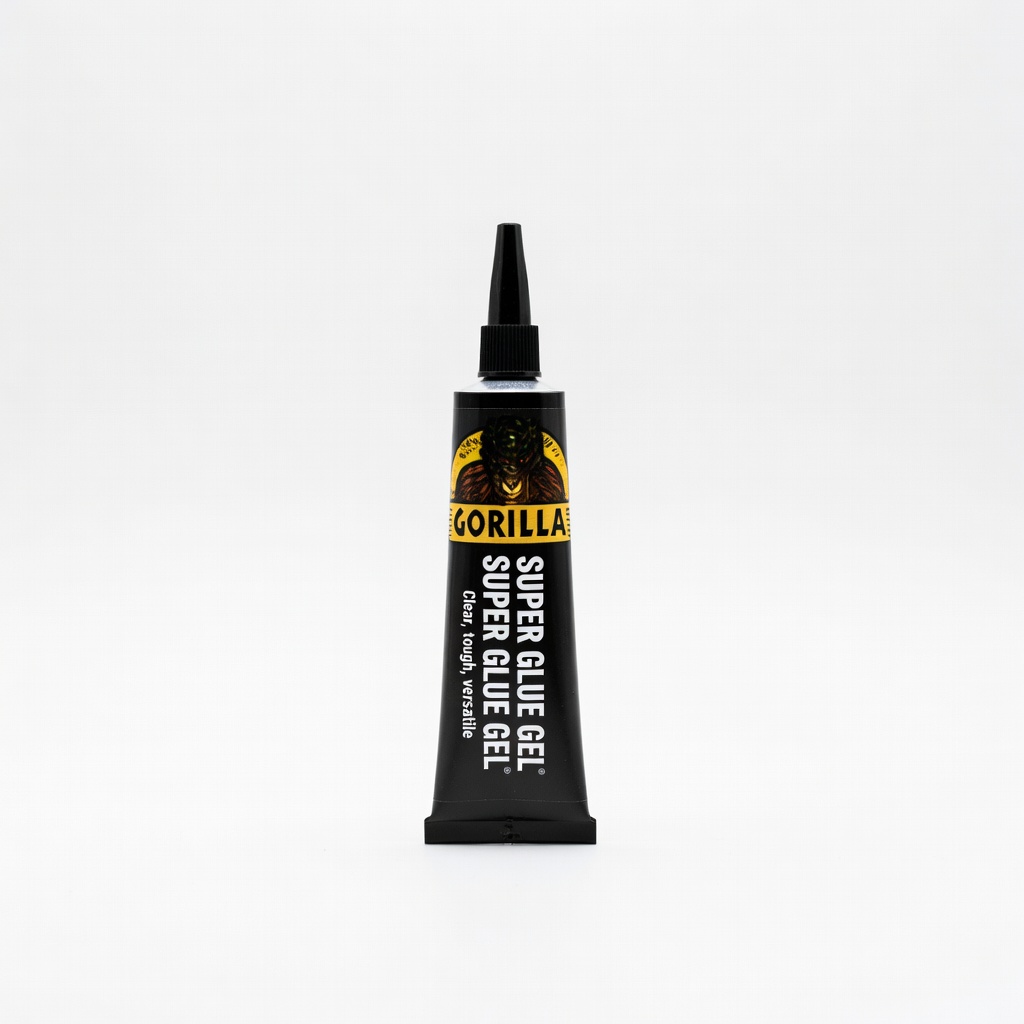
No-run formula grips plastics perfectly without fogging.
Best for: Securely bonding printed parts to PVC figures.
Price Range: $5-$7
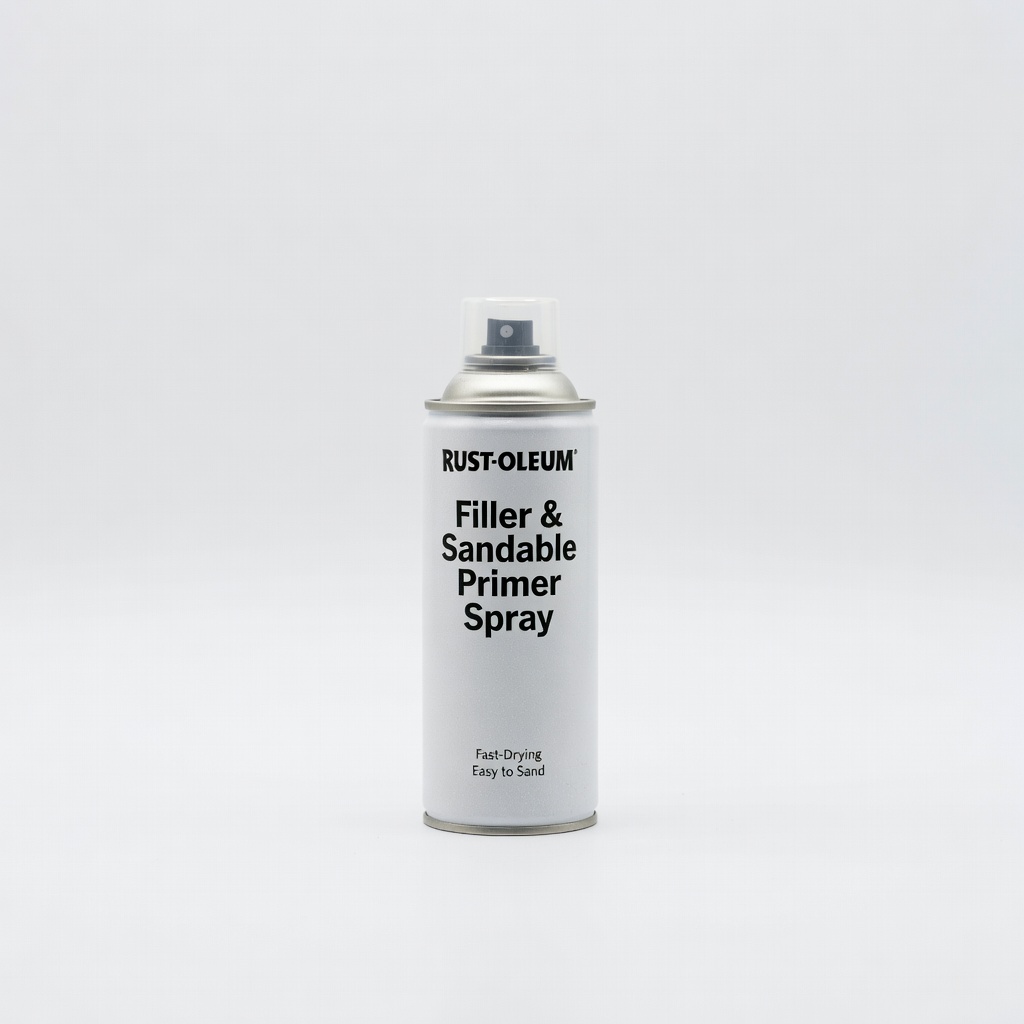
Fills print lines for smooth paint base on 3D prints.
Best for: Priming both print and figure before painting.
Price Range: $8-$12
Wet/dry sheets perfect for progressive smoothing of prints.
Best for: Post-print finishing for pro surface.
Price Range: $10-$15
Printing custom parts quickly with minimal failures.
Creality Ender 3 V3 SE 3D Printer Reliable entry-to-mid FDM printer with auto-leveling for consistent mini/figure prints.
Durable black base for painting over.
HATCHBOX PLA 3D Printer Filament 1.75mm Black 1KG High-quality, low-warp PLA ideal for detailed action figure parts.
Securely bonding printed parts to PVC figures.
Gorilla Super Glue Gel No-run formula grips plastics perfectly without fogging.
Priming both print and figure before painting.
Rust-Oleum Filler & Sandable Primer Spray Fills print lines for smooth paint base on 3D prints.
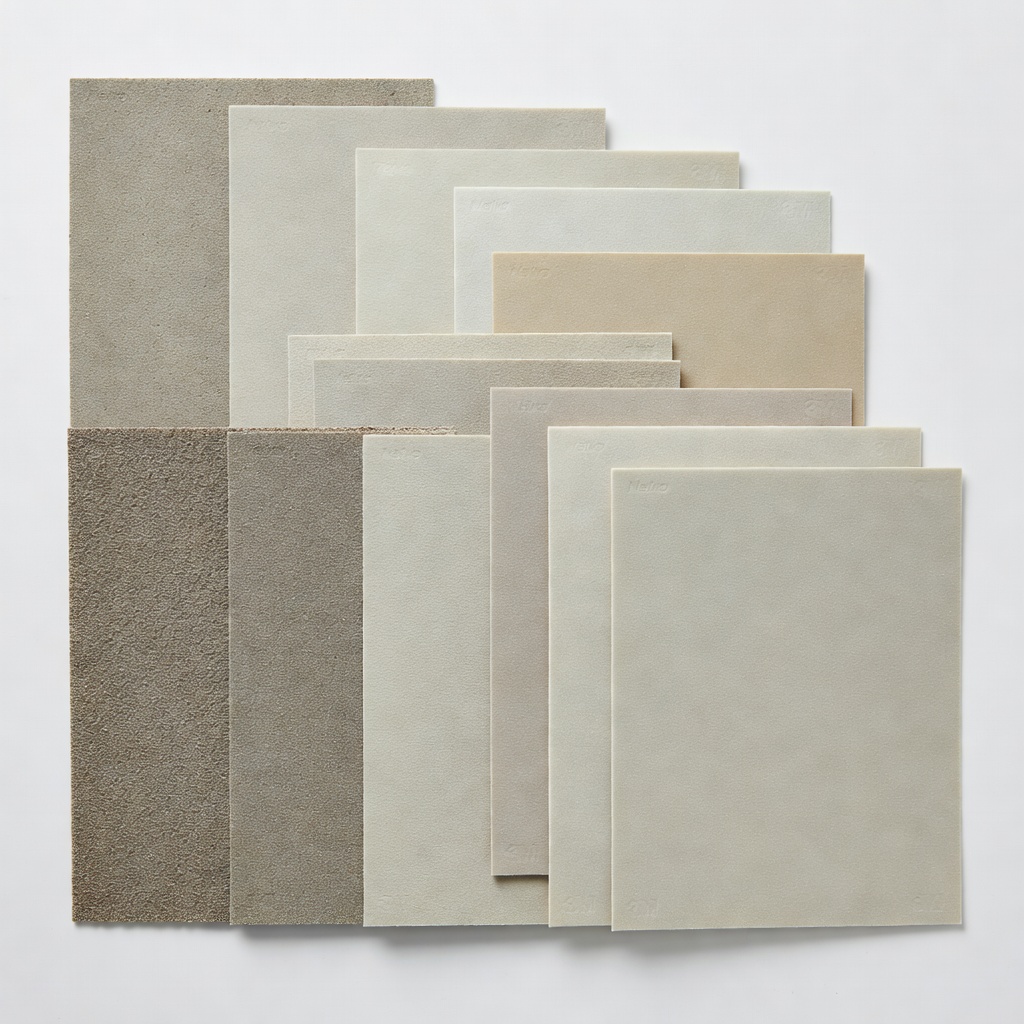
Post-print finishing for pro surface.
Neiko 3M Sandpaper Assortment 400-2000 Grit Wet/dry sheets perfect for progressive smoothing of prints.