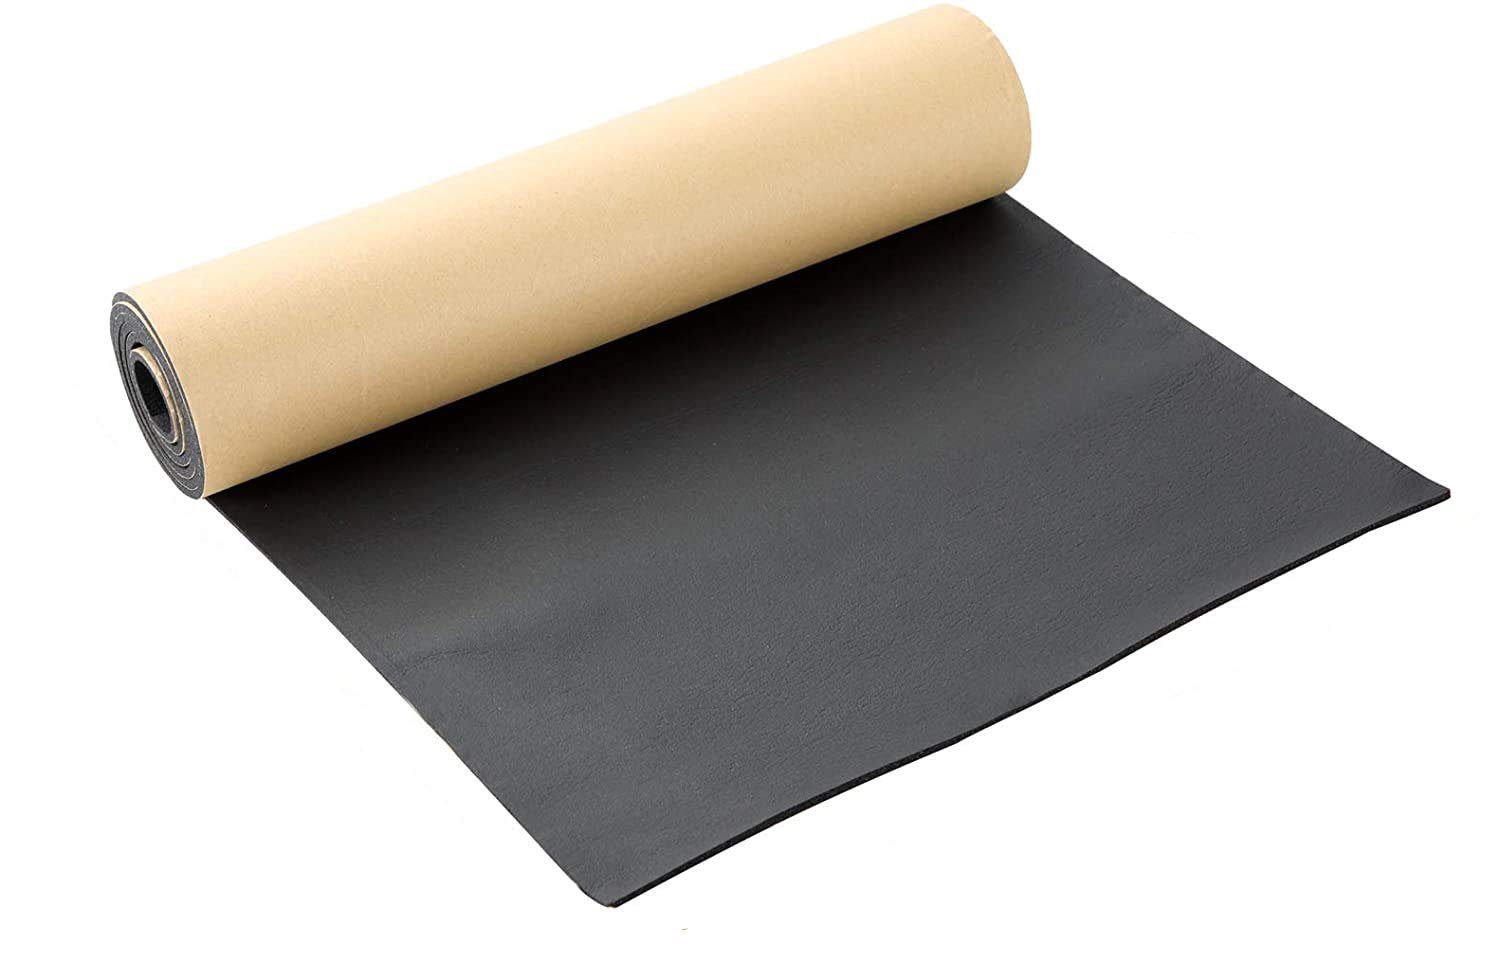
Rubber-Cal Neoprene Sponge Rubber Sheet 1/8" Thick
Cut to size for shoulder pad on any strap width.
$15-$20
Rubber-Cal Neoprene Sponge Rubber Sheet 1/8" Thick Perfect non-slip, sweat-resistant padding that compresses comfortably without flattening.
Get the App
Better experience on mobile
Transform your uncomfortable guitar strap into a plush, custom-fit accessory for pain-free playing in under an hour.
Playing acoustic guitar for hours can turn fun into agony if your strap digs into your shoulder or slips constantly. Stock straps are often thin and unforgiving, leading to fatigue during gigs or practice sessions. Customizing your strap addresses these issues by adding padding, improving grip, and tailoring the fit to your body.
In this guide, you'll learn step-by-step how to modify any acoustic guitar strap for superior comfort. We'll cover measuring, adding foam padding, sewing reinforcements, and testing. Expect a straightforward process using basic tools—no advanced sewing skills required, though some hand-stitching helps.
This intermediate project takes 45-60 minutes and costs under $20 in materials. By the end, your strap will feel like a cloud, letting you focus on your music.
Estimated Time: 45-60 minutes Difficulty: intermediate
Start by wearing your strap with your acoustic guitar in playing position. Play for 5-10 minutes to identify pain points—usually the shoulder area or where it rubs.
Note the strap's width, length, and material. Wider straps (2.5+ inches) distribute weight better. Measure from buckle to end for reference. Success: A clear list of mods needed, like 'add 4-inch padding over shoulder.'
This step ensures your customizations target real issues.
💡 Tips:
⚠️ Warnings:
Remove the strap from your guitar. Drape it over your shoulder at playing height. Use the measuring tape to mark the contact area—typically 8-12 inches long, matching your shoulder width.
Add 1 inch extra on each end for overlap. Mark both sides if double-layered padding. Cut a paper template first to test fit. Success: Precise markings that align perfectly when worn.
Why it matters: Accurate measurements prevent bulky or insufficient padding.
💡 Tips:
⚠️ Warnings:
Trace your template onto the neoprene foam using fabric marker. Cut with scissors—neoprene cuts cleanly without fraying.
If using multiple layers, stack and cut together for evenness. Round edges slightly for smoothness. Test by placing on strap: It should cover marks without overhanging ends. Success: Padding fits snugly, soft side up.
Neoprene resists sweat and compresses comfortably over time.
💡 Tips:
Position foam on the strap's underside (body-contact side). Secure edges with fabric glue if no-sew, or pin for sewing.
Thread your upholstery needle with nylon thread. Stitch around perimeter with a whipstitch or baseball stitch—1/4-inch spacing. Double-stitch high-wear areas. Success: Padding is firmly attached, no gaps or loose threads.
This creates a cushioned core that molds to your shoulder.
💡 Tips:
⚠️ Warnings:
Fold excess padding under at ends and stitch securely to prevent peeling. If slippage is an issue, glue/sew small suede patches where strap meets buckle.
Check buckles for smooth operation—adjust or replace if stiff. Success: Ends are flush, strap adjusts freely, grip enhanced.
Reinforcements ensure longevity during stage use.
💡 Tips:
⚠️ Warnings:
Hook the strap to your acoustic guitar's endpin and headstock. Wear it, play chords/scales for 10 minutes. Walk around to simulate gigs.
Adjust length for balance—guitar body parallel to floor. Success: No slipping, even pressure, comfort boost noticeable.
Iterate if needed before finalizing.
💡 Tips:
Wear during 2-3 short sessions. Trim minor bulges or add thin extra foam if gaps appear. Condition leather straps with oil.
Success: Strap feels broken-in, custom perfection achieved.
Patience here maximizes comfort.
💡 Tips:
Problem: Padding shifts during play
Solution: Add quilted stitching grid or extra perimeter seams. Use tacky glue dots internally.
Problem: Strap too bulky near neck
Solution: Taper padding ends gradually; trim foam thinner there.
Problem: Sewing needle breaks
Solution: Switch to leather needles; punch holes first with awl.
Problem: Uneven comfort
Solution: Re-measure shoulder curve; use contoured foam.
Perfect non-slip, sweat-resistant padding that compresses comfortably without flattening.
Best for: Cut to size for shoulder pad on any strap width.
Price Range: $15-$20
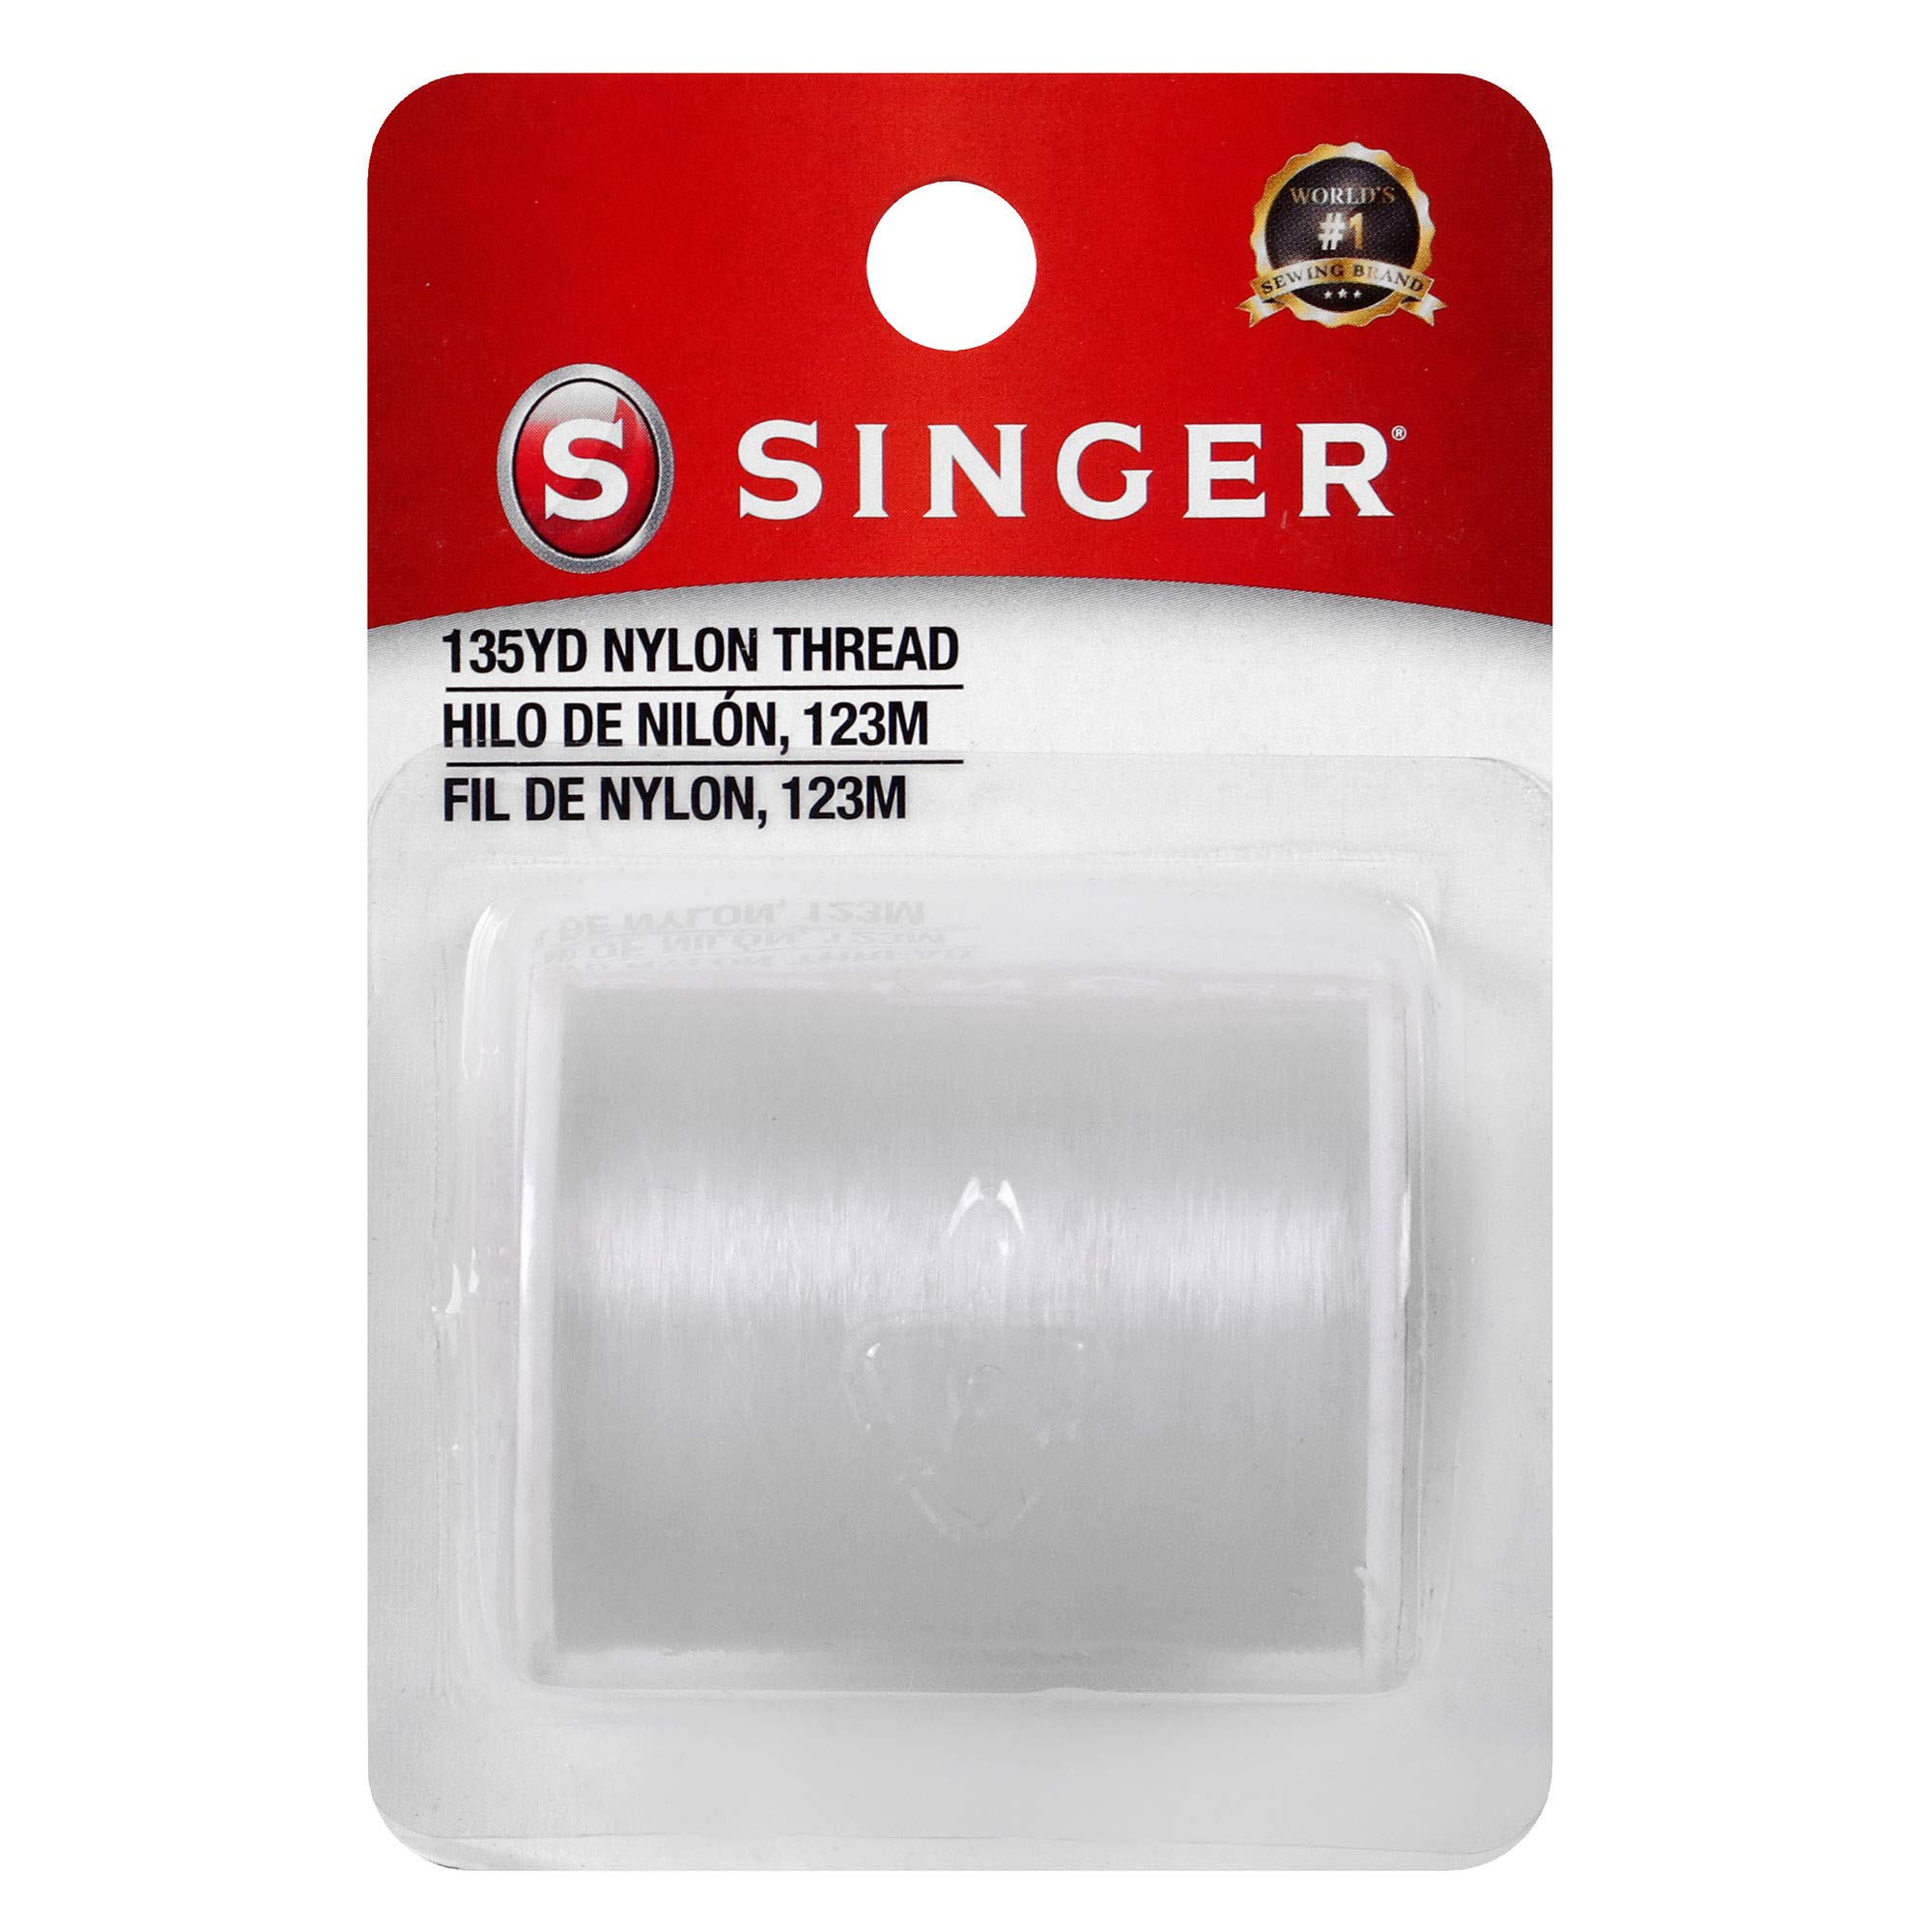
Ultra-strong, won't snap on leather or foam; weather-resistant for gig use.
Best for: Sewing all attachments securely.
Price Range: $5-$8
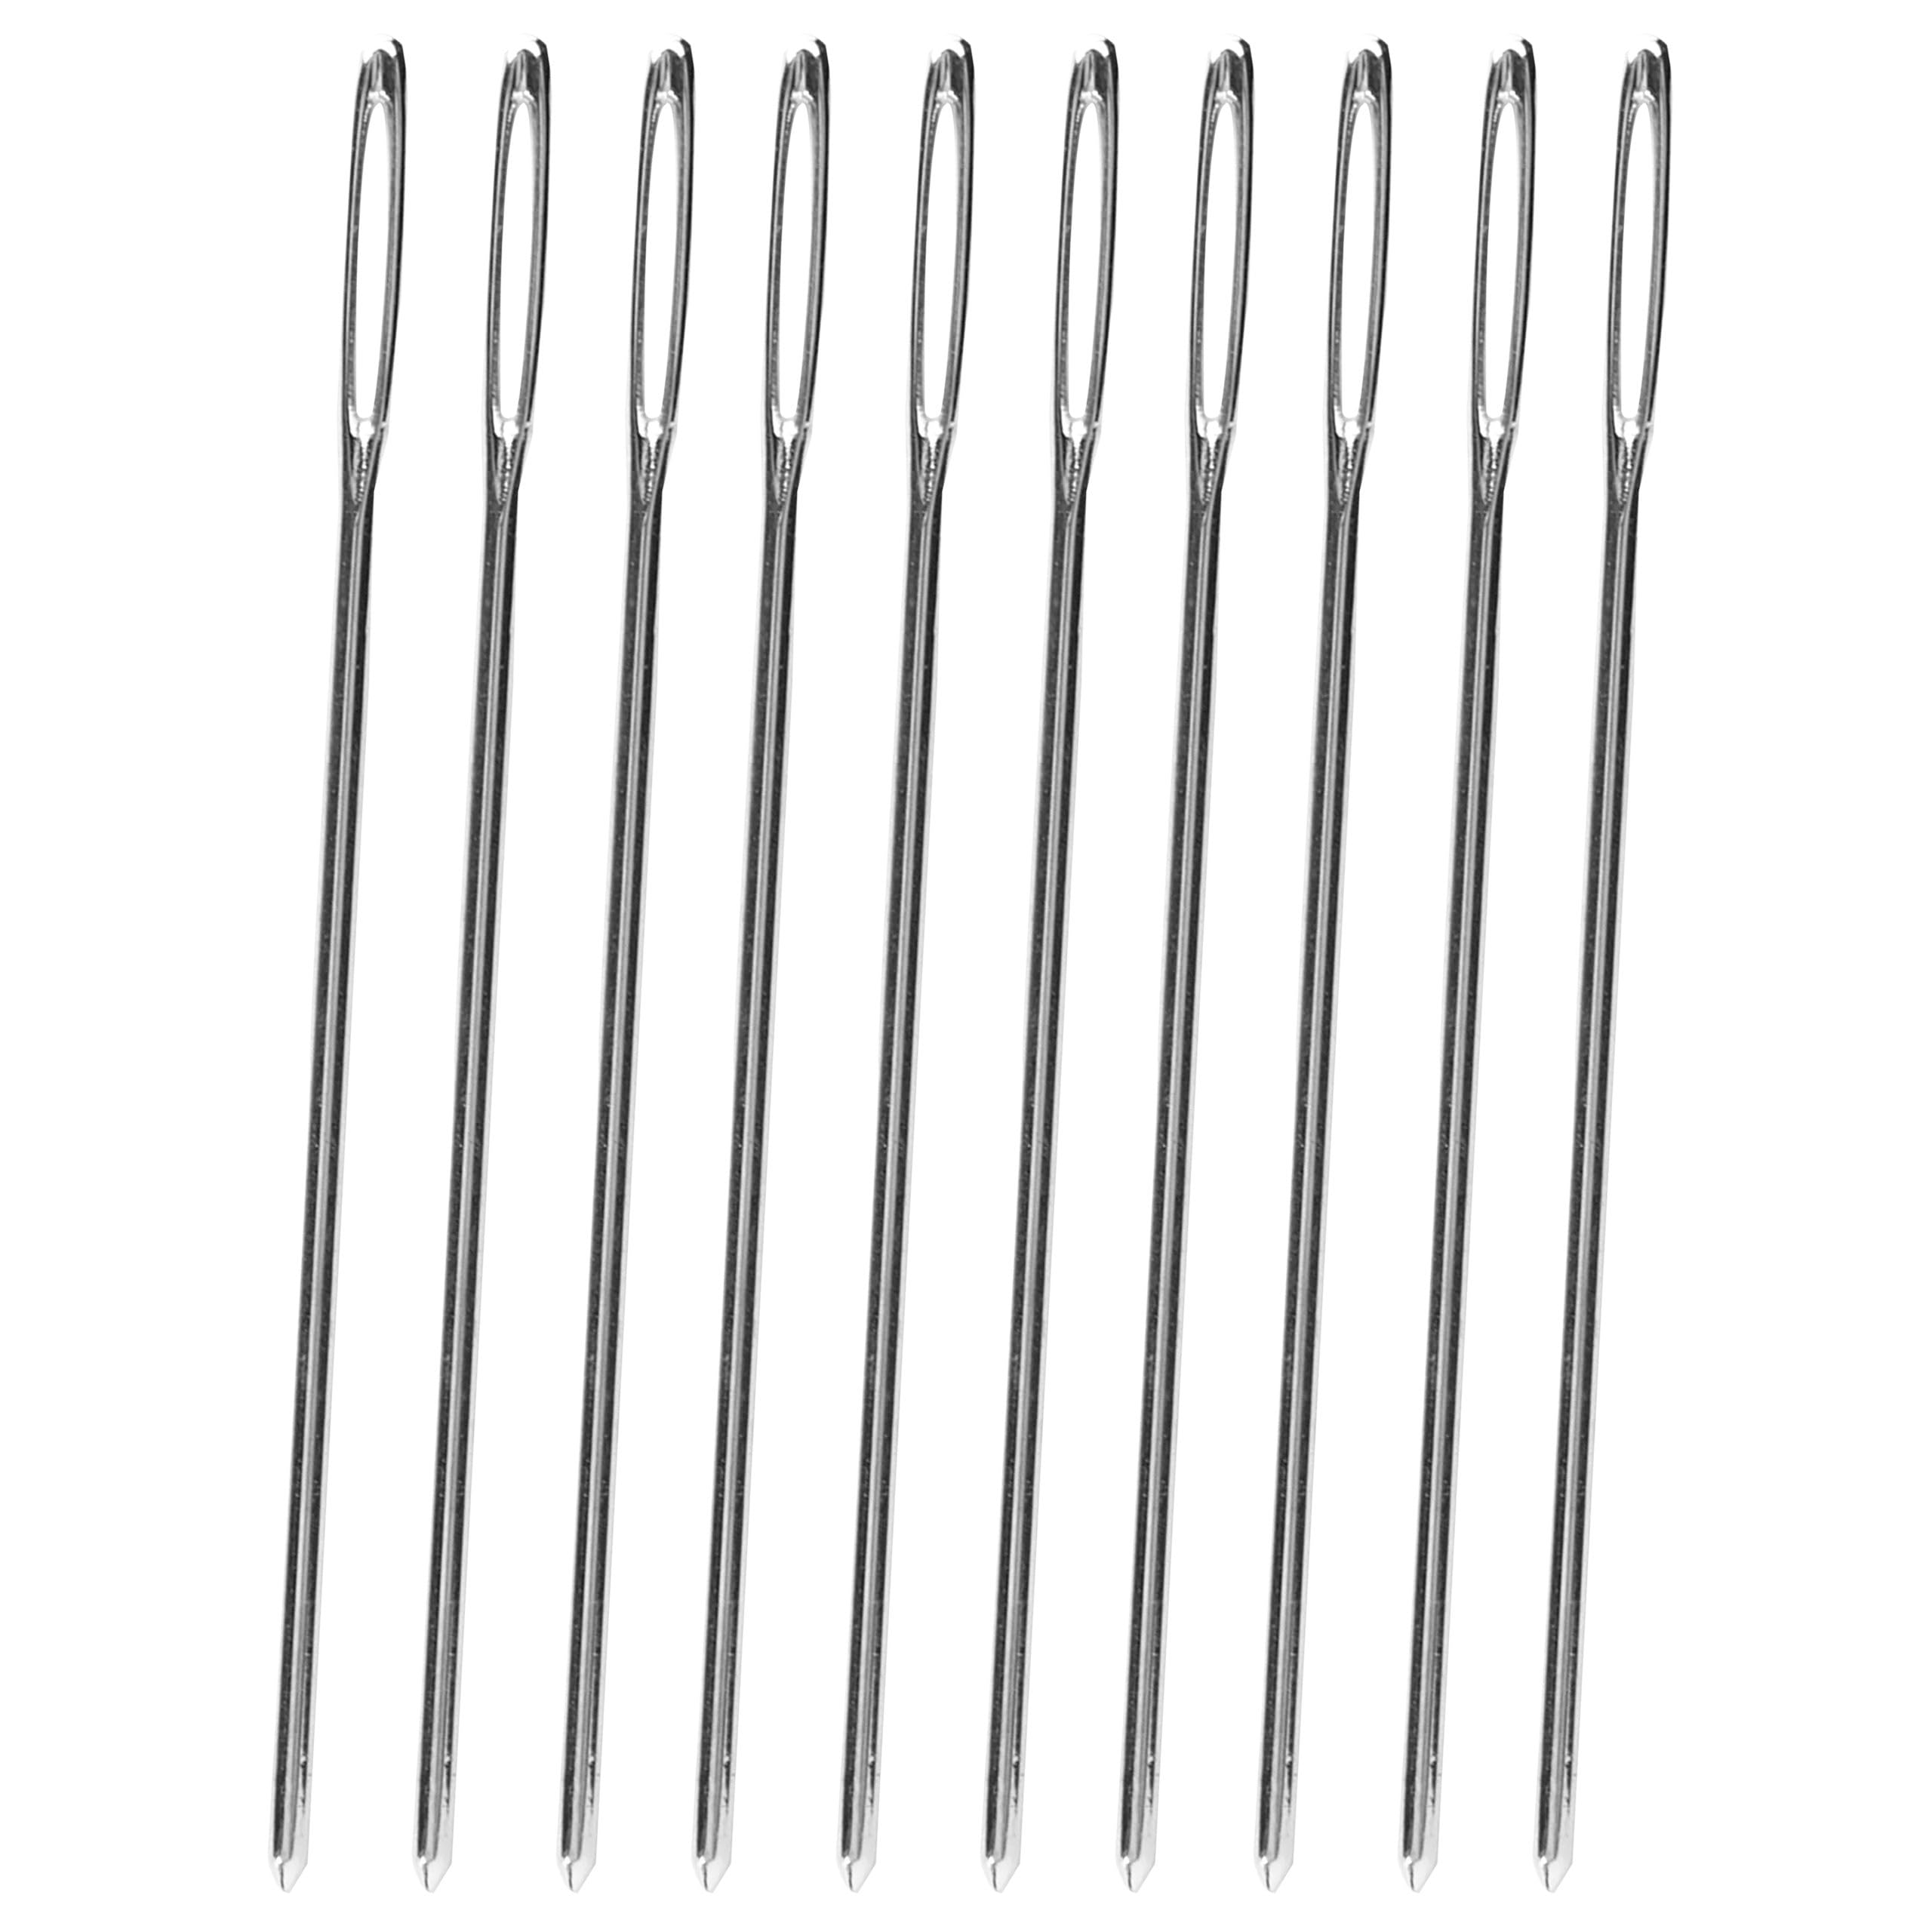
Triangular shape pierces thick materials easily without bending.
Best for: Hand-stitching padding to leather/nylon straps.
Price Range: $6-$10
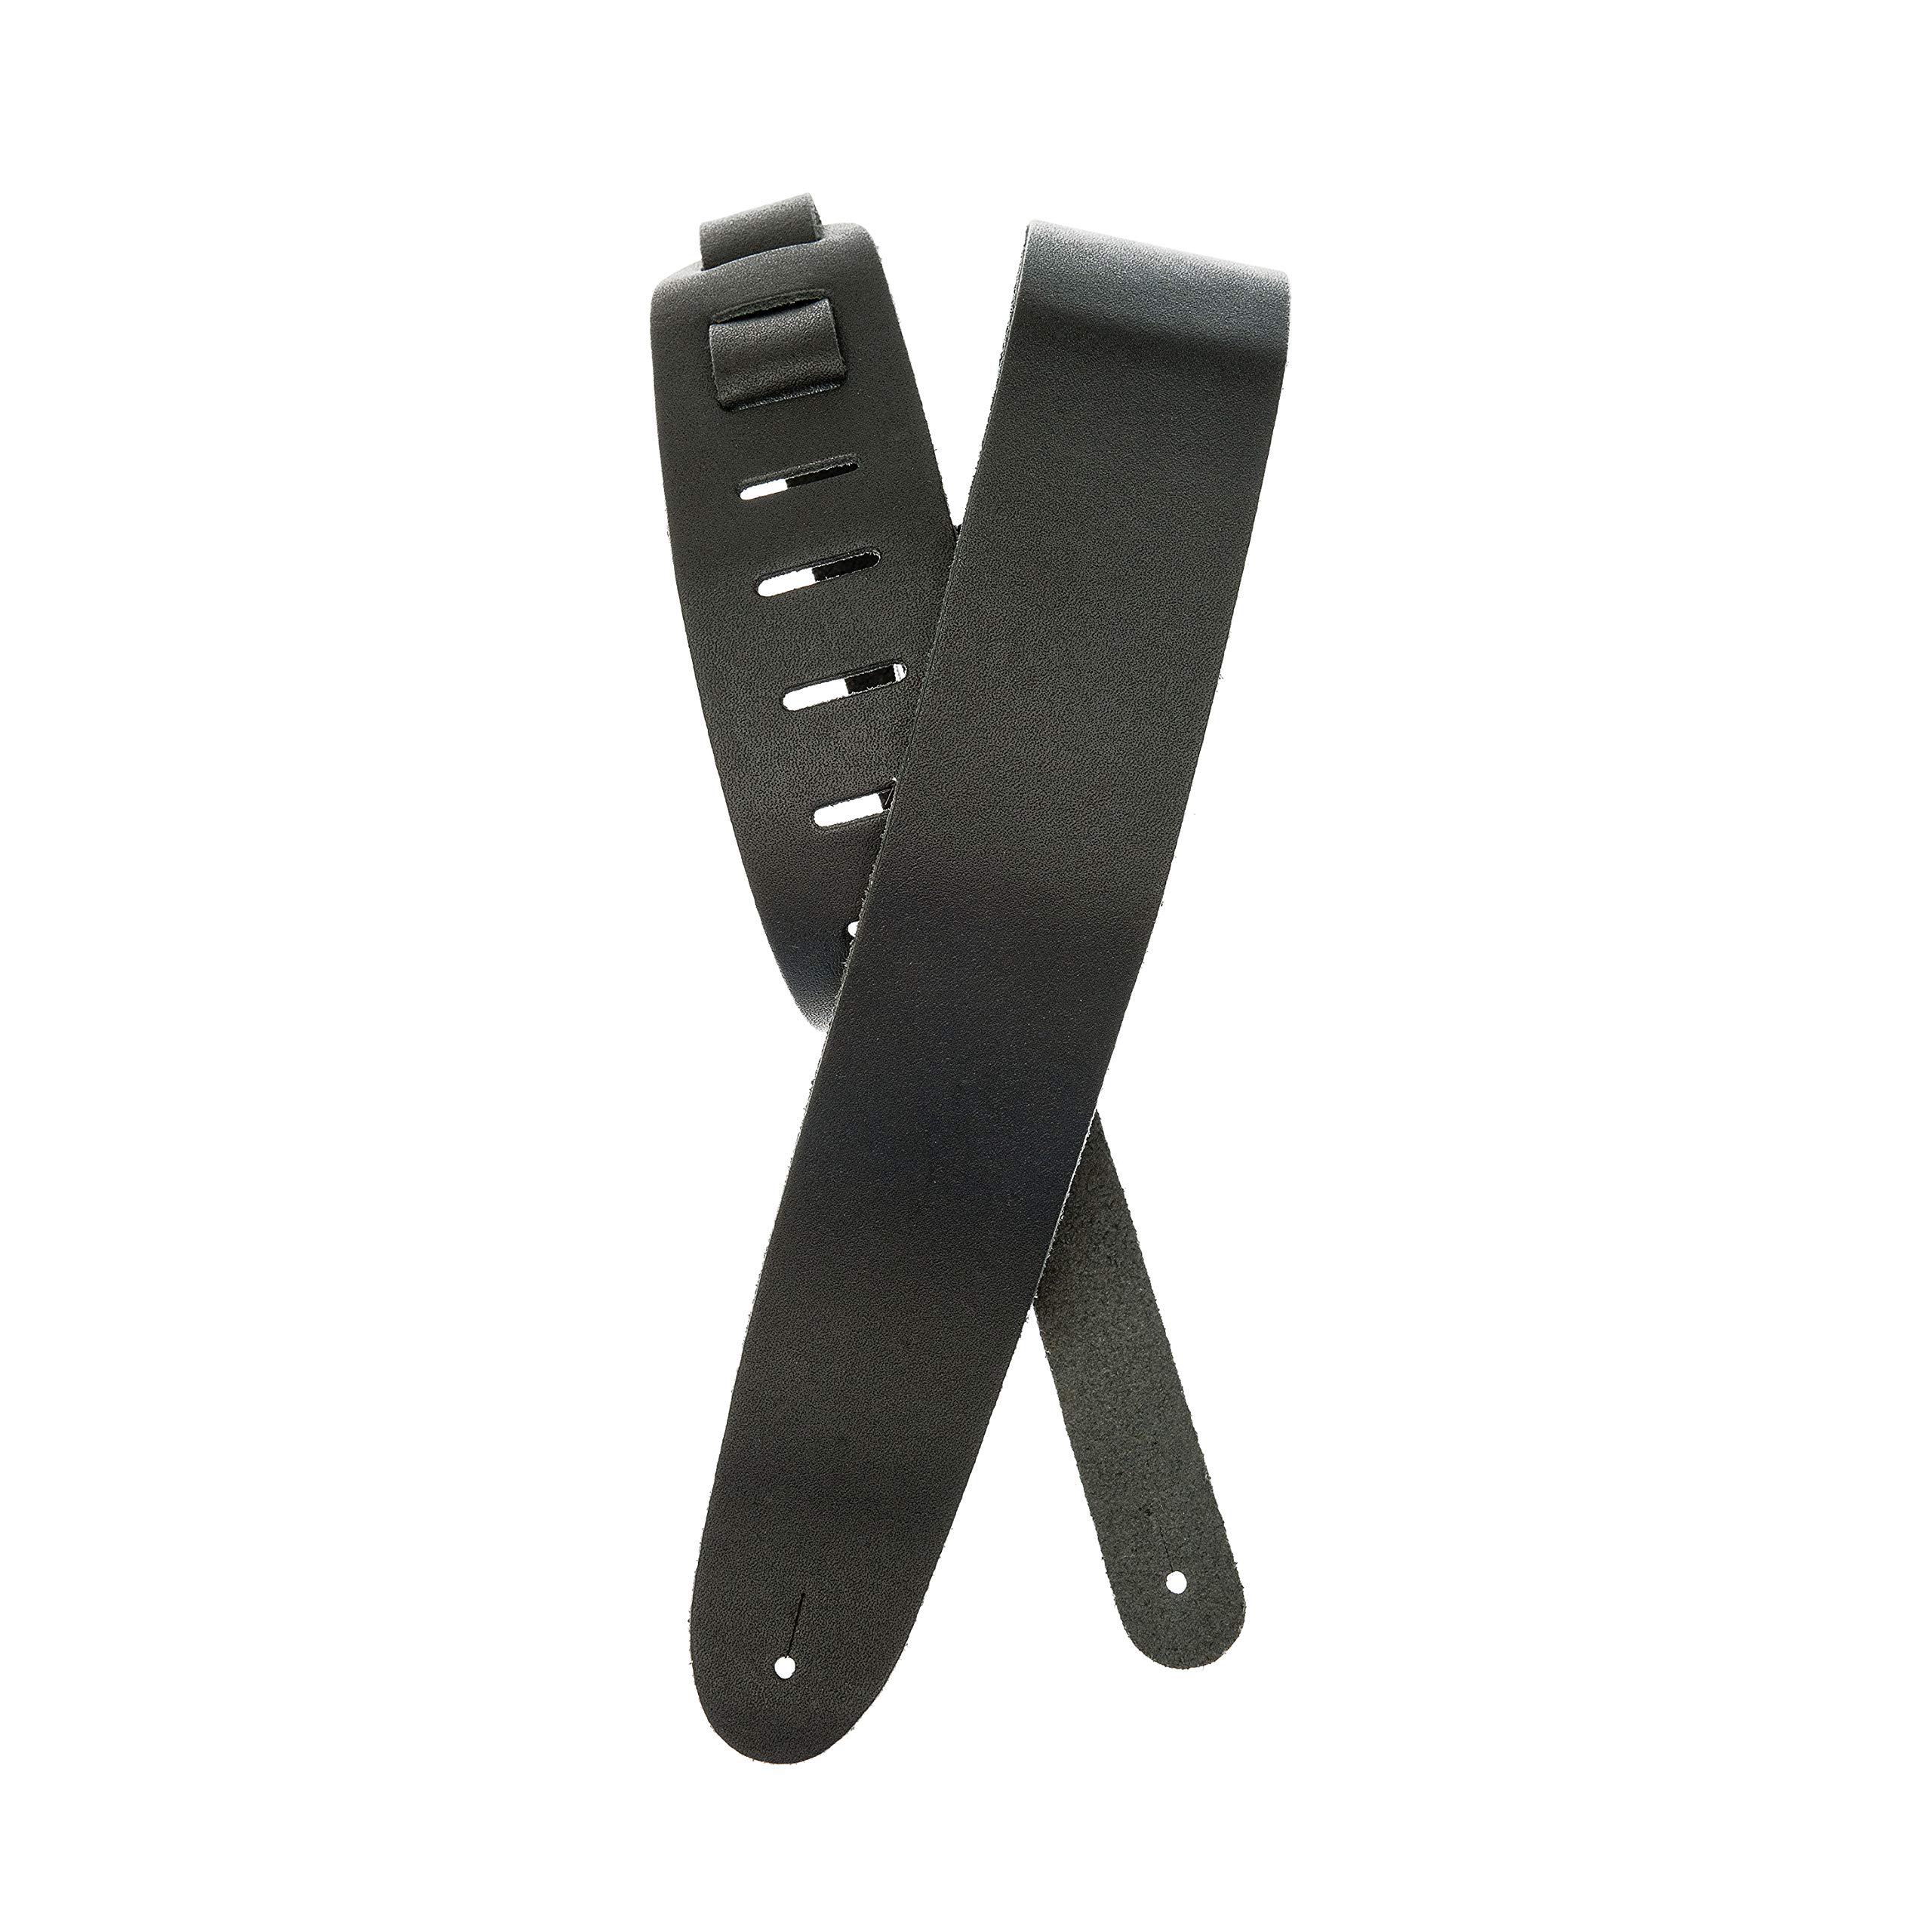
Durable, wide design ideal for padding mods; holds up to heavy acoustics.
Best for: Starting point if buying new.
Price Range: $20-$25
No-sew option; flexible dry that won't crack on flexing straps.
Best for: Quick bonding for beginners avoiding sewing.
Price Range: $8-$12
Cut to size for shoulder pad on any strap width.
Rubber-Cal Neoprene Sponge Rubber Sheet 1/8" Thick Perfect non-slip, sweat-resistant padding that compresses comfortably without flattening.
Sewing all attachments securely.
Singer Heavy Duty Nylon Thread Ultra-strong, won't snap on leather or foam; weather-resistant for gig use.
Hand-stitching padding to leather/nylon straps.
Tandy Leather Saddler's Harness Needles Triangular shape pierces thick materials easily without bending.
Starting point if buying new.
D'Addario Leather Guitar Strap (Black) as base Durable, wide design ideal for padding mods; holds up to heavy acoustics.

Quick bonding for beginners avoiding sewing.
Aleene's Fabric Fusion Permanent Adhesive No-sew option; flexible dry that won't crack on flexing straps.