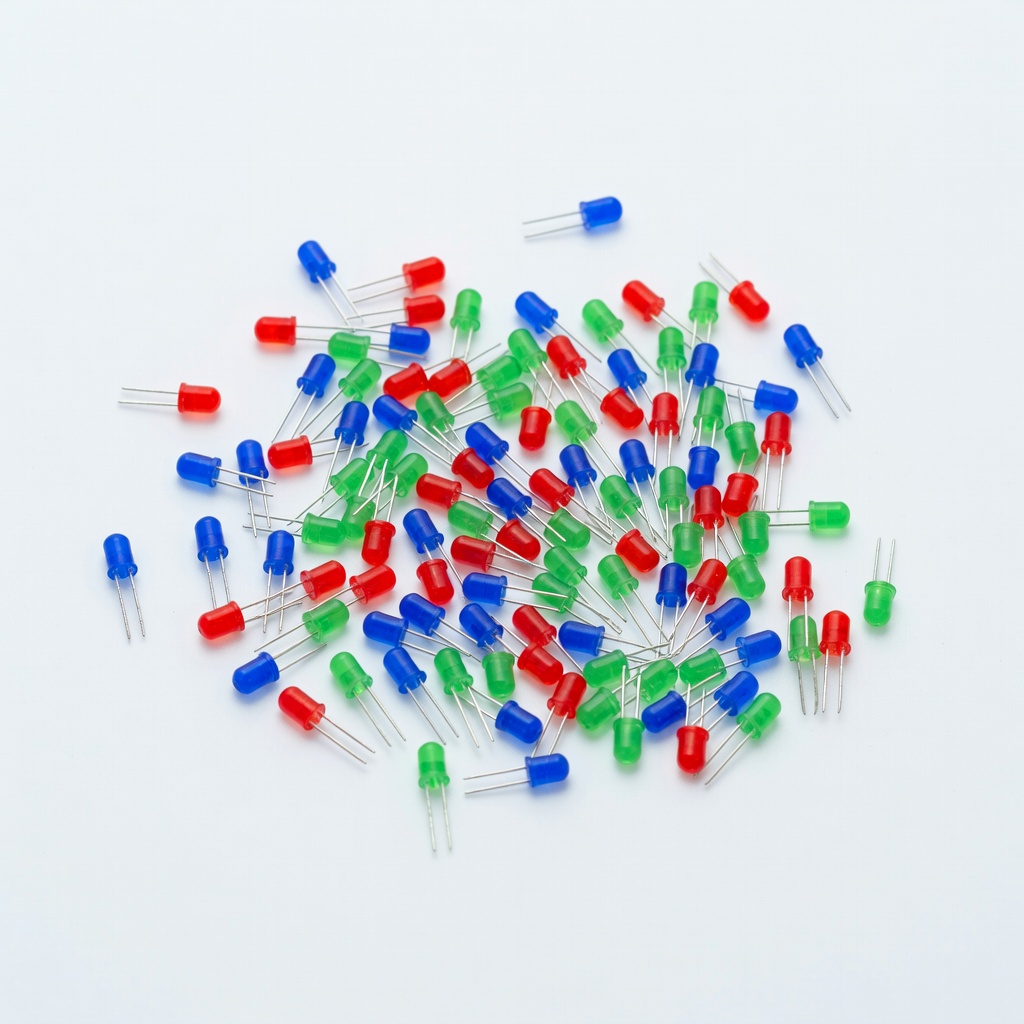
Chanzon 100pcs 3mm LEDs Assorted (Blue/Red/Green)
Core lighting elements in badges/wearables.
$9.99
Chanzon 100pcs 3mm LEDs Assorted (Blue/Red/Green) Perfect 3V-compatible LEDs with consistent brightness for matrix projects.
Get the App
Better experience on mobile
Master advanced techniques to design, program, and build personalized 3V LED circuits for wearables, badges, and IoT gadgets.
Tired of basic blinking LEDs? Customizing 3V LED projects unlocks endless creativity for low-power applications like wearables, keychains, or sensors—without bulky batteries or complex power supplies. At 3V, projects run efficiently on coin cells, perfect for portable, long-lasting builds.
In this advanced guide, you'll learn to go beyond simple circuits: integrate microcontrollers, add sensors, achieve PWM dimming, and multiplex LEDs for stunning effects. We'll walk through a complete customizable LED matrix badge as an example, adaptable to your ideas.
Expect 1-2 hours per project, assuming soldering proficiency and basic electronics knowledge. By the end, you'll have a unique, programmable 3V LED creation ready to impress.
Estimated Time: 1-2 hours Difficulty: advanced
Sketch your project layout on paper or in software like Fritzing. For our example, design an 8-LED matrix badge (e.g., 4x2 grid) with patterns like chasing lights or heart beats. Decide on effects: simple blink, PWM fade, or sensor-triggered (e.g., tilt to change mode).
Calculate power: Each 3V LED draws ~10-20mA; limit total to 50mA for CR2032 longevity (100+ hours). Use multiplexing for >5 LEDs to avoid high current draw. Why? Prevents battery drain and heat in compact builds.
Success: A blueprint showing pinouts, with ATTiny85 pins assigned (e.g., PB0-PB5 for LEDs, PB3 for sensor).
💡 Tips:
⚠️ Warnings:
Verify LEDs light at 3V with a coin cell (no resistor needed for 3V LEDs). Test ATTiny85 with a blink sketch via Arduino IDE (install Digispark or ATTinyCore board package).
Measure forward voltage (Vf ~2.8-3.2V) and current with multimeter. For multiplexing, ensure LEDs share columns/rows correctly.
Success: All LEDs blink individually; microcontroller uploads basic code.
💡 Tips:
Wire your schematic: Connect LEDs in matrix (anodes to rows, cathodes to columns via ATTiny pins). Add 220Ω resistors if not true 3V LEDs. Power via CR2032 holder.
Why prototype? Catches wiring errors before soldering. Upload code for patterns (use bit-banging for multiplexing).
Success: Smooth animations on breadboard without shorts.
⚠️ Warnings:
Transfer to perfboard: Cut traces for isolation, solder LEDs flat for thin profile. Use Manhattan-style wiring (insulated wire over pads) for density.
Solder ATTiny85 (SOIC-8 package for small size). Bridge columns/rows precisely. Trim leads short.
Success: Compact board <2cm², all connections firm, no bridges.
💡 Tips:
In Arduino IDE, write code: Multiplex loop with delays, PWM via analogWrite (ATTiny supports on PB1/PB3). Add modes: e.g., millis()-based fades, interrupt for sensor.
Compile for ATTiny85 (8MHz internal clock). Program via ISP (USBasp).
Success: Multiple patterns cycle; low power (<5mA average).
💡 Tips:
⚠️ Warnings:
Power on: Check current draw (<30mA peak), patterns, battery life. Use multimeter for shorts/voltage drops.
Tweak code/timing for smoothness. Add decoupling cap (0.1uF) if flickering.
Success: Stable 24+ hour runtime, vibrant effects.
Diffuse with frosted acrylic or resin. Mount in 3D-printed case or badge holder. Secure battery.
Why? Protects components, enhances aesthetics.
Success: Wearable, durable project ready for use.
💡 Tips:
Problem: LEDs flicker or dim quickly
Solution: Check multiplexing speed and current; add larger battery or capacitor. Verify code delays.
Problem: ATTiny won't program
Solution: Confirm ISP wiring (MISO/MOSI/SCK/RESET/GND/VCC); try slower programmer speed.
Problem: Uneven brightness
Solution: Match LED Vf; use PWM calibration in code for each channel.
Problem: Short battery life
Solution: Implement sleep modes; measure idle current (<1uA goal).
Perfect 3V-compatible LEDs with consistent brightness for matrix projects.
Best for: Core lighting elements in badges/wearables.
Price Range: $9.99
Tiny, programmable brain for 3V projects with PWM and low power.
Best for: Custom animations and sensor integration.
Price Range: $9.99
Accurate voltage/current testing essential for debugging 3V circuits.
Best for: Prototyping and troubleshooting draw.
Price Range: $12.99
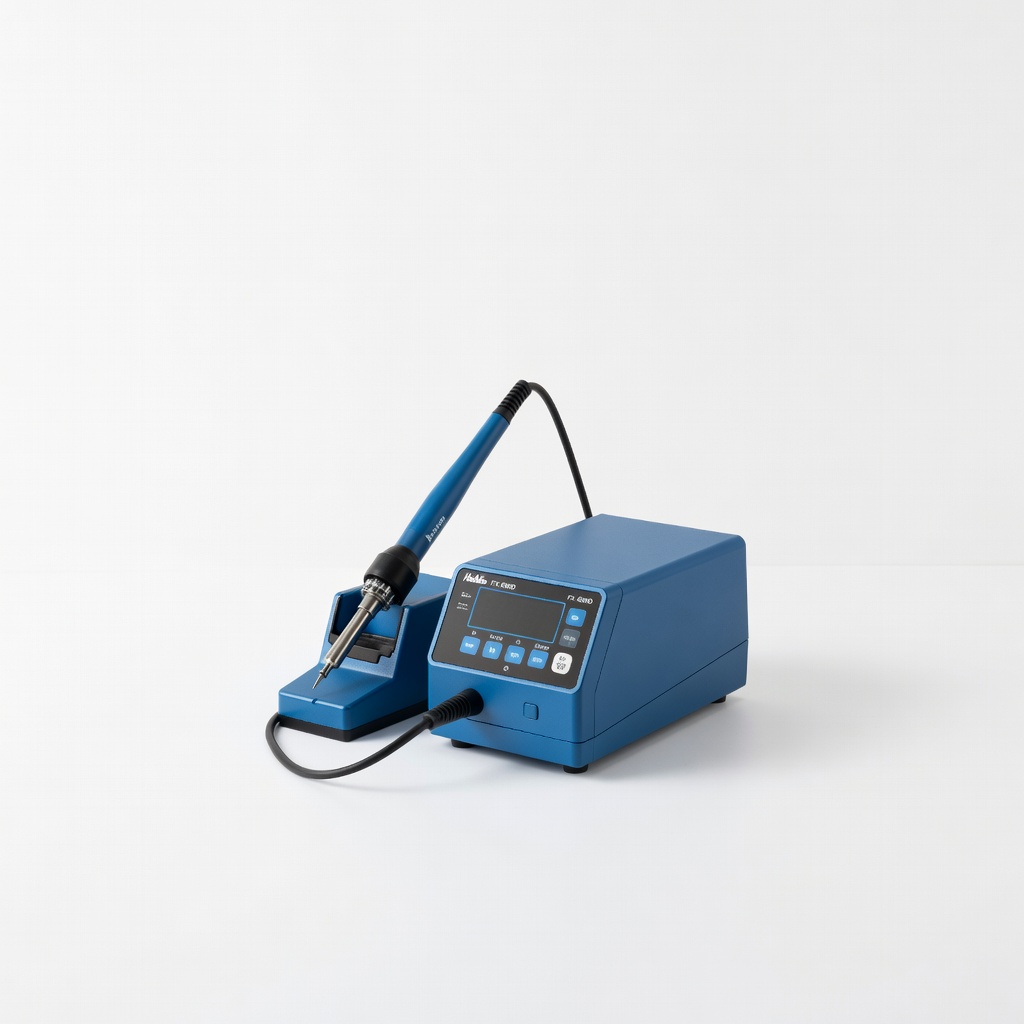
Precision temp control for fine-tip work on SMD/through-hole LEDs.
Best for: Permanent assembly of compact boards.
Price Range: $99.99
Reliable 3V power for prototypes and finals.
Best for: Portable project powering.
Price Range: $6.99
Core lighting elements in badges/wearables.
Chanzon 100pcs 3mm LEDs Assorted (Blue/Red/Green) Perfect 3V-compatible LEDs with consistent brightness for matrix projects.
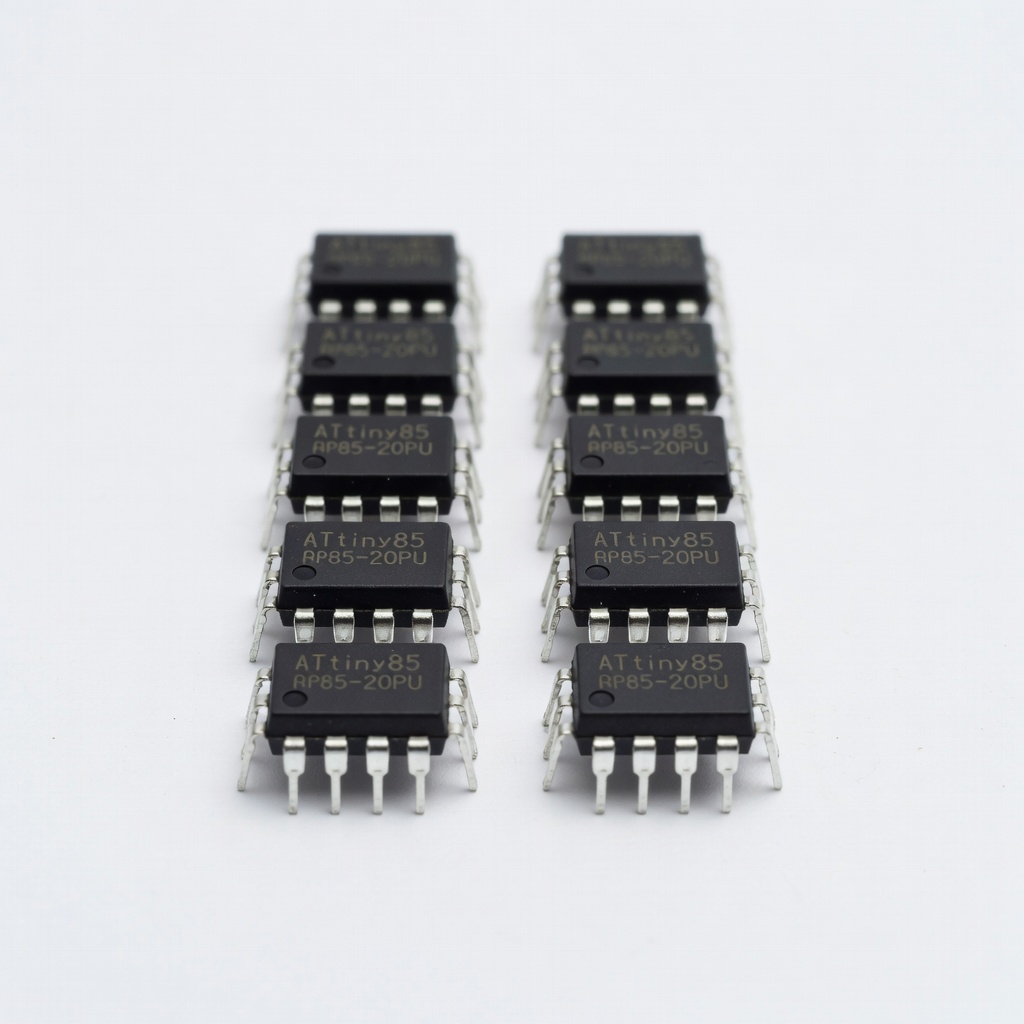
Custom animations and sensor integration.
ATtiny85-20PU Microcontroller (10pcs) Tiny, programmable brain for 3V projects with PWM and low power.

Prototyping and troubleshooting draw.
AstroAI Digital Multimeter TRMS 6000 Counts Accurate voltage/current testing essential for debugging 3V circuits.
Permanent assembly of compact boards.
Hakko FX-888D Digital Soldering Station Precision temp control for fine-tip work on SMD/through-hole LEDs.
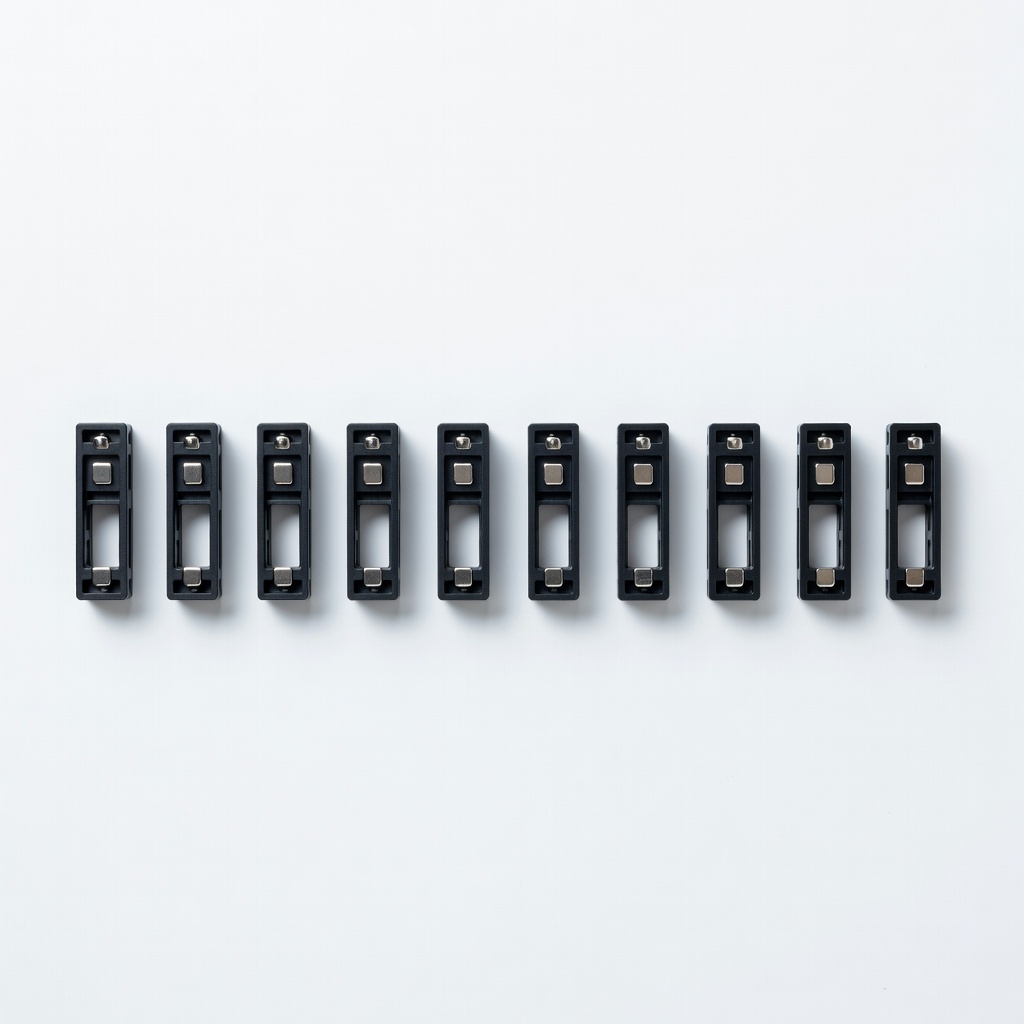
Portable project powering.
10x CR2032 Battery Holders (Vertical) Reliable 3V power for prototypes and finals.