
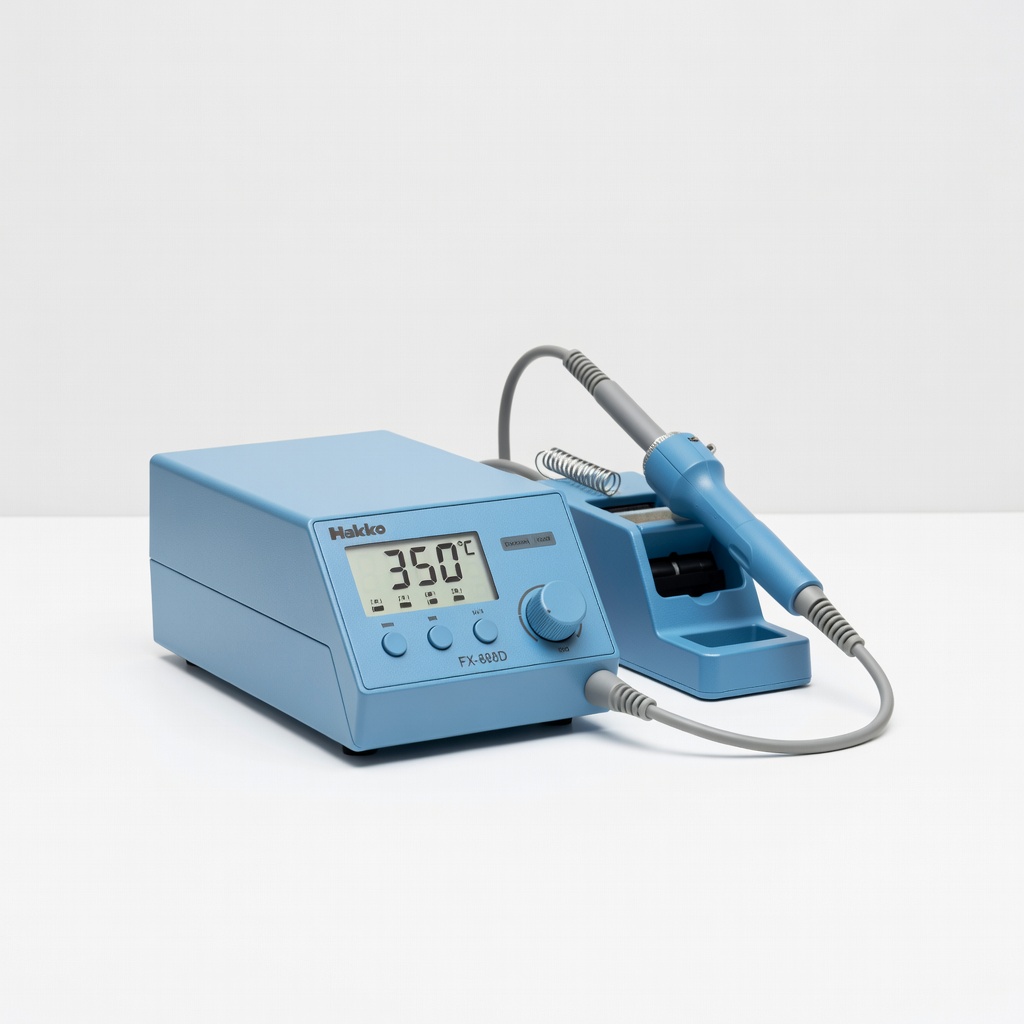
Hakko FX-888D-23BY Digital Soldering Station
All soldering/desoldering steps.
$99.99
Hakko FX-888D-23BY Digital Soldering Station Temperature-controlled precision essential for tiny 3DO pads without lifting traces.
Get the App
Better experience on mobile
Master the advanced mod to output crisp HDMI from your vintage 3DO FZ-1 for stunning HD gameplay on modern TVs.
The Panasonic 3DO FZ-1 (and similar models like Goldstar) delivers legendary games like Road Rash and The Need for Speed, but its native composite/S-Video output looks blurry on HDTVs. Customizing your 3DO for HDMI unlocks sharp, low-latency video with proper scaling—perfect for advanced retro enthusiasts chasing authenticity.
In this guide, you'll learn to install an internal HDMI mod board (like the Micronik or community FPGA boards), involving precise soldering. Expect 3-5 hours of work, assuming soldering proficiency. Success means plug-and-play HDMI with scanline options and no external boxes cluttering your setup.
We'll cover disassembly, soldering, testing, and pro tips to avoid bricking your rare console.
Estimated Time: 3-5 hours (plus drying/cooling time) Difficulty: advanced
Clear a well-lit, static-free area with good ventilation. Lay out all tools and inspect your 3DO for damage—cracked boards mean stop and repair first.
Why it matters: Soldering releases fumes; poor setup risks shorts or lost screws. Plug in your soldering station to 350°C (662°F) for desoldering, 300°C for fine work.
Success: Organized bench, console powered off/unplugged, ESD protection on.
💡 Tips:
⚠️ Warnings:
Remove the six Phillips screws on the bottom, then carefully pry open the case halves using a plastic spudger. Disconnect ribbon cables gently—note orientations.
Lift out the mainboard, CD drive, and power supply. Locate the AV output section near the rear ports (video DAC chip U24-U27 area).
Expect: 20-30 minutes; loose RF shield may pop off. Success: Fully exposed mainboard without bent pins.
💡 Tips:
⚠️ Warnings:
Consult your mod board manual (e.g., Micronik pinout). Key points: RGB signals from DAC (pins on CXD6001Q chip), H/V sync, GND/5V.
Use multimeter in continuity mode to confirm signals—no beeps on power lines yet.
Clean pads with isopropyl alcohol. Apply flux. Success: Labeled points, clean shiny pads.
💡 Tips:
⚠️ Warnings:
Flood composite/S-Video pads with solder + flux, wick away with braid. Clip/lift old AV jacks if board requires.
For RGB bypass: Bridge or remove resistors R45-R50 per guide.
Why: Clears space for mod. Expect smoke—ventilate. Success: Empty pads, no bridges (check multimeter).
💡 Tips:
⚠️ Warnings:
Position HDMI board over prep'd area (use standoffs/hot glue for stability). Solder power/GND first (5V from nearby cap), then signals (RGBHV).
Tin wires if extending. Flow solder evenly—shiny joints.
Test continuity to mod board pins. Success: Secure board, all 15+ joints perfect.
💡 Tips:
⚠️ Warnings:
Drill/mount HDMI panel port on case rear (3.5cm hole). Route cable internally, secure with zip ties.
Connect mod board output. Add heat shrink to exposed wires.
Success: Tidy internals, HDMI cable strain-relieved.
💡 Tips:
Reconnect power/CD, boot outside case. Plug HDMI to TV—expect menu with 240p/480i scaled to 1080p.
Adjust board OSD (brightness/scanlines). Play a game disc.
Success: Sharp video, no artifacts, sound intact.
💡 Tips:
⚠️ Warnings:
Reinstall components, close case, add tamper-evident stickers if desired. Play full session.
Backup saves if using Goldstar with memcard.
Success: Seamless HDMI gaming like 2024 native.
💡 Tips:
Problem: No HDMI signal
Solution: Check power to mod board (5V continuity), reflow cold joints, verify RGB order (usually CrCbY).
Problem: Colored bars or flicker
Solution: Swap H/V sync wires, adjust board PLL settings via buttons.
Problem: No sound
Solution: Audio bypasses video mod—check stock audio path capacitors.
Problem: Overheating
Solution: Add heatsink to FPGA, ensure case vents clear; limit sessions.
Problem: Boot failure post-mod
Solution: Reinstall stock AV temporarily; inspect for solder bridges.
Temperature-controlled precision essential for tiny 3DO pads without lifting traces.
Best for: All soldering/desoldering steps.
Price Range: $99.99
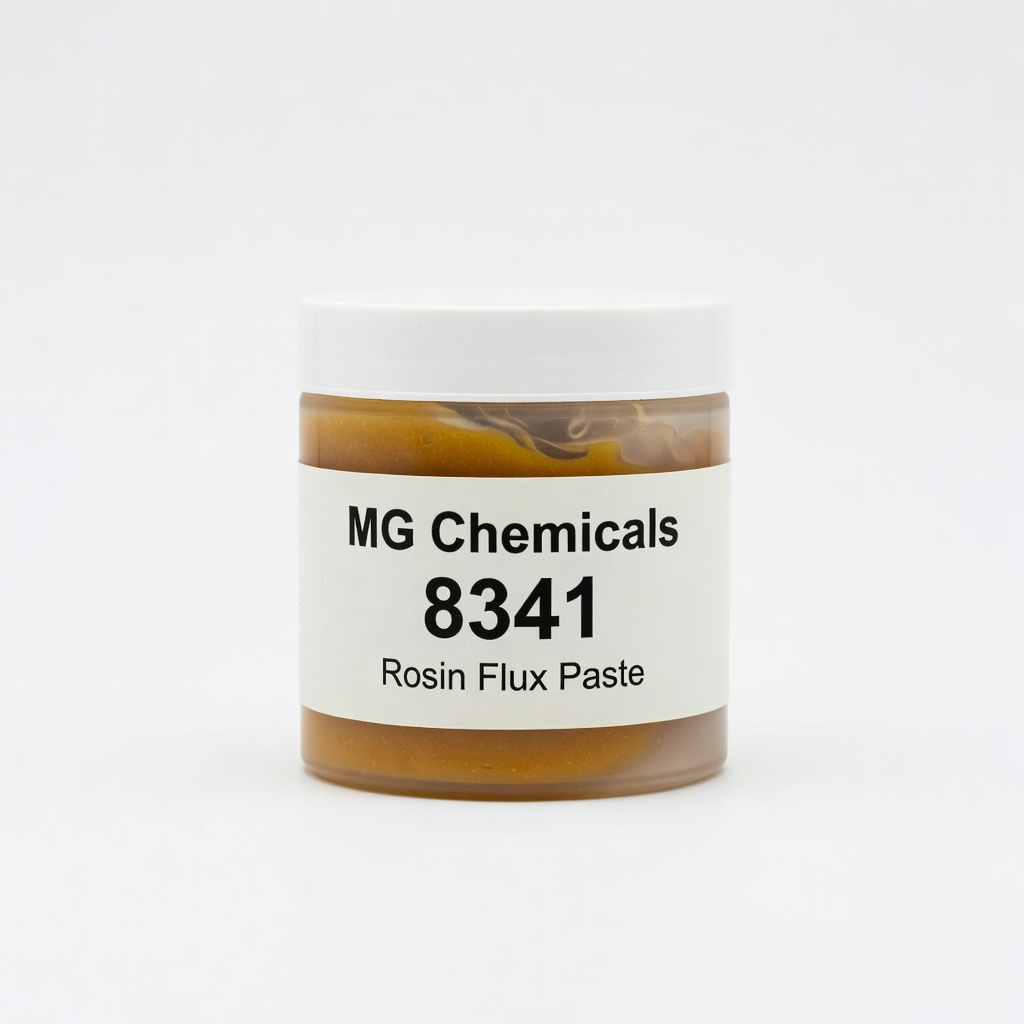
No-clean formula prevents oxidation for reliable, shiny joints on retro boards.
Best for: Prep and soldering every connection.
Price Range: $12.99
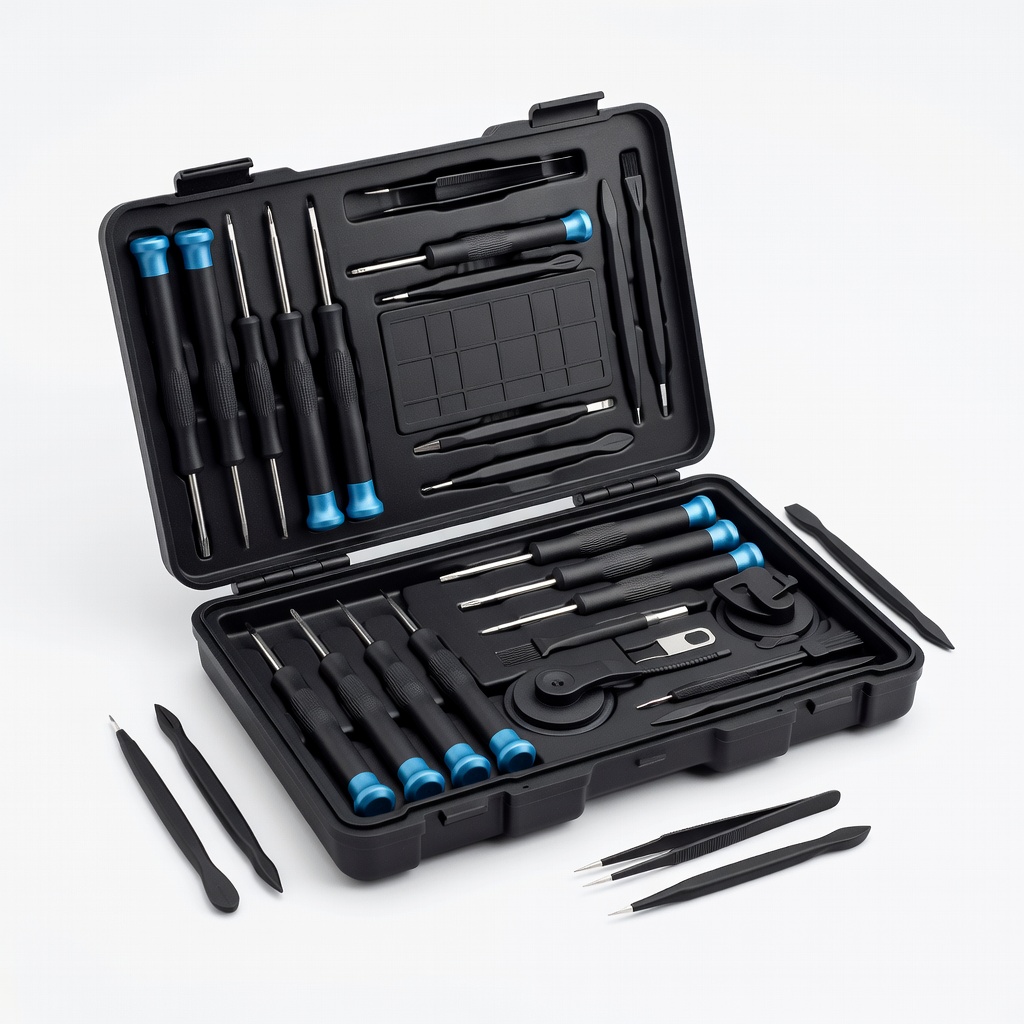
Complete precision drivers/spudgers prevent case damage during disassembly.
Best for: Safe opening and screw management.
Price Range: $74.95
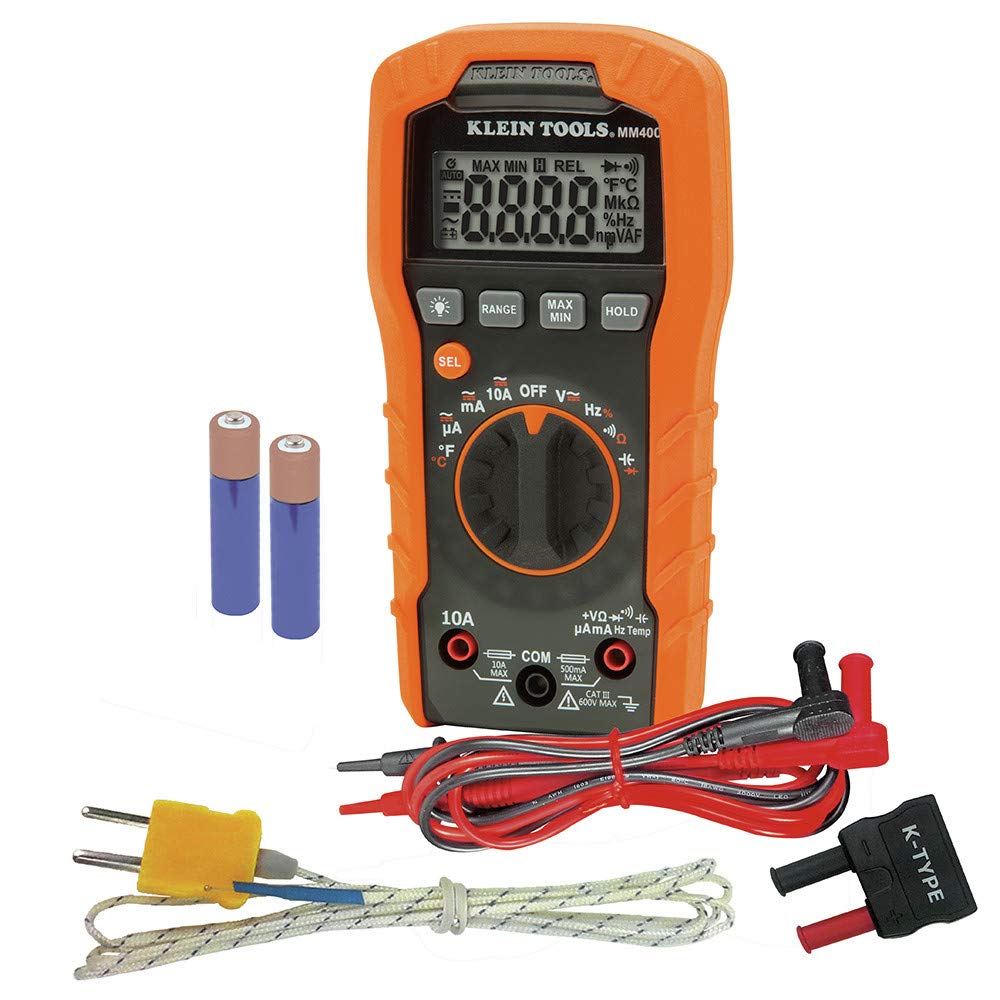
Accurate continuity/voltage checks prevent shorts on live signals.
Best for: Pre/post solder verification.
Price Range: $29.97
External alternative if internal mod too risky—handles 3DO RGB perfectly.
Best for: Non-permanent HDMI upgrade post-RGB mod.
Price Range: $99.99
All soldering/desoldering steps.
Hakko FX-888D-23BY Digital Soldering Station Temperature-controlled precision essential for tiny 3DO pads without lifting traces.
Prep and soldering every connection.
MG Chemicals 8341 Rosin Flux Paste No-clean formula prevents oxidation for reliable, shiny joints on retro boards.
Safe opening and screw management.
iFixit Pro Tech Toolkit Complete precision drivers/spudgers prevent case damage during disassembly.
Pre/post solder verification.
Klein Tools MM400 Digital Multimeter Accurate continuity/voltage checks prevent shorts on live signals.
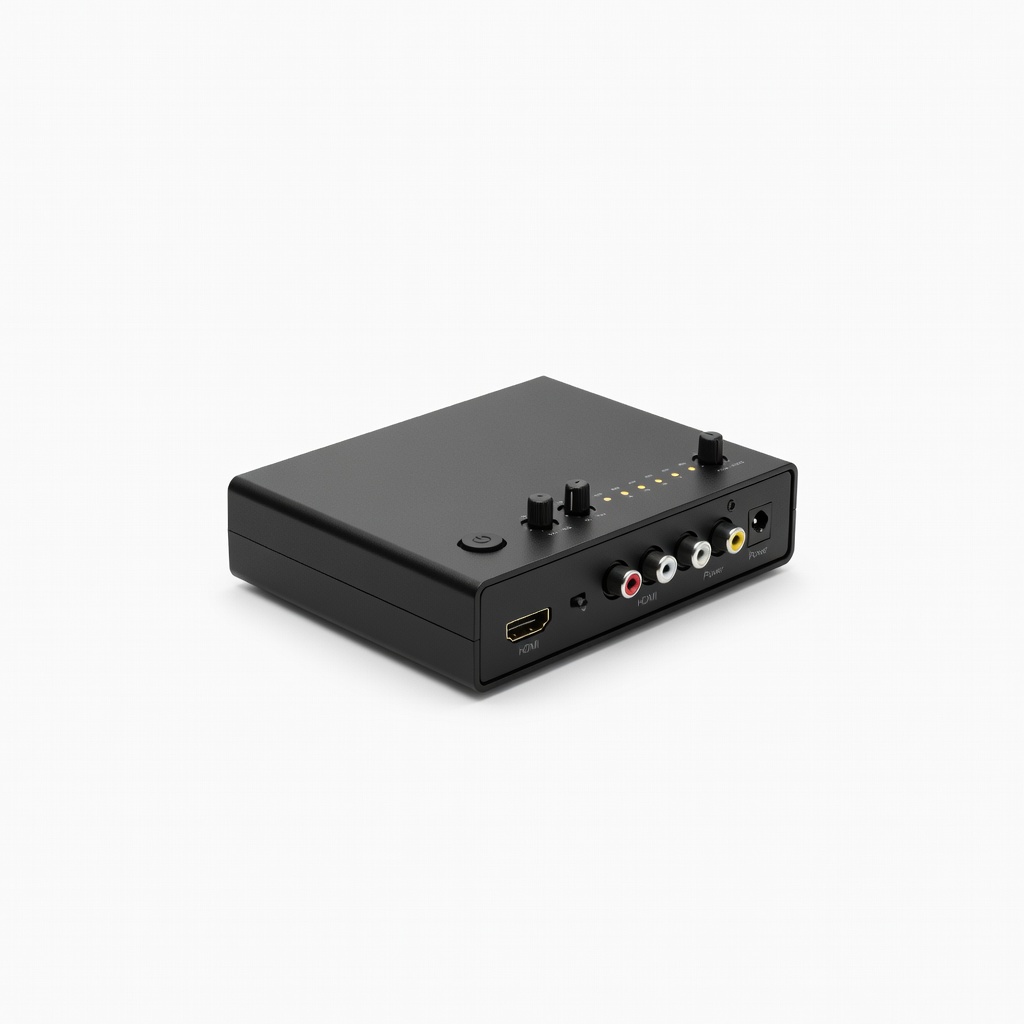
Non-permanent HDMI upgrade post-RGB mod.
Analogue RetroTINK 2X HDMI Upscaler External alternative if internal mod too risky—handles 3DO RGB perfectly.