
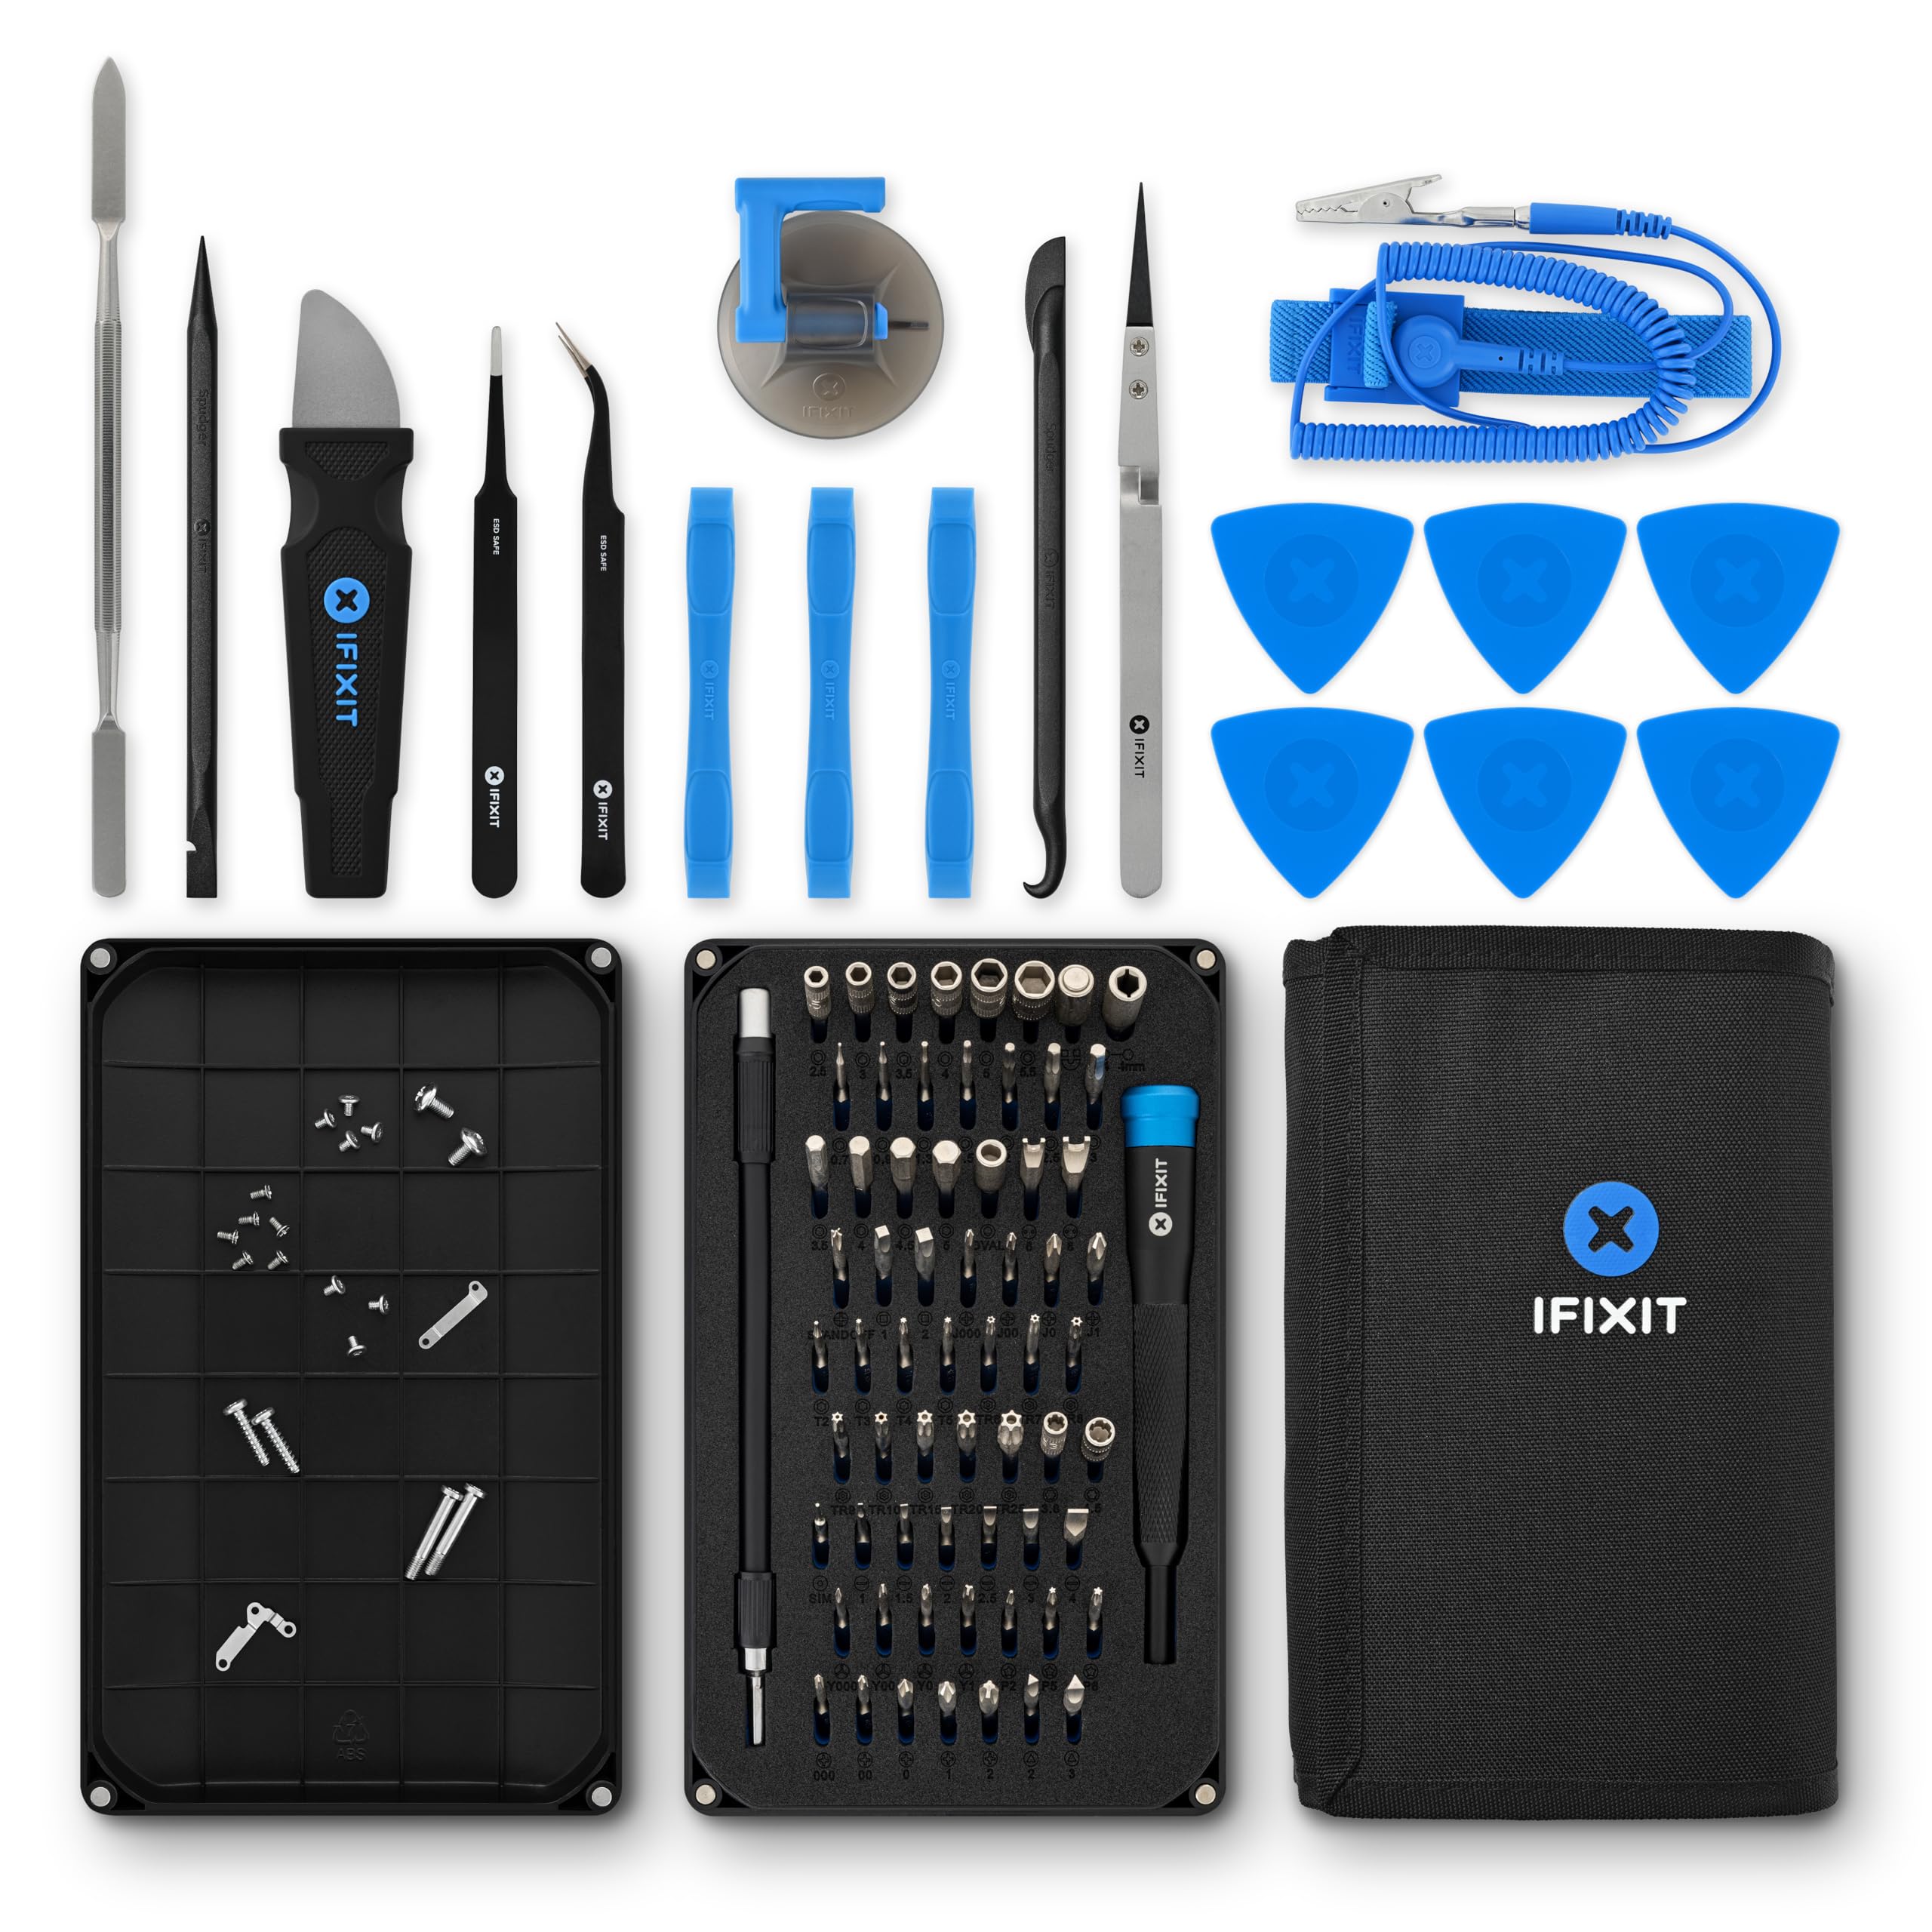
iFixit Pro Tech Toolkit
Disassembly/reassembly of vintage consoles.
$74.99
iFixit Pro Tech Toolkit Essential precision drivers (T8/T10) prevent shell damage on brittle 3DO plastic.
Get the App
Better experience on mobile
Master advanced mods like LED lighting, RGB video upgrade, and shell refresh to modernize your rare 3DO for flawless retro gaming.
The 3DO Interactive Multiplayer is a collector's gem from the '90s, but its bulky design, fuzzy AV output, and dated internals hold it back from modern setups. Customizing your 3DO solves these pain points, turning it into a sleek, high-performance beast with vibrant visuals and custom flair.
In this advanced guide, you'll learn step-by-step disassembly, cleaning, LED installation, a simple RGB video mod, and reassembly. Expect to transform a yellowed stock unit into a RGB-lit showpiece compatible with SCART or upscalers like OSSC.
This process takes 2-4 hours depending on your soldering speed. It's for experienced modders comfortable with fine-pitch soldering and static precautions—no prior 3DO experience needed, but electronics knowledge is key.
Estimated Time: 2-4 hours Difficulty: advanced
Set up a clean, well-lit, anti-static workspace. Wear an anti-static wrist strap connected to ground. Back up any saves if your 3DO has a memory add-on.
Power off and unplug the console. Remove all labels carefully with a heat gun or Goo Gone to avoid residue. Document screw locations with photos—this prevents mix-ups later.
Success looks like: Console fully powered down, workspace ESD-safe, high-res photos of exterior and underside taken.
💡 Tips:
⚠️ Warnings:
Flip the 3DO upside down. Remove the 10-12 Torx T10 screws around the perimeter and under rubber feet. Gently pry the shell halves apart using a plastic spudger—start at the rear ports.
Lift the top shell, disconnecting any ribbon cables to the drive lid. Set aside the mainboard, PSU, and CD drive.
Success looks like: Halves separated without cracked plastic, all cables intact and labeled.
💡 Tips:
⚠️ Warnings:
Spray isopropyl alcohol on a microfiber cloth (never directly on boards). Wipe dust from mainboard, fans, heatsinks, and CD laser. Use compressed air for crevices.
Remove old thermal paste from CPU/heatsink with alcohol, reapply fresh paste if reinstalling.
Success looks like: Components gleaming, no residue, improved airflow visible.
💡 Tips:
⚠️ Warnings:
Locate the video DAC chip (near AV out). For advanced RGB mod: Solder thin wires to RGB pins (R=pin 45, G=pin 47, B=pin 49 on CXD6001Q chip—verify with multimeter).
Route wires to rear AV port or add SCART header. Desolder stock composite if desired for cleaner signal.
Success looks like: Wires soldered cleanly, continuity tested with multimeter (no shorts).
💡 Tips:
⚠️ Warnings:
Cut WS2812B strip to fit case edges (e.g., 4x 10cm segments). Solder data/power wires in series.
Tap 5V from PSU filter caps (measure stable rail). Use buck converter for current limit. Secure strips inside shell with adhesive, route wires through grommets.
Success looks like: LEDs test-lit via Arduino sketch (blinking pattern), no heat issues.
💡 Tips:
⚠️ Warnings:
Desolder old membrane buttons if mushy; replace with tactile switches or new membranes. Polish AV/ power ports with fine sandpaper and alcohol for crisp connections.
Optional: Swap shell for 3D-printed modern one (drill for USB ports).
Success looks like: Buttons click responsively, ports shine without burrs.
💡 Tips:
⚠️ Warnings:
Reconnect all ribbons/cables per photos. Snap shell halves, torque screws evenly.
Power on outside case first: Check LEDs, video output on modern TV/upscaler, CD spin-up.
Success looks like: Boots to menu with sharp RGB video, LEDs glowing, no shorts/smoke.
💡 Tips:
⚠️ Warnings:
Program LED patterns (e.g., game-sync via GPIO). Seal seams with black silicone for dust-proofing. Playtest with discs/emulators.
Success looks like: Custom console runs Road Rash flawlessly, turns heads at retro meets.
💡 Tips:
Problem: No video after RGB mod
Solution: Check continuity/shorts with multimeter; reflow joints. Test stock AV first.
Problem: LEDs flicker or won't light
Solution: Verify 5V stable; check data line signal with scope or replace strip.
Problem: Console won't power on post-reassembly
Solution: Inspect ribbons for pinches; reseat PSU connectors. Test out-of-case.
Problem: Overheating CPU
Solution: Seek pro if board damage suspected—rare parts via retro shops.
Essential precision drivers (T8/T10) prevent shell damage on brittle 3DO plastic.
Best for: Disassembly/reassembly of vintage consoles.
Price Range: $74.99
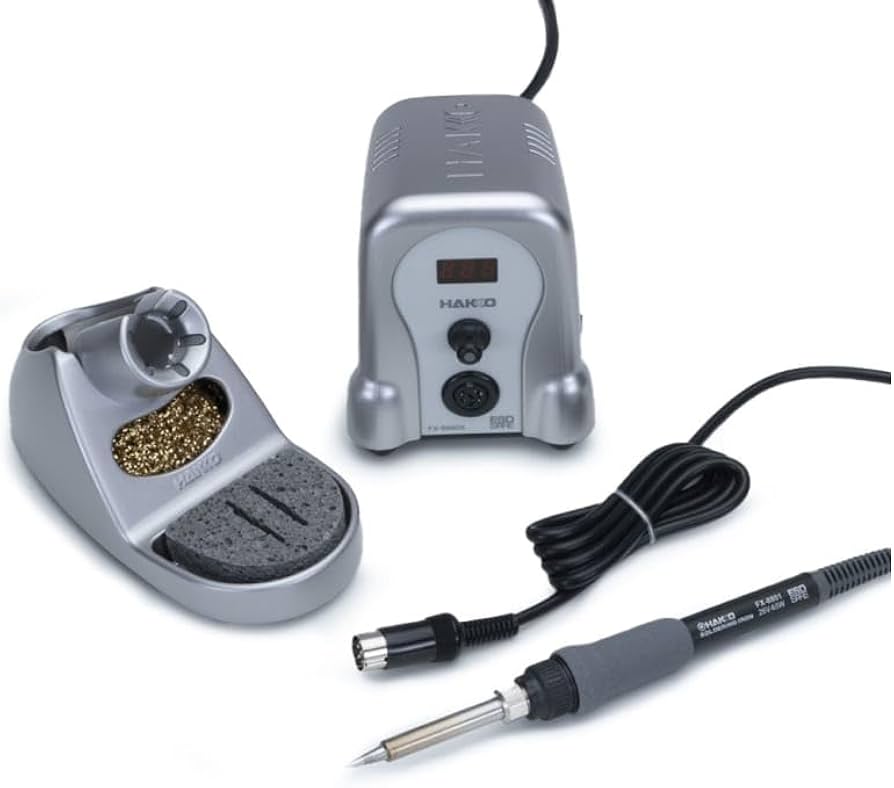
Digital temp control for safe fine-pitch RGB/LED soldering without lifting pads.
Best for: Video mods and wiring on sensitive retro boards.
Price Range: $99.99
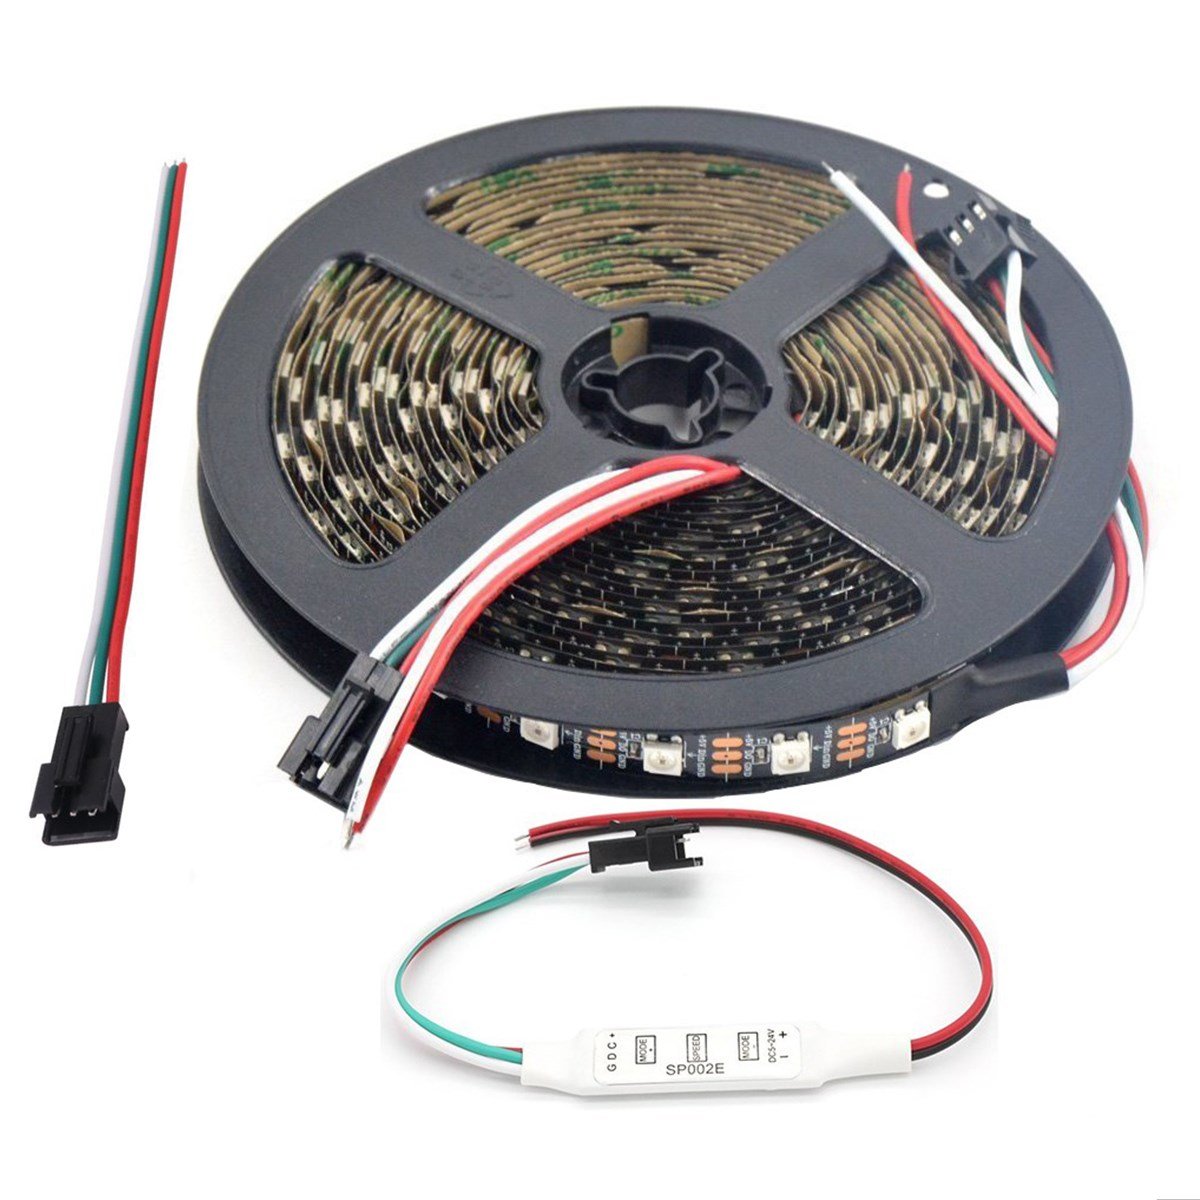
Flexible, cuttable for perfect case fit; 5V matches 3DO PSU easily.
Best for: RGB ambient lighting in console mods.
Price Range: $15.99
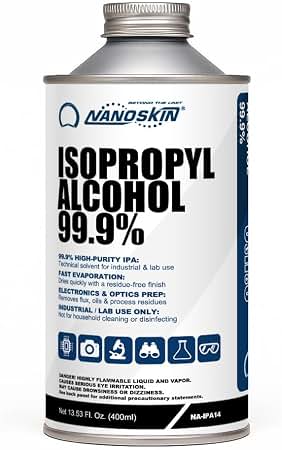
Residue-free cleaning for pristine boards and optics.
Best for: Deep cleans during disassembly.
Price Range: $12.99
Long-lasting cooling refresh for overclocked or dusty 3DO CPUs.
Best for: Heatsink reapplication.
Price Range: $8.99
Disassembly/reassembly of vintage consoles.
iFixit Pro Tech Toolkit Essential precision drivers (T8/T10) prevent shell damage on brittle 3DO plastic.
Video mods and wiring on sensitive retro boards.
Hakko FX-888D Soldering Station Digital temp control for safe fine-pitch RGB/LED soldering without lifting pads.
RGB ambient lighting in console mods.
WS2812B LED Strip 5M (Addressable) Flexible, cuttable for perfect case fit; 5V matches 3DO PSU easily.
Deep cleans during disassembly.
MG Chemicals 99% Isopropyl Alcohol Residue-free cleaning for pristine boards and optics.
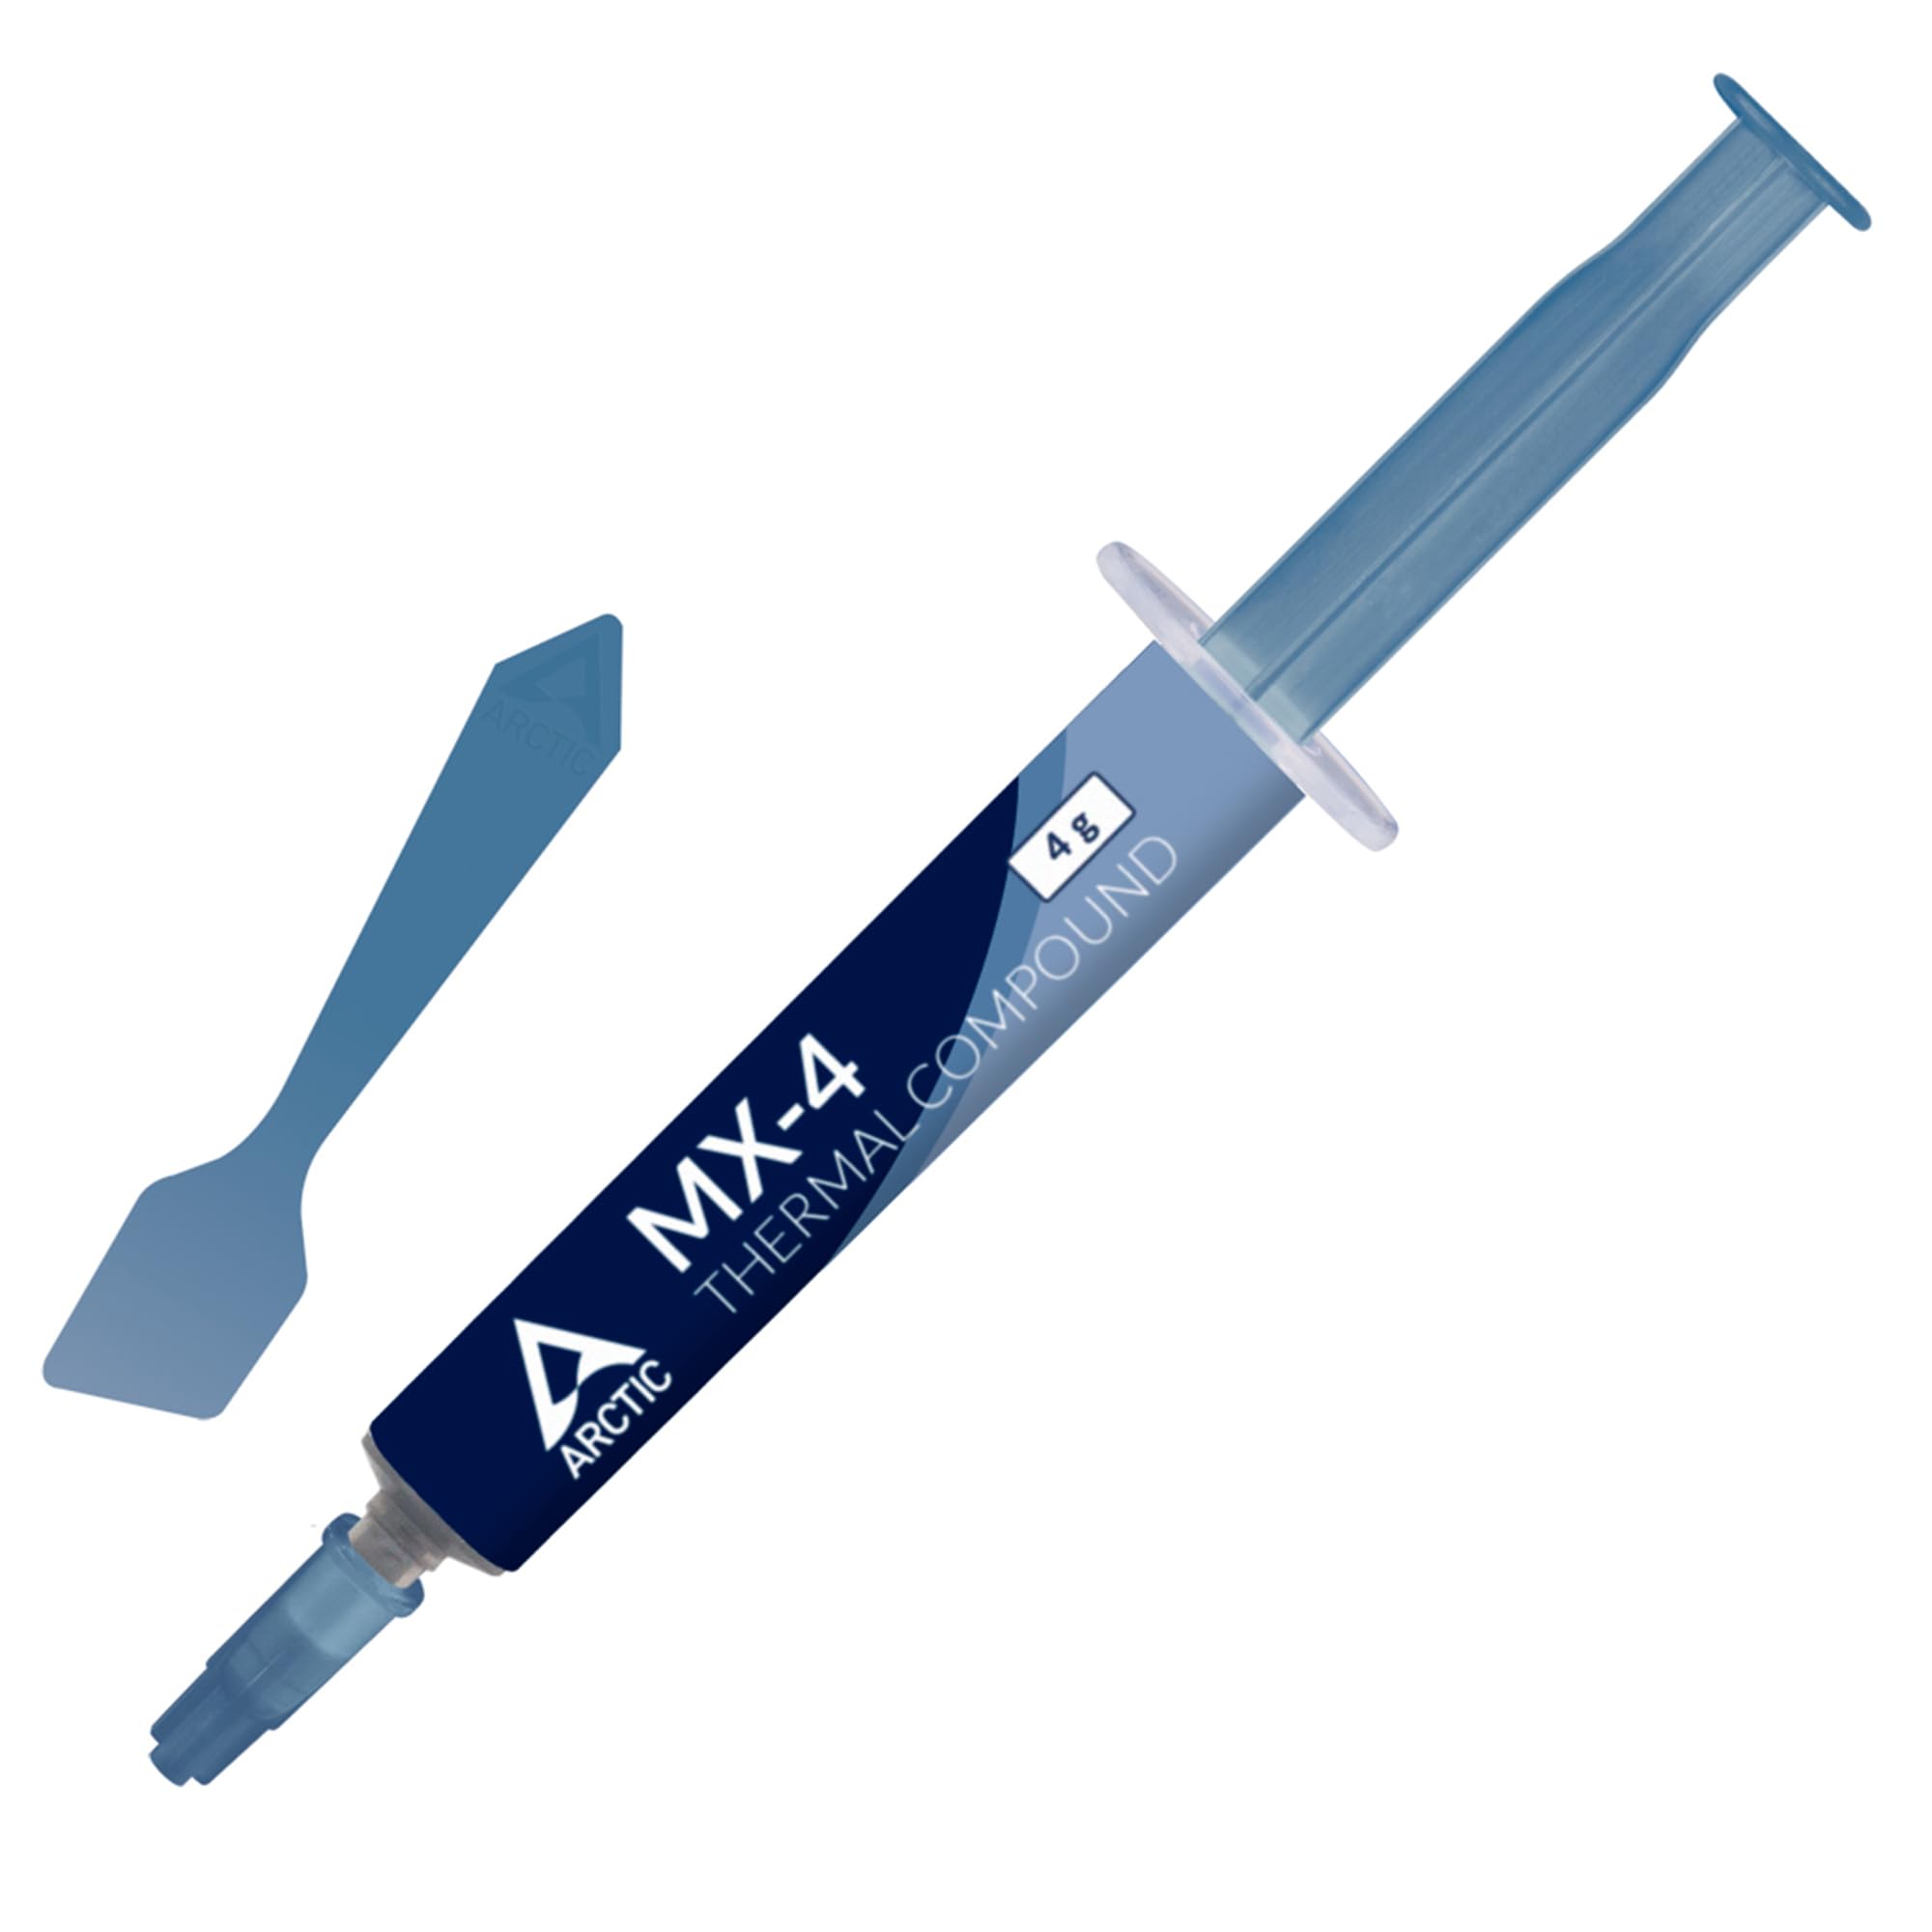
Heatsink reapplication.
Arctic MX-4 Thermal Paste Long-lasting cooling refresh for overclocked or dusty 3DO CPUs.