Standard guitar picks are functional but bland—imagine ones molded to your fingers with custom engravings, ergonomic grips, or even embedded designs that enhance tone and feel. For intermediate 3D printing enthusiasts, customizing picks is a fun project that showcases your skills while creating personalized gear.
In this guide, you'll learn to design picks from scratch using free software, optimize for printing, and add pro-level finishes. The process covers modeling, slicing, printing, and post-processing, resulting in durable picks ready for shredding.
Expect 1-2 hours total (design: 30 mins, print: 20-45 mins, finishing: 15 mins). You'll need basic 3D modeling knowledge and a printer.
▸What You'll Need
- •FDM 3D printer (e.g., Ender 3 or Prusa MK3)
- •PLA or PETG filament (1.75mm, 0.2kg minimum)
- •Design software: Tinkercad (free, web-based) or Fusion 360 (free for hobbyists)
- •Slicer software: Ultimaker Cura (free)
- •Standard guitar pick for reference (thickness 0.7-1.2mm)
- •Sandpaper (400-2000 grit)
- •Optional: Acrylic paints, clear coat spray, fine files or X-Acto knife
Estimated Time: 1-2 hours (plus print time)
Difficulty: intermediate
▸Step-by-Step Instructions
Step 1: Measure and Sketch Your Reference Pick
Start by examining a standard guitar pick. Measure its dimensions: typical length 30-35mm, width 25-30mm at widest, thickness 0.7mm (thin jazz) to 1.5mm (heavy shred). Use calipers for accuracy or trace on paper.
Sketch custom variations—tapered edges for speed picking, wider bodies for strumming. Why? This ensures playability matches your style (e.g., thicker for acoustic, thinner for electric leads). Success: A digital sketch or notes ready for modeling.
💡 Tips:
- •Aim for 0.8-1.2mm thickness to balance durability and flex.
- •Test grip by holding reference pick during play.
⚠️ Warnings:
- •Don't exceed 2mm thickness—picks become too rigid and may snap.
Step 2: Design Base Shape in Tinkercad or Fusion 360
Open Tinkercad (browser-based). Create a new design, import or draw a teardrop shape matching your measurements using basic shapes (cylinder + wedge). Extrude to exact thickness. Scale precisely.
Refine edges with fillet tools for smooth bevels (0.5mm radius). Export as STL. Success: A printable base model under 1MB that mimics a real pick but with your tweaks.
Fusion 360 alternative: Parametric sketch for easy iterations.
💡 Tips:
- •Use Tinkercad's align tool for symmetry.
- •Group shapes before exporting.
Step 3: Add Custom Grips and Textures
Duplicate the base, subtract patterns: Use hole tools in Tinkercad for dimples, ridges, or logos (import SVG text). Add 0.2-0.5mm deep grips on thumb/index areas for better control.
Why? Textures prevent slippage during sweaty solos. Test by printing a small sample first. Success: Model with tactile features visible in preview.
💡 Tips:
- •Keep textures shallow to avoid weak points.
- •Embed your initials for personalization.
⚠️ Warnings:
- •Overly deep cuts (>0.5mm) weaken the pick.
Step 4: Export and Import to Slicer Software
Download STL from Tinkercad. Open Ultimaker Cura, import the file. Scale if needed (ensure real-world size). Orient flat on bed—no supports required for simple picks.
Success: Model previewed correctly scaled on build plate.
💡 Tips:
- •Check orientation: Print bevel-side up for best finish.
Step 5: Optimize Print Settings
Set layer height 0.1-0.15mm for smooth finish, infill 20-30% gyroid for flex, 2-3 walls/perimeters for strength. Nozzle 0.4mm, speed 40-50mm/s, bed 60°C, hotend 200°C (PLA).
Thickness demands thin layers to avoid stringy edges. Preview gcode layers. Why? Balances speed, strength, and tone (denser picks = brighter attack). Success: Sliced preview shows even layers, 20-45min print time.
💡 Tips:
- •Use PETG for warmer tone and durability.
⚠️ Warnings:
- •Too fast (>60mm/s) causes warping on thin parts.
Step 6: Print Your Custom Pick
Slice to G-code, transfer to printer (SD/USB). Start print—monitor first layer adhesion. Picks print fast; remove from bed once cooled (under 40°C) to prevent warping.
Success: Solid, flexible pick with sharp details and no visible layer lines.
💡 Tips:
- •Print multiples in a row for testing.
Step 7: Post-Process for Pro Finish
Sand edges with 400 grit (rough), progress to 2000 grit for polish. Buff with microfiber. Optional: Paint details (artist acrylics), seal with clear coat.
Test play: Strum chords—should feel natural, no snags. Success: Mirror-smooth, personalized pick ready for gigging.
💡 Tips:
- •Wet sand for faster results.
- •Embed metal filings pre-print for weighted picks.
⚠️ Warnings:
- •Avoid over-sanding—thins the pick.
▸Pro Tips
- •Print in colors matching your guitar (e.g., tortoiseshell PLA blends)
- •Experiment with flexible TPU for ultimate grip—set slower speeds
- •Batch print 10+ picks to test thicknesses during a jam session
- •Use vase mode for ultra-thin, seamless picks
- •Add brim (2mm) for thin parts to prevent curling
- •Scan a favorite pick with phone app for exact replica start
- •Store in cases to avoid warping from heat/humidity
▸Common Mistakes to Avoid
- •Incorrect thickness: Too thick feels dead; measure precisely with calipers
- •Poor layer adhesion: Use glue stick on bed and slower first layer speed
- •Over-texturing: Leads to breakage—limit to 0.3mm depth
- •Skipping sanding: Rough edges snag strings, ruining tone
- •Wrong filament: ABS warps thin parts; stick to PLA/PETG
▸Troubleshooting
Problem: Pick warps or delaminates
Solution: Increase bed temp to 65°C, add enclosure, or use PETG
Problem: Stringy surfaces or blobs
Solution: Retraction 5-6mm, lower temp 195°C, clean nozzle
Problem: Pick too brittle
Solution: Boost infill to 40%, add more perimeters
Problem: Doesn't fit fingers
Solution: Iterate design—print prototypes at 80% scale first
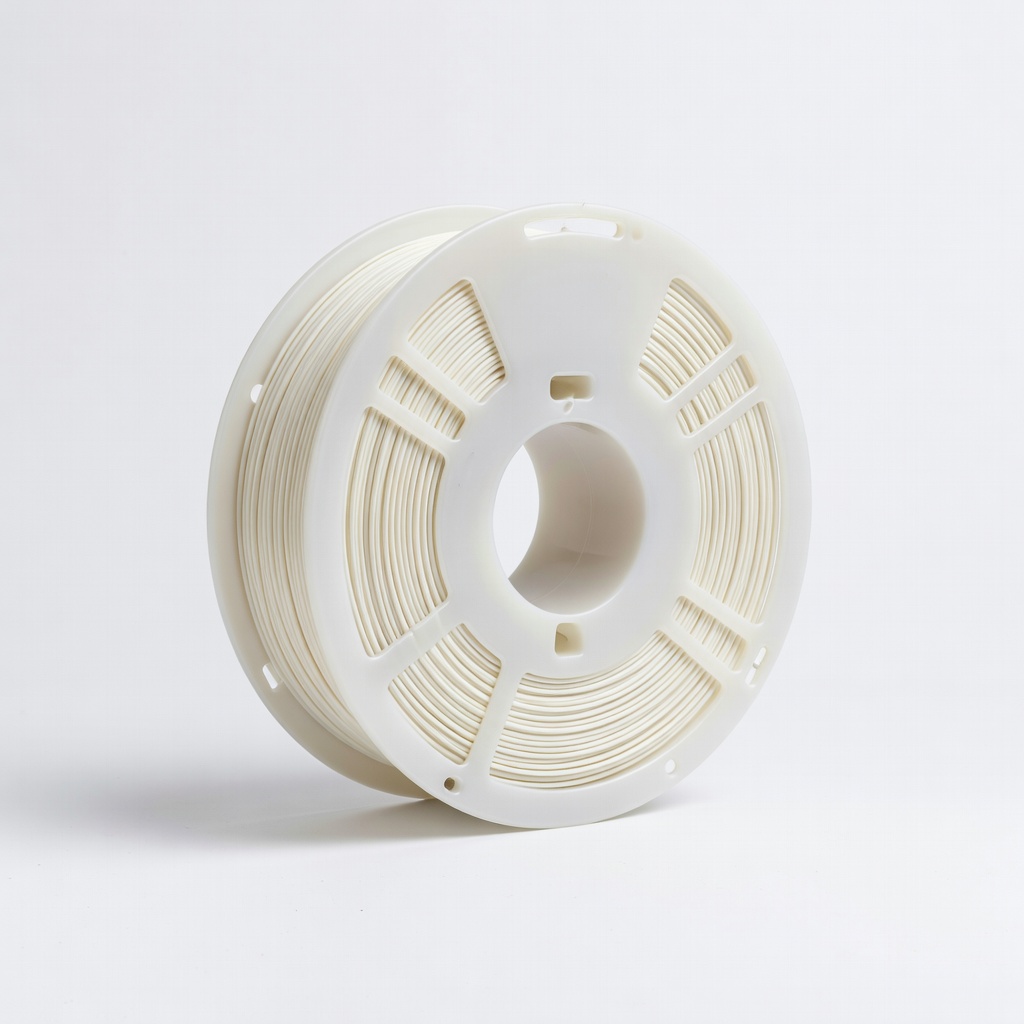
HATCHBOX PLA 3D Printer Filament 1.75mm 1KG Spool (White)
Reliable PLA for smooth, detailed prints with great layer adhesion ideal for thin picks
Best for: Primary material for durable, color-matched picks
Price Range: $24.99
Creality Ender 3 V2 3D Printer
Affordable, precise FDM printer perfect for small, detailed projects like picks
Best for: Core printing hardware for hobbyists
Price Range: $249-$299
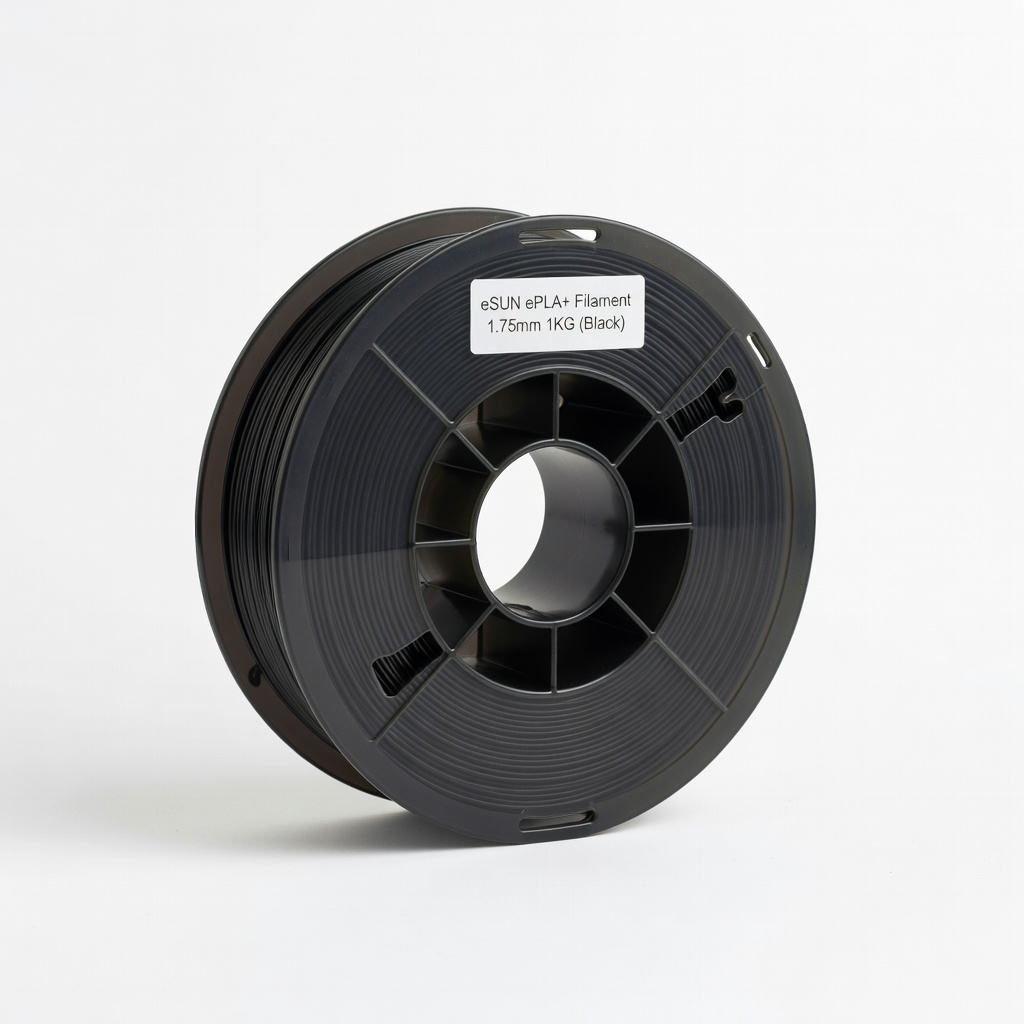
eSUN ePLA+ Filament 1.75mm 1KG (Black)
Tougher than standard PLA, resists breakage for heavy-use picks
Best for: Upgraded material for pro musicians
Price Range: $22.99
3M Wetordry Sandpaper Assortment 5 Sheets (400-2000 Grit)
Essential for polishing thin prints to a professional, snag-free finish
Best for: Post-processing every pick
Price Range: $9.99
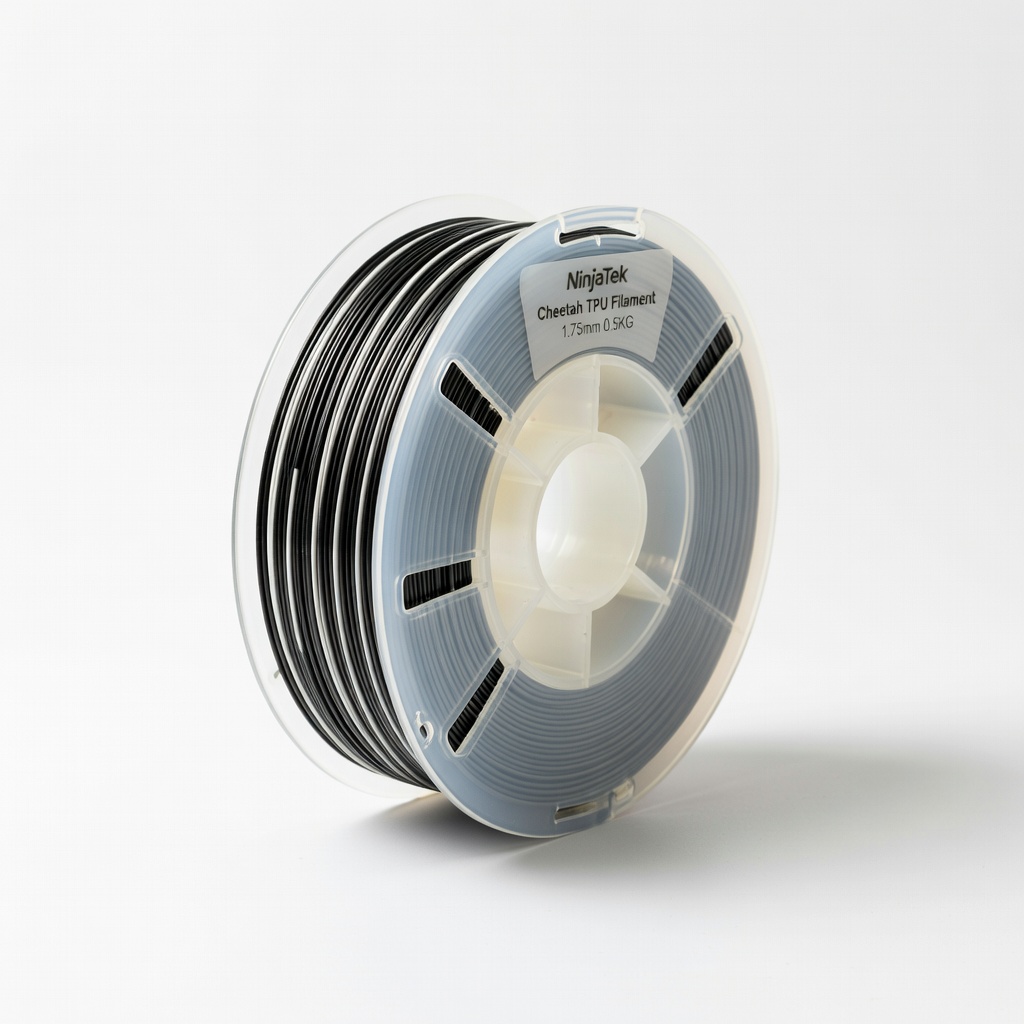
NinjaTek Cheetah TPU Filament 1.75mm 0.5KG
Flexible filament for grippy, bendable picks that won't slip
Best for: Advanced customization for sweaty performances
Price Range: $34.99