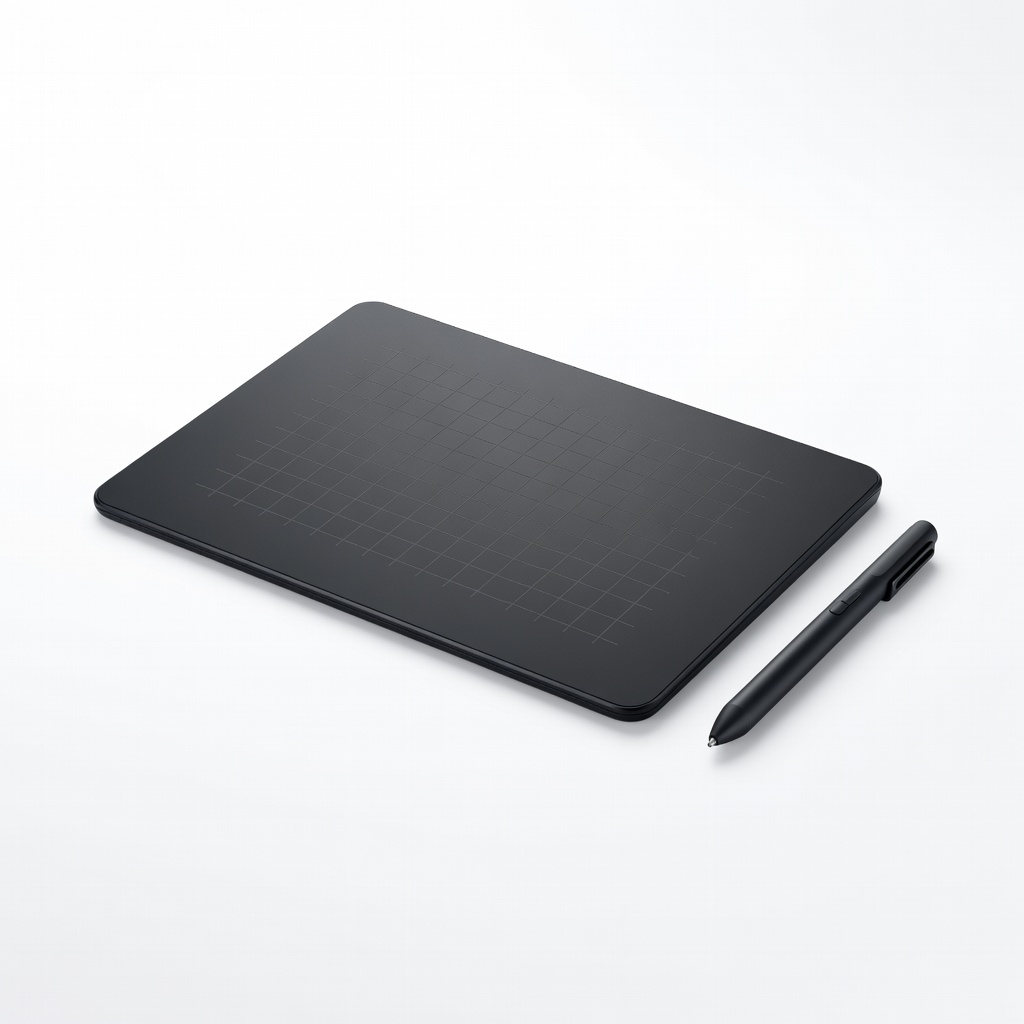
Wacom Intuos S Graphics Drawing Tablet
Detailed height painting and spline-based roads in Unity Terrain.
$49.95
Wacom Intuos S Graphics Drawing Tablet Precision input for terrain sculpting and asset tweaking far surpasses mouse.
Get the App
Better experience on mobile
Build immersive, optimized maps in Unity with advanced terrain sculpting, asset integration, and playtesting techniques for action & adventure games.
In action and adventure games, custom maps are the backbone of player engagement—think sprawling open worlds like those in Assassin's Creed or tight, intense arenas in Doom. Poorly designed maps lead to frustration, while masterful ones create unforgettable experiences. If you're an advanced developer tired of generic assets, this guide empowers you to craft bespoke environments that fit your game's narrative and mechanics perfectly.
You'll learn a complete workflow using Unity, from terrain generation to optimization, tailored for high-stakes action gameplay. Expect to cover advanced features like procedural placement, LOD systems, and performance profiling. This process assumes familiarity with C# scripting and 3D modeling basics.
Total time: 4-8 hours for a polished prototype map. Difficulty suits advanced users, but we'll break it down into actionable steps with pro tips to streamline your workflow.
Estimated Time: 4-8 hours (2-4 for basic map, extra for polish and testing) Difficulty: advanced
Download Unity Hub from the official site and install Unity 2022.3 LTS (Long Term Support) for stability in action games. Launch Hub, sign in, and create a new 3D (URP) project—Universal Render Pipeline ensures high performance for dynamic lighting in adventures.
Why URP? It balances visuals and FPS for action-heavy scenes. Set project resolution to 1920x1080 and enable Version Control if collaborating. Success: Empty scene loads with default camera and directional light.
Image description: Screenshot of Unity Hub 'New Project' window with 3D URP selected, project name 'ActionMapPrototype'.
💡 Tips:
⚠️ Warnings:
In the Hierarchy, right-click > 3D Object > Terrain. Use Terrain Inspector: Set Terrain Width/Length/Height to 1000x1000x200 for a sizable action arena. Raise/lower height with brush tools, smooth for natural cliffs ideal for platforming adventures.
Paint textures (import free rock/grass packs from Asset Store). Add details like Heightmap Import for custom shapes. Why? Custom terrain drives exploration and combat flow. Success: A hilly landscape with varied elevations, no clipping.
Pro tip: Use SpeedTree for wind-affected foliage previews.
💡 Tips:
⚠️ Warnings:
Download free Asset Store packs like 'Modular Cliffs' or 'Fantasy Forest'. Drag prefabs into scene: Place ruins for cover in action sequences, trees for adventure traversal. Use ProBuilder (install via Package Manager) for quick geometry tweaks.
Snap to terrain with 'Snap to Terrain' or scripts. Group into empty GameObjects for organization. Success: Assets conform to terrain, forming paths and chokepoints.
Markdown table for asset checklist:
| Asset Type | Quantity | Purpose |
|---|---|---|
| Rocks/Cliffs | 20+ | Combat cover |
| Trees/Foliage | 100+ | Immersion |
💡 Tips:
⚠️ Warnings:
Add Directional Light for sun, set to realtime. Bake indirect lighting via Window > Rendering > Lighting > Generate Lighting. Introduce Volumetric Clouds (URP feature) and Post-Processing Volume for fog/glow—crucial for moody adventure vibes.
Tune Skybox in Lighting Settings. Why? Lighting sells action intensity (shadow duels) and exploration depth. Success: Baked GI with realtime shadows, 60+ FPS on mid-range GPU.
💡 Tips:
⚠️ Warnings:
Import free 'Third Person Controller' from Asset Store or script your own with CharacterController. Add NavMeshAgent for AI paths: Window > AI > Navigation, bake NavMesh on terrain.
Test WASD movement, jumping on cliffs. Success: Fluid navigation across map, AI can pathfind to player.
💡 Tips:
⚠️ Warnings:
Place enemy prefabs with AI scripts (e.g., Simple AI from Asset Store). Add pickups, destructibles using Unity's Physics. Script triggers for events like ambushes.
Why? Turns static map into living playground. Success: Enemies patrol, engage on sight; interactables respond.
💡 Tips:
⚠️ Warnings:
Enable Occlusion Culling (bake via Occlusion Culling window). Set LOD Groups on assets. Use Frame Debugger to cull draw calls. Target 60-120 FPS.
Compress textures to ASTC. Success: Smooth perf on target hardware (e.g., PS5/Xbox equiv).
💡 Tips:
⚠️ Warnings:
File > Build Settings > PC/Mac/Console. Playtest for flow: Time runs, combat loops. Iterate based on feedback (e.g., add spawn points).
Export as .unitypackage. Success: Playable build with no crashes, engaging gameplay loop.
💡 Tips:
⚠️ Warnings:
Problem: Terrain textures not applying
Solution: Ensure Terrain Layer splatmaps are assigned; refresh Terrain Data.
Problem: Low FPS in foliage areas
Solution: Enable GPU Instancing on materials; reduce billboard count.
Problem: NavMesh not generating
Solution: Mark areas as Navigation Static; increase bake resolution.
Problem: Lighting artifacts
Solution: Rebake with higher lightmap resolution; clear baked data first.
Precision input for terrain sculpting and asset tweaking far surpasses mouse.
Best for: Detailed height painting and spline-based roads in Unity Terrain.
Price Range: $49.95
Lightning-fast asset loading prevents lag during iteration on large maps.
Best for: Store Unity projects, Blender files, and Asset Store downloads.
Price Range: $109.99
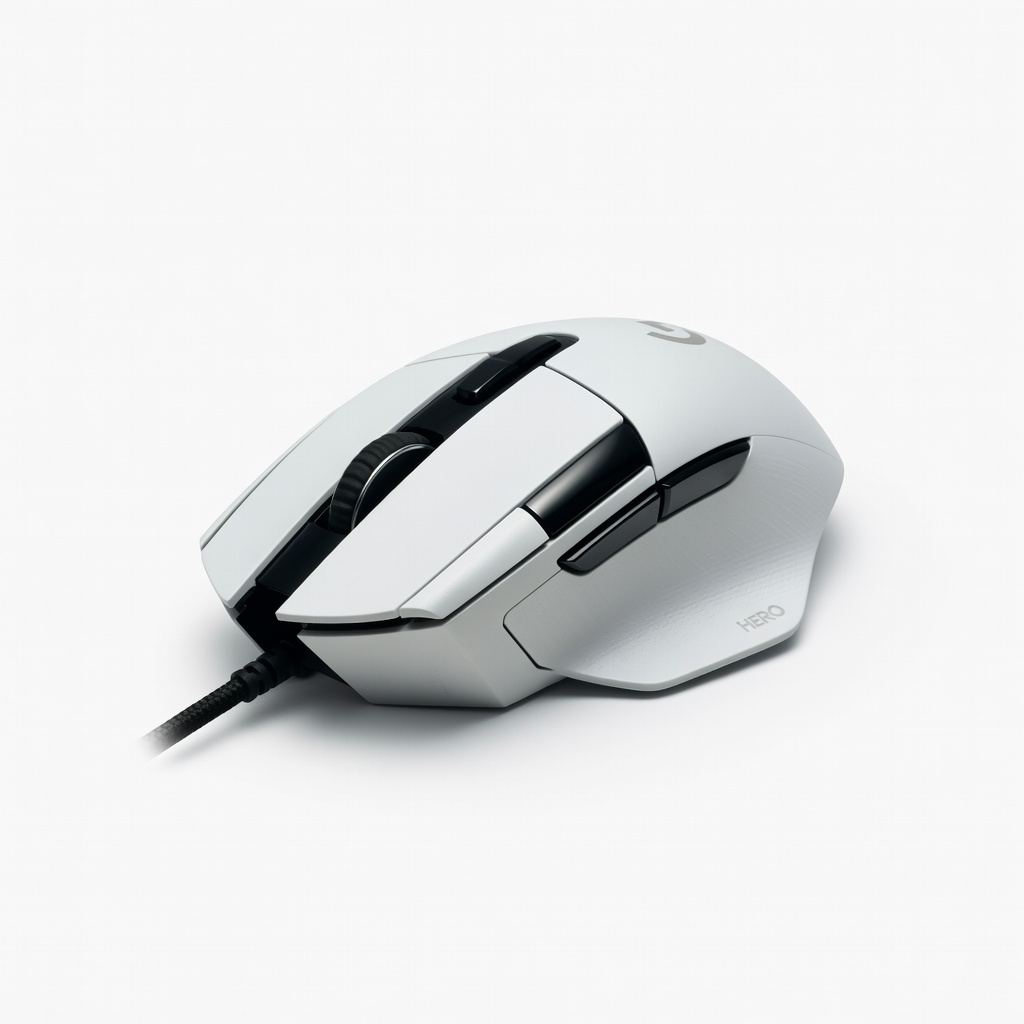
17 programmable buttons speed up hotkey-heavy workflows like painting and navigation.
Best for: Precise camera control and tool switching in Unity Editor.
Price Range: $39.99
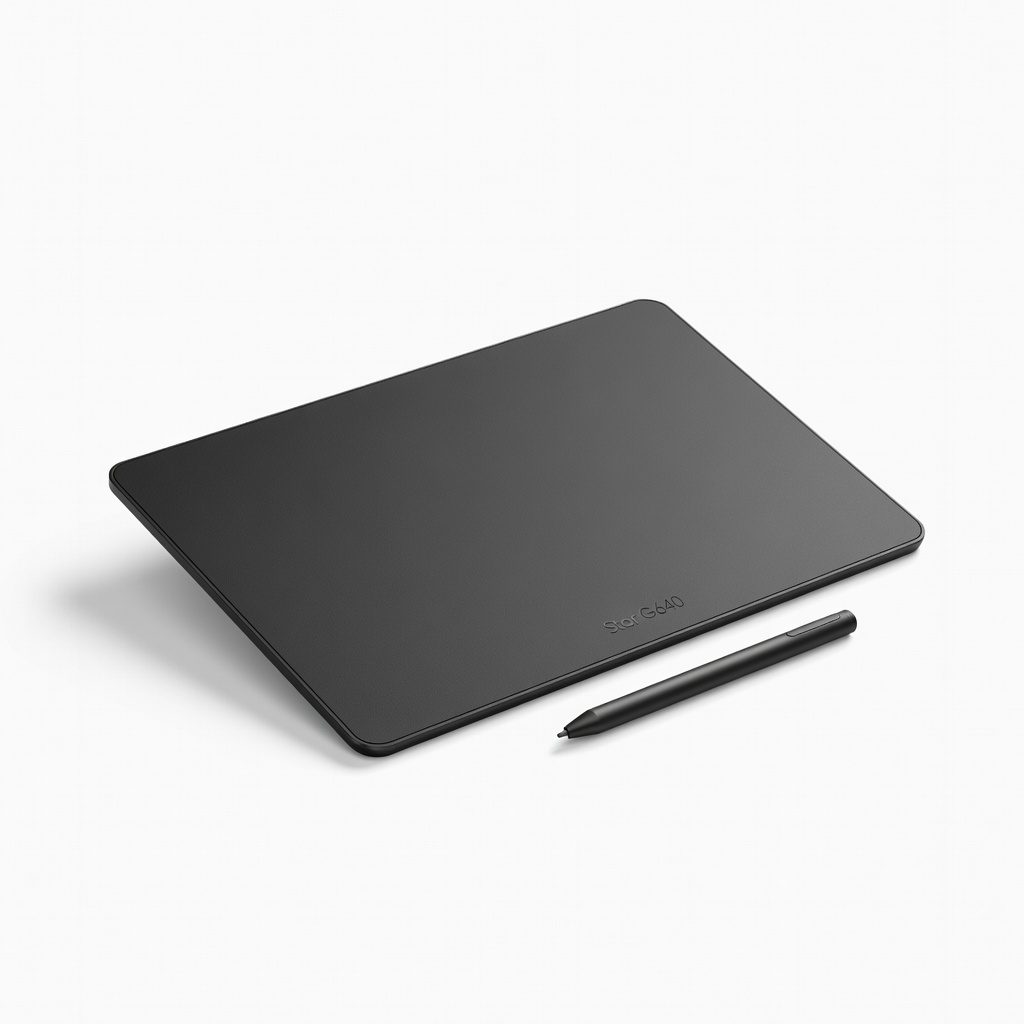
Budget-friendly alternative for pressure-sensitive sculpting in Blender/Unity.
Best for: Custom prop modeling before import.
Price Range: $29.99
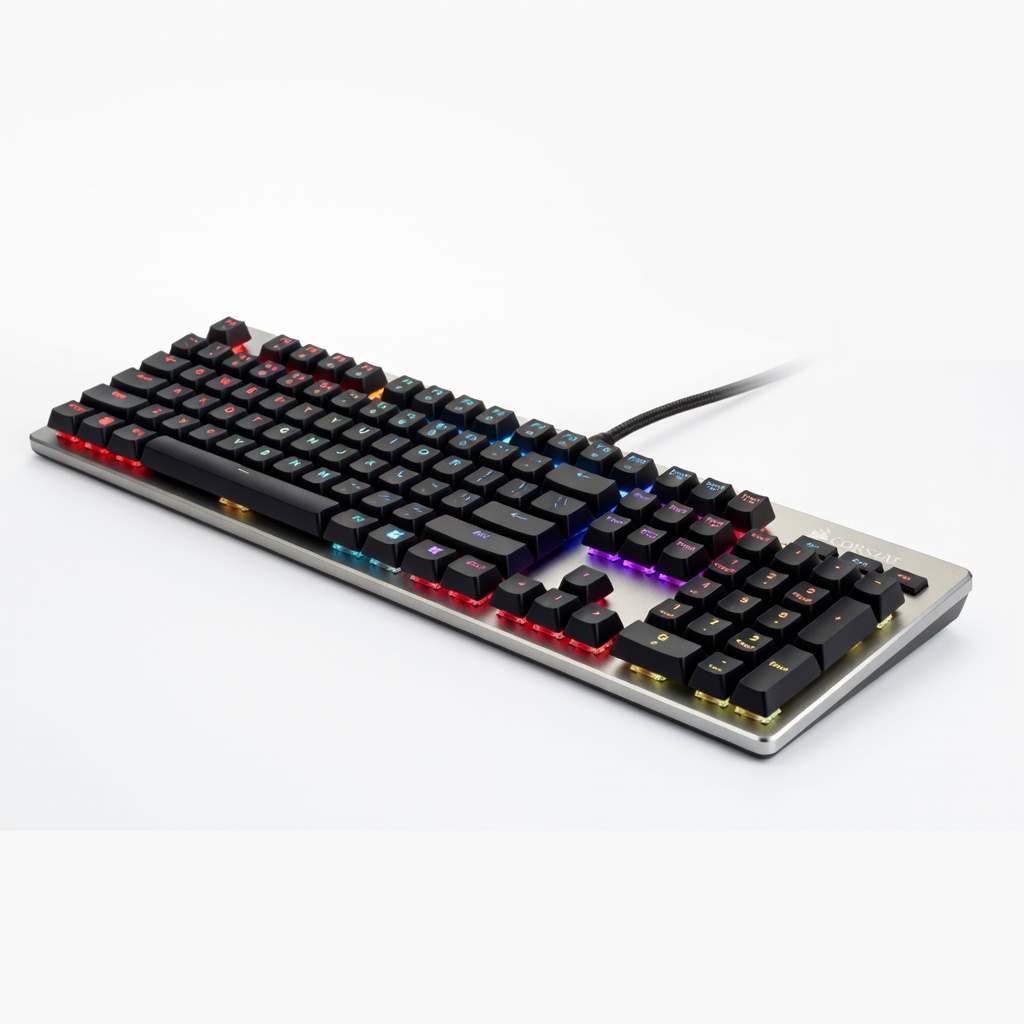
Rapid keys for C# scripting and console commands during debugging.
Best for: Hotkeys for playtesting AI and physics tweaks.
Price Range: $129.99
Detailed height painting and spline-based roads in Unity Terrain.
Wacom Intuos S Graphics Drawing Tablet Precision input for terrain sculpting and asset tweaking far surpasses mouse.
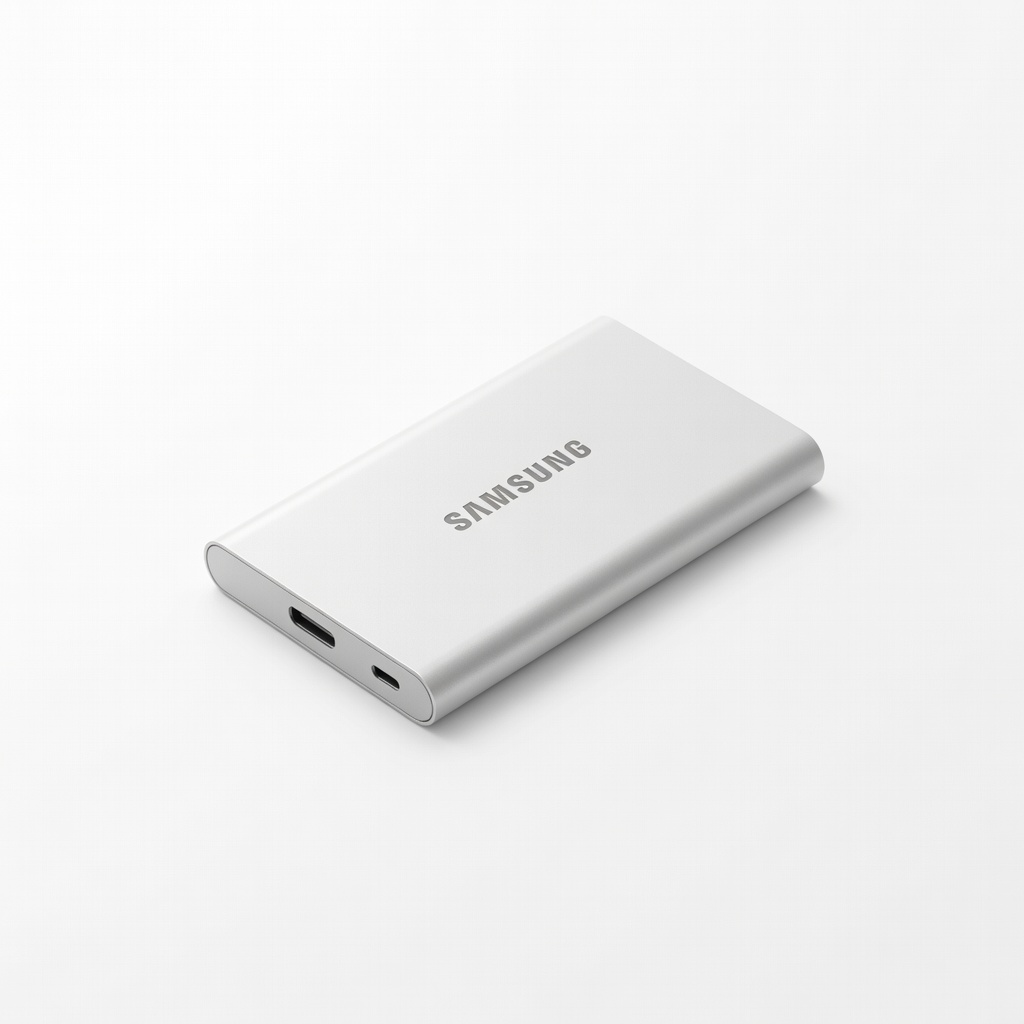
Store Unity projects, Blender files, and Asset Store downloads.
Samsung T7 Portable SSD 1TB Lightning-fast asset loading prevents lag during iteration on large maps.
Precise camera control and tool switching in Unity Editor.
Logitech G502 HERO Gaming Mouse 17 programmable buttons speed up hotkey-heavy workflows like painting and navigation.
Custom prop modeling before import.
XP-Pen Star G640 Graphics Tablet Budget-friendly alternative for pressure-sensitive sculpting in Blender/Unity.
Hotkeys for playtesting AI and physics tweaks.
Corsair K70 RGB MK.2 Mechanical Keyboard Rapid keys for C# scripting and console commands during debugging.