In a world filled with generic store-bought calendars, creating your own custom animal calendar at home lets you infuse personality and whimsy into your daily planning. Whether you're an animal lover wanting to celebrate your favorite pets or wildlife, this DIY project is a rewarding way to stay organized while showcasing adorable images that bring a smile each month. It's perfect for beginners who enjoy creative hobbies without needing advanced skills.
In this guide, you'll learn step-by-step how to design, assemble, and customize a 12-month animal calendar using photos, drawings, or printables. The process involves gathering materials, planning your layout, and binding it all together. Expect a fun, therapeutic activity that results in a unique keepsake—ideal for gifting or personal use.
This project is beginner-friendly, taking about 1-2 hours total, depending on how elaborate your designs are. No prior crafting experience is required, just enthusiasm for animals and a bit of creativity.
▸What You'll Need
- •Blank calendar template (printable from free online sources like Canva or Microsoft Word)
- •Animal images: Personal photos, drawings, or printable animal clipart (required)
- •Cardstock or thick paper (8.5x11 inches, at least 12 sheets for months plus cover)
- •Scissors or paper trimmer (required)
- •Glue stick or double-sided tape (required)
- •Markers, stickers, or decorative elements for personalization (optional but recommended)
- •Hole punch and binding rings or string for assembly (required for spiral binding)
- •Printer (if using digital images; optional if hand-drawing)
- •Laminating sheets or clear contact paper (optional for durability)
Estimated Time: 1-2 hours
Difficulty: beginner
▸Step-by-Step Instructions
Step 1: Gather Your Materials and Plan Your Theme
Start by collecting all the items from the 'What You Need' list to ensure a smooth workflow. Lay everything out on a clean workspace. Decide on your animal theme—such as farm animals, wild safari, or cute pets—to guide your image selection. This planning prevents last-minute scrambles and helps maintain focus.
Why it matters: A clear theme makes your calendar cohesive and enjoyable to look at year-round. For beginners, stick to 12 animals (one per month) that inspire you, like a lion for January's 'roaring start.' Expect to spend 10-15 minutes here, brainstorming and organizing photos or sketches.
Tip: If you're short on ideas, browse free stock photo sites for animal images that match seasons, like snowy owls for winter months.
💡 Tips:
- •Use a mood board app on your phone to visualize themes quickly.
- •Choose high-contrast images for better visual appeal.
⚠️ Warnings:
- •Avoid overloading with too many themes; simplicity keeps it elegant.
Step 2: Select and Prepare Your Animal Images
Choose 12 animal images or draw simple sketches that fit your theme. If using digital photos, resize them to fit a 4x6 inch space (or similar) using free software like Canva or Paint. Print them on regular paper if needed, or draw directly on cardstock for a handmade feel.
This step is crucial because the images are the heart of your calendar—they set the tone and add joy. Expect vibrant, clear prints or neat drawings; blurry images can detract from the final product. For digital prep, aim for at least 300 DPI resolution to avoid pixelation when printed.
Pro Insight: Personalize by including your own pet photos for an emotional touch.
💡 Tips:
- •Scan old drawings to digitize them easily.
- •Group similar animals (e.g., ocean theme for summer months) for flow.
⚠️ Warnings:
- •Don't use copyrighted images without permission; opt for public domain or your own.
Step 3: Download or Create a Calendar Template
Search for a free printable 12-month calendar template online (sites like PrintableCalendar.net work well). Customize it in a word processor by adding month names and dates, leaving space for your animal images. Print one template per month on plain paper.
Why this matters: The template provides structure, ensuring dates are accurate and legible. Beginners should choose a simple grid layout to avoid complexity. After printing, you'll have 12 sheets ready for assembly—check for even margins to prevent crooked pages.
If you prefer no-print, hand-draw grids, but templates save time and look professional.
💡 Tips:
- •Add holidays or notes in the template for extra utility.
- •Use landscape orientation for wider image space.
⚠️ Warnings:
- •Verify the year on the template; update to 2025 if needed.
Step 4: Design Each Monthly Page
On each cardstock sheet, glue or tape the calendar template in the center. Position your animal image above or beside it, trimming edges for a clean fit. Add decorative borders with markers or stickers to tie the animal theme together, like paw prints around a dog month.
This creative phase brings your vision to life, making the calendar uniquely yours. Expect balanced pages where text is readable and images pop—uneven spacing can make it look amateurish. Spend 5-10 minutes per page for thoughtful design.
Real-World Tip: Use washi tape for borders if you want removable, colorful accents.
💡 Tips:
- •Layer elements starting with the background for depth.
- •Test layouts on scrap paper first.
⚠️ Warnings:
- •Avoid overcrowding; leave white space for a modern look.
Step 5: Create a Custom Cover Page
Design the front cover on a separate cardstock sheet. Feature a standout animal image (e.g., a majestic elephant) with the title 'My 2025 Animal Adventures' or similar. Add your name or a quote about animals for personalization.
The cover sets the first impression, inviting interaction with your calendar. It should be sturdy and eye-catching—expect a finished cover that's thicker if you add multiple layers. This step takes about 10 minutes and completes the visual theme.
💡 Tips:
- •Laminating the cover early prevents wear from handling.
- •Incorporate metallic markers for a shiny, premium feel.
⚠️ Warnings:
- •Keep text large and bold for visibility from afar.
Step 6: Assemble and Bind the Pages
Stack all 13 sheets (12 months + cover) in order. Use a hole punch to make holes along the top or side (three holes per sheet for even binding). Thread binding rings through the holes or tie with ribbon/string to secure.
Binding unifies your project into a functional calendar. Why it matters: Proper alignment ensures pages flip smoothly without tearing. Expect a spiral-bound feel that's easy to hang or desk-use—test flipping to confirm durability.
For a pro finish, reinforce holes with metal washers if using string.
💡 Tips:
- •Punch holes while stacked for uniformity.
- •Opt for colored rings to match your theme.
⚠️ Warnings:
- •Don't punch too close to edges; it can cause ripping.
Step 7: Add Finishing Touches and Protect
Review the entire calendar for any glue spots or misalignments, fixing as needed. Optionally, laminate pages with clear sheets for water resistance and longevity, especially if hanging in a kitchen.
This final polish elevates your DIY from good to great, protecting against daily wear. Expect a glossy, professional result that lasts all year. Hang it up or place on a stand to admire your work—success looks like a cohesive, joyful calendar ready for 2025.
💡 Tips:
- •Add a back pocket for notes using extra cardstock.
- •Sign and date the back for a personal memento.
⚠️ Warnings:
- •Laminating heat can warp thin paper; use thick cardstock.
▸Pro Tips
- •Source free animal clipart from sites like Pixabay to save on printing costs.
- •Use seasonal animals (e.g., butterflies for spring) to make the calendar feel dynamic.
- •Batch-print all templates at once to streamline the process.
- •Incorporate quotes about animals on each page for inspirational value.
- •Test bind a sample page first to perfect your hole placement.
- •Reuse old magazines for animal cutouts if you're eco-conscious.
- •Add QR codes linking to animal facts for an interactive twist.
▸Common Mistakes to Avoid
- •Overcomplicating designs: Leads to cluttered pages; avoid by sketching simple layouts first.
- •Using thin paper: Causes tearing during binding; always opt for cardstock.
- •Misaligning holes: Results in wobbly pages; measure twice before punching.
- •Forgetting to update dates: Makes the calendar unusable; double-check the year and holidays.
- •Skipping protection: Pages fade or damage quickly; laminate key areas at minimum.
▸Troubleshooting
Problem: Images print blurry or faded
Solution: Check printer settings for high-quality mode and use photo paper; clean print heads if needed.
Problem: Pages won't bind evenly
Solution: Re-punch holes ensuring even spacing; use a ruler as a guide for alignment.
Problem: Glue bubbles or lumps appear
Solution: Apply glue in thin layers and press flat with a book; let dry fully before handling.
Problem: Calendar feels too flimsy
Solution: Reinforce with additional cardstock backing or switch to larger binding rings for stability.
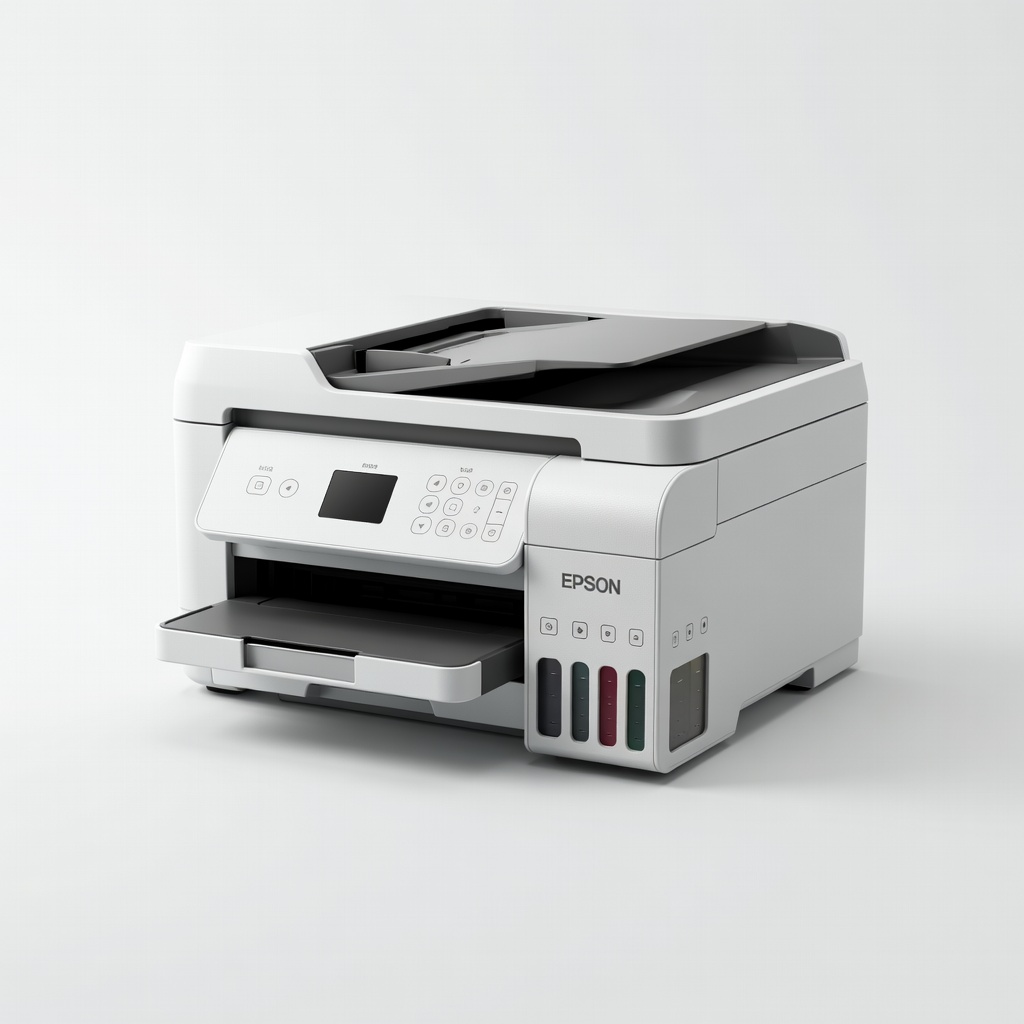
Epson EcoTank ET-2800 Wireless Color All-in-One Printer
This ink-efficient printer handles high-quality photo prints without constant refills, ideal for vibrant animal images.
Best for: Printing templates and images at home for multiple calendars or future projects.
Price Range: $199.99
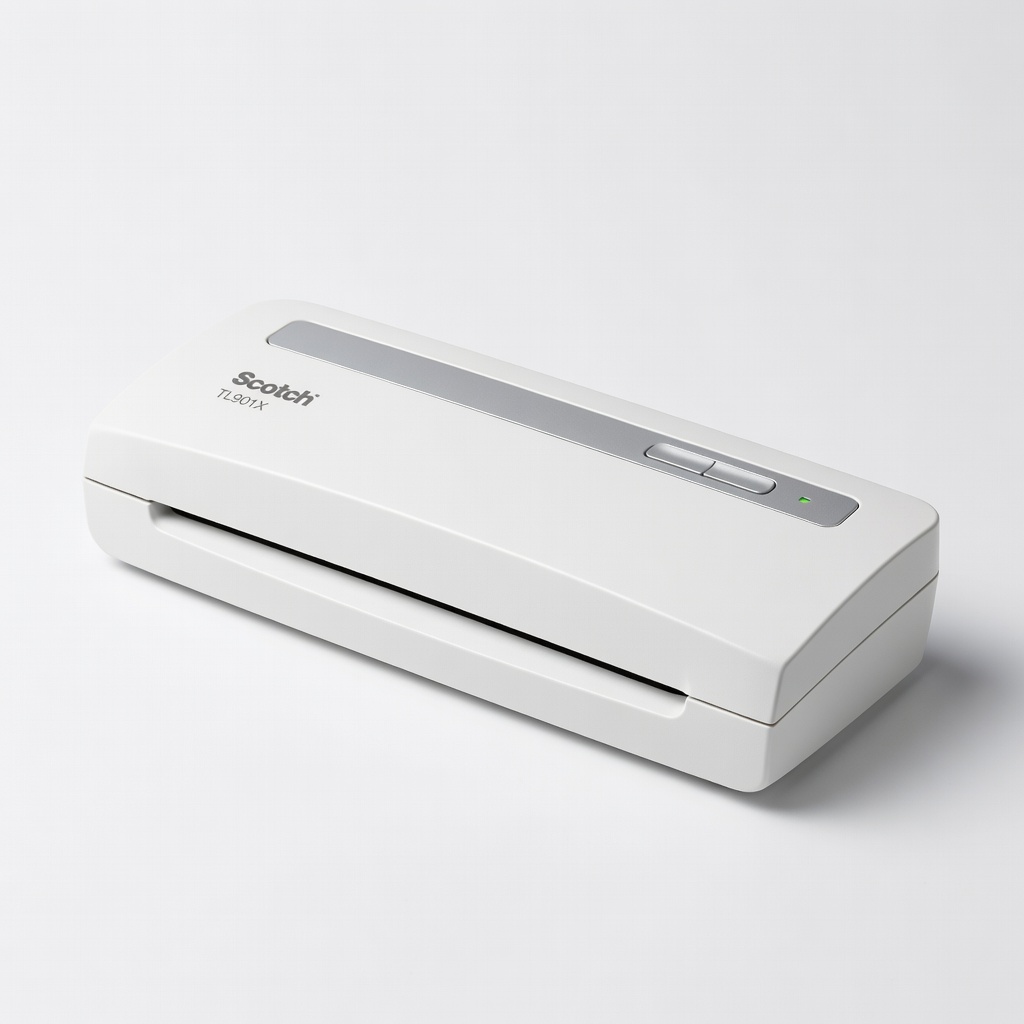
Scotch TL901X Thermal Laminator
Provides quick, bubble-free lamination to protect your calendar pages from spills and fading.
Best for: Sealing finished monthly pages for durability, especially in high-traffic areas like kitchens.
Price Range: $24.99
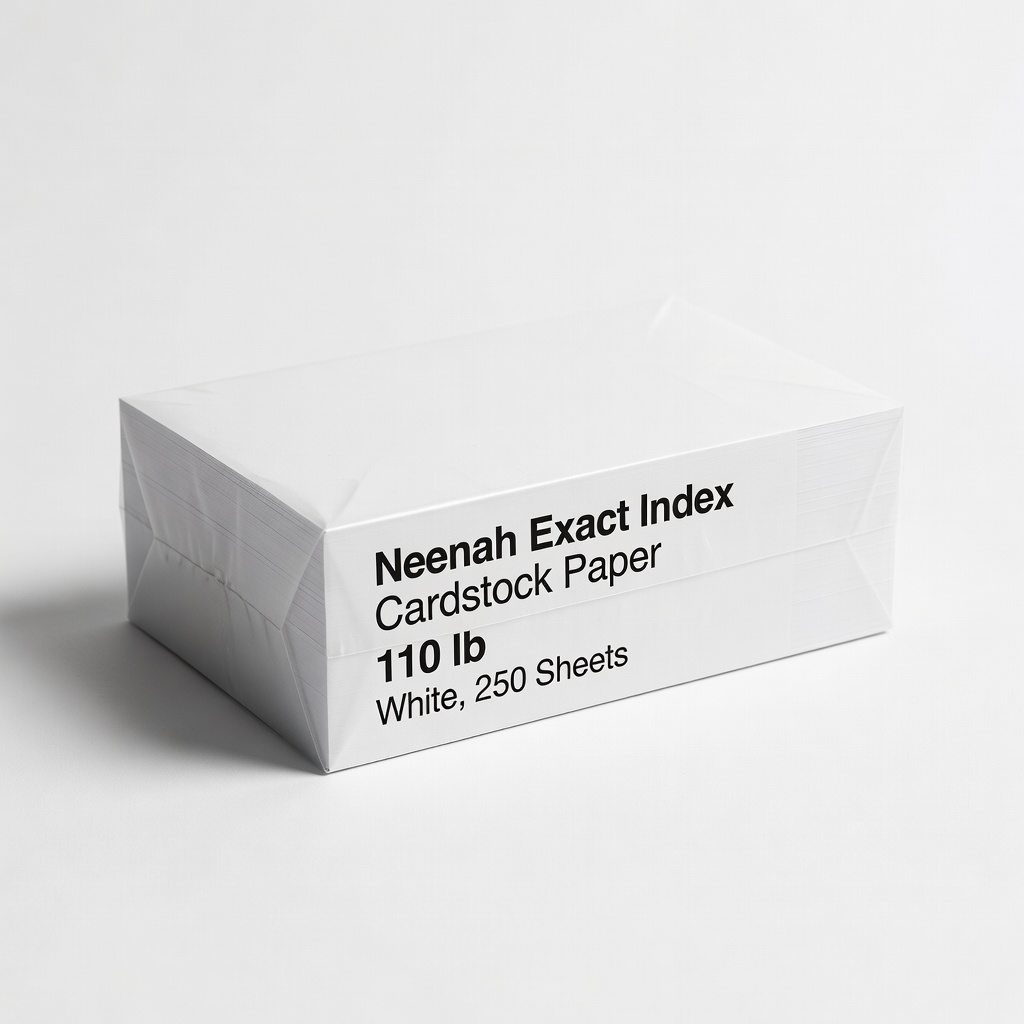
Neenah Exact Index Cardstock Paper, 110 lb, White, 250 Sheets
Thick, smooth cardstock ensures sturdy pages that hold up to binding and handling.
Best for: Base material for all pages and cover to prevent bending or tearing.
Price Range: $14.99
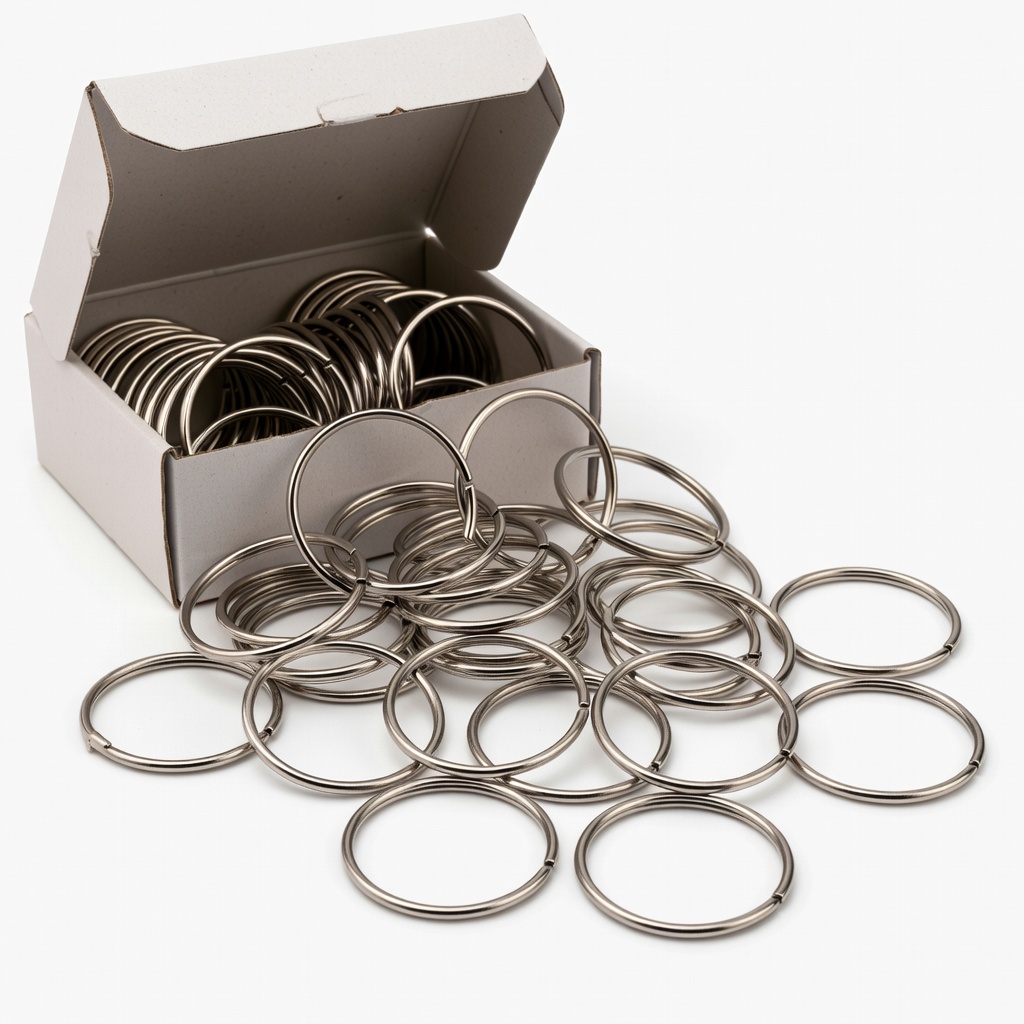
TERRO 3/4-Inch Metal Book Rings, 100-Pack
Durable, rust-resistant rings for secure, easy-flip binding without needing special tools.
Best for: Assembling the calendar stack for a professional spiral-bound look.
Price Range: $6.99
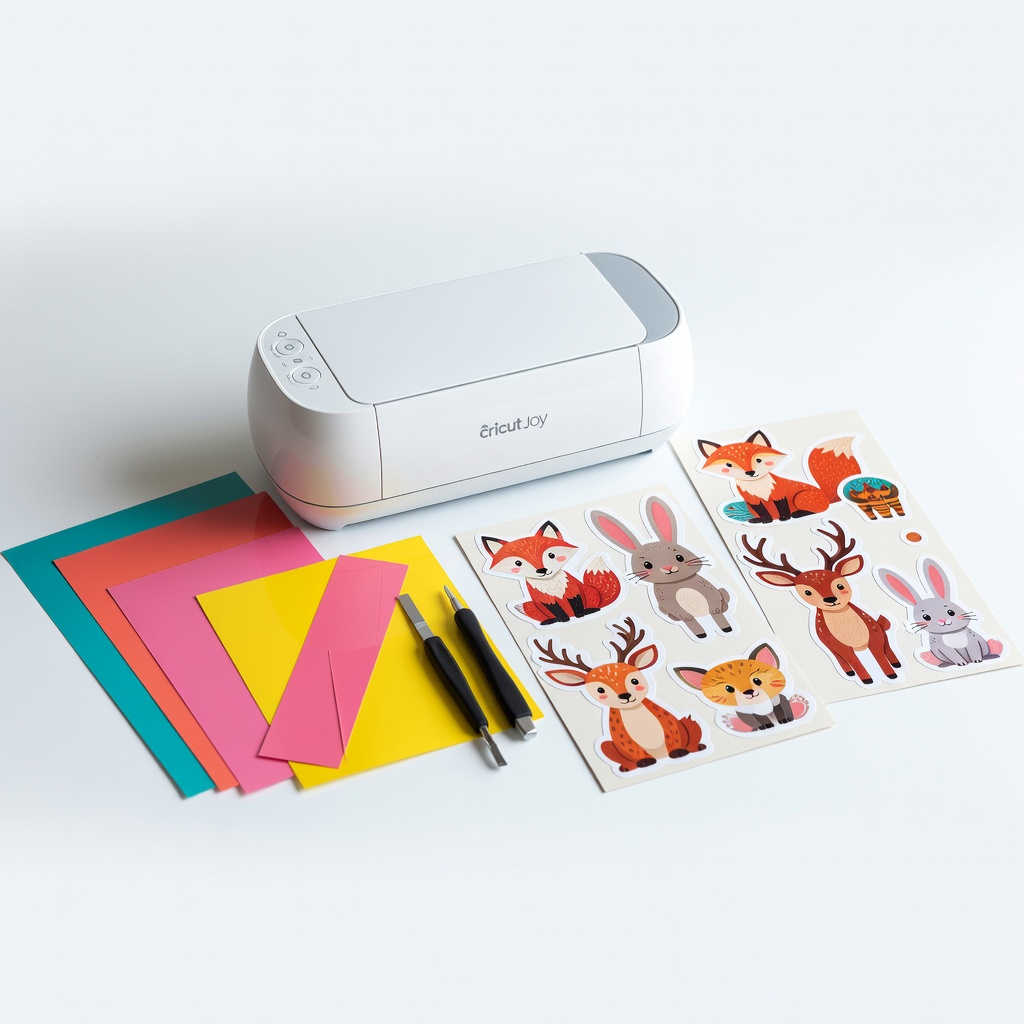
Cricut Joy Xtra Starter Bundle (includes animal-themed vinyl stickers)
Offers customizable stickers and cutouts for adding themed animal decals effortlessly.
Best for: Enhancing pages with peel-and-stick elements for beginners who want pro-level personalization.
Price Range: $249.99