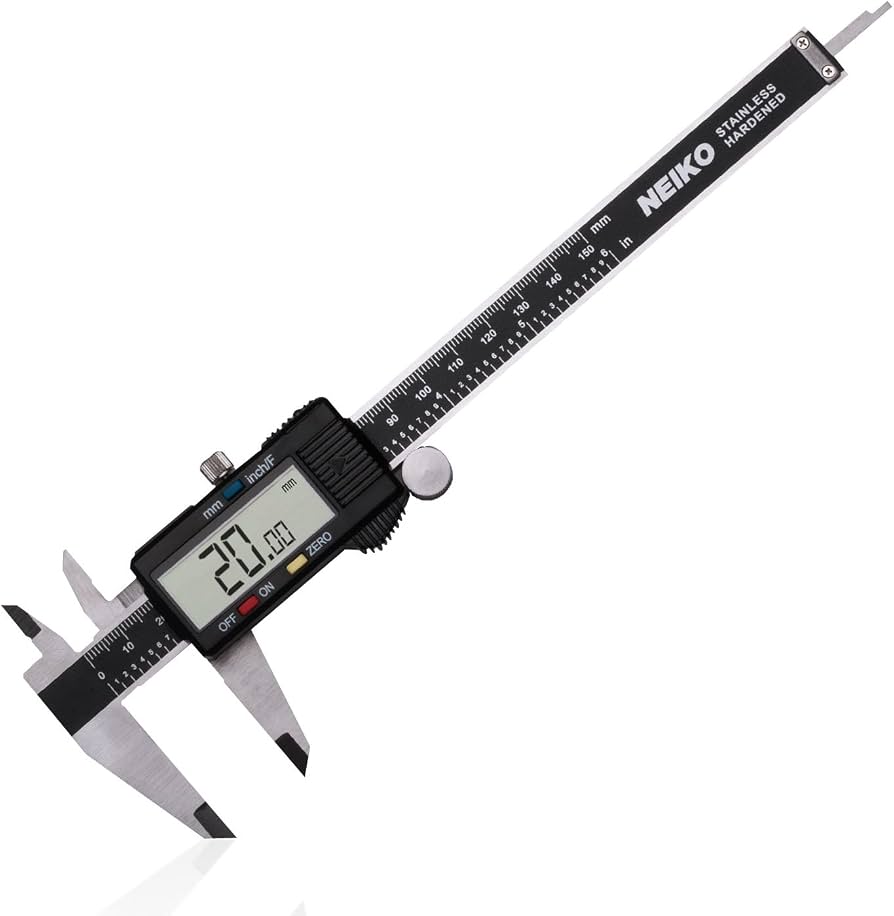
Neiko 01407A Electronic Digital Caliper
Measuring supplies before design; avoids fit issues.
$25.99
Neiko 01407A Electronic Digital Caliper Essential for precise measurements of spools and nozzles to ensure perfect fit—accuracy to 0.001 inch.
Get the App
Better experience on mobile
Design and 3D print tailored organizers for filament spools, nozzles, and tools to declutter your workspace in a few hours.
Is your 3D printing desk a chaotic mess of filament spools, loose nozzles, tangled cables, and scattered tools? You're not alone—many intermediate makers struggle with disorganized supplies that slow down projects and lead to wasted filament or damaged parts. Custom organizers solve this by fitting your exact needs, saving space and time.
In this guide, you'll learn to design parametric organizers using free software like Tinkercad or Fusion 360, slice them perfectly, and print durable holders. The process combines creativity with practical 3D printing skills, resulting in stackable, modular storage that grows with your hobby.
Expect 45-90 minutes for design and 4-8 hours for printing (depending on size and printer speed). Perfect for intermediate users familiar with basic slicing and printing.
Estimated Time: 5-10 hours (45-90 min design + 4-8 hours printing) Difficulty: intermediate
Start by inventorying your 3D printing supplies: measure filament spool diameters (typically 200mm outer, 52mm inner), nozzle sizes (0.4mm standard), SD cards, pliers, and tools using a digital caliper. Note your desk or printer enclosure space constraints.
This planning ensures your organizer fits perfectly and maximizes utility. Sketch a rough layout on paper—e.g., slots for 4 spools, compartments for 20 nozzles, drawers for small parts.
Success looks like: A list of dimensions and a simple sketch ready for digital modeling.
💡 Tips:
⚠️ Warnings:
For intermediate users, use Tinkercad (free, browser-based, drag-and-drop) for quick designs or Fusion 360 (free personal license, parametric for custom sizes). Sign up, create a new project, and import basic shapes.
Fusion allows variables (e.g., spool_diameter = 200mm) for easy resizing—ideal for customizability. Tinkercad suits simpler boxy organizers.
Success looks like: Blank workspace open with grid visible and units set to mm.
💡 Tips:
⚠️ Warnings:
Create a rectangular base (e.g., 300x200x50mm) using box primitives. Extrude walls 3-5mm thick for strength. Add feet or stackable lips if multi-level.
Why it matters: Strong base prevents warping; PETG handles stress better than PLA here.
Success looks like: Solid 3D model of empty tray rotating smoothly in viewport.
💡 Tips:
Subtract cylinders for spool holders (inner dia 55mm, outer slots). Create grids for nozzles (0.6mm holes with 1mm walls). Add lidded boxes for SD cards/tools using boolean operations.
Group features logically—spools on top for quick swaps, small parts below. Test alignments with duplicate objects.
Success looks like: Model populated with 5-10 custom compartments matching your sketch.
💡 Tips:
⚠️ Warnings:
Add labels with text tools (engrave 1-2mm deep). Include cable channels or tool slots. Make it modular with dovetail joints for stacking.
This elevates from basic to pro-level organizer.
Success looks like: Fully featured model with labels and interlocking parts.
💡 Tips:
Use section views or assembly mode to check fits. Simulate prints by checking overhangs (<45 degrees). Export a test piece (small section) and print to verify.
Iterate based on virtual fits.
Success looks like: No interferences, print-ready geometry.
⚠️ Warnings:
Export as STL (high resolution, binary). Import to Cura/PrusaSlicer. Set infill 20-30%, 3 walls, 0.2mm layer height, PETG profile (240C nozzle, 80C bed).
Orient flat on bed; add brim if needed.
Success looks like: G-code file preview with estimated 4-6 hour print time.
💡 Tips:
Start print on leveled bed. Monitor first layer. Post-print: remove supports, sand rough edges, assemble if modular.
Mount with adhesive hooks or screws.
Success looks like: Sturdy, fitted organizer holding all supplies neatly.
💡 Tips:
⚠️ Warnings:
Problem: Print warps or corners lift
Solution: Use enclosure, PETG, enclosure fan off, or add brim/raft.
Problem: Compartments too tight/loose
Solution: Re-measure with caliper, adjust model by 0.3mm, reprint test piece.
Problem: Stringing on PETG
Solution: Dry filament, lower temp 5C, increase retraction 1mm.
Problem: Software crashes on export
Solution: Simplify mesh (reduce facets), use STL instead of STEP.
Essential for precise measurements of spools and nozzles to ensure perfect fit—accuracy to 0.001 inch.
Best for: Measuring supplies before design; avoids fit issues.
Price Range: $25.99
Durable, warp-resistant material ideal for functional organizers that withstand daily use.
Best for: Printing strong, long-lasting storage; better than PLA for shelves.
Price Range: $21.99
Includes various sizes to organize and test; complements your custom nozzle holders.
Best for: Stock your new organizer with matched nozzles for quick swaps.
Price Range: $12.99
Reliable storage for G-code files and designs; fits small compartments perfectly.
Best for: Transfer sliced files without USB issues.
Price Range: $7.99
Smooths print lines for professional finish on visible surfaces.
Best for: Post-processing organizers for a polished look.
Price Range: $8.99
Measuring supplies before design; avoids fit issues.
Neiko 01407A Electronic Digital Caliper Essential for precise measurements of spools and nozzles to ensure perfect fit—accuracy to 0.001 inch.
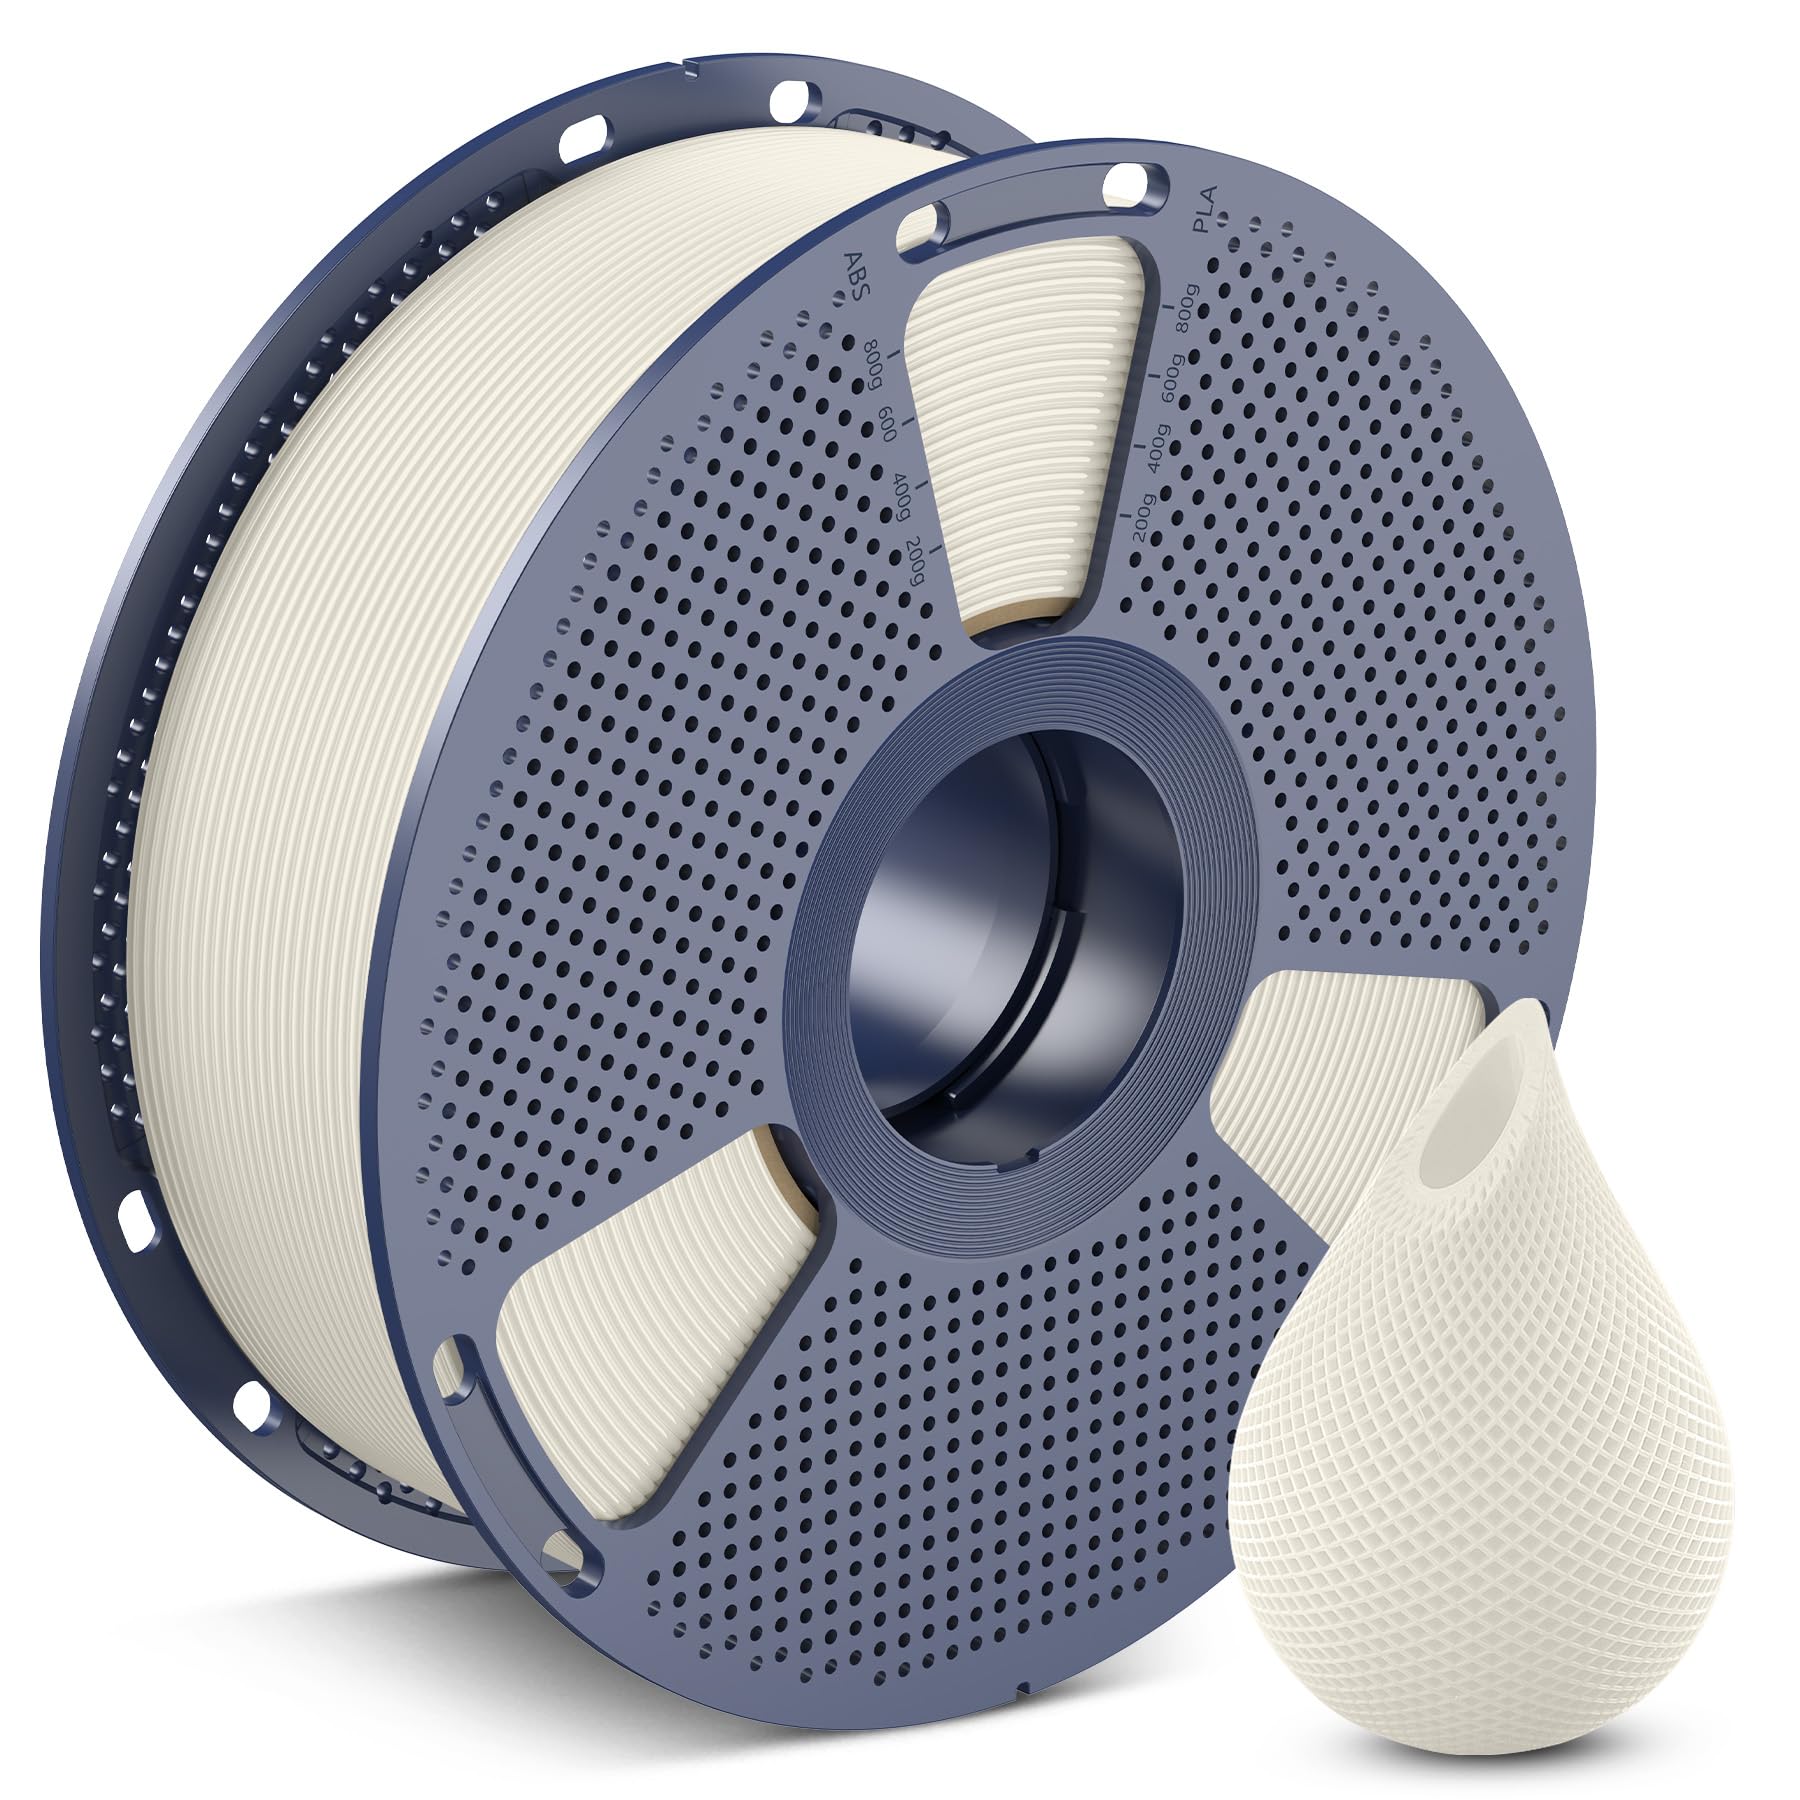
Printing strong, long-lasting storage; better than PLA for shelves.
OVERTURE PETG Filament 1.75mm 1KG Black Durable, warp-resistant material ideal for functional organizers that withstand daily use.
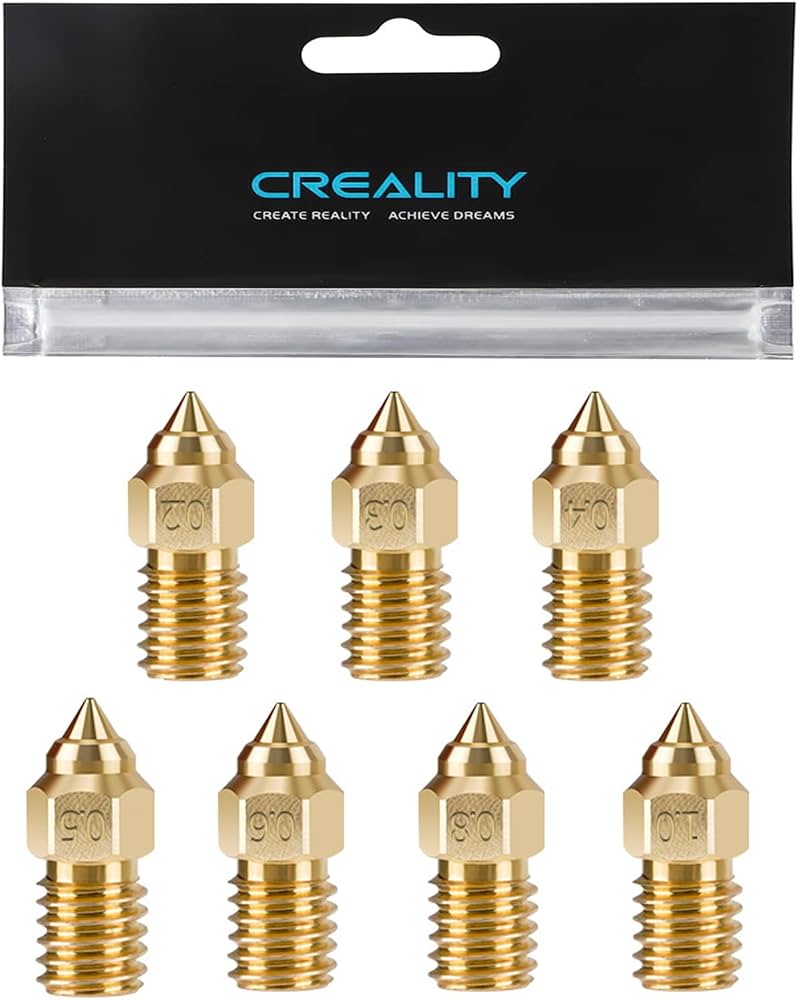
Stock your new organizer with matched nozzles for quick swaps.
Creality 3D Printer Brass Nozzle Kit (0.2-1.0mm) Includes various sizes to organize and test; complements your custom nozzle holders.
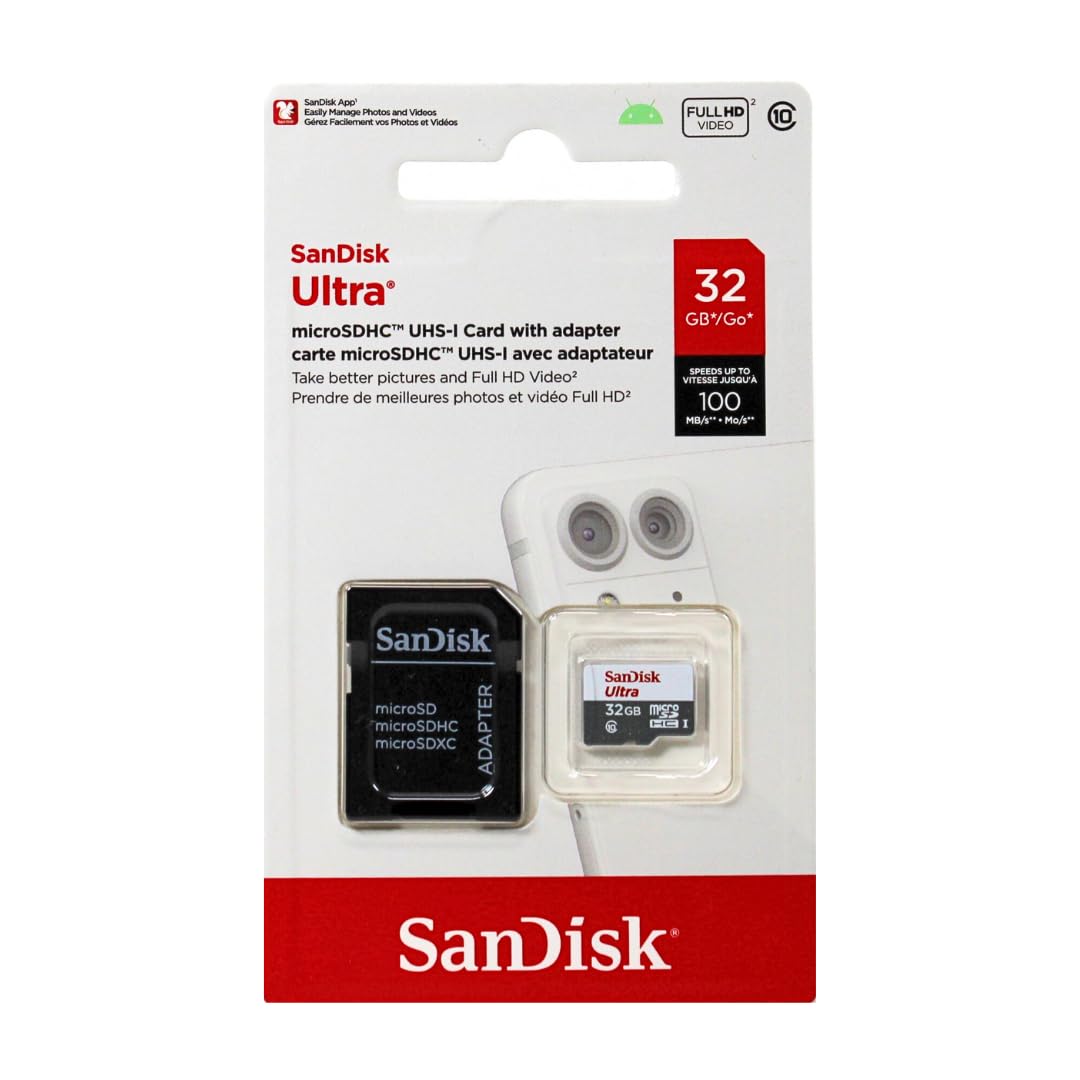
Transfer sliced files without USB issues.
SanDisk Ultra microSDXC Card 32GB Reliable storage for G-code files and designs; fits small compartments perfectly.

Post-processing organizers for a polished look.
400 Grit Wet/Dry Sandpaper Assortment (10 Sheets) Smooths print lines for professional finish on visible surfaces.