Nothing ruins a movie night faster than a bright ceiling light blasting in your peripheral vision. On the flip side, watching a movie in a completely dark room creates eye strain and flattens the picture. The sweet spot is a "movie lighting" scene: just a few dim, warm lights placed to minimize glare while keeping the room navigable and immersive. With a smart lighting setup, that scene can be summoned with a voice command, a tap on your phone, or an automatic routine that dims the lights when you press play.
In this guide, you'll learn how to create a smart lighting scene for movie nights—from choosing and installing smart bulbs, to configuring a "Movie Night" scene with the exact brightness and color that feel right, and then controlling it all with voice commands or a simple routine. The whole process takes about 15–30 minutes and requires no special tools or wiring experience.
This is a beginner-friendly project, so we'll start with the essentials and explain every step. By the end, you'll have a reliable, cozy setup that makes every movie feel like a home theater premiere.
▸What You'll Need
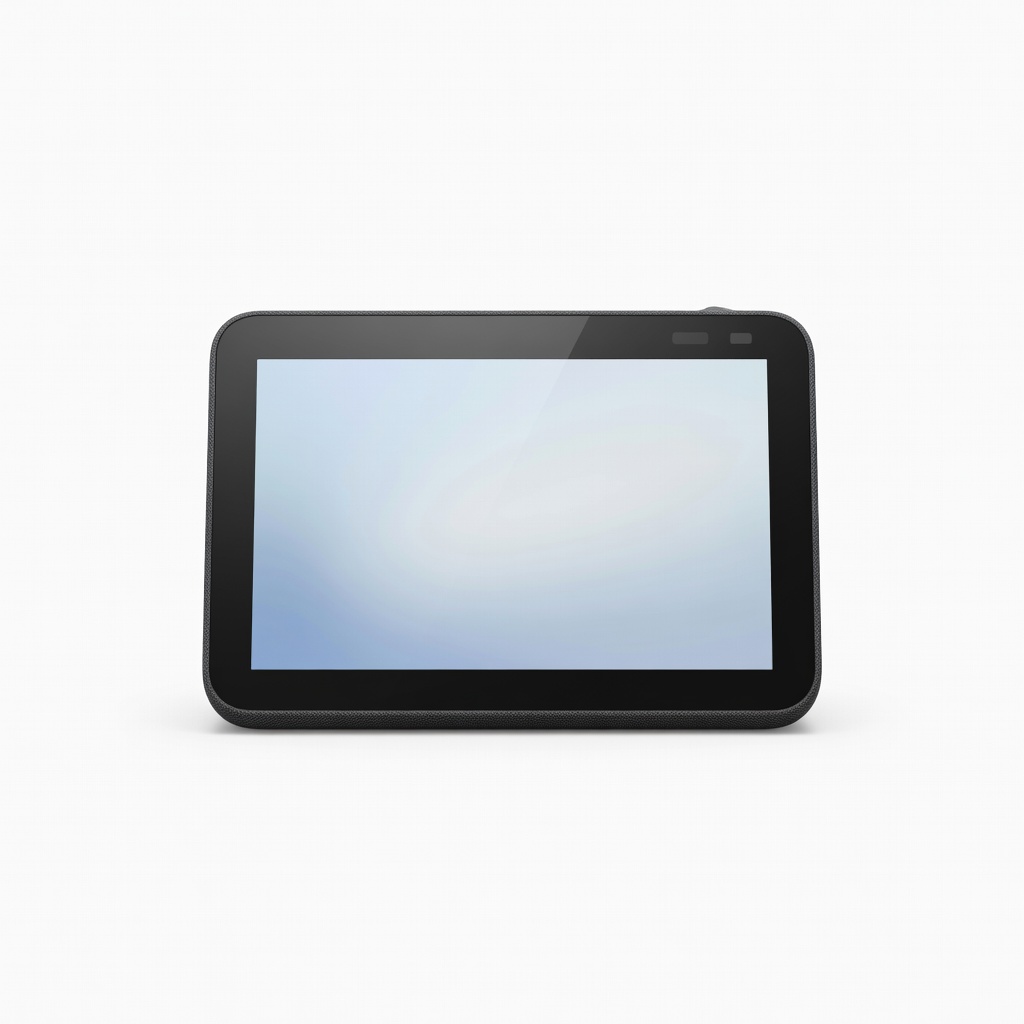
- •Smart speaker or smart display (e.g., Amazon Echo, Google Nest Hub) – optional but recommended
- •Smart bulbs or smart LED strip kit (choose one ecosystem: Philips Hue, LIFX, Govee, TP‑Link Kasa)
- •A smartphone with the manufacturer's app installed
- •Home Wi-Fi network with a 2.4 GHz band
- •A smart plug (optional, to control your TV or a non-smart lamp)
- •A clean cloth for the TV back edge (if installing a light strip)
Estimated Time: 15–30 minutes
Difficulty: beginner
▸Step-by-Step Instructions
Step 1: Inventory Your Current Setup
Walk around your TV area and take stock of where the light sources are. Notice the ceiling light that feels too harsh, the floor lamp that casts a strong glow, and the TV itself. For a movie night, you don't want the screen to be the only light, but you definitely want the ambient light to be dim and to come from behind or beside you—never directly on the screen. Look for fixtures you could control independently, and decide whether you want color-capable lights or just dimmable warm white.
While you're planning, look for a wall outlet behind or next to your TV. That's where you'll plug in a bias lighting kit or a smart plug for the TV. If you already have a smart speaker (an Echo or Nest) in the room, note where it is, because you'll be connecting your lights to that assistant later.
💡 Tips:
- •Make a short list of two or three lights to automate. A smart bulb in the floor lamp, a smart plug for the TV, and an LED strip behind the TV is plenty.
⚠️ Warnings:
- •If the fixture is controlled by an old dimmer switch, a standard smart bulb will likely flicker. You can replace the switch with a smart dimmer, or keep the dimmer at 100% and use the bulb's app for dimming.
Step 2: Pick Your Smart Lighting Ecosystem
Smart lighting comes in a few flavors: simple smart bulbs, smart LED strips, and smart plugs. For movie nights, the most useful options are color-capable bulbs and stretchy light strips—these give you that subtle glow and the ability to tune the color temperature. Brands like Philips Hue, LIFX, Govee, and TP‑Link Kasa all offer excellent options, but they work in slightly different ways.
Some lights (like Philips Hue) use a Zigbee hub, which adds a small bridge box to your router for rock-solid communication. Others (like Govee and Kasa) connect directly to your Wi-Fi and need no hub. If you're brand new, a Wi-Fi-direct kit with an app and voice assistant support is the least technically stressful route. If you already have a smart home hub or a HomeKit setup, check compatibility before buying.
💡 Tips:
- •For a home theater vibe, pick a kit that includes color-capable bulbs. A single white-only bulb is fine to start, but you'll eventually want the option of a purple, blue, or warm amber glow.
⚠️ Warnings:
- •Avoid mixing brands across your movie scene if possible. Each brand has its own app and pairing quirks, and linking multiple brand apps to your assistant can feel like a headache.
Step 3: Install and Power Up Your Smart Lights
Install the lights you've chosen. For a smart bulb, switch off the wall at the circuit breaker if you're replacing a fixed fixture, let the old bulb cool, and screw in the new smart bulb. For a floor lamp, simply screw it into the lamp socket and plug the lamp into the wall. If you're using a light strip, clean the back of the TV with a dry cloth and press the strip along the back edge, leaving a 2–3 inches gap. Feed the power cable through the TV stand and plug it in.
Once everything is physically installed, turn on the lights at the wall switch and make sure they light up (they'll probably remain in a default white/bright state). Keep the app closed for a moment while we pair each device one by one. This is also a good time to set up any smart plugs you're using: plug the TV or a popcorn warmer into the plug, then plug the plug into the wall.
💡 Tips:
- •When placing a strip behind the TV, avoid sharp corners. Most LED strips have a maximum bend radius, but there are connectors and corner clips sold in most kits.
⚠️ Warnings:
- •If you're using an old wall dimmer, leave the dimmer at 100% and use the bulb's app to dim. Dimmer switches can damage the smart bulb's internal components and cause audible buzzing.
Step 4: Connect the Lights to the App
Download the app for your light brand—Philips Hue, Govee Home, TP‑Link Kasa, or LIFX—and create an account. Open the app, tap the plus icon or "Add Device," and follow the in-app steps. Many apps will first try Bluetooth to find the light; just be within 10 feet of the bulb and hold your phone close. If the app asks for your Wi-Fi password, make sure your phone is connected to the 2.4 GHz band of your router. Smart home devices generally don't support 5 GHz networks, and connecting them to the wrong band is the most common pairing failure.
Name each device as you add it, using logical names like "Couch Lamp," "Ceiling Light," and "TV Backlight." If you want to control multiple lights as a single unit later, it's okay to leave this for now—we'll group them in the next step. After pairing, the app will likely show a success screen and the light will respond to toggles in the app.
💡 Tips:
- •Write down your 2.4 GHz Wi-Fi network name and password beforehand. Many apps require you to type them during the pairing, and the process can time out if you fumble.
⚠️ Warnings:
- •Don't pair multiple devices at once. Pair one light, confirm it's working in the app, then move on to the next. It takes longer but prevents connection confusion.
Step 5: Create a Movie Night Scene
Now the fun part. Open the Scenes (or Presets / Moods) section in your smart light app and create a new scene. Name it "Movie Night." In most apps, you'll toggle which lights are included in the scene, and then choose brightness and color for each. Start with your main light source at 20–30% brightness with a warm white tone around 2700K–3000K. This feels like the light of a dim lamp in a theater lobby—cozy without washing out the screen.
If you have a bias light strip behind the TV, include it in the scene and give it a slightly cool or colored tone (e.g., soft blue, indigo, or deep purple). The strip should be at 20–50% of brightness, depending on the mood. Test the scene: walk to your couch and sit down. The screen should be the brightest thing in the room, but you should still be able to see the popcorn bowl and your drink.
💡 Tips:
- •If your app lacks a "scene" mode, just set the brightness and color manually and then save it as a favorite. It has the same effect.
⚠️ Warnings:
- •Avoid using 100% brightness or daylight (6500K) white in a movie scene. It creates enormous glare on the TV screen and ruins your night vision adaptation.
Step 6: Add Voice Control and Routines
Once the scene looks good in the app, connect your lights to your smart speaker or smart home app. If you use Amazon Alexa, open the Alexa app, tap Skills & Games, search for your light brand (e.g., Philips Hue or Govee), and "Enable" the skill. Log in with the same account you used in the light app, and then say "Alexa, discover devices." The lights will appear in the Alexa app. For Google Home, open the Google Home app, tap Add > Set up device > Works with Google, and link your brand account.
After discovery, assign each light to the room where it's physically located (e.g., Living Room). Now create a routine:
- •In Alexa: tap Routines > New (or '+' > Add routine). Set the Custom phrase to "movie night" (or "popcorn"). Add an action: Control Scene > Movie Night > Save.
- •In Google Home: open Routines and create a custom routine with a Start phrase, add "Adjust Lights" action and select the saved scene.
After saving, test it: say "Alexa, movie night" and watch the room transform. If nothing happens, check that the routine's action is pointing at a scene from the light app, not just a single bulb.
💡 Tips:
- •Choose a phrase you won't accidentally say in the middle of a movie, e.g., "Let's watch a movie" is fine, but "movie night" might be triggered when you say "Movie night!" casually.
⚠️ Warnings:
- •If you have a smart plug for the TV, the routine can also turn it on in the same step: add the plug as a second action in the routine.
Step 7: Test and Fine-Tune Your Scene
You're almost done. Now it's time to make the scene feel great. Sit in your usual movie spot and turn the scene on while a film is playing—especially a film with dark scenes. Look for the following: brightness that's comfortable to your eyes, no glare or reflections on the TV glass, and enough ambient light that your peripheral vision isn't in a pitch-black void.
Adjust the brightness by 5% increments. Sometimes the 20% brightness that sounded good in a bright room is still too high in a fully dark room. Lower it until the blacks on the screen look true and your eyes don't strain. Try switching your backlight color from white to a warm orange or deep blue. Backlight strips look best when they match the overall color temperature of the film, but a classic warm amber is a safe default.
💡 Tips:
- •Turn off every other light in the room before testing. You'd be surprised how much a bathroom light down the hall affects the feel.
⚠️ Warnings:
- •Don't try to fix a scene while the phone app is open and the brightness slider is glowing in your hand. Set it, put the phone down, sit back, then judge.
Step 8: Set Up TV Bias Lighting (Optional)
Bias lighting is arguably the single best upgrade for a movie night. Install a smart LED strip along the back edge of your TV and it will create a soft halo of light that makes the screen's contrast seem richer and reduces eye fatigue during a two-hour film. If you already have a strip, great—skip this step. If not, grab a budget kit like the Govee TV Backlight or a Philips Hue Lightstrip.
The trick to bias lighting is keeping it dim and keeping it behind the TV. If the strip is too bright, it creates a hazy aura that ruins dark scenes. Set it to somewhere between 10% and 40% brightness. Some newer kits come with a camera that samples the colors on the screen and matches them; that's a fun extra, but even a static warm-white strip improves the experience.
💡 Tips:
- •For the best movie immersion, set your bias lighting a touch below the average brightness of the screen. Try "Soft Blue" for sci-fi and "Amber" for drama.
⚠️ Warnings:
- •Make sure the strip doesn't cover the TV's ventilation slats. Overheating can shorten the TV's life.
▸Pro Tips
- •Use 2.4 GHz Wi-Fi for all smart lights; 5 GHz will cause pairing failures.
- •Stick to one ecosystem (Alexa, Google, or HomeKit) for a smoother setup.
- •The magic number is 20% brightness for ambient lights and warm white (2700K) for a cinematic feel.
- •Bias lighting at the back of the TV reduces eye strain and makes dark scenes look more immersive.
- •Use the "browse scenes" in your light app as a starting point—Hue and Govee have pre-made movie presets.
- •If you want syncing lights to the movie, look into an HDMI sync box (like Hue Sync) or a smart bias light that reacts to color, like the Govee T2.
- •Add a "Watch TV" routine with one button or voice command that also turns off the kitchen light.
- •Test the scene during an actual movie before fine-tuning; photos never show how a light actually feels.
▸Common Mistakes to Avoid
- •Leaving the wall dimmer switch engaged—smart bulbs need full, constant power.
- •Pairing on the 5 GHz band—always use 2.4 GHz.
- •Adding too many lights to a scene at full brightness—start dim and add.
- •Ignoring the remote—buying a smart lighting kit but never automating with voice.
- •Placing bias lights where they can actually cast glare on the TV screen—face them towards the wall.
▸Troubleshooting
Problem: Smart bulb not appearing in app.
Solution: Reset the bulb (turn it off/on 5 to 6 times until it flashes), then try pairing again. Make sure you're within 10 feet and on 2.4 GHz.
Problem: Scene doesn't activate with voice command.
Solution: Make sure the assistant skill is linked in the assistant app and devices have been re-discovered. Re-create the routine after installing a new light.
Problem: Lights start flickering.
Solution: Unplug the light or turn it off and on to force a quick firmware update. If flickering persists, the wall switch/dimmer is incompatible; replace with a standard switch.
Problem: Lights slow to respond or trigger in the wrong order.
Solution: Place the smart hub (if you have one) closer to the lights, and ensure no additional Wi-Fi extenders are causing interference. For ordering, set up two separate scenes and trigger them sequentially with a routine.
Philips Hue White and Color Ambiance Starter Kit
The gold standard for smart lighting. Reliable, accurate color, and a polished app with pre-made movie-night scenes.
Best for: Ideal if you're building a whole smart lighting system and want a single, dependable ecosystem.
Price Range: $99–$200 depending on bundle
Philips Hue Play Gradient Lightstrip for TV
Creates a four-sided bias glow around your TV that can sync to on-screen content with the HDMI Sync Box.
Best for: Best for a dedicated home theater room where you watch mostly at night.
Price Range: $149.99–$230
Govee TV LED Backlight (H6199) or Govee T2
Budget-friendly bias lighting with camera sync that gives a similar effect to Hue without requiring a hub.
Best for: Great for living room or bedroom TVs and for people who want instant color sync.
Price Range: $20–$60
TP-Link Kasa Smart Wi-Fi Bulb (KL125)
Cheap, reliable, and works with Alexa and Google. Great for adding dimming to a lamp.
Best for: Best for budget builds or adding a warm accent light.
Price Range: $10–$25 per bulb
Amazon Echo Dot (5th Gen)
An affordable voice assistant that lets you trigger your movie scene hands-free.
Best for: Useful if you don't already have a smart speaker.
Price Range: $29.99–$49.99