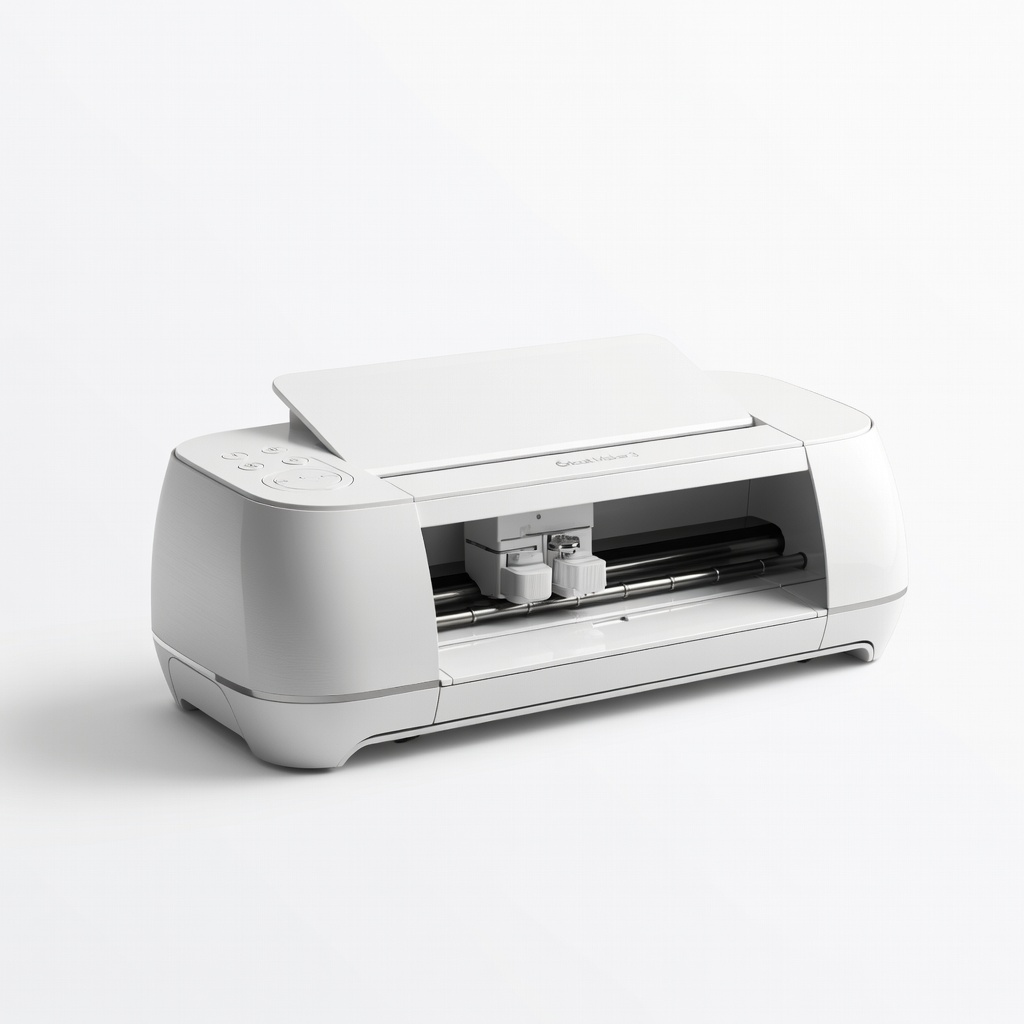
Cricut Maker 3
Upload SVGs for automated multi-layer cutting, saving hours.
$399-$429
Cricut Maker 3 Precision cutting of intricate puzzle pieces without manual errors, ideal for intermediate crafters.
Get the App
Better experience on mobile
Transform cherished family photos into interactive 3D layered puzzles that assemble like a jigsaw for unique gifts or decor in just a few hours.
Imagine gifting a personalized 3D puzzle that brings family memories to life with stunning depth and dimension. Whether for holidays, birthdays, or home decor, DIY 3D puzzles from photos solve the problem of flat, forgettable prints by adding an engaging, hands-on assembly experience. This intermediate project combines photo editing, crafting, and precision cutting for a professional result.
In this guide, you'll learn to separate a photo into depth layers, print and cut matching puzzle pieces from each, then stack them with spacers for a true 3D effect. The final puzzle assembles layer by layer, revealing depth as pieces interlock. Expect 4-6 hours total, spread over 1-2 days (including drying time), with basic photo editing and knife skills required.
No fancy equipment needed beyond a printer and craft knife—though a cutting machine speeds things up. Follow these steps for a puzzle sized 8x10 inches with 20-30 pieces.
Estimated Time: 4-6 hours (1-2 hours editing, 1 hour printing, 2-3 hours cutting and assembly) Difficulty: intermediate
Choose a high-contrast family photo with clear depth—think foreground subjects against a distant background, like kids in front of a landscape. Avoid busy or low-res images, as they'll muddle layers.
Open the photo in GIMP (download from gimp.org). Resize to your puzzle size (e.g., 8x10 inches at 300 DPI: Image > Scale Image). Crop to focus on key elements (Tools > Transform Tools > Crop). Boost contrast (Colors > Brightness-Contrast) for easier layer separation. Save as a layered XCF file.
Success looks like: A sharp, well-composed image ready for slicing, with visible depth planes (e.g., people, mid-ground objects, sky).
💡 Tips:
⚠️ Warnings:
In GIMP, duplicate the background layer 4-5 times (Layer > Duplicate Layer), naming them Foreground, Mid1, Mid2, Background, Sky.
Use the Fuzzy Select Tool (magic wand) and Free Select Tool (lasso) to mask out elements by depth: Erase foreground from back layers, progressively revealing closer elements. Feather edges (Select > Feather 2-5px) for smooth blends. Fill distant layers with gradients or solid colors if needed (Bucket Fill Tool).
Align all layers (Layer > Align). Add registration marks (small crosses at corners) on a new top layer for cutting alignment.
Success looks like: 4-5 semi-transparent silhouette layers stacking to recreate the original photo with depth.
💡 Tips:
⚠️ Warnings:
Download Inkscape (inkscape.org). Import your aligned layers as SVG (File > Import).
Create a puzzle template: Draw tabs and blanks (Path > Path Effect Editor > Pattern Along Path or freehand with Bezier tool). Use a 20-30 piece grid (e.g., 5x6). Duplicate and align the template over each layer, ensuring pieces match exactly across layers (Align and Distribute panel).
Group each layer's pieces (Object > Group). Add 1/8-inch bleed around edges. Export each layer as separate SVG/PDF for printing (File > Save As).
Success looks like: Identical interlocking shapes on every layer, ready to cut and stack.
💡 Tips:
⚠️ Warnings:
Load 110-200 lb cardstock into your inkjet printer. Print each layer PDF at 100% scale, one per sheet (use colors for backgrounds if desired). Print registration marks boldly.
Let ink dry 10-15 minutes. For vibrancy, laminate sheets first (optional) or spray with fixative.
Success looks like: Crisp, color-accurate prints with sharp edges and visible puzzle lines/marks.
💡 Tips:
⚠️ Warnings:
Secure one sheet at a time on a cutting mat with painter's tape. Trace puzzle lines lightly with pencil if faint.
Use X-Acto knife and ruler for straight edges, freehand for curves—multiple light passes prevent tearing. Cut registration marks last. Sort pieces by layer and position (label backs with marker: 'Front-Left').
If using Cricut: Upload SVG, set to cardstock material, let machine cut precisely.
Success looks like: Clean, interlocking pieces from all layers, stacking perfectly via registration holes.
💡 Tips:
⚠️ Warnings:
Match pieces across layers using registration marks. Apply foam dots to backs of closer layers (1-3 dots per piece, aligned centers).
Press layers together: Sky first, then backgrounds building to foreground. Use tweezers for tiny pieces. Let adhesive set 30 minutes.
Success looks like: Each full puzzle piece now has 3D depth (1/4-1/2 inch total), with smooth stacking.
💡 Tips:
⚠️ Warnings:
Shuffle all 3D pieces into a bag. Assemble by matching tabs—depth emerges as you build.
Seal with clear spray for durability. Mount on a shadow box frame for display.
Success looks like: A fully assembled 3D puzzle revealing photo depth, sturdy for repeated disassembly.
💡 Tips:
⚠️ Warnings:
Problem: Layers don't align when stacked
Solution: Re-check registration marks; trim edges precisely or reprint with better scaling.
Problem: Ink smudges on cardstock
Solution: Use waterproof inkjet paper or spray fixative immediately after printing.
Problem: Pieces too fragile
Solution: Laminator sheets before cutting or reinforce with thin cardboard backing.
Problem: No depth effect
Solution: Use thicker foam spacers (1/8-inch) and ensure strong photo contrast.
Precision cutting of intricate puzzle pieces without manual errors, ideal for intermediate crafters.
Best for: Upload SVGs for automated multi-layer cutting, saving hours.
Price Range: $399-$429
Sharp, ergonomic knife for clean manual cuts on cardstock.
Best for: Detailed freehand cutting of tabs and curves.
Price Range: $10-$15
Heavyweight, printer-friendly stock that holds ink and cuts cleanly.
Best for: Printing durable puzzle layers.
Price Range: $15-$20 for 250 sheets
Perfect thin spacers for stacking layers without bulk.
Best for: Creating depth between puzzle layers.
Price Range: $5-$8
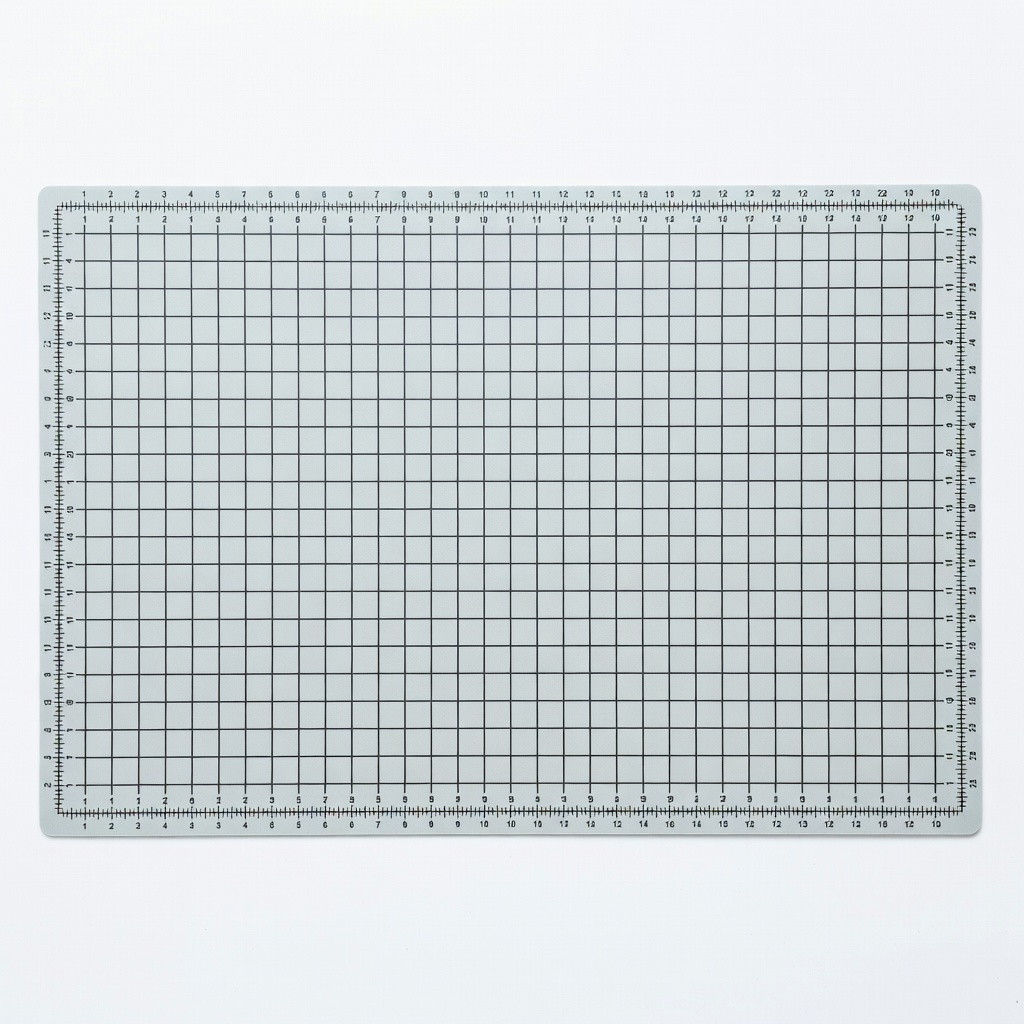
Durable surface protects tables and extends knife life.
Best for: All cutting tasks.
Price Range: $15-$25
Upload SVGs for automated multi-layer cutting, saving hours.
Cricut Maker 3 Precision cutting of intricate puzzle pieces without manual errors, ideal for intermediate crafters.
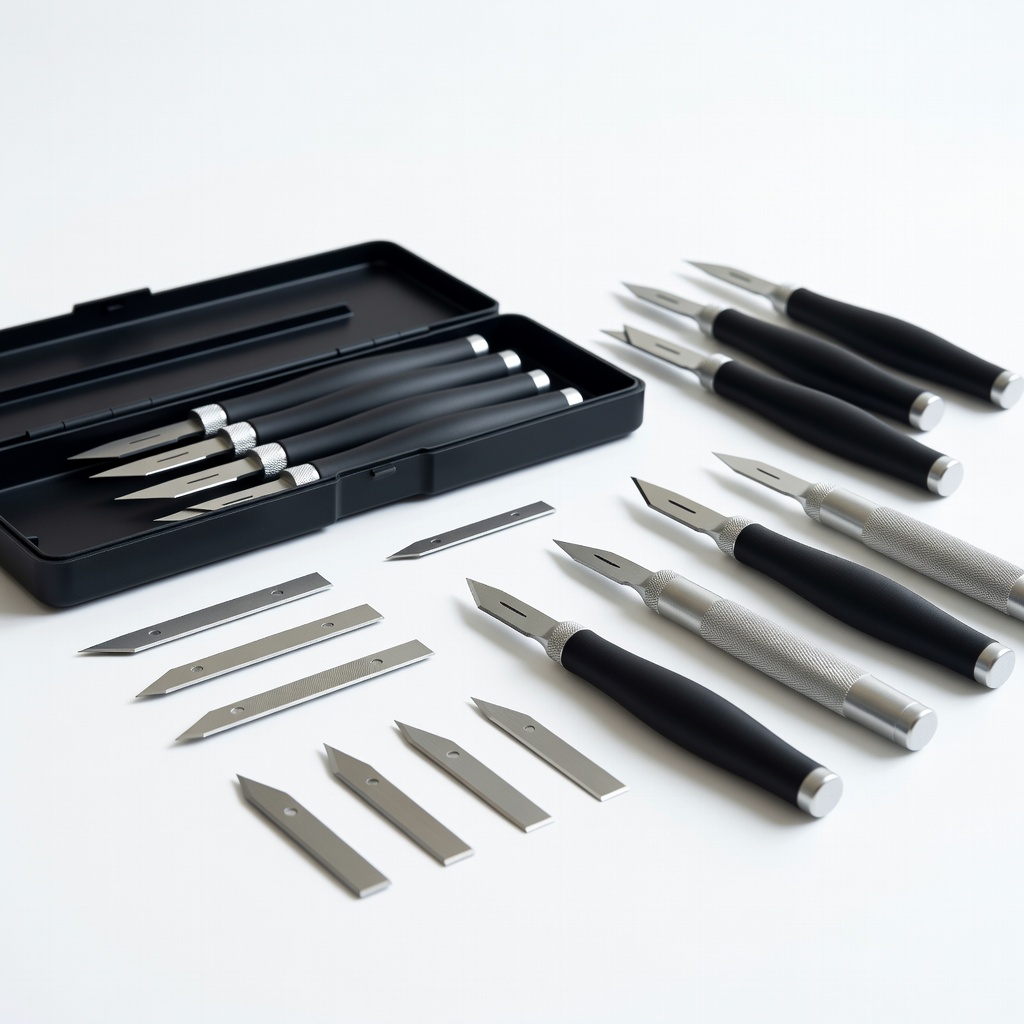
Detailed freehand cutting of tabs and curves.
X-ACTO Precision Knife Set Sharp, ergonomic knife for clean manual cuts on cardstock.
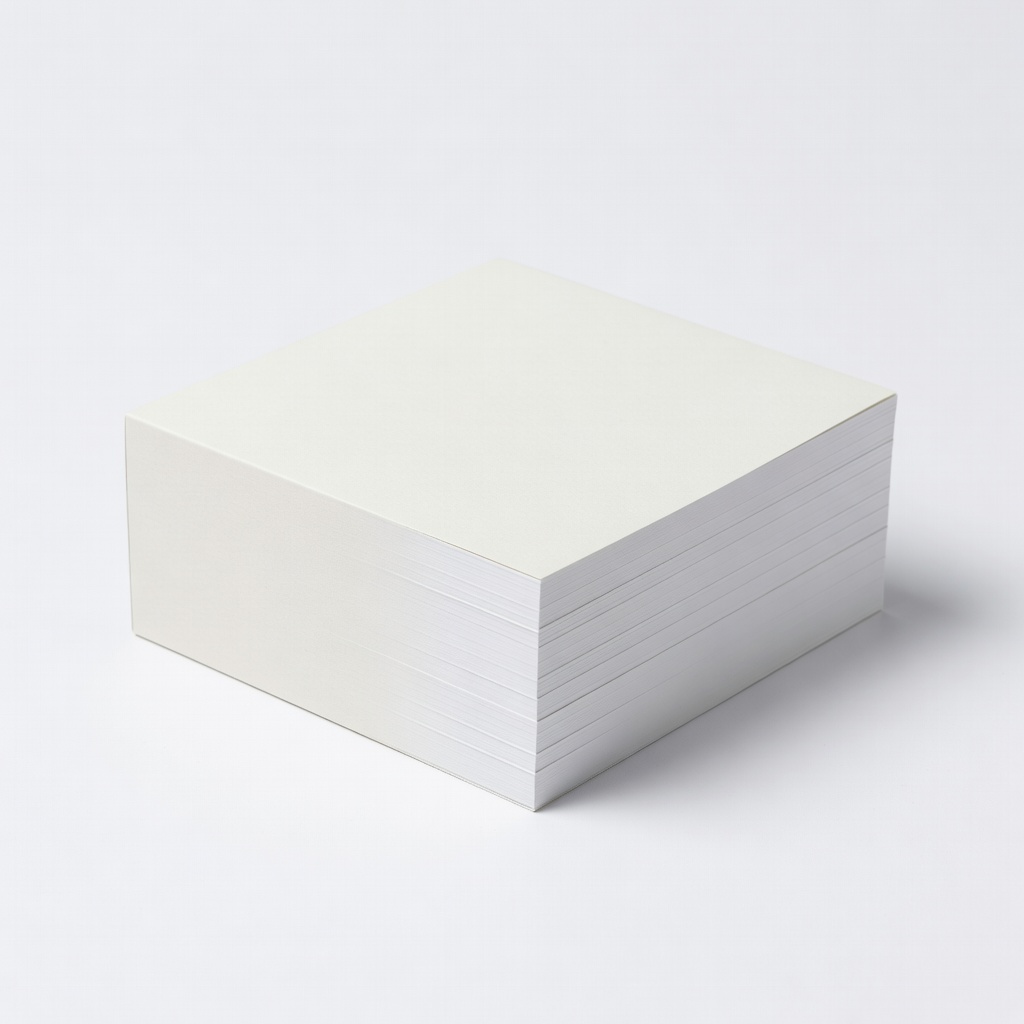
Printing durable puzzle layers.
Neenah Exact Index Cardstock, 110 lb Heavyweight, printer-friendly stock that holds ink and cuts cleanly.
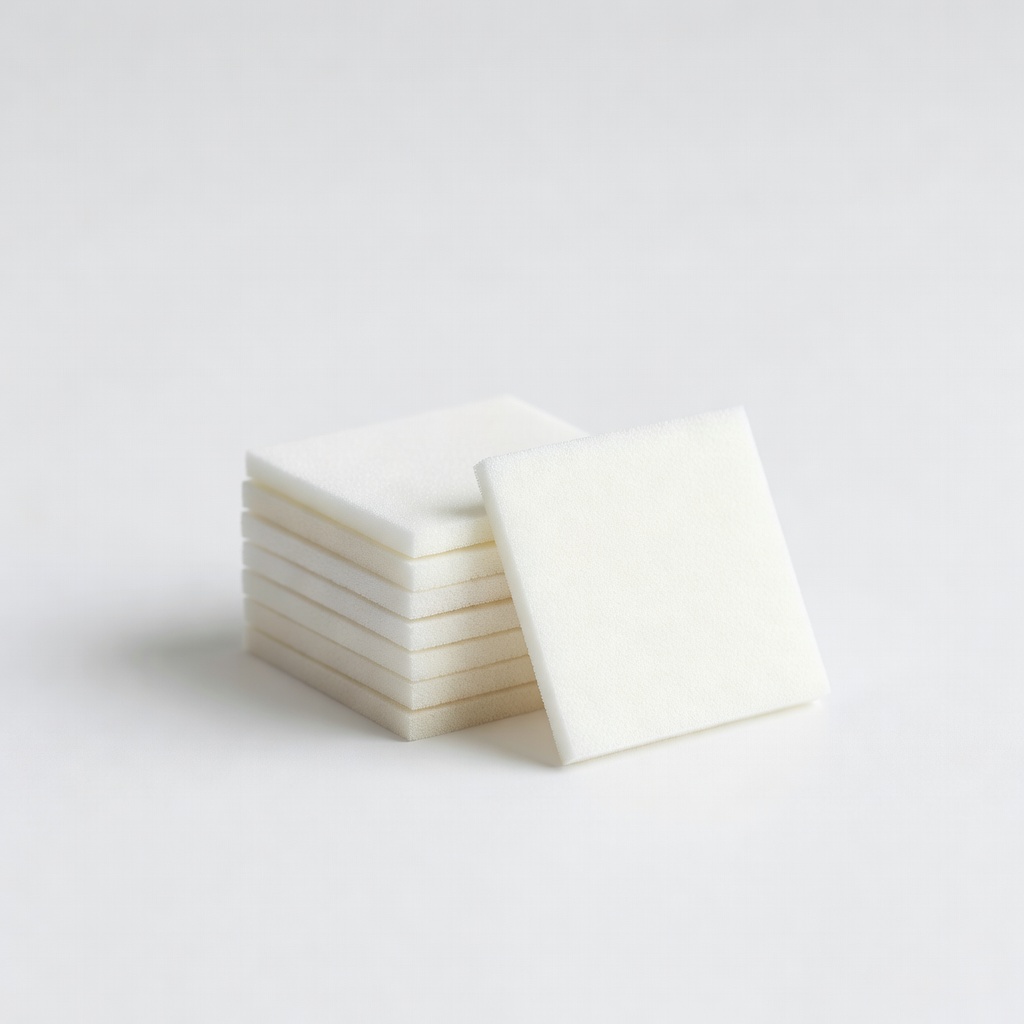
Creating depth between puzzle layers.
Scotch Adhesive Foam Mounting Squares Perfect thin spacers for stacking layers without bulk.
All cutting tasks.
AstroAI Self-Healing Cutting Mat Durable surface protects tables and extends knife life.