▸Why Convert to Rechargeables?
Tired of buying endless packs of AA alkalines that leak, die unexpectedly, and pile up in landfills? For advanced hobbyists, converting devices like flashlights, remotes, toys, and RC controllers to rechargeable NiMH AA batteries means reliable power, 1000+ cycles per cell, and savings of $50-200/year per household. NiMH AAs deliver 1.2V (vs 1.5V alkaline), but smart selection and mods ensure performance.
In this guide, you'll learn permanent soldering conversions or easy caddy swaps, voltage matching, capacity optimization, and safety testing. Expect pro-level results: devices running brighter and longer without disposables.
Process overview: Assess, prep, modify, test, and charge. Advanced skills like soldering required; 1-3 hours/device. No prior mods? Start with caddies before soldering.
▸What You'll Need
- •NiMH AA rechargeable batteries (2000-2800mAh, e.g., Eneloop)
- •Smart NiMH charger with individual cell monitoring
- •Soldering iron (30-60W with fine tip) and rosin-core solder (0.8-1mm)
- •22-24 AWG silicone insulated wire (red/black for polarity)
- •Multimeter (for voltage/current testing)
- •Heat shrink tubing (3-5mm diameter) and heat gun/lighter
- •Wire strippers, helping hands clamp, flush cutters
- •AA battery caddy/spacer (optional for non-permanent)
- •Safety glasses, isopropyl alcohol, electrical tape
Estimated Time: 1-3 hours per device (plus overnight charging)
Difficulty: advanced
▸Step-by-Step Instructions
Step 1: Assess Device Compatibility
Measure voltage draw and battery config.
Open your AA device (flashlight, remote, etc.) and note battery count/orientation (series/parallel). Use multimeter in DCV mode: power on, probe contacts for total voltage (e.g., 3V for 2xAA). Check current draw (DCA mode, 10A setting) – under 1A ideal for NiMH.
Why? NiMH at 1.2V/cell vs alkaline 1.5V means ~20% less voltage; high-drain devices may dim. Success: Chart matches NiMH specs (1.2V nominal, 1.4V fresh).
Tip: Devices with LEDs/motors tolerate NiMH best; analog clocks may not.
💡 Tips:
- •Log battery polarity diagram for later.
- •Test fresh alkalines first for baseline.
⚠️ Warnings:
- •Avoid high-drain (>2A) devices without Li-ion upgrades.
Step 2: Select and Prep NiMH Batteries
Choose high-capacity LSD NiMH AAs.
Pick low-self-discharge (LSD) like Eneloop (1900-2500mAh) for 1-year standby. Buy matched sets (same batch). Fully discharge old batteries, remove.
Charge new NiMH in smart charger (0.5C rate first cycle). Break-in: Charge-discharge 3x. Success: Cells at 1.4V each, balanced.
**Why prep? Prevents imbalance, maximizes life.
💡 Tips:
- •Match capacity to device draw for optimal runtime.
⚠️ Warnings:
- •Never mix NiMH with alkalines – explosion risk!
Step 3: Choose Conversion Method
Decide: Caddy (reversible) or Solder (permanent).
For quick test: AA caddy holds 1-2 AAA NiMH (higher mAh density). Slide into AA slot. Permanent: Solder wires directly to terminals for compact fit.
Advanced pick soldering for space-constrained devices. Success: Method fits without bulk, maintains polarity.
Overview: Caddies for prototypes; soldering for pros.
💡 Tips:
- •Caddies great for rentals/multi-user devices.
Step 4: Prepare Soldered Pack (Permanent Mod)
Solder wires to batteries.
Strip 5mm wire ends. Tin iron tip (280°C), tin wires/battery tabs (+/- marked). Connect in series (e.g., 2xAA: - to +). Insulate joints with heat shrink, shrink with heat gun.
Test continuity (multimeter beep). Add 10cm leads for flexibility. Success: Pack voltage = cells x 1.2V, no shorts.
**Why? Custom packs fit tight spaces, no rattle.
💡 Tips:
- •Use helping hands for steady soldering.
- •Flux for clean joints.
⚠️ Warnings:
- •Overheat batteries >5s – fire risk! Ventilate fumes.
Step 5: Disassemble and Access Terminals
Safely open device.
Remove screws/cover per manual (iPhone tools for clips). Note wire routing. Clean corrosion with alcohol.
Desolder old terminals if needed (wick/solder sucker). Success: Clear access to +/- contacts, no damage.
💡 Tips:
- •Photo every step for reassembly.
⚠️ Warnings:
- •Ground yourself for electronics; static kills ICs.
Step 6: Install and Solder New Connections
Attach pack to terminals.
Tin device terminals. Solder wire leads (+ red to +, black to -). Keep leads short/stressed-relieved. Insulate all with tape/shrink.
Reassemble loosely. Success: Secure joints, no bridges (multimeter check).
💡 Tips:
- •Test fit before final solder.
⚠️ Warnings:
- •Reversed polarity fries circuits!
Step 7: Test Voltage, Current, and Function
Power up safely.
Multimeter: Check pack voltage at terminals (>2.4V for 2xAA). Current draw under load. Function test: Run device 10min, monitor heat/voltage sag.
Cycle charge-discharge. Success: Stable output, full features, no heat.
💡 Tips:
- •Dummy load resistor for draw test.
⚠️ Warnings:
- •Over-discharge NiMH <0.9V/cell damages.
Step 8: Finalize and External Charge Port (Pro)
Add DC jack for easy charging.
Drill small hole, install 3.5mm jack (parallel to pack). Wire switch optional. Seal with epoxy.
Label 'NiMH Recharge External'. Success: Plug-and-charge, no disassembly.
Upgrade: Longest-lasting setup.
💡 Tips:
- •Use weatherproof jack outdoors.
▸Pro Tips
- •Always match battery count/config exactly.
- •Use gold-plated connectors for low resistance.
- •Store packs at 40% charge for longevity.
- •Monitor first 10 cycles for balance.
- •AAA-in-AA caddies boost runtime 50% in low-drain.
- •Eneloop LSD holds 85% charge after 1 year.
- •Add PTC fuses for overcurrent protection.
- •Voltage booster chip for 1.5V-critical devices.
▸Common Mistakes to Avoid
- •Ignoring voltage drop: Solution – test draw first, use boosters if needed.
- •Poor soldering (cold joints): Solution – clean surfaces, 3-5s heat max.
- •Polarity reversal: Solution – double-check with multimeter.
- •Overheating batteries: Solution – quick tucks, active cooling.
- •Skipping balance charge: Solution – individual bays only.
▸Troubleshooting
Problem: Device dim or won't start
Solution: Check voltage sag; recharge fully or add boost converter. Verify connections.
Problem: Batteries overheat during use
Solution: High draw mismatch – switch to higher mAh or Li-ion. Improve ventilation.
Problem: Short runtime
Solution: Capacity imbalance – cycle individually. Clean corroded terminals.
Problem: No charge in smart charger
Solution: Bad cells – capacity test mode. Replace pack.
Problem: Soldered joint fails
Solution: Re-solder with flux; use stranded wire. Seek pro if PCB damaged.
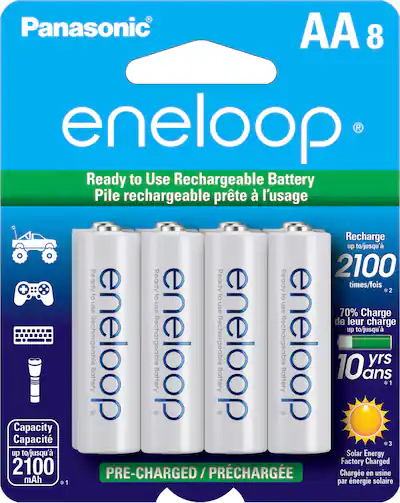
Panasonic Eneloop AA Rechargeable Batteries (8-Pack, 1900mAh)
Industry gold standard LSD NiMH with 2100 cycles; perfect capacity match for most AA devices.
Best for: Core power source for all conversions; low self-discharge.
Price Range: $29.99
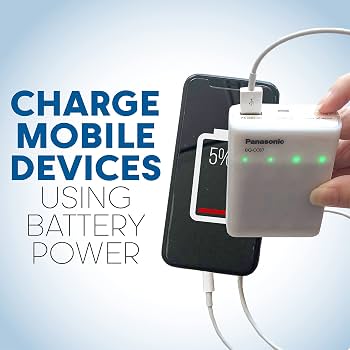
Panasonic Eneloop BQ-CC87 Charger
Smart charger with -ΔV detection, 4 bays, USB-powered; prevents overcharge.
Best for: Initial break-in and ongoing maintenance of NiMH packs.
Price Range: $19.99
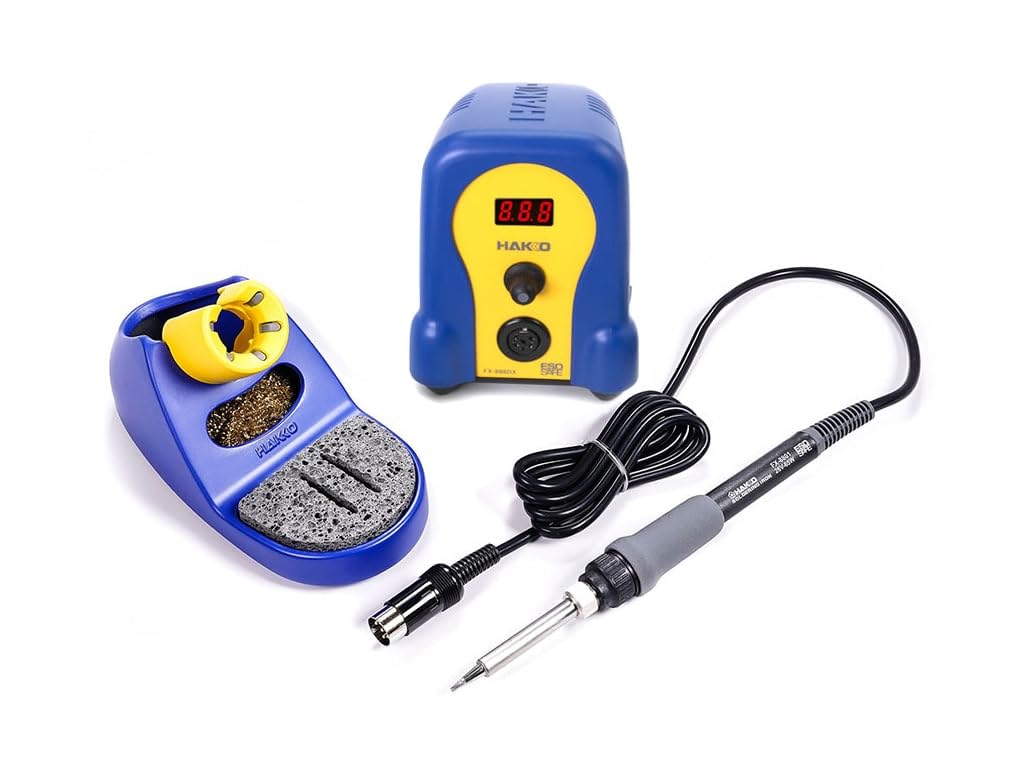
Hakko FX-888D Digital Soldering Station
Precise temp control (50-480°C) for safe NiMH soldering; pro reliability.
Best for: Permanent mods requiring clean, quick joints.
Price Range: $99.99
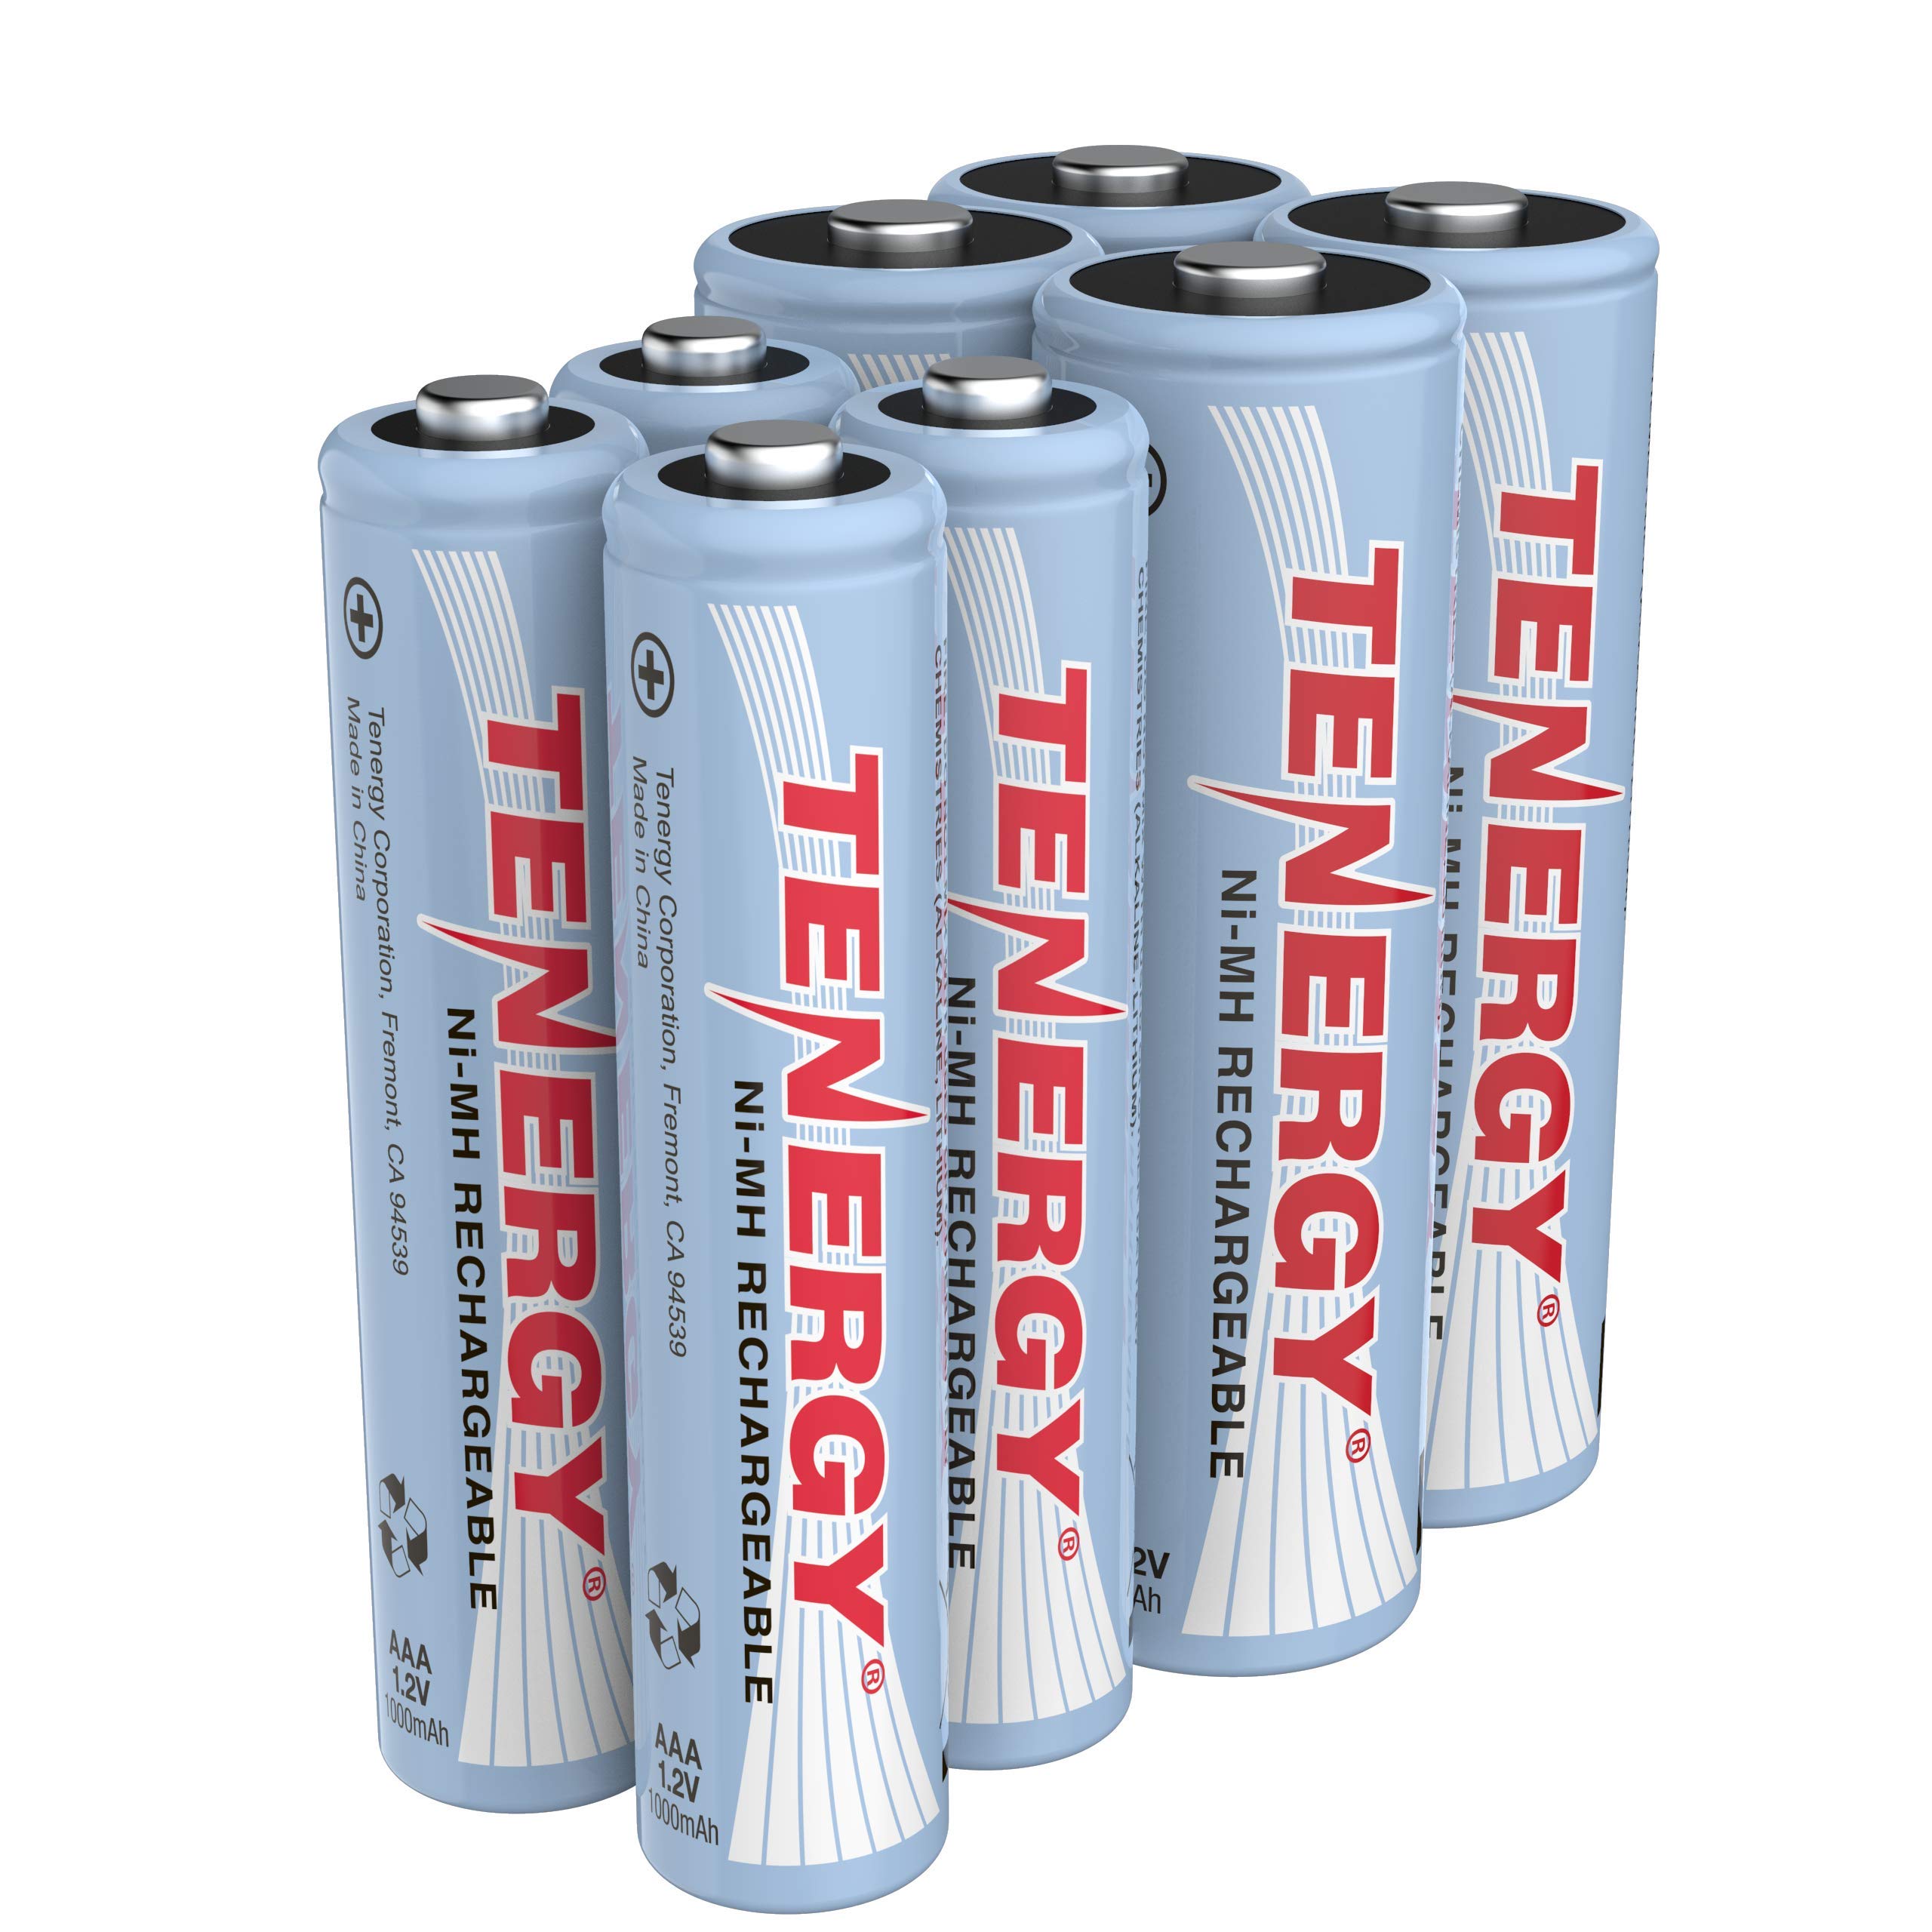
Tenergy AA/AAA Battery Spacer Caddies (4-Pack)
Reversible holder for AAA NiMH in AA slots; tests mods without commitment.
Best for: Quick prototypes or space where soldering risky.
Price Range: $9.99
La Crosse Technology BC700 Alpha Charger
Advanced analyzer with refresh/break-in modes; diagnoses bad cells.
Best for: Troubleshooting imbalanced packs post-conversion.
Price Range: $39.99