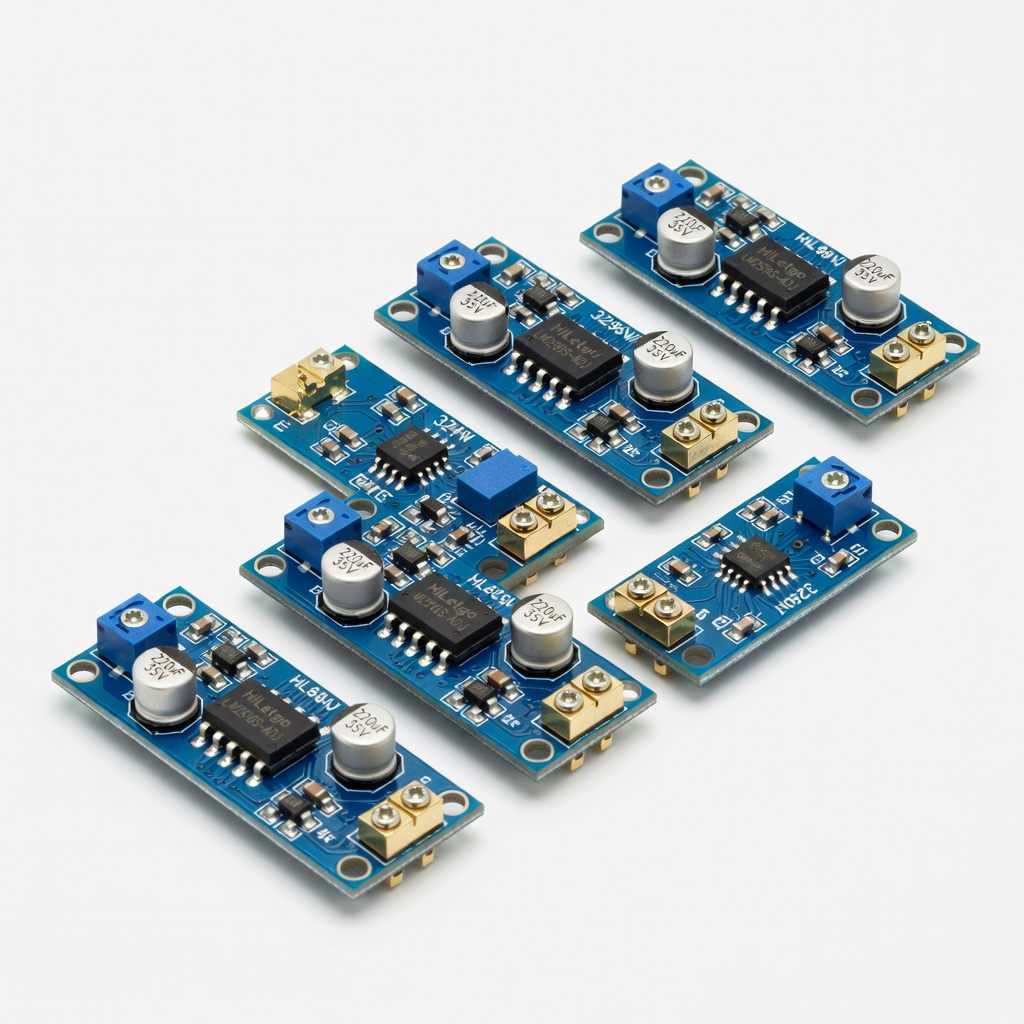
HiLetgo 5pcs LM2596 DC-DC Buck Converter
Core component for stable USB output; handles up to 3A.
$8.99
HiLetgo 5pcs LM2596 DC-DC Buck Converter Reliable, adjustable module perfect for 9V-5V conversion with high efficiency and easy screw terminals.
Get the App
Better experience on mobile
Build a simple, reliable 9V battery to 5V USB converter circuit in 20-30 minutes to charge devices on the go.
Ever been stuck without a wall charger but had a 9V battery handy? Whether you're in the field, camping, or tinkering with electronics, converting 9V power to 5V USB output lets you charge smartphones, earbuds, or power USB gadgets directly. This DIY solution is perfect for emergencies or portable projects.
In this guide, you'll learn to use an efficient buck converter module for a stable 5V output, complete with step-by-step wiring and testing. No advanced electronics degree needed—just intermediate soldering skills and basic tools. Expect a quick build that outputs up to 2A safely.
Total time: 20-30 minutes. Difficulty: intermediate (soldering and multimeter use required). By the end, you'll have a portable USB power source ready to test.
Estimated Time: 20-30 minutes Difficulty: intermediate
Clear a well-lit, static-free workspace. Wear safety glasses and ensure good ventilation for soldering fumes. Unplug tools when not in use.
Why it matters: Soldering involves heat and lead—safety prevents burns or shorts. Expect a clean bench ready for precise work.
Plug in your soldering iron and let it heat to 350°C (660°F). Test multimeter on DC voltage mode (20V range).
💡 Tips:
⚠️ Warnings:
Connect a temporary power source (like a bench supply or another 9V battery via clips) to the buck converter's IN+ and IN- terminals. Use multimeter probes on OUT+ and OUT-.
Turn the adjustment screw (usually blue) clockwise/counterclockwise slowly while monitoring voltage. Set precisely to 5.0-5.1V. Why: Buck converters like LM2596 step down voltage efficiently (90%+ efficiency) without wasting heat like linear regulators.
Power off and disconnect once set. Success: Stable 5V reading, no fluctuations.
💡 Tips:
⚠️ Warnings:
Strip 5mm insulation from two 10cm wires (red +, black -). Tin the ends with solder for easy joints.
Solder red wire to 9V snap's positive tab, black to negative. Insulate with heat shrink or tape. Why: Secure connection prevents intermittent power.
Expect clean, shiny solder joints—no cold joints (dull/rough).
💡 Tips:
⚠️ Warnings:
Extend your 9V wires if needed. Solder red to IN+ terminal/screw, black to IN- on buck module.
Secure with screw terminals if present, or solder directly. Trim excess wire. Why: Proper input ensures full 9V reaches the converter for optimal output.
Insulate all exposed joints. Success: Firm connections, no bare wire touches.
Identify USB pins: Pin 1 (VBUS/5V, usually red), Pin 4 (GND, black). Ignore data pins (2/3) or short them for faster charging.
Strip and solder buck OUT+ (red wire) to VBUS, OUT- (black) to GND. Why: USB standard requires exactly 5V on VBUS/GND for safe charging.
Mount USB in enclosure if using panel type. Test continuity with multimeter (beep mode).
💡 Tips:
⚠️ Warnings:
Cover all joints with heat shrink/electrical tape. Optional: Mount in small plastic project box with holes for snap and USB.
Why: Prevents shorts, makes portable. Success: Compact unit, no exposed metal.
Insert 9V battery. Multimeter on USB output: Expect 5.0V steady.
Plug in USB device (low-power first, like LED). Why: Verifies efficiency and safety before use.
Monitor temperature—should stay cool (<50°C). Runtime: ~1-2 hours per battery at 500mA.
💡 Tips:
⚠️ Warnings:
Problem: No output voltage
Solution: Check battery fresh, polarity, connections. Re-adjust pot to 5V unloaded.
Problem: Voltage drops under load
Solution: Insufficient wire gauge or bad solder. Use thicker wire, re-solder. Check input voltage.
Problem: USB device not charging
Solution: Verify VBUS/GND pins. Short data pins. Test with known good cable/device.
Problem: Module gets hot
Solution: Reduce load <1.5A. Improve airflow or add heatsink. Check efficiency.
Problem: Intermittent power
Solution: Tighten screw terminals or re-solder loose joints.
Reliable, adjustable module perfect for 9V-5V conversion with high efficiency and easy screw terminals.
Best for: Core component for stable USB output; handles up to 3A.
Price Range: $8.99
Flush-mount USB port with solder pads for clean integration into enclosures.
Best for: Provides standard USB-A output for any device charging.
Price Range: $6.99
Durable, pre-crimped clips for secure, solder-ready battery connection.
Best for: Quick input wiring without custom crimping.
Price Range: $5.99
Accurate, auto-ranging for precise voltage checks during setup and testing.
Best for: Essential for adjustment and troubleshooting.
Price Range: $12.99
Complete kit with iron, stand, solder—ideal for intermediate DIY electronics.
Best for: All-in-one for clean, reliable joints.
Price Range: $14.99
Core component for stable USB output; handles up to 3A.
HiLetgo 5pcs LM2596 DC-DC Buck Converter Reliable, adjustable module perfect for 9V-5V conversion with high efficiency and easy screw terminals.
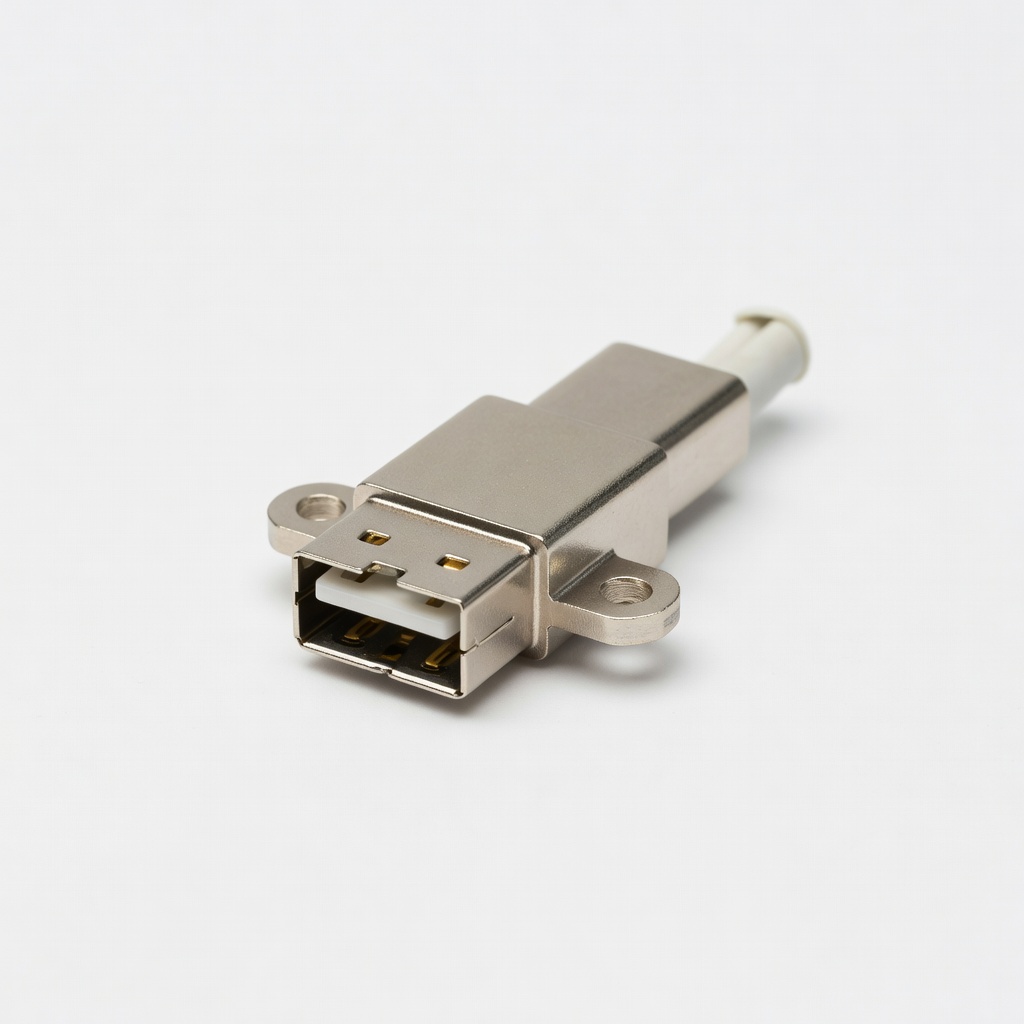
Provides standard USB-A output for any device charging.
MCIGICM USB 2.0 A Female Panel Mount Connector Flush-mount USB port with solder pads for clean integration into enclosures.
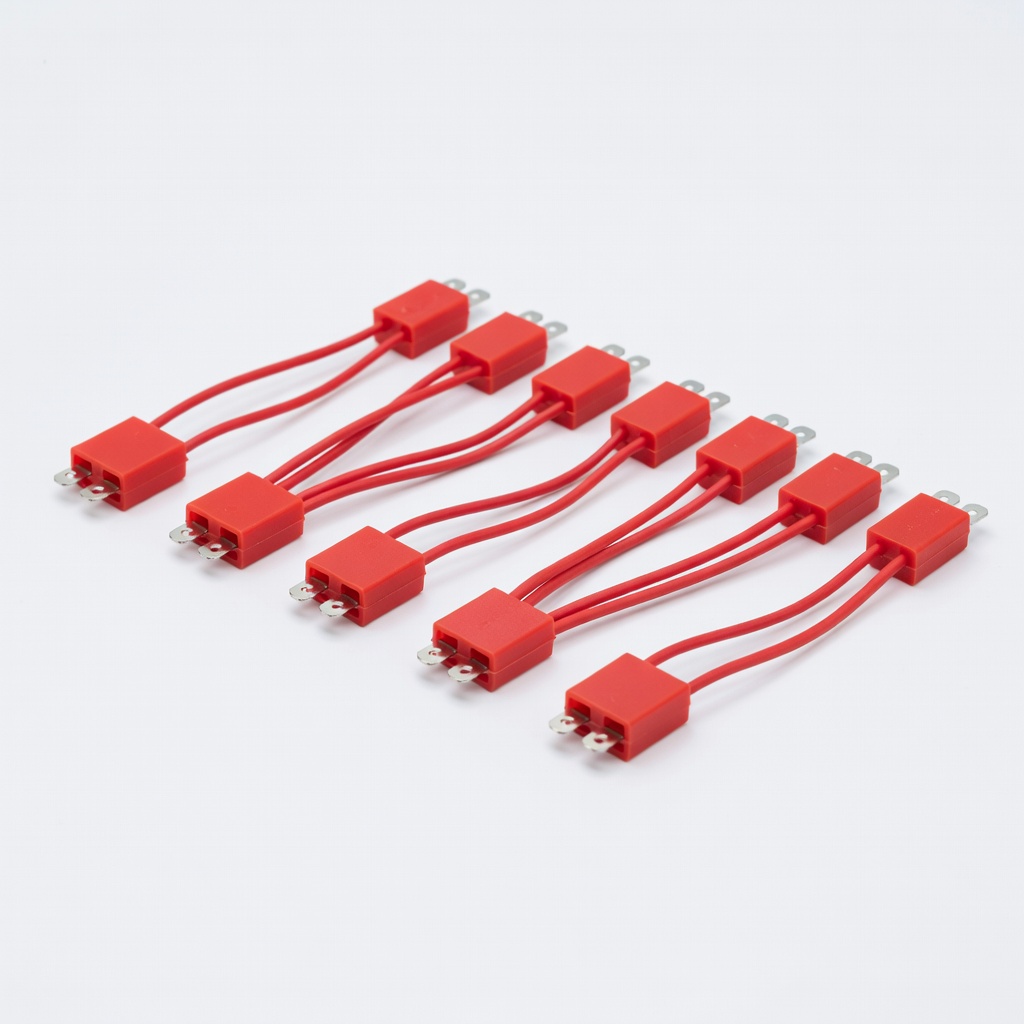
Quick input wiring without custom crimping.
Taidacent 9V Battery Snap Connector 10pcs Durable, pre-crimped clips for secure, solder-ready battery connection.
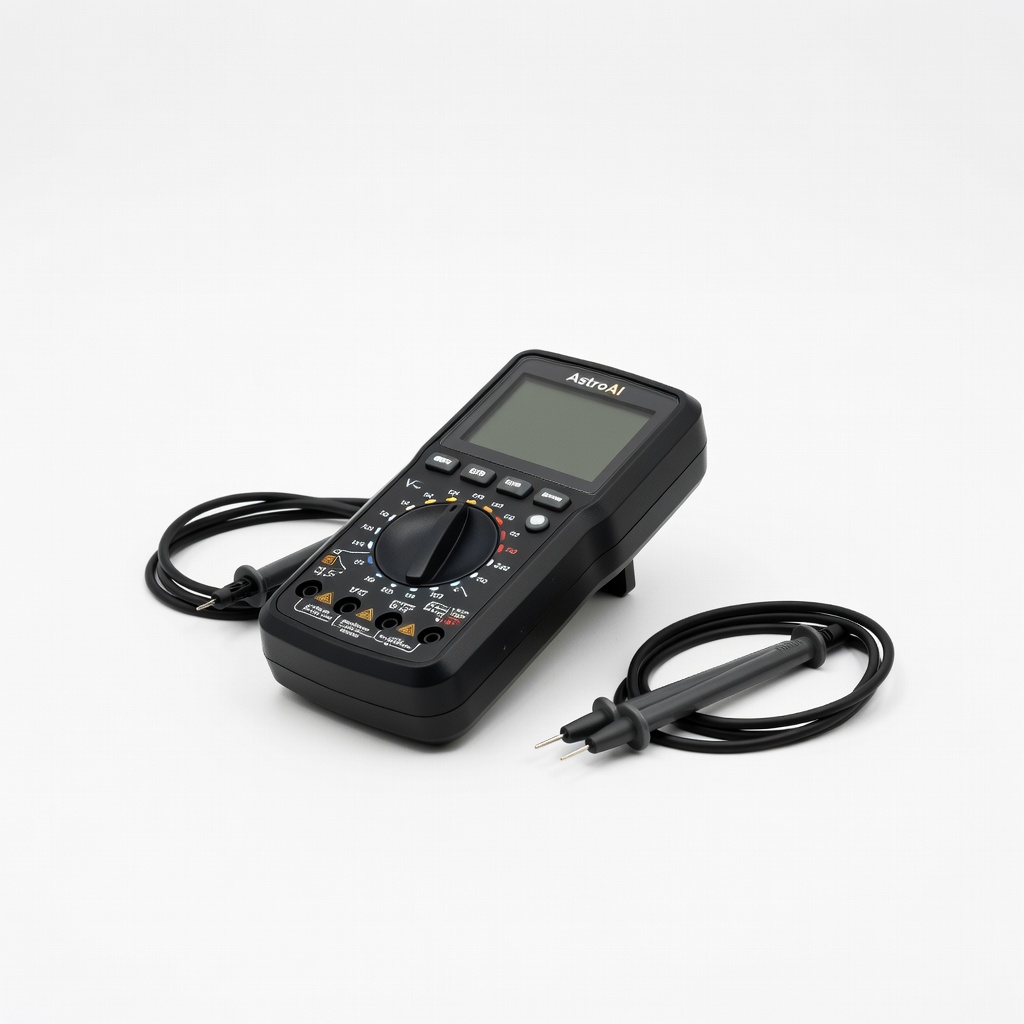
Essential for adjustment and troubleshooting.
AstroAI Digital Multimeter Accurate, auto-ranging for precise voltage checks during setup and testing.
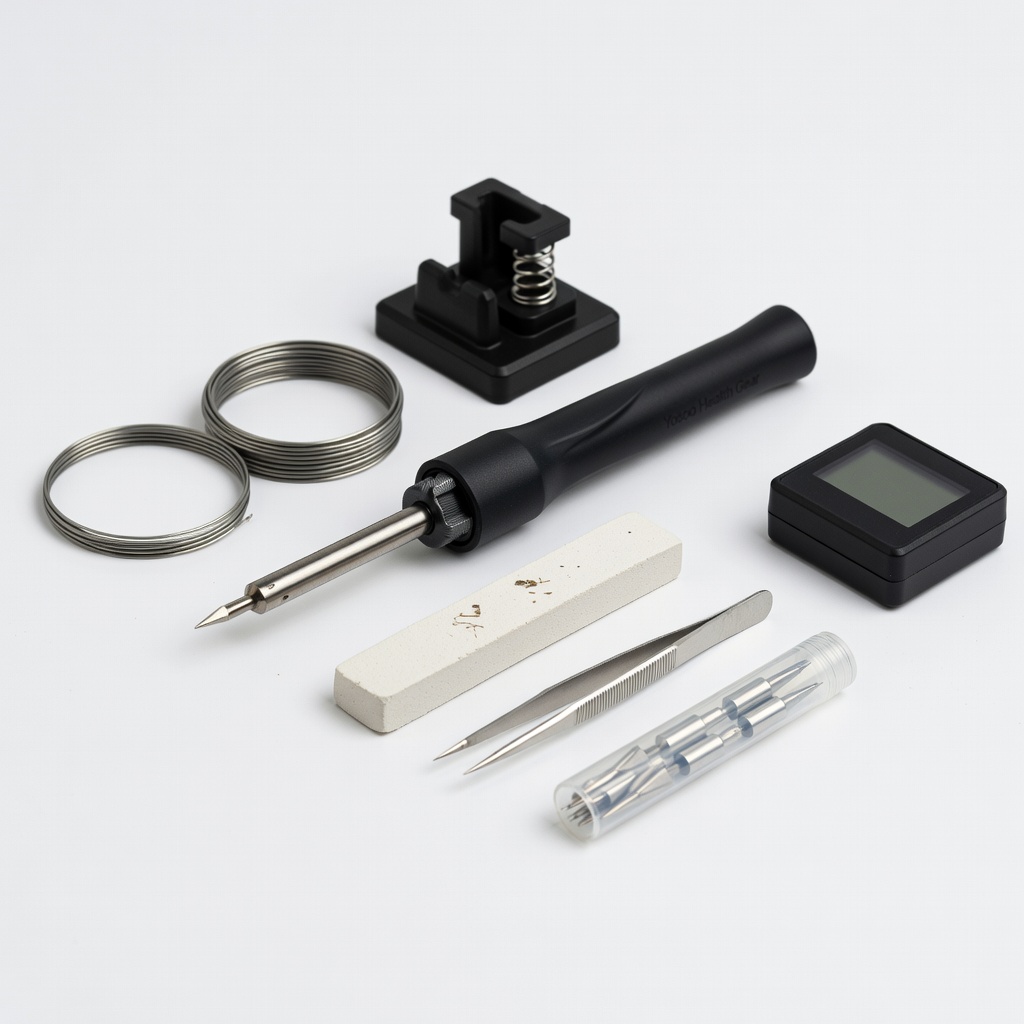
All-in-one for clean, reliable joints.
Yosoo Health Gear Soldering Iron Kit Complete kit with iron, stand, solder—ideal for intermediate DIY electronics.