
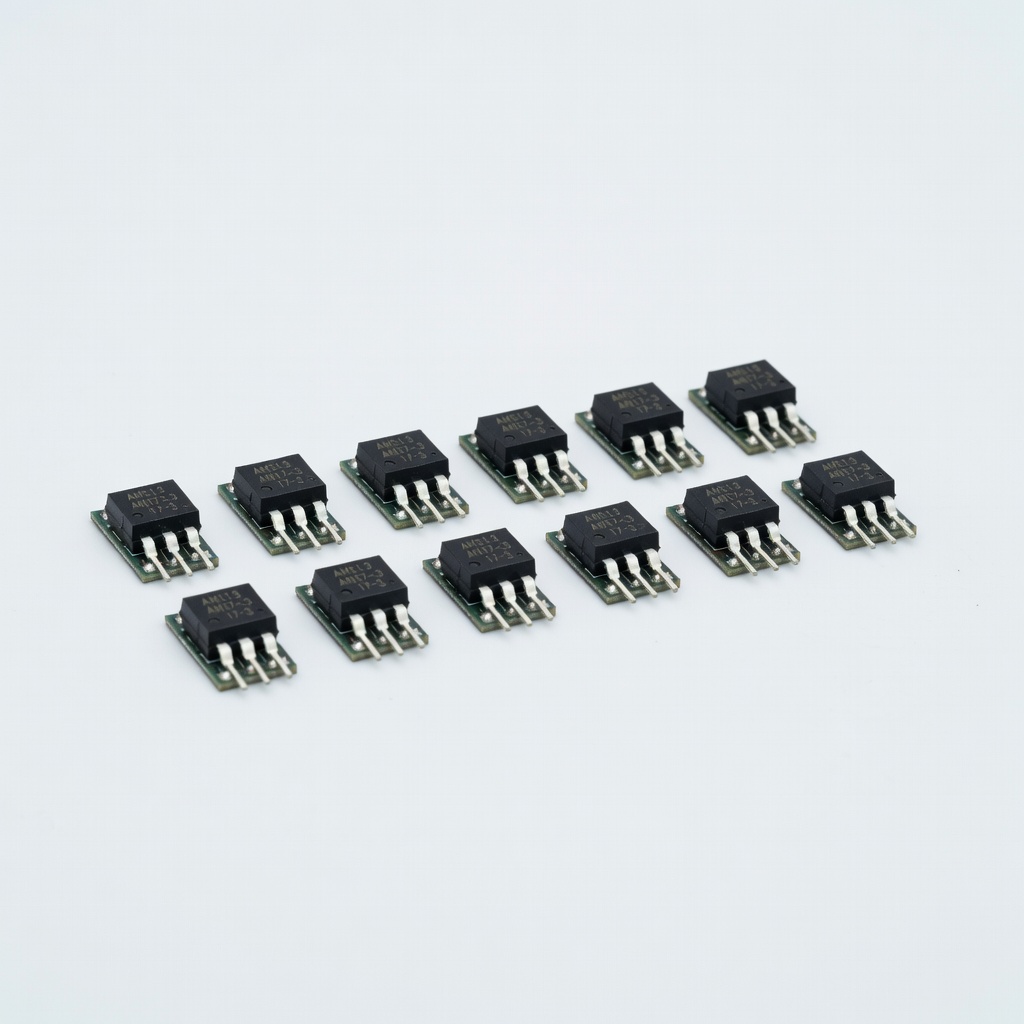
HiLetgo 10pcs AMS1117-3.3V Voltage Regulator
Quick testing Arduino sensors; handles 1A max.
$6.99
HiLetgo 10pcs AMS1117-3.3V Voltage Regulator Reliable LDO for breadboard prototypes; low dropout ensures stable 3.3V from 9V.
Get the App
Better experience on mobile
Step-by-step guide to build a stable 3.3V supply from a 9V battery for powering Arduino sensors and 3.3V modules efficiently.
Powering Arduino projects with a 9V battery is convenient for portability, but most sensors, ESP32 modules, or 3.3V logic require lower voltage—direct connection risks damage. This guide solves that by teaching you to step down to a clean 3.3V using proven methods like LDO regulators or buck converters.
You'll learn two reliable approaches: a simple linear regulator for quick prototypes and an efficient buck converter for longer battery life. By the end, you'll have a tested circuit ready for your next project. Expect intermediate electronics knowledge like reading schematics and using a multimeter.
Total build time is 15-25 minutes on a breadboard—no soldering required for starters. Perfect for intermediate makers extending battery-powered Arduino bots or IoT gadgets.
Estimated Time: 15-25 minutes Difficulty: intermediate
Before wiring, understand the basics: The AMS1117-3.3 has three pins—IN (input from 9V), GND (ground), OUT (3.3V output). Add a 10µF capacitor across IN-GND to stabilize input voltage and another across OUT-GND for smooth output. This prevents oscillations and ensures clean power for Arduino.
Why it matters: Arduino's 3.3V pin or sensors need stable voltage (3.2-3.4V); ripples cause resets or errors. Success looks like a simple diagram matching your breadboard layout.
Text schematic:
9V+ ---[10µF]--- IN (AMS1117) --- OUT ---[10µF]--- 3.3V
     |                   GND              |
     ----------------------- GND ----------
💡 Tips:
⚠️ Warnings:
Insert the breadboard on your workspace. Place the AMS1117-3.3 regulator straddling the center gap: IN on one side (power rail), GND in the gap, OUT on the other side. Use rows 1-5 for IN, row 6 for GND, rows 7-10 for OUT.
Secure with gentle pressure—no force. Expect the black TO-220 package to fit perfectly. This prototype setup allows easy tweaks before permanent use.
💡 Tips:
⚠️ Warnings:
Connect a 10µF electrolytic capacitor: positive leg to IN pin row, negative to GND row. The longer leg is positive. Twist leads if needed for secure fit.
This filters 9V battery noise. Success: Capacitor stands upright, no shorts between rows.
Repeat for output: 10µF cap positive to OUT row, negative to GND. Ensures load stability when Arduino draws current (up to 800mA max).
Why: Without it, voltage droops under load. Expect steady readings later.
Attach red wire (+ from clip) to IN row, black (-/GND) to GND row. Don't insert battery yet.
Double-check polarity. Success: Wires snug, no exposed strands touching other rows.
💡 Tips:
⚠️ Warnings:
Insert 9V battery. Set multimeter to DC volts (20V range). Probe OUT (+) and GND (-). Expect 3.2-3.4V steady.
No load yet—add a 100Ω resistor across OUT-GND if voltage seems high (tests regulation). Success: Stable 3.3V, regulator warm but not hot.
💡 Tips:
⚠️ Warnings:
Power off. Jumper OUT to Arduino 3.3V pin (or peripherals), GND to Arduino GND. For full board power, use a 3.3V Arduino like Nano 3.3V via RAW pin (bypasses onboard reg).
Upload blink sketch. Success: LED blinks steadily, no brownouts.
For efficiency (less heat, longer battery life), replace with adjustable buck like LM2596. Set pot to 3.3V with multimeter before connecting.
Linear drops 5.7V as heat (72% waste); buck >90% efficient. Solder for permanence.
💡 Tips:
Problem: Output voltage too low (<3V)
Solution: Check battery >6V, caps oriented correctly, no shorts. Replace regulator if hot.
Problem: Voltage fluctuates
Solution: Add better caps or check breadboard connections. Use shorter wires.
Problem: Arduino resets randomly
Solution: Insufficient current—measure draw, upgrade to buck or bigger caps.
Problem: Regulator overheating
Solution: Normal for linear at high current; add heatsink or switch to buck converter.
Reliable LDO for breadboard prototypes; low dropout ensures stable 3.3V from 9V.
Best for: Quick testing Arduino sensors; handles 1A max.
Price Range: $6.99
Pre-built 6.5-12V to 3.3V/5V switch; no soldering, bypasses manual wiring.
Best for: Plug-and-play for Arduino breadboards; dual output.
Price Range: $8.98
Efficient adjustable step-down; set precisely to 3.3V, 90%+ efficiency for battery life.
Best for: Portable projects needing hours of runtime.
Price Range: $9.99
Accurate DC voltage/current testing; essential for safe verification.
Best for: Troubleshoot any power issue instantly.
Price Range: $29.99
Durable snaps with thick wires; reliable connection without soldering.
Best for: Multiple projects; strain relief prevents pulls.
Price Range: $7.99
Quick testing Arduino sensors; handles 1A max.
HiLetgo 10pcs AMS1117-3.3V Voltage Regulator Reliable LDO for breadboard prototypes; low dropout ensures stable 3.3V from 9V.
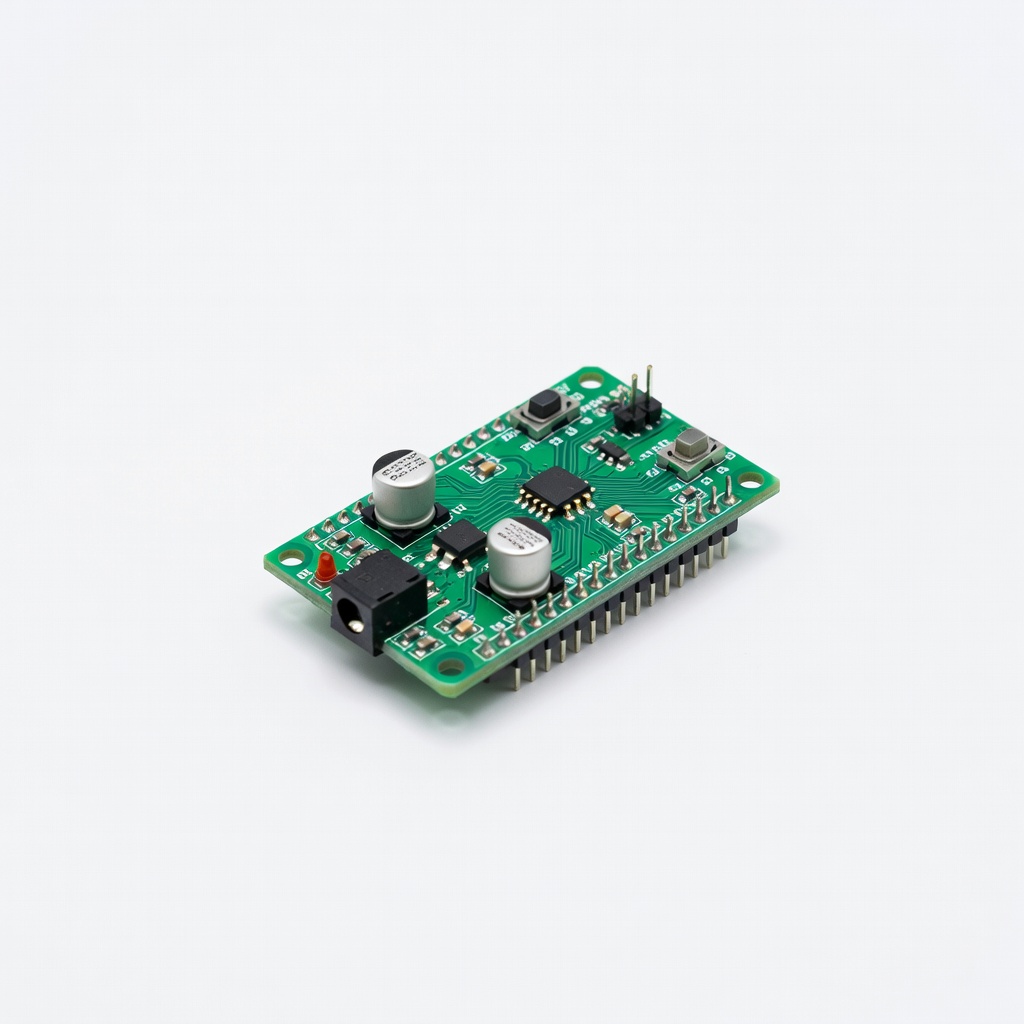
Plug-and-play for Arduino breadboards; dual output.
ELEGOO MB102 Breadboard Power Supply Module Pre-built 6.5-12V to 3.3V/5V switch; no soldering, bypasses manual wiring.
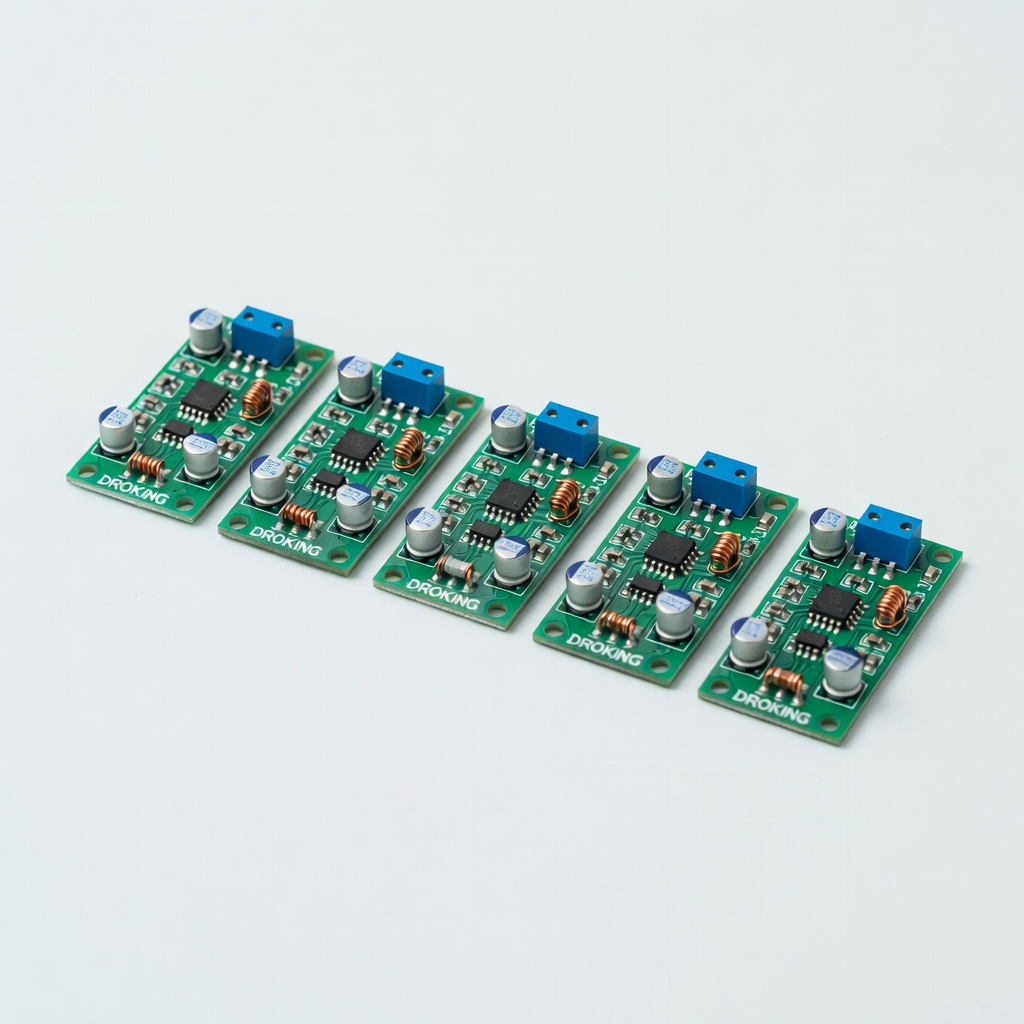
Portable projects needing hours of runtime.
DROKING LM2596 DC-DC Buck Converter (5-pack) Efficient adjustable step-down; set precisely to 3.3V, 90%+ efficiency for battery life.
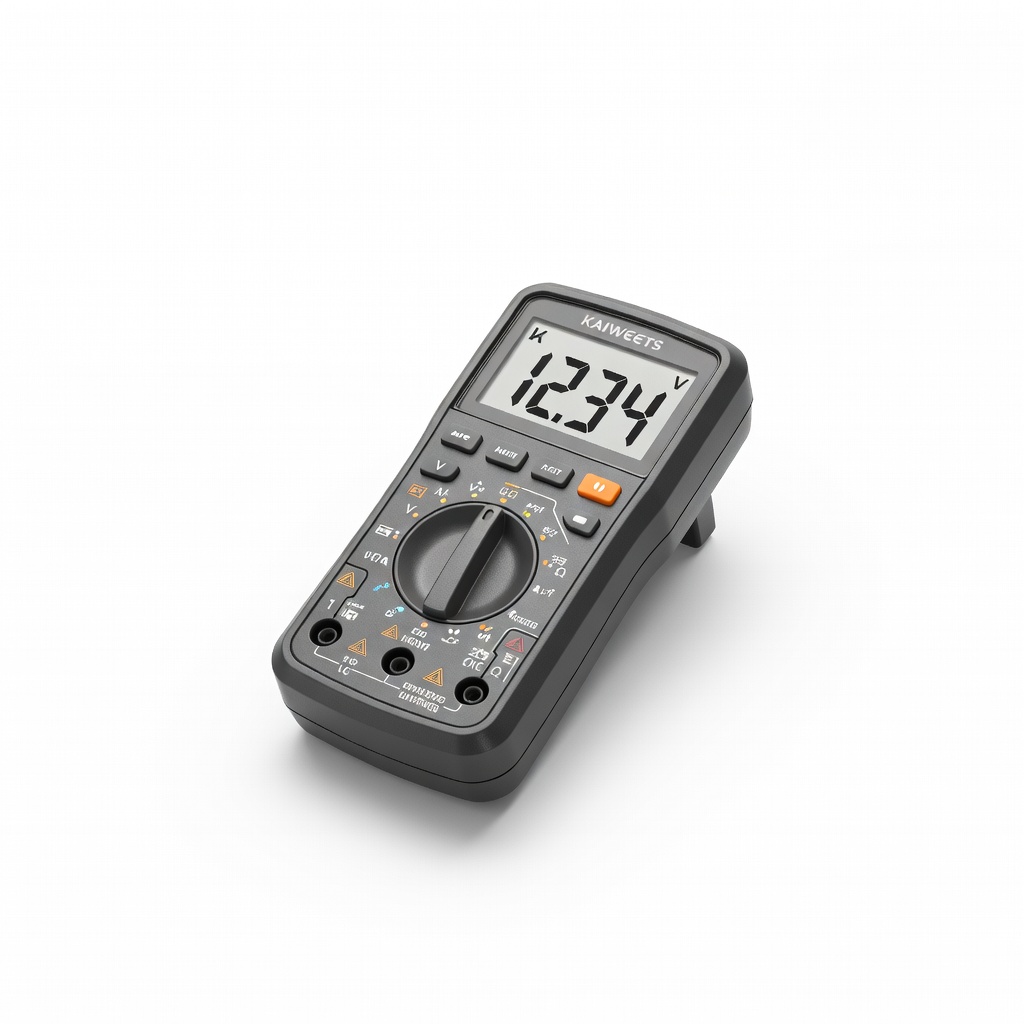
Troubleshoot any power issue instantly.
KAIWEETS Digital Multimeter Accurate DC voltage/current testing; essential for safe verification.
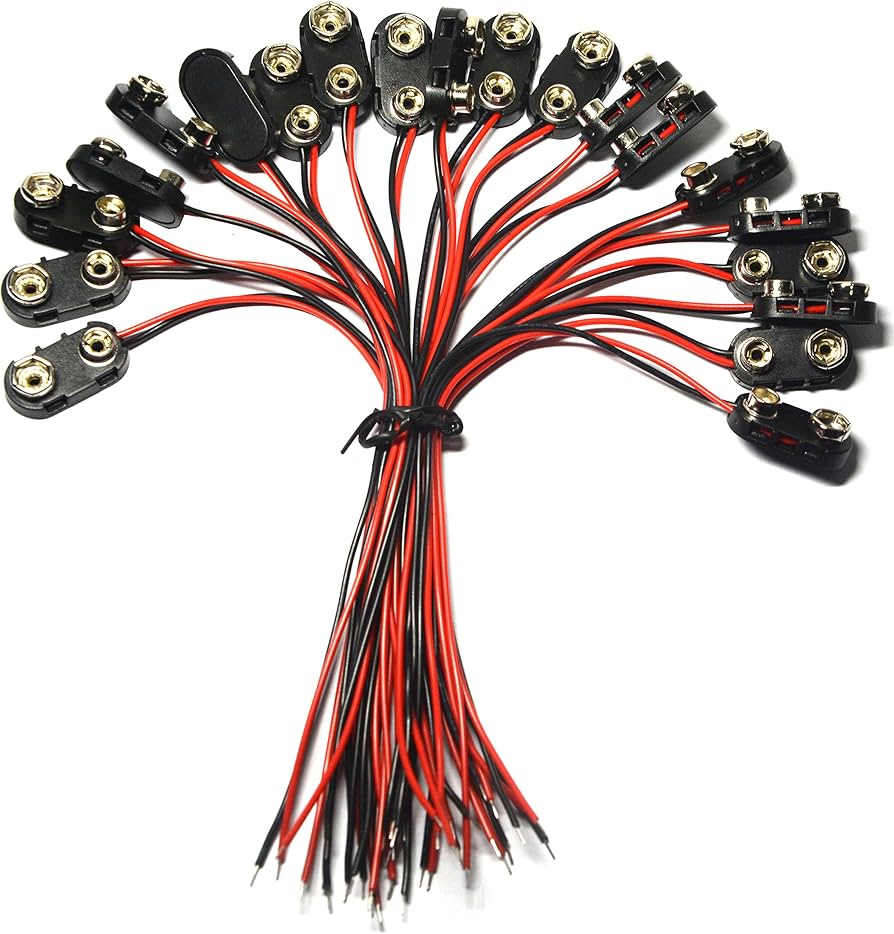
Multiple projects; strain relief prevents pulls.
BatteryClips 9V Battery Connector (20-pack) Durable snaps with thick wires; reliable connection without soldering.