
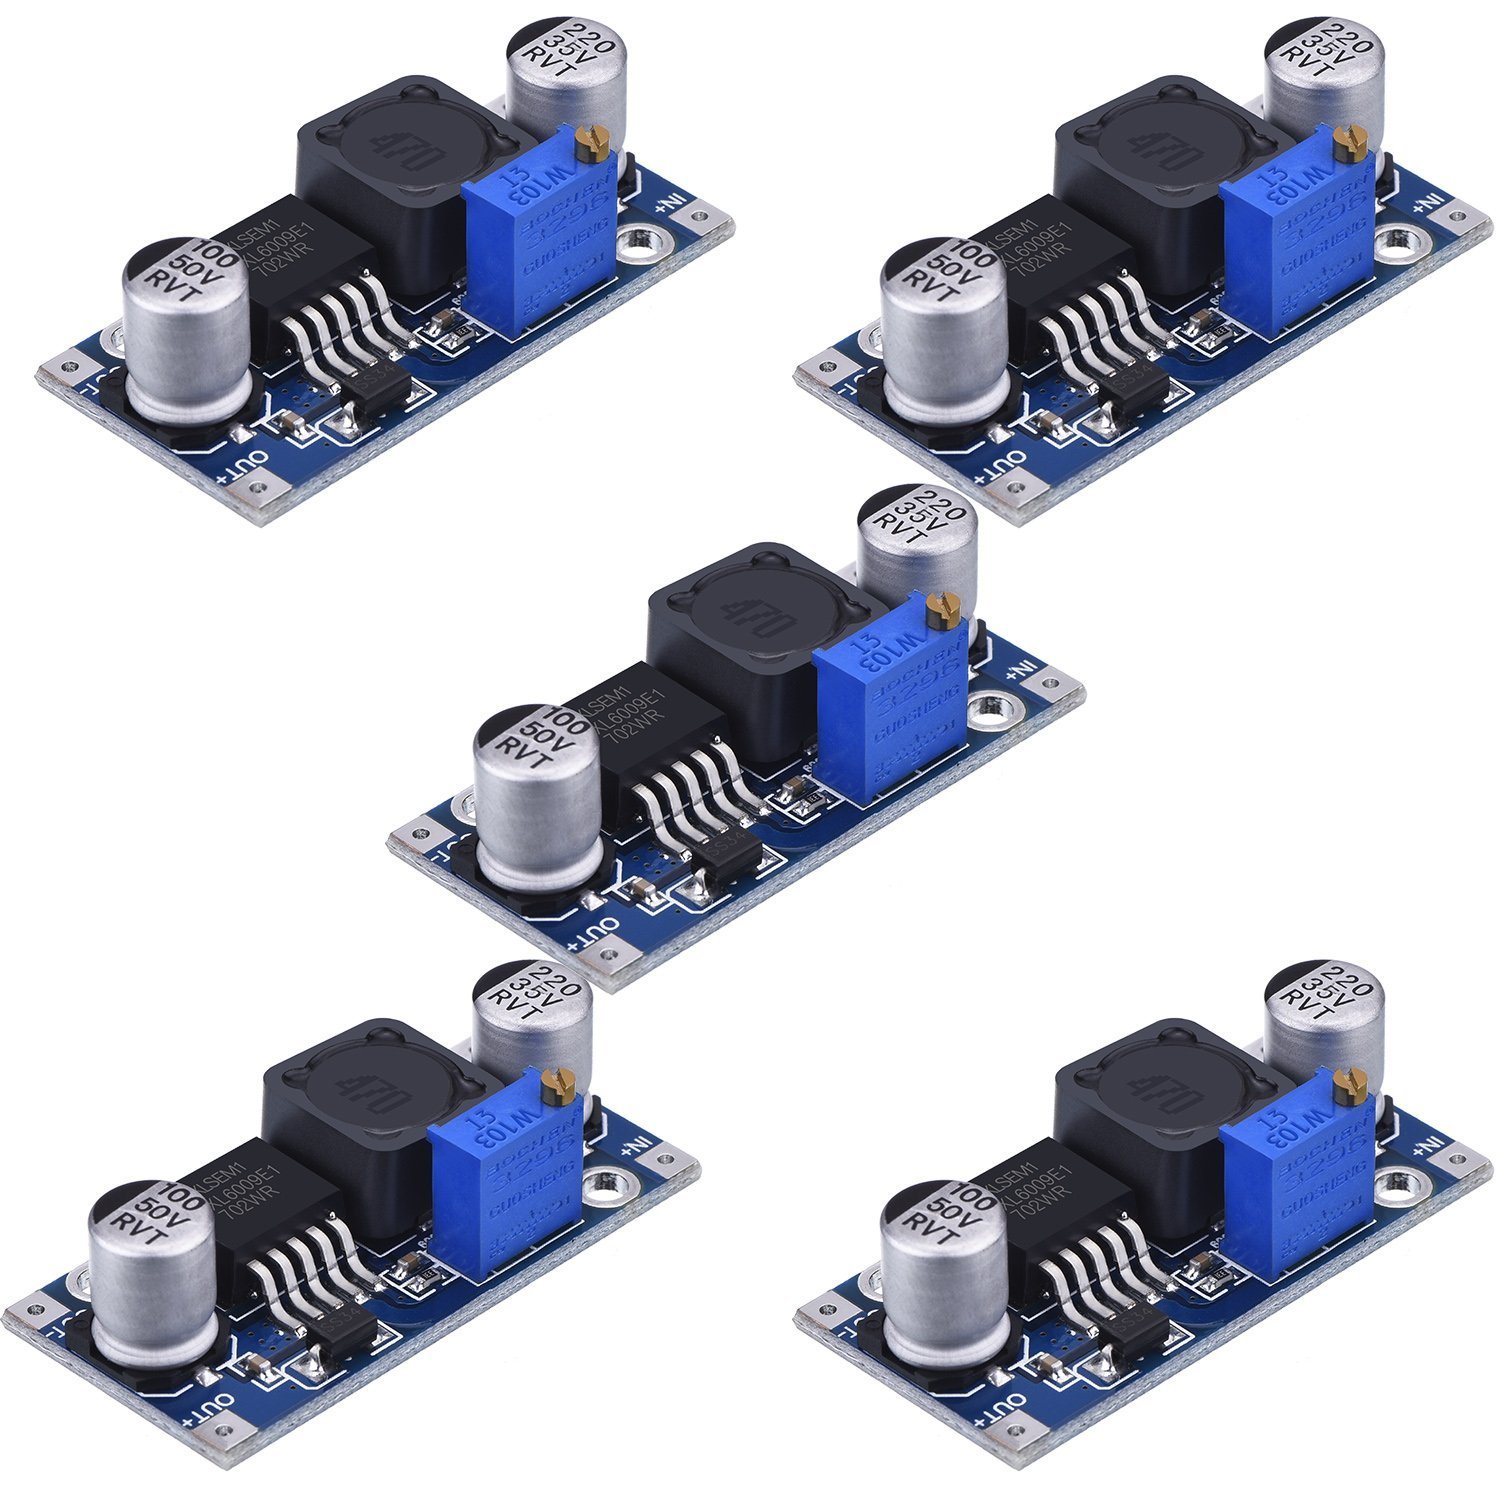
HiLetgo XL6009 DC-DC Boost Converter (5pcs)
Core component for 6V to 12V conversion in DIY projects.
$9.99
HiLetgo XL6009 DC-DC Boost Converter (5pcs) Efficiently steps up 3-32V to 5-35V, adjustable, handles up to 4A—perfect for most LED setups.
Get the App
Better experience on mobile
Step-by-step guide to safely step up 6V power to 12V using a boost converter for brighter, efficient LED lighting in bikes, toys, or solar setups.
Many DIY enthusiasts and hobbyists run into the issue of mismatched voltages when powering 12V LED lights from a 6V source, like batteries in bicycles, RC cars, or small solar panels. Dim or non-functional LEDs can ruin your project, but converting 6V to 12V is straightforward with the right tools. This guide solves that pain point.
You'll learn how to use a DC-DC boost converter—the most efficient, adjustable method for intermediate users—to achieve stable 12V output without wasting power or generating excess heat. Expect clear steps, safety tips, and testing protocols.
The process takes 30-45 minutes, requires basic soldering and multimeter skills, and results in reliable 12V power for your LEDs. No advanced electronics degree needed.
Estimated Time: 30-45 minutes Difficulty: intermediate
Before wiring, determine the total current (amps) your LEDs draw at 12V using the formula: Current (A) = Power (W) / Voltage (12V). For example, a 10W LED strip needs about 0.83A. Check your LED specs.
Choose a boost converter rated for at least 1.5x that current (e.g., 5A module for safety). Why? Boost converters have efficiency losses (80-90%), so oversizing prevents overheating.
Success: A noted wattage and current on paper. Expect 5 minutes.
💡 Tips:
⚠️ Warnings:
Work on a non-conductive surface. Disconnect all power sources. Wear safety glasses if soldering.
Why it matters: Voltage conversion involves DC but risks shorts, sparks, or burns. Intermediate users know this, but double-check polarity (red +, black -).
Success: Clean, organized bench with components laid out.
💡 Tips:
Locate IN+ (input positive), IN- (input negative), OUT+ (output positive), OUT- (output negative), and the potentiometer (small screw for adjustment).
Most modules like XL6009 have clear markings. Test continuity with multimeter if unsure.
Success: Terminals labeled with tape or marker.
⚠️ Warnings:
Strip 1/4 inch insulation from wires. Solder red wire from 6V positive to IN+, black from negative to IN-. Use helping hands for stability.
Twist strands tightly before soldering for strong joints. Why? Poor connections cause voltage drops.
Success: Secure, insulated input wires (use heat shrink). No shorts when probed with multimeter.
💡 Tips:
Connect 6V source temporarily. Set multimeter to DC volts, probe OUT+ and OUT-.
Turn potentiometer clockwise/counterclockwise slowly until exactly 12V reads. No LED connected yet—prevents overload during tuning.
Success: Steady 12.0V display. Expect minor fluctuations <0.2V.
⚠️ Warnings:
Disconnect input power. Solder/test LED positive to OUT+, negative to OUT-.
Reconnect 6V, verify LEDs light brightly at full 12V (multimeter confirms under load).
Monitor temperature for 2-5 minutes. Success: Bright LEDs, output stable 11.8-12.2V, converter cool.
💡 Tips:
Apply heat shrink or tape to all joints. Mount converter with zip ties or adhesive, away from heat/vibration.
Why? Prevents shorts in real-world use (e.g., bike mount).
Final success: Fully assembled, powered circuit running 10+ minutes without issues.
Problem: No output voltage
Solution: Check input connections/polarity, ensure 6V source is live, test converter separately.
Problem: Output drops under load
Solution: Converter undersized—increase rating or reduce LED load; check wire gauge.
Problem: Overheating
Solution: Add heatsink/fan, verify current < rating, improve airflow.
Problem: LEDs flicker
Solution: Loose joints—resolder; unstable input—use capacitors or steadier battery.
Problem: Voltage too high/low
Solution: Readjust potentiometer no-load, then retest.
Efficiently steps up 3-32V to 5-35V, adjustable, handles up to 4A—perfect for most LED setups.
Best for: Core component for 6V to 12V conversion in DIY projects.
Price Range: $9.99
Accurate DC voltage/current measurement essential for safe adjustment and testing.
Best for: Verify output voltage at every step.
Price Range: $12.99
Reliable temperature-controlled iron for clean, strong wire joints without cold solder.
Best for: Permanent wiring in intermediate projects.
Price Range: $39.99
High-quality 12V LEDs to test your converter; waterproof options for outdoor use.
Best for: Load testing brighter lights post-conversion.
Price Range: $14.99
Budget kit with stand, solder, helping hands—great starter for intermediates.
Best for: All-in-one for wiring without extra buys.
Price Range: $19.99
Core component for 6V to 12V conversion in DIY projects.
HiLetgo XL6009 DC-DC Boost Converter (5pcs) Efficiently steps up 3-32V to 5-35V, adjustable, handles up to 4A—perfect for most LED setups.
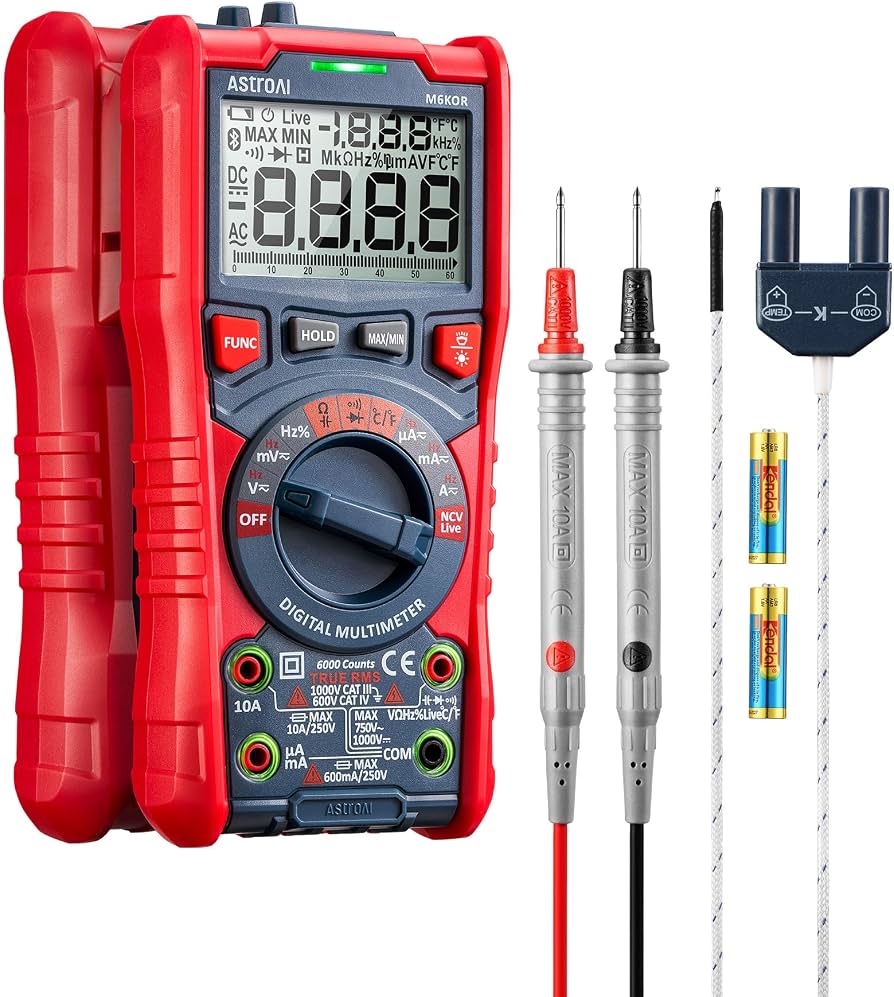
Verify output voltage at every step.
AstroAI Digital Multimeter TRMS 6000 Accurate DC voltage/current measurement essential for safe adjustment and testing.
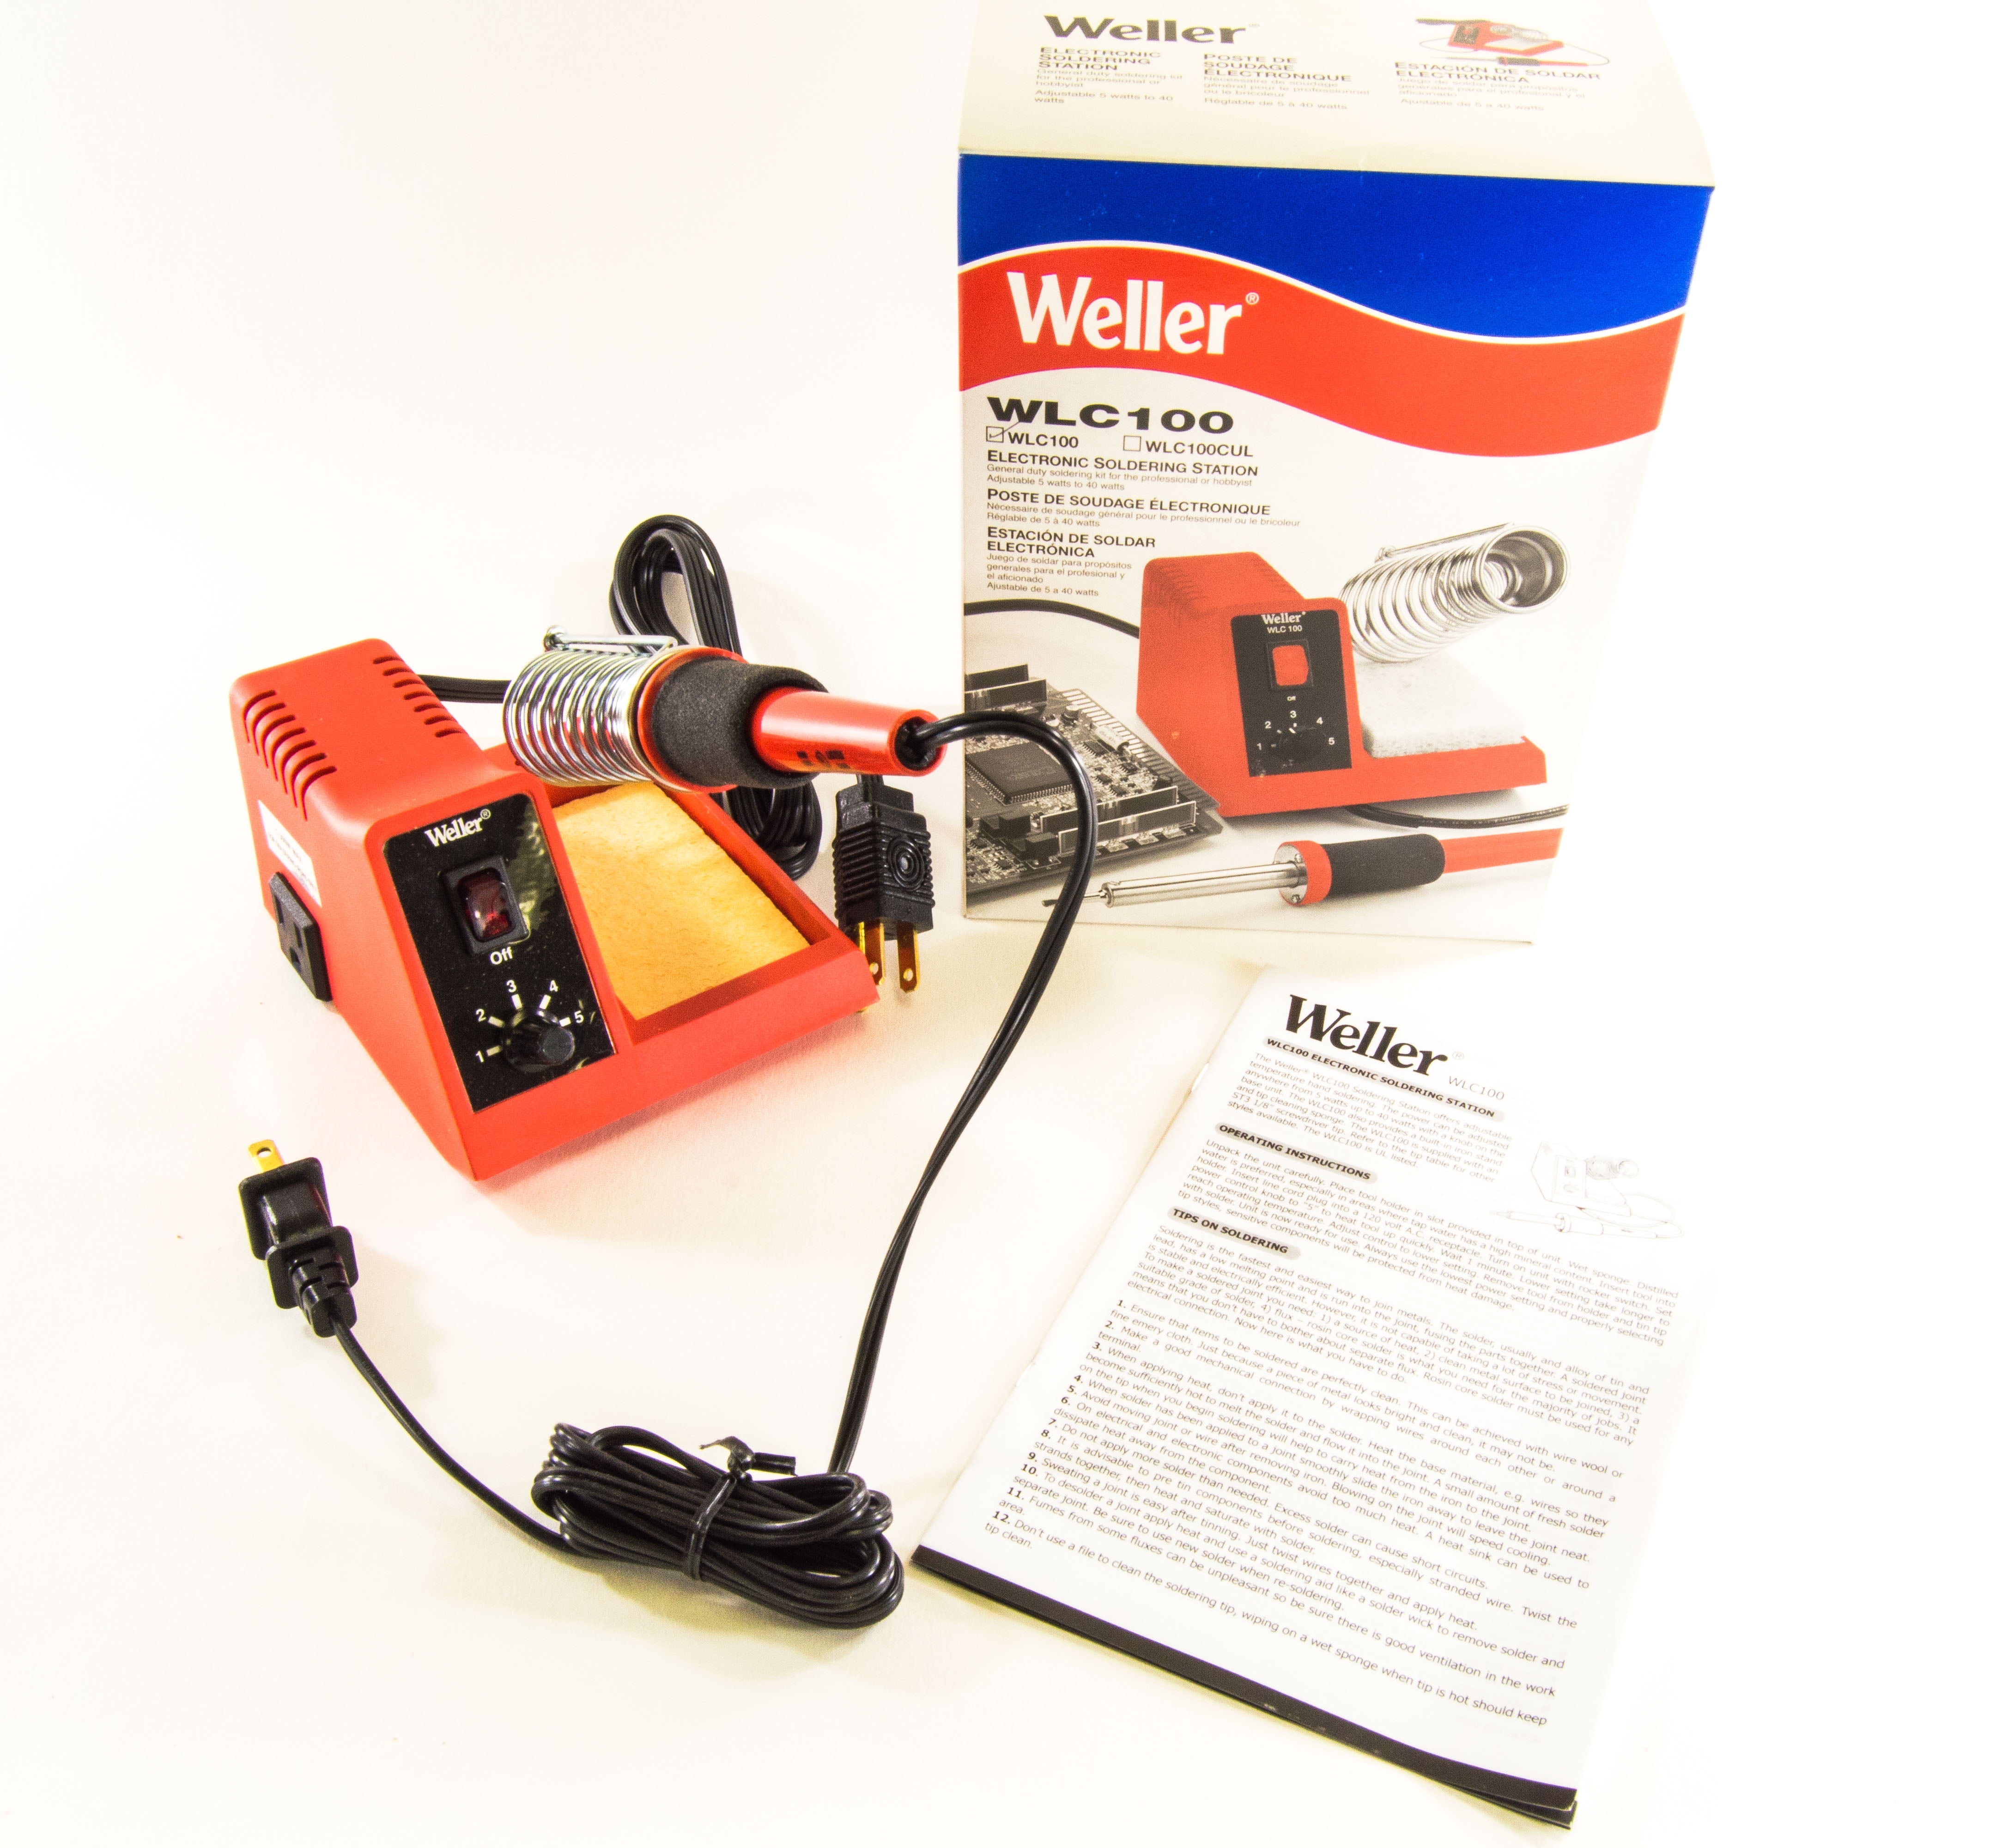
Permanent wiring in intermediate projects.
Weller WLC100 Soldering Station Reliable temperature-controlled iron for clean, strong wire joints without cold solder.
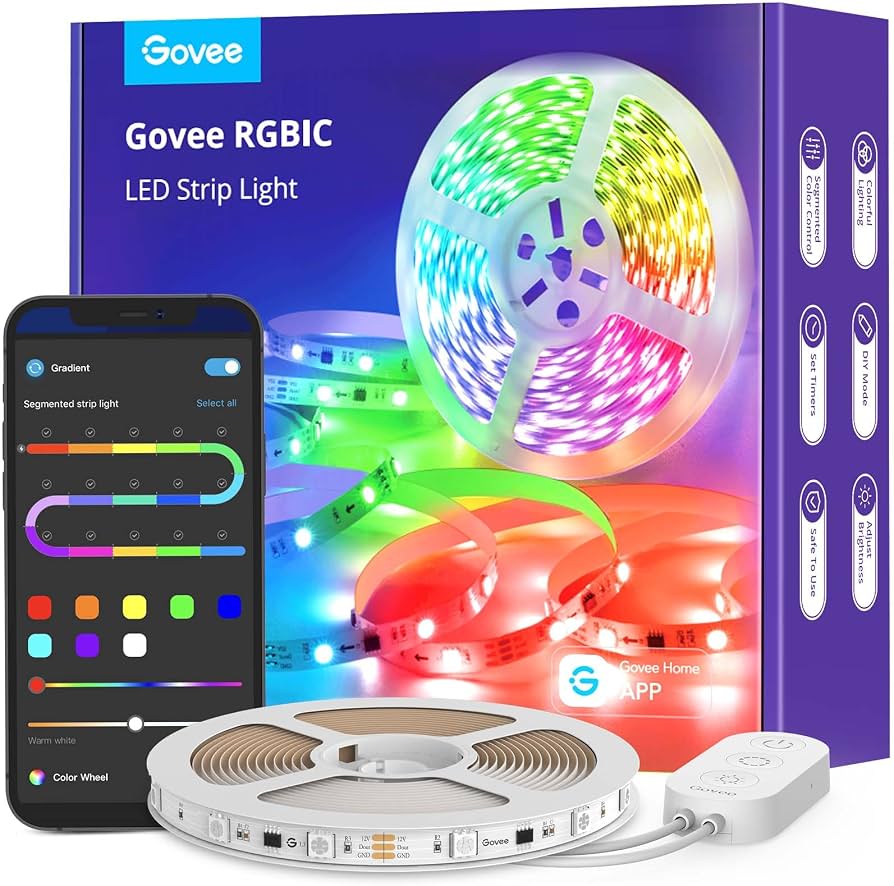
Load testing brighter lights post-conversion.
Govee 12V LED Strip Lights (16.4ft) High-quality 12V LEDs to test your converter; waterproof options for outdoor use.
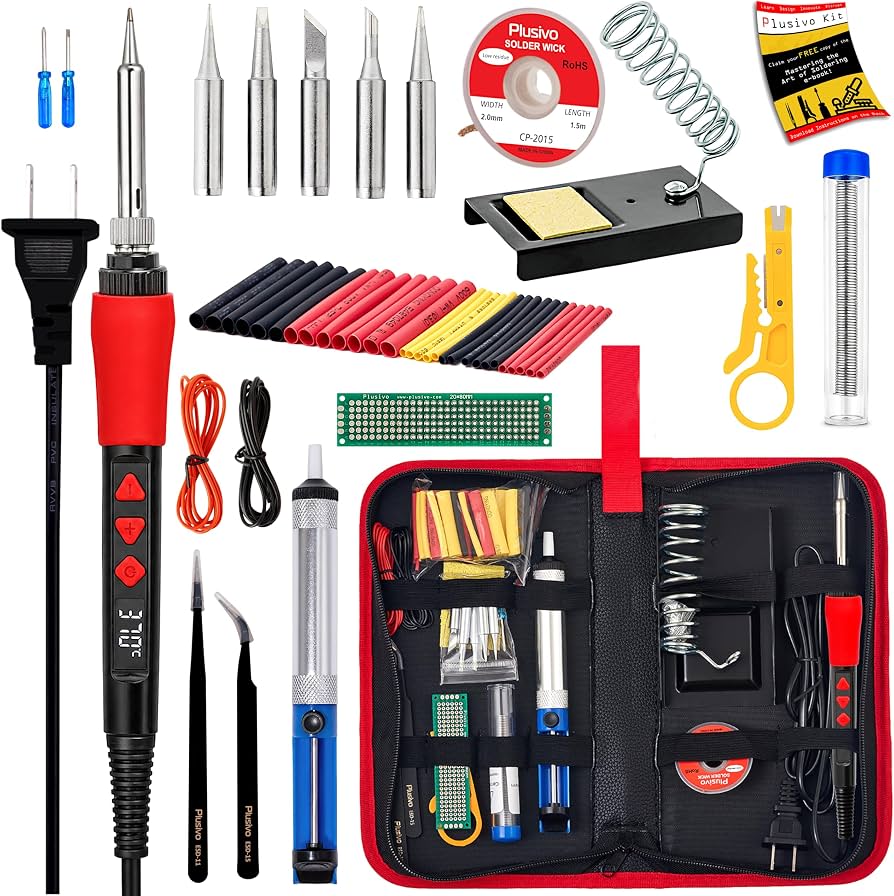
All-in-one for wiring without extra buys.
Eventek Soldering Iron Kit Budget kit with stand, solder, helping hands—great starter for intermediates.