Tired of constantly replacing expensive disposable 3V coin cell batteries in your watches, garage door remotes, or fitness trackers? These CR2032 and similar batteries drain your wallet and fill landfills. Converting to rechargeable alternatives like LIR2032 Li-ion cells lets you recharge via USB indefinitely, cutting costs by 90% over time.
In this advanced guide, you'll learn to integrate rechargeable batteries with a protection circuit and USB charging module directly into your device. We'll cover safety-critical soldering, circuit design, and testing. Expect to gain hands-on electronics skills applicable to IoT projects.
The process takes 1-2 hours per device, requires soldering proficiency and multimeter use. No prior battery mod experience needed, but basic electronics knowledge helps. Success means a fully functional device with 300+ recharge cycles.
▸What You'll Need
- •Soldering iron (60W adjustable, with fine tip)
- •Solder wire (0.8mm, lead-free)
- •Flux pen
- •Desoldering wick or pump
- •Digital multimeter
- •Wire cutters/strippers
- •Heat shrink tubing (assorted sizes)
- •LIR2032 rechargeable batteries (3.6V, 65-80mAh)
- •TP4056 lithium charger module (micro-USB or Type-C)
- •CR2032 battery holder (low-profile)
- •Silicone wire (28-30 AWG, red/black)
- •USB extension cable or port (optional for flush mount)
- •Electrical tape or Kapton tape
- •Isopropyl alcohol and cotton swabs (for cleaning)
Estimated Time: 1-2 hours per device
Difficulty: advanced
▸Step-by-Step Instructions
Step 1: Assess Your Device and Battery
Open your 3V device (e.g., watch back or remote screws) and identify the battery type (CR2032, CR2450). Measure holder dimensions with calipers and note polarity (+/- pads). Check voltage draw with multimeter in series—most are <1mA idle.
Why? Ensures compatibility; LIR2032 is slightly thicker (3.2mm vs 3.0mm) and 3.6-4.2V charged vs CR2032's 3V. Success: Battery specs noted, no damage during disassembly.
Image: Close-up of opened remote with CR2032 exposed, multimeter probes attached.
💡 Tips:
- •Photograph internals before disassembly for reassembly reference.
- •Test device voltage: Should be steady 2.8-3V.
⚠️ Warnings:
- •Avoid prying metal cases—use plastic tools to prevent shorts.
Step 2: Desolder and Remove Old Battery
Heat solder joints on battery tabs with iron at 350°C. Apply flux, wick away molten solder. Gently lift tabs. Clean pads with alcohol.
This clears space for new holder. Expect charred flux smell—ventilate. Success: Pads shiny, multimeter shows open circuit (>10MΩ).
💡 Tips:
- •Use desoldering pump for stubborn joints.
- •Tin pads lightly with fresh solder for better new connections.
⚠️ Warnings:
- •Don't overheat PCB >5s—lifts traces. Polarity mix-up fries devices.
Step 3: Prepare TP4056 Charger Module
TP4056 protects against overcharge/discharge. Solder wires: Red to B+ (battery +), Black to B- (battery -). OUT+/OUT- bypass to device pads if low draw; else direct to holder.
Why critical: LIR2032 lacks built-in protection. Trim module to fit. Success: Module LEDs test—red charging, green full on 3.7V input.
Image: TP4056 module wired with labels on pads.
💡 Tips:
- •Add 1kΩ resistor on DWN pin for LED dimming if bright.
- •Use Type-C TP4056 for modern USB-C charging.
Step 4: Install Battery Holder and Wires
Solder CR2032 holder to original pads (match polarity). Connect holder + to TP4056 B+, - to B-. Route micro-USB port through case hole or externally.
Use 5cm silicone wires, heat-shrink joints. Why? Secure mechanical fit. Success: Continuity test—0Ω between holder and module.
Image: PCB with holder soldered, wires routed neatly.
⚠️ Warnings:
- •Shorts kill batteries—double-check polarity with multimeter diode mode.
Step 5: Insert LIR2032 and Test Charging
Pop in charged LIR2032 (shipped discharged). Plug USB—red LED on TP4056 means charging (20-50mA). Wait 1hr for green full (4.2V). Measure device voltage: 3.6-4.2V.
Power on device—runs normally? Success: Cycles charge/discharge 5x without issues.
💡 Tips:
- •Pre-charge externally if module inaccessible.
- •Monitor temp <45°C during first charge.
Step 6: Secure and Reassemble Device
Tape module/holder with Kapton, route wires strain-free. Close case, test full function (e.g., remote buttons). Hot-glue USB port if needed.
Final check: 100+ cycles expected life. Success: Device slimmer, recharges forever.
Image: Reassembled remote with USB port visible.
⚠️ Warnings:
- •No loose wires—vibration causes shorts.
▸Pro Tips
- •Preheat iron to 350°C for lead-free solder—faster joints.
- •Batch-mod multiple devices: Prep 10 TP4056 at once.
- •Add switch between charger OUT and device for zero-draw standby.
- •Use 0.5mm wire for tight spaces.
- •Label polarity on case underside for future access.
- •Test runtime: LIR2032 lasts 2-3x longer per charge than CR2032.
- •For high-drain: Parallel two LIR2032 with balance wires.
▸Common Mistakes to Avoid
- •Reversing polarity—melts modules; always verify with multimeter.
- •Skipping flux—cold joints fail over time; flux ensures 100% contact.
- •Over-tightening case screws—cracks PCB; hand-tight only.
- •No heat shrink—wires short on metal; insulate everything.
- •Using unprotected Li-ion—fires/overdischarge; TP4056 mandatory.
▸Troubleshooting
Problem: TP4056 no red LED on USB plug
Solution: Check battery voltage >2.5V; replace USB cable. Test module separately.
Problem: Device won't power after mod
Solution: Verify continuity from battery to device pads. Charge to 4.0V min.
Problem: Overheats during charge
Solution: Bad connection—resolder. Ensure <100mA draw; add heatsink if high capacity.
Problem: Battery drains fast
Solution: Parasitic draw from USB port—cut D+/D- traces on TP4056.
Problem: PCB traces lifted
Solution: Use jumper wires underneath. Seek pro if multilayer board.
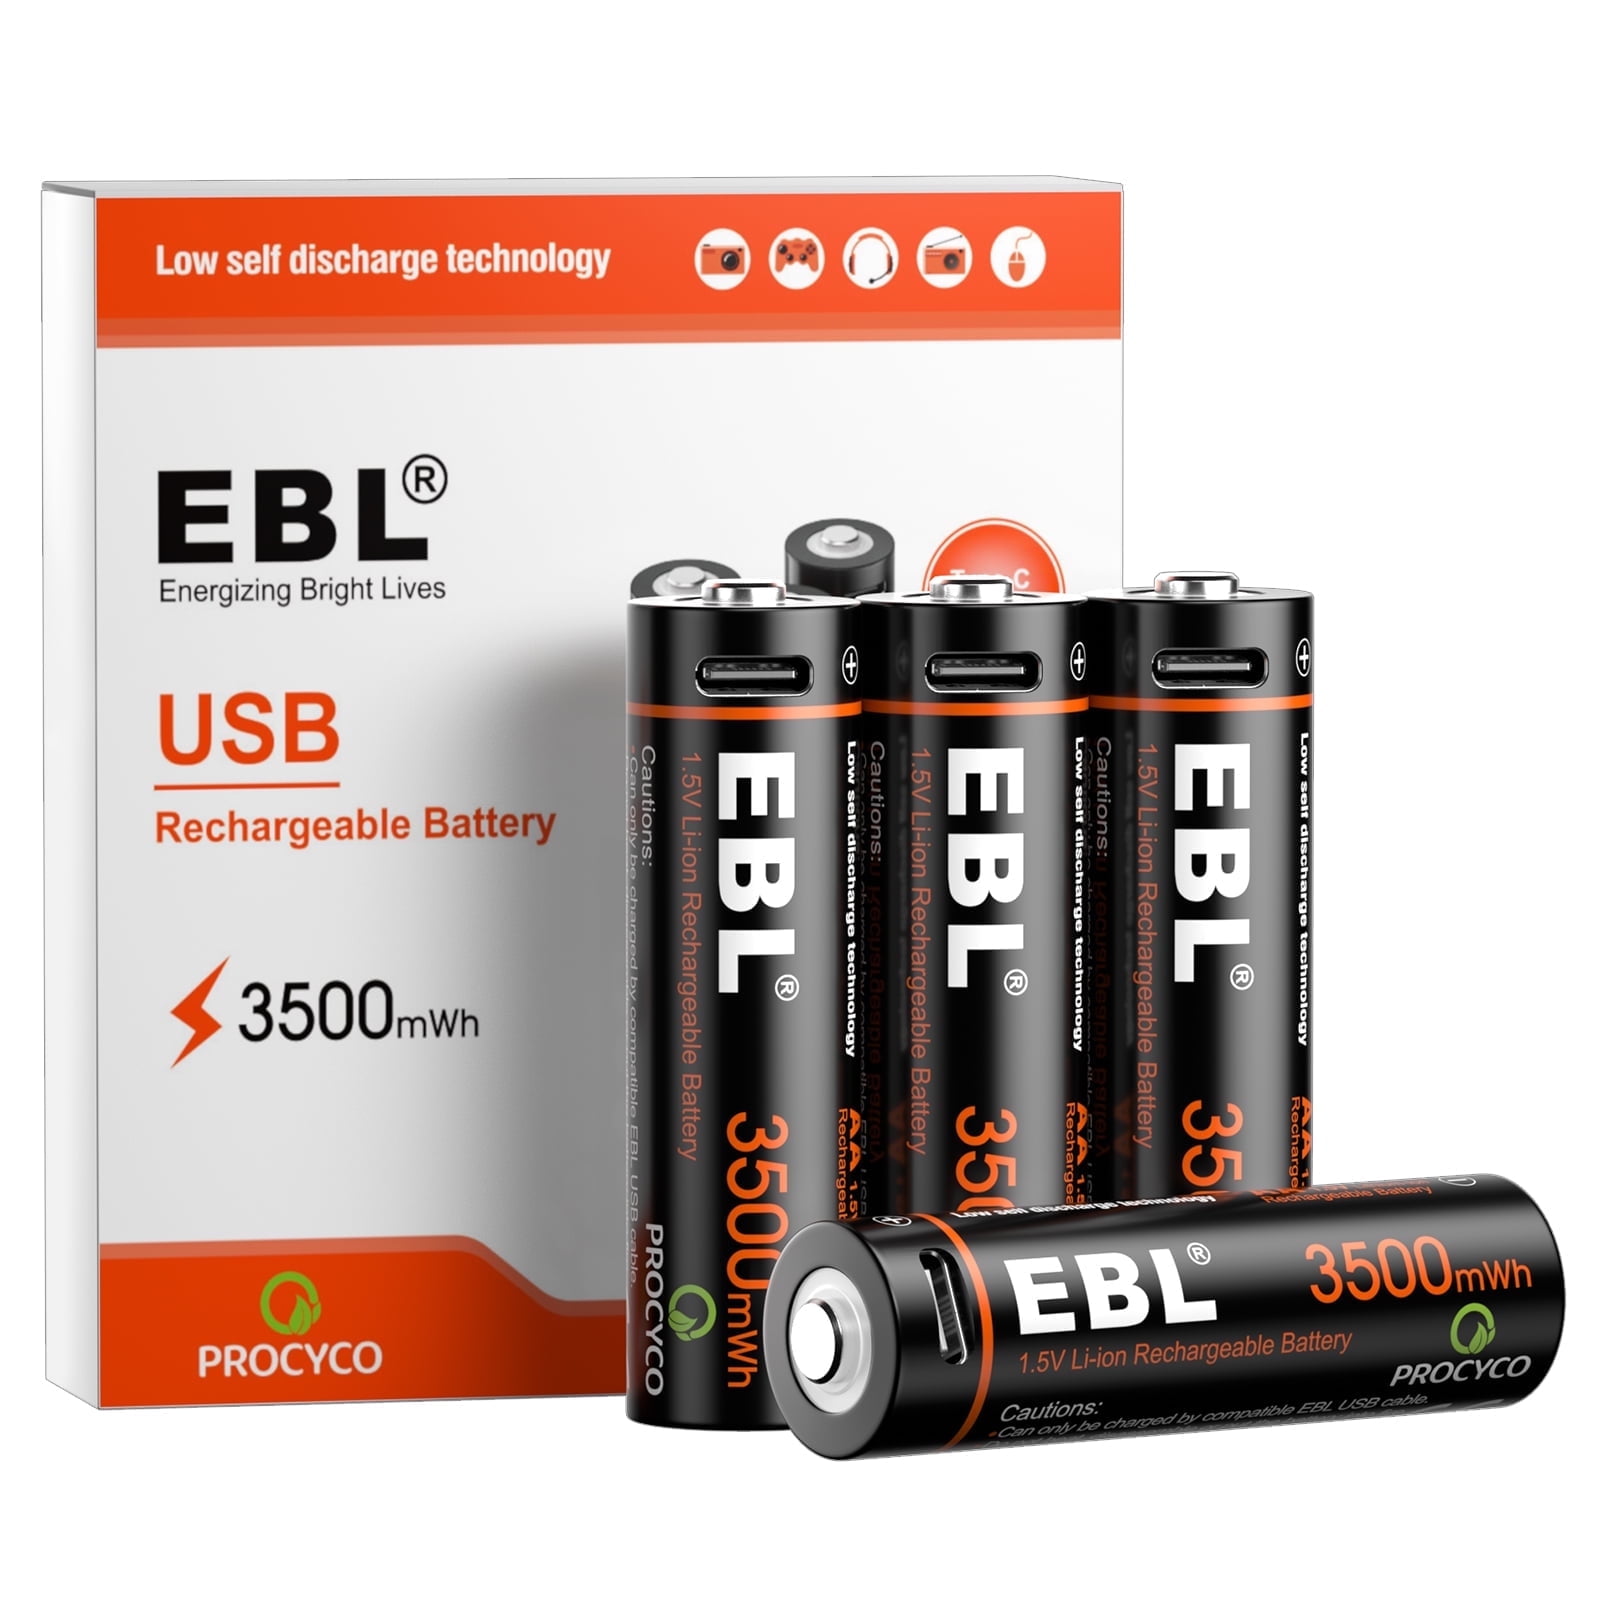
EBL LIR2032 Rechargeable Batteries (4-Pack)
Perfect drop-in replacement for CR2032 with 75mAh capacity and built-in protection for safe use.
Best for: Primary battery for low-drain devices like remotes; 500+ cycles.
Price Range: $15.99
TP4056 Type-C Lithium Battery Charger Module (10-Pack)
Reliable charger with overcharge protection; compact for internals.
Best for: Core charging circuit; handles up to 1A fast charge.
Price Range: $8.99
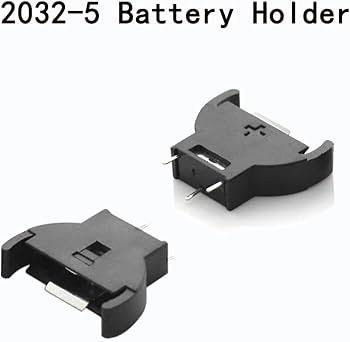
KeenSen CR2032 Coin Cell Battery Holder
Low-profile SMD holder fits tight spaces without modding PCB.
Best for: Mounting rechargeable cells securely.
Price Range: $6.99 for 20
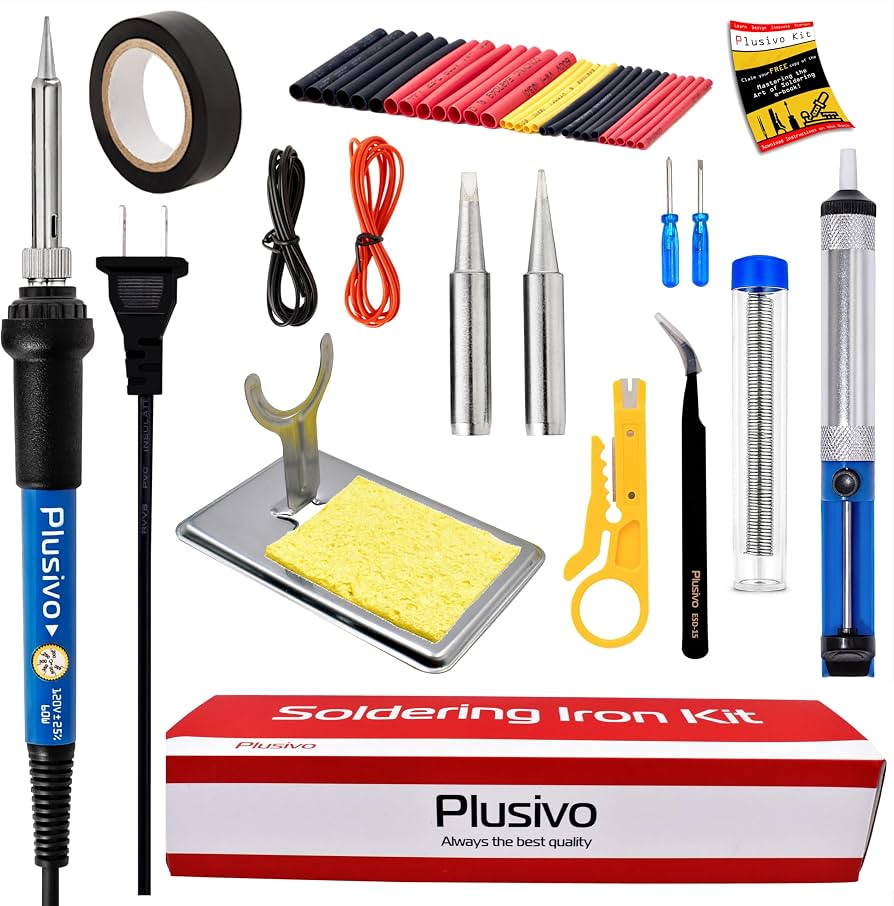
Plusivo Soldering Iron Kit 60W
Adjustable temp with extras like wick/flux—ideal for precise electronics work.
Best for: All soldering steps; beginner-friendly for advanced projects.
Price Range: $19.99
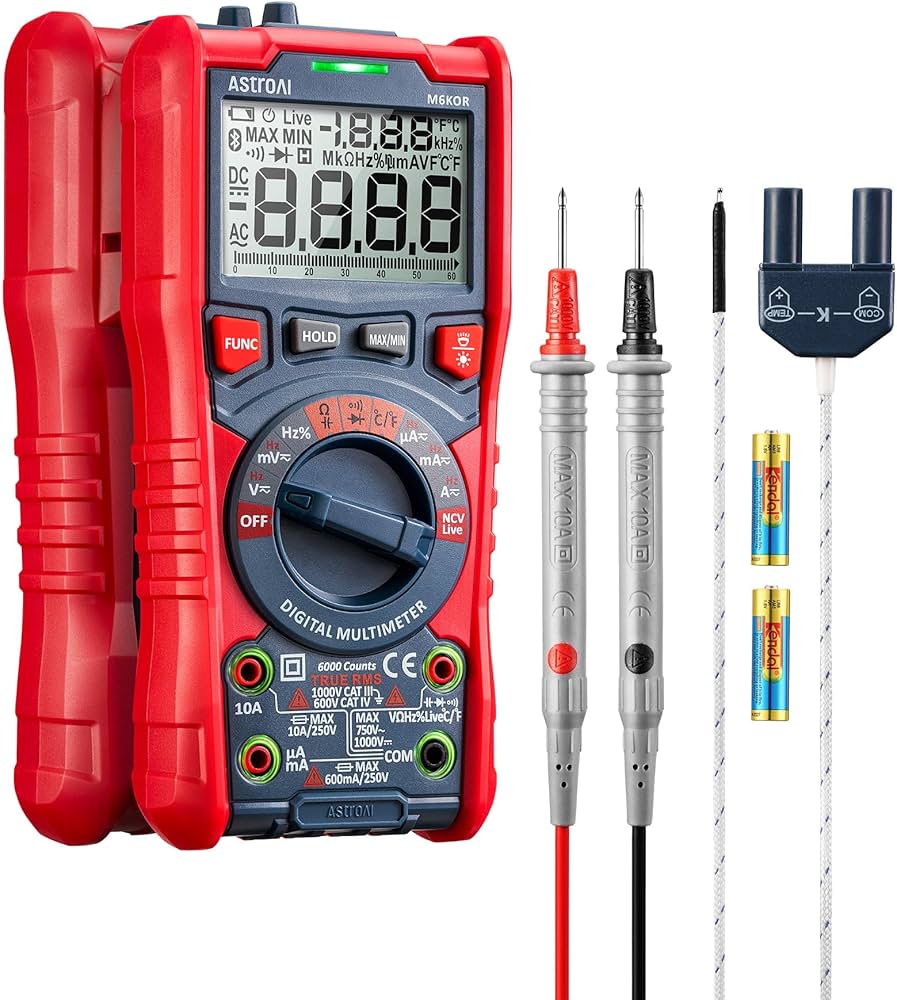
AstroAI Digital Multimeter TRMS 6000 Counts
Accurate voltage/continuity testing essential for safety.
Best for: Verify every connection before powering on.
Price Range: $12.99