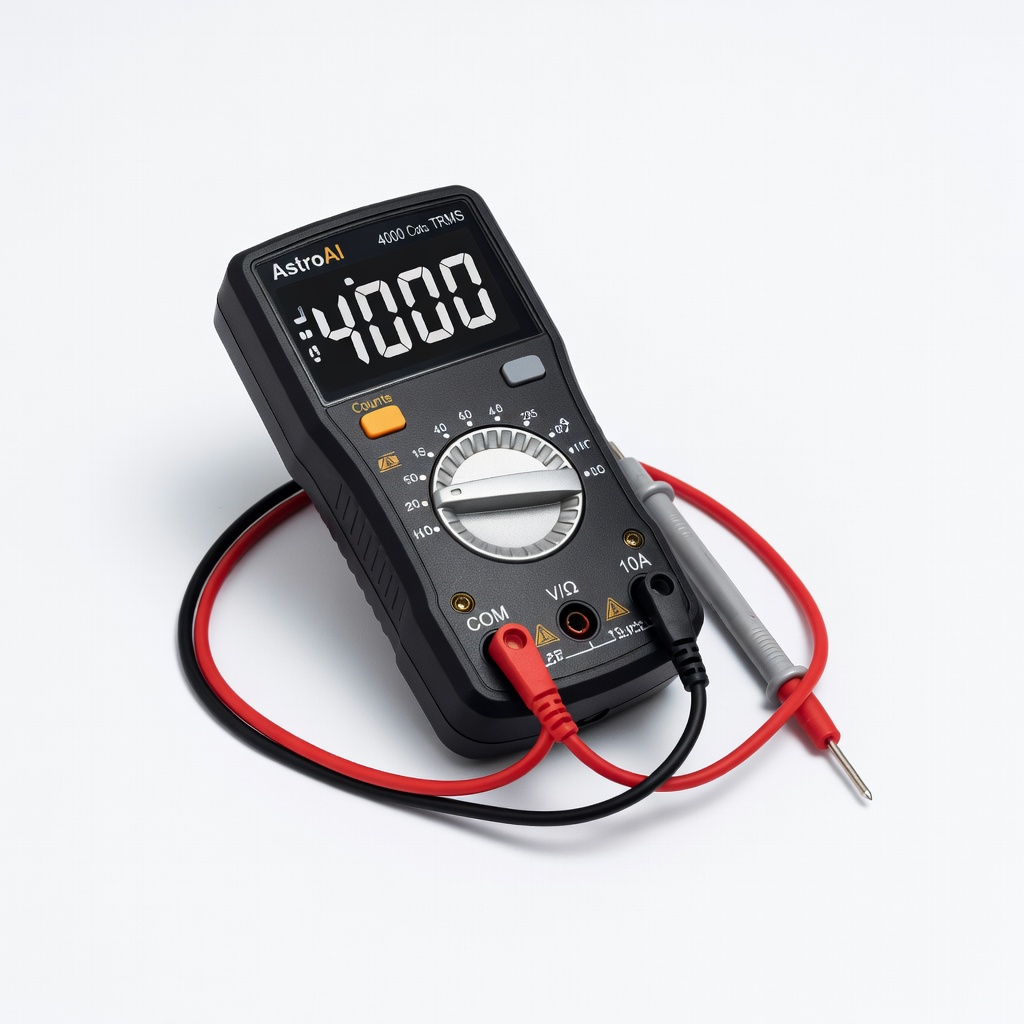
AstroAI Digital Multimeter 4000 Counts TRMS
Testing at every step, especially series voltage and load drops.
$12.99
AstroAI Digital Multimeter 4000 Counts TRMS Precise voltage/AC/DC current measurements critical for verifying 24V output and balance.
Get the App
Better experience on mobile
Master the advanced process of upgrading your 12V electrical system to 24V for efficient power delivery in RVs, boats, solar setups, or vehicles.
Struggling with insufficient power from your 12V system for high-draw devices like large inverters, winches, or thrusters? Converting to 24V boosts efficiency, reduces current draw on wires, and supports higher wattage loads without melting cables.
In this advanced guide, you'll learn two proven methods: wiring 12V batteries in series for a true 24V bank or using a DC-DC step-up converter to power 24V loads from your existing 12V system. We'll cover planning, wiring, safety, testing, and integration with chargers. Expect hands-on electrical work requiring knowledge of Ohm's law, series/parallel circuits, and battery chemistry.
Time commitment: 2-4 hours depending on system complexity. Difficulty suits those comfortable with 12V wiring, multimeters, and crimping—no beginner project.
Estimated Time: 2-4 hours Difficulty: advanced
Start by inventorying your current 12V setup: note total load amps (e.g., inverter 2000W at 12V = 167A; at 24V = 83A—halves wire size needs). Use P = V × I to size components. Decide method: series batteries for full 24V system (permanent upgrade) or DC-DC converter for selective 24V loads (keeps 12V base).
For series: Need even number of identical batteries. For converter: Match input (12V) to output (24V) at your max amps. Success: Written plan with wire gauge chart (e.g., 4 AWG for 100A at 10ft).
Expect: 24V halves current, allowing thinner (safer/cheaper) wires.
💡 Tips:
⚠️ Warnings:
Verify batteries match (same brand, capacity, age <6 months). Test each at 12.6V+ fully charged. Inspect cables for insulation cracks; crimp sample lug to practice.
Prep workspace: Ventilated area, battery acid neutralizer nearby. Label all wires. Success: All parts tested, workspace organized.
Why? Mismatched batteries in series fail fast—one drags down the bank.
💡 Tips:
Critical first step: Turn off all loads, disconnect vehicle battery negative first, then positive. Remove fuses. Use lockout/tagout.
Wear PPE: Gloves, eye protection. Verify 0V with multimeter across terminals. Ground yourself to avoid static on electronics.
Success: Multimeter reads 0V everywhere—no shocks ahead.
⚠️ Warnings:
Place batteries side-by-side in tray. Connect positive of battery 1 to negative of battery 2 with short 4 AWG jumper cable (crimp securely, heat-shrink).
Main output: Battery 1 negative (-) as system ground; battery 2 positive (+) as +24V. Torque to 10-15 Nm. Success: Multimeter across main terminals reads ~25.2V (full charge).
Why series? Doubles voltage, same capacity—perfect for 24V native loads.
💡 Tips:
⚠️ Warnings:
Mount ANL fuse holder within 12 inches of + terminal. Crimp 4 AWG to lugs, insert 300A fuse. Run cables to bus bars (keep runs equal length).
Use color code: Red +, black -. Secure with clamps every 18 inches. Success: Secure, strain-relieved wiring with no exposed copper.
Pro tip: Calculate fuse as 1.25 × max continuous amp.
For vehicles: Install DC-DC charger between 12V alternator/starter battery and 24V bank (e.g., Victron Orion isolates, charges at 24V). Wire per manual: 12V in, fused 24V out to bank +.
For solar: Swap to 24V MPPT controller. Success: Charger LED on, bank holds 25-29V while charging.
Expect: Proper charger prevents over/under charge.
💡 Tips:
⚠️ Warnings:
Rewire 24V-native loads (inverter, lights) directly. For legacy 12V loads: Add DC-DC buck converters (24V to 12V).
Test each circuit individually. Success: Loads run cool, no voltage sag >0.5V under load.
Advanced: Parallel multiple 24V banks if needed.
Reconnect in reverse: + first, then -. Power on charger. Load test: Run max draw 30 mins, check temps <50°C, voltage balance (±0.1V per battery).
Install shunt monitor. Cycle charge/discharge. Success: Stable 24V, even battery voltages, no heat.
Final check: Log data for 24 hours.
💡 Tips:
⚠️ Warnings:
Problem: Voltage reads 12V not 24V
Solution: Check series jumper connection; measure each battery individually. Rewire if open circuit.
Problem: Batteries unequal voltage
Solution: Install active balancer; individually charge to 14.4V then reconnect.
Problem: System overheating
Solution: Verify wire gauge/amp rating; clean connections; add fans to enclosure.
Problem: No charging
Solution: Confirm DC-DC input voltage; check fuses; test charger output standalone.
Problem: Loads flicker or shut off
Solution: Increase battery capacity; check for loose crimps; add capacitors for surges.
Precise voltage/AC/DC current measurements critical for verifying 24V output and balance.
Best for: Testing at every step, especially series voltage and load drops.
Price Range: $12.99
Reliable, affordable for series bank; deep cycle handles inverters well.
Best for: Primary 24V bank for RVs/solar; identical pair essential.
Price Range: $179.99 each
Professional crimps prevent loose connections that cause resistance/heat.
Best for: Securing 4AWG+ lugs on high-amp cables.
Price Range: $89.99
Isolated charger safely converts vehicle 12V to regulated 24V charge; Bluetooth monitoring.
Best for: Charging 24V aux bank from 12V alternator without backflow.
Price Range: $150-$180
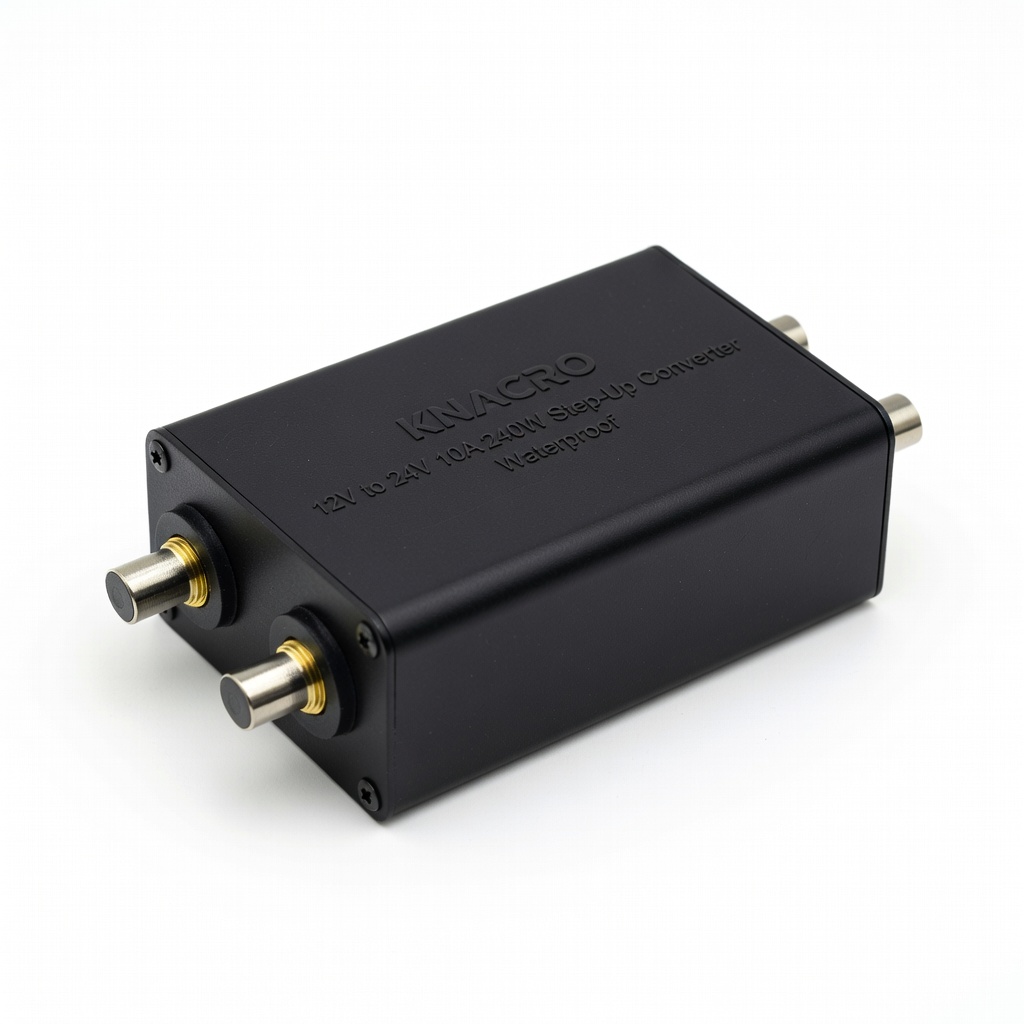
Compact, efficient boost for powering 24V loads/devices without full rewire.
Best for: Selective conversion (e.g., 24V winch from 12V battery).
Price Range: $35.99
Testing at every step, especially series voltage and load drops.
AstroAI Digital Multimeter 4000 Counts TRMS Precise voltage/AC/DC current measurements critical for verifying 24V output and balance.
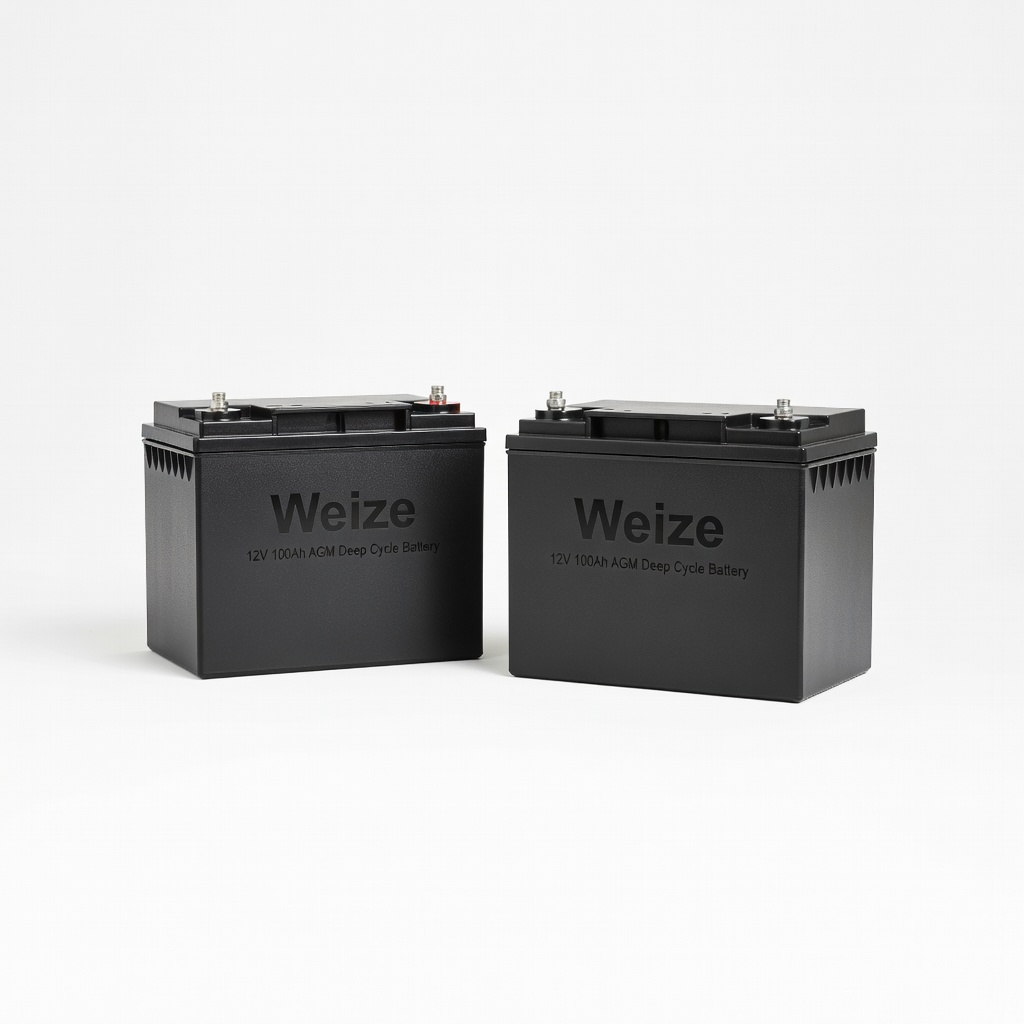
Primary 24V bank for RVs/solar; identical pair essential.
Weize 12V 100Ah AGM Deep Cycle Battery (buy two) Reliable, affordable for series bank; deep cycle handles inverters well.
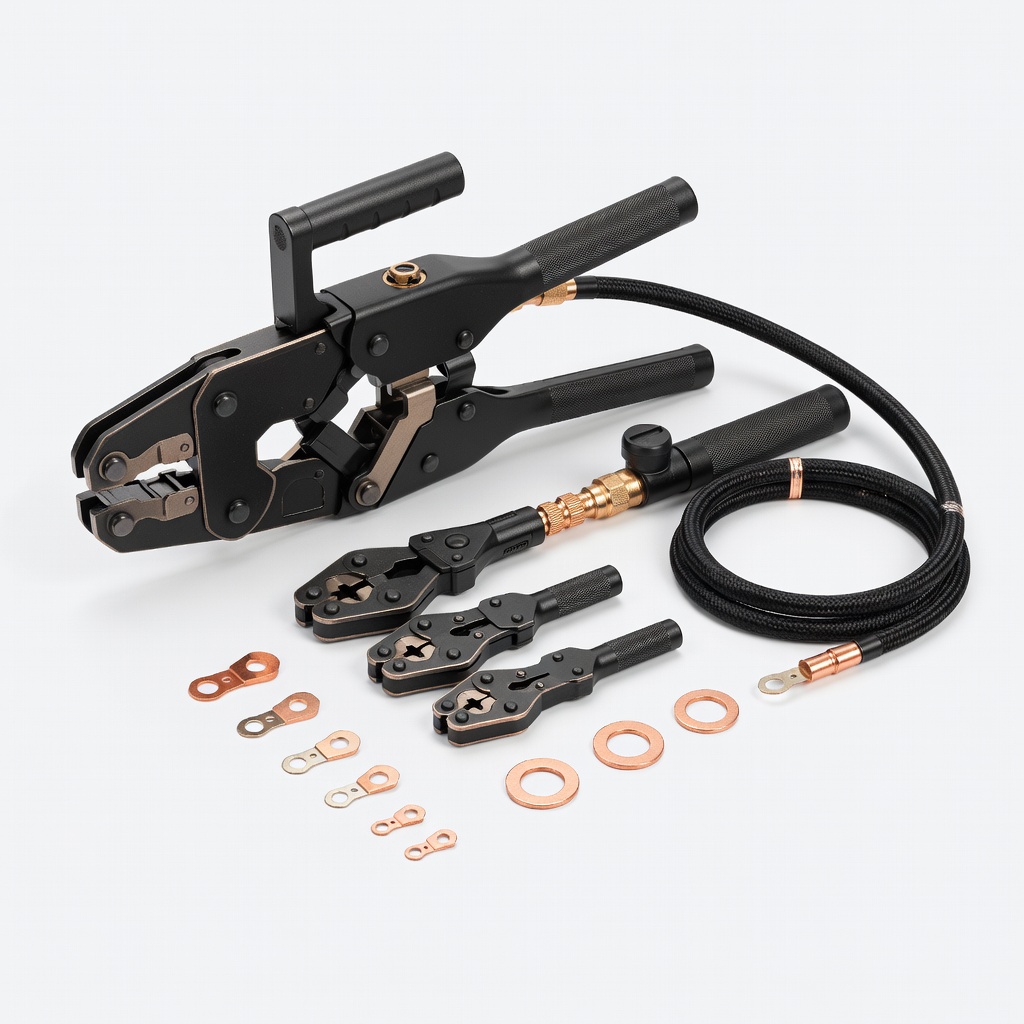
Securing 4AWG+ lugs on high-amp cables.
IWISS 10 Ton Hydraulic Battery Lug Crimper Kit Professional crimps prevent loose connections that cause resistance/heat.
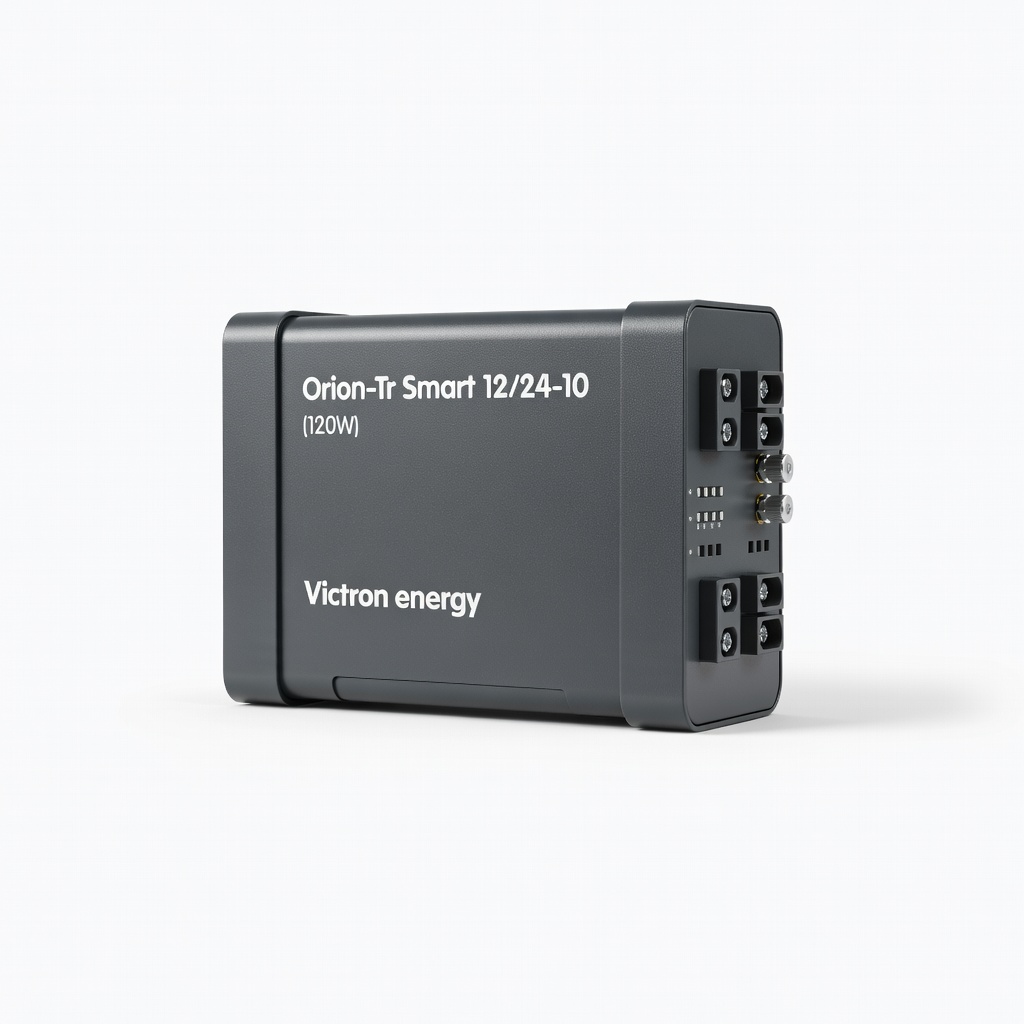
Charging 24V aux bank from 12V alternator without backflow.
Victron Energy Orion-Tr Smart 12/24-10 (120W) DC-DC Charger Isolated charger safely converts vehicle 12V to regulated 24V charge; Bluetooth monitoring.
Selective conversion (e.g., 24V winch from 12V battery).
KNACRO 12V to 24V 10A 240W Step-Up Converter Waterproof Compact, efficient boost for powering 24V loads/devices without full rewire.