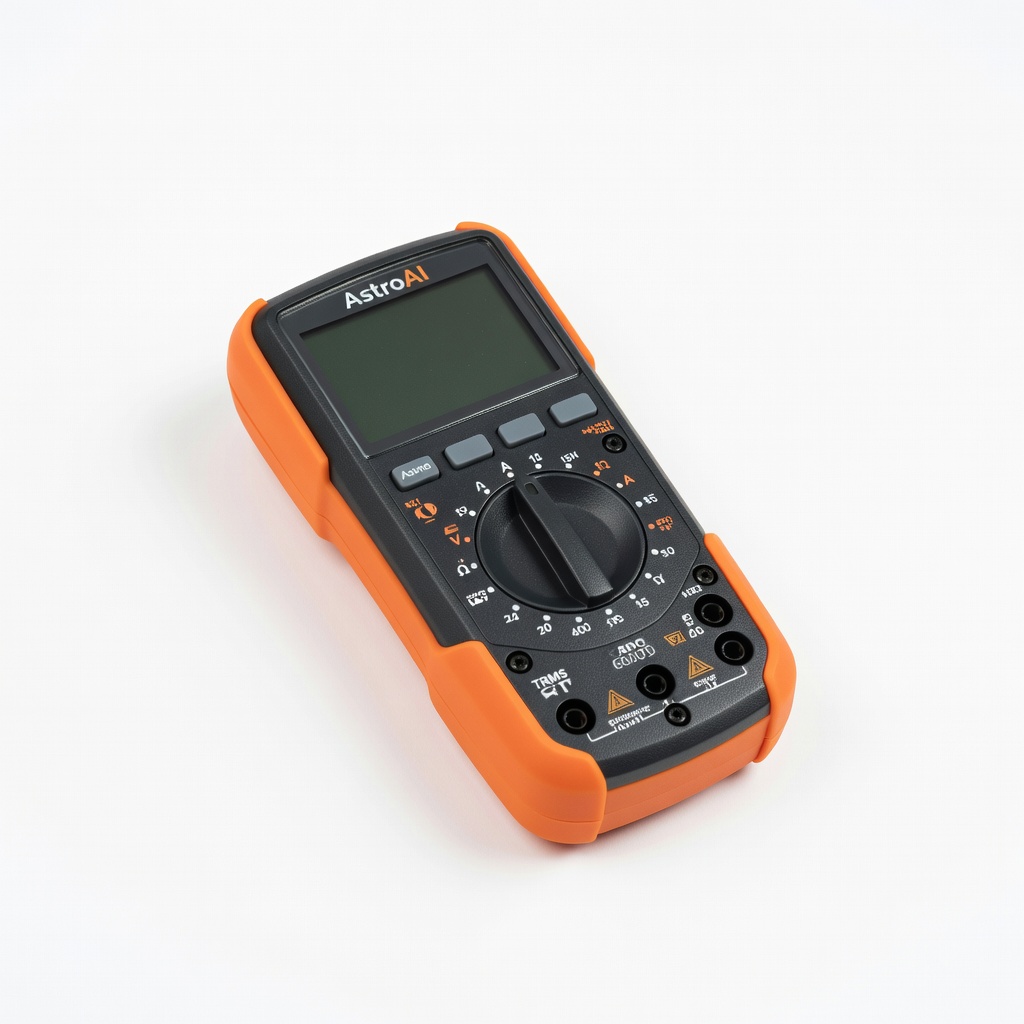
AstroAI Digital Multimeter TRMS 6000 Counts
Verify adapter output before connecting to vintage gear.
$15-$20
AstroAI Digital Multimeter TRMS 6000 Counts Essential for accurate voltage/polarity testing; auto-ranging for ease.
Get the App
Better experience on mobile
Safely power up your retro gadgets with matching adapters in 15-30 minutes without damaging rare components.
Vintage electronics like old game consoles, radios, or synthesizers often lack original power supplies or have worn-out cords, leaving enthusiasts frustrated when trying to revive them. Using the wrong AC adapter can fry circuits due to mismatched voltage, polarity, or current—common pitfalls that ruin irreplaceable gear. This guide ensures you connect safely and effectively.
You'll learn to identify your device's power specs, match them to a modern adapter, and test the connection step-by-step. Perfect for intermediate hobbyists familiar with basic tools like multimeters. The process is straightforward, taking 15-30 minutes, and focuses on safety to avoid shocks or shorts.
By the end, your vintage device will hum to life reliably, extending its lifespan without expensive repairs.
Estimated Time: 15-30 minutes Difficulty: intermediate
Start by checking the label on the bottom or back of your vintage device for specs like voltage (e.g., 9V DC), amperage (e.g., 1A), and polarity (look for symbols: + center or - center). If no label, search online using the model number (e.g., 'Atari 2600 power specs').
Why it matters: Mismatched specs can overvolt and destroy components. Expect to find DC output most often, with barrel jack size noted (e.g., 5.5mm x 2.1mm).
Download or print the manual for reference.
💡 Tips:
⚠️ Warnings:
Examine your adapter's label for output: voltage (V), current (A or mA), polarity, and connector type. Ensure voltage matches exactly (e.g., device 9V needs 9V adapter). Amperage can be equal or higher (e.g., 1A device ok with 2A adapter), but not lower.
Polarity is critical—most vintage uses center positive (+ inside tip). Connector must fit snugly without wobble.
💡 Tips:
⚠️ Warnings:
Set multimeter to DC voltage (20V range). Plug in adapter, touch red probe to center pin, black to barrel. Positive reading = center positive; negative = center negative.
Why? Reversed polarity can smoke diodes. Match your device's symbol. If mismatch, use a polarity reversal adapter.
💡 Tips:
⚠️ Warnings:
Measure jack outer diameter (calipers ideal) and inner pin. Test fit: insert gently—should be firm, not loose or forced.
If too loose, use shrink tube or foam; too tight, don't force.
💡 Tips:
⚠️ Warnings:
Clean the power port with isopropyl alcohol and compressed air. Inspect for bent pins or corrosion. If internal access needed, open case with screwdriver and check fuse/capacitors.
Power off everything, unplug from wall.
💡 Tips:
⚠️ Warnings:
Align polarity symbols. Plug adapter into device, then wall outlet. Success: No sparks, hum, or heat.
Observe for 1-2 minutes.
💡 Tips:
⚠️ Warnings:
Power on device. Measure voltage at internal points if advanced. Check for normal operation, warmth (slight ok, hot bad).
Success: Device functions as original.
💡 Tips:
⚠️ Warnings:
Problem: No power, but adapter lights up
Solution: Check polarity and connector fit. Test voltage at device jack. Replace blown internal fuse.
Problem: Device powers but flickers
Solution: Loose connection or low amperage. Tighten or upgrade adapter.
Problem: Overheating or smell
Solution: Unplug immediately. Wrong voltage/polarity. Inspect for shorts; seek pro repair.
Problem: Multimeter shows wrong voltage
Solution: Bad adapter or probes. Test known good source. Replace if under 90% rated output.
Essential for accurate voltage/polarity testing; auto-ranging for ease.
Best for: Verify adapter output before connecting to vintage gear.
Price Range: $15-$20
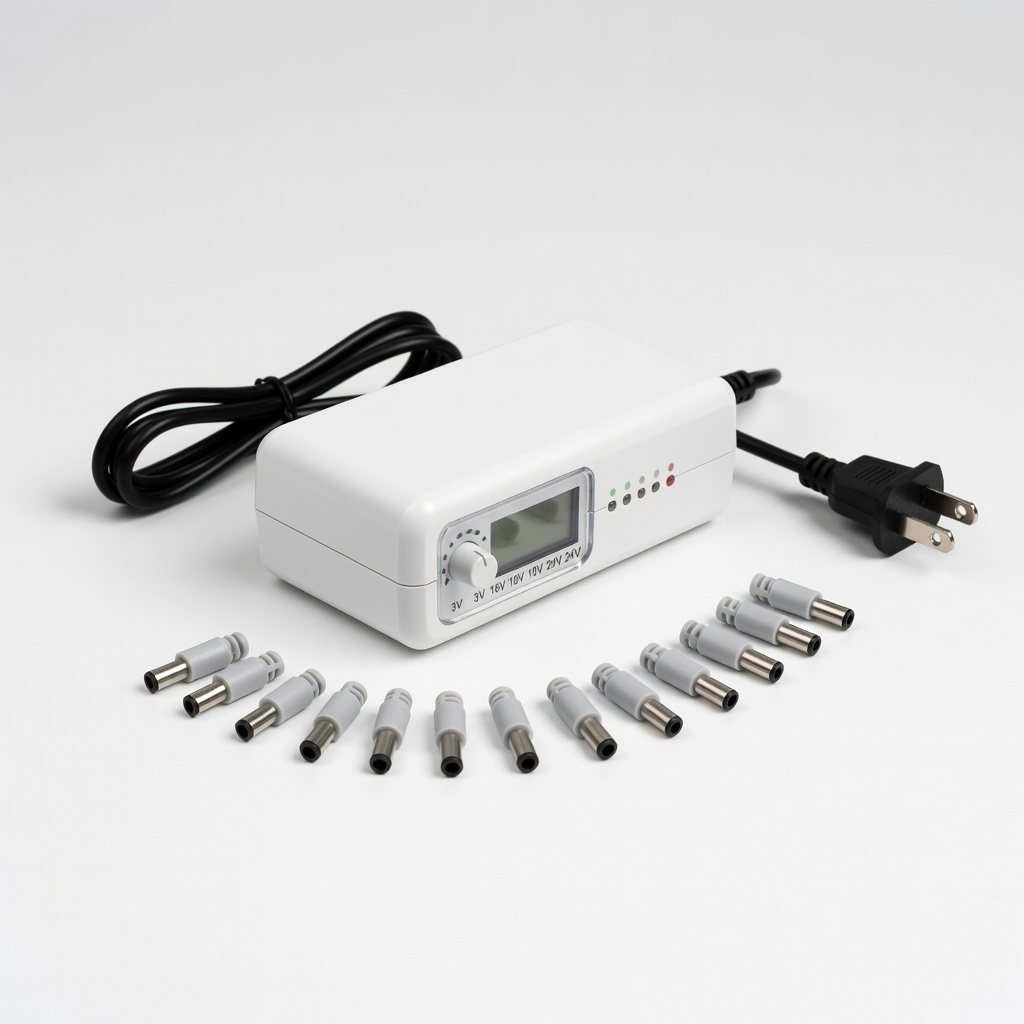
Adjustable voltage/current with switchable plugs; ideal for multiple vintage devices.
Best for: Power Atari, NES, or synths without buying multiples.
Price Range: $12-$15
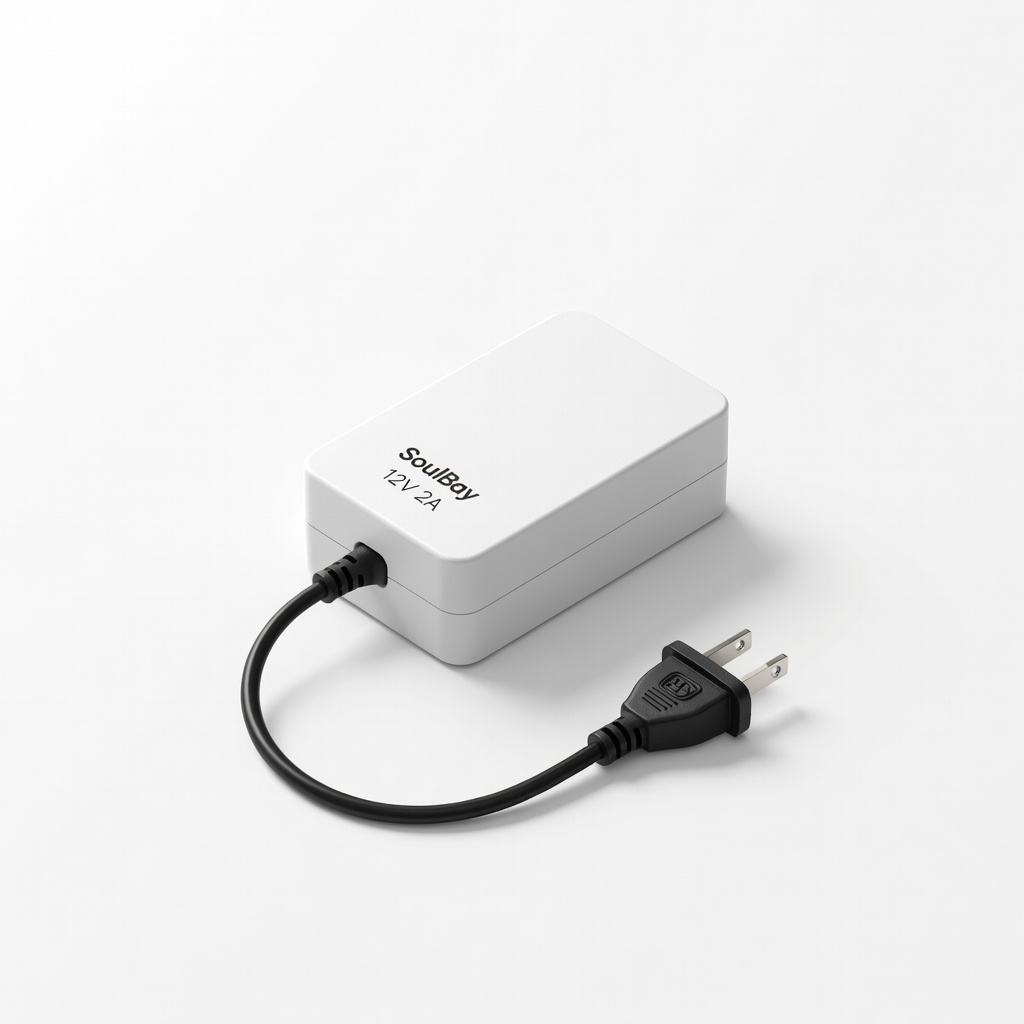
Reliable fixed output for common vintage specs; UL certified for safety.
Best for: Dedicated use for 12V devices like old monitors.
Price Range: $9-$12
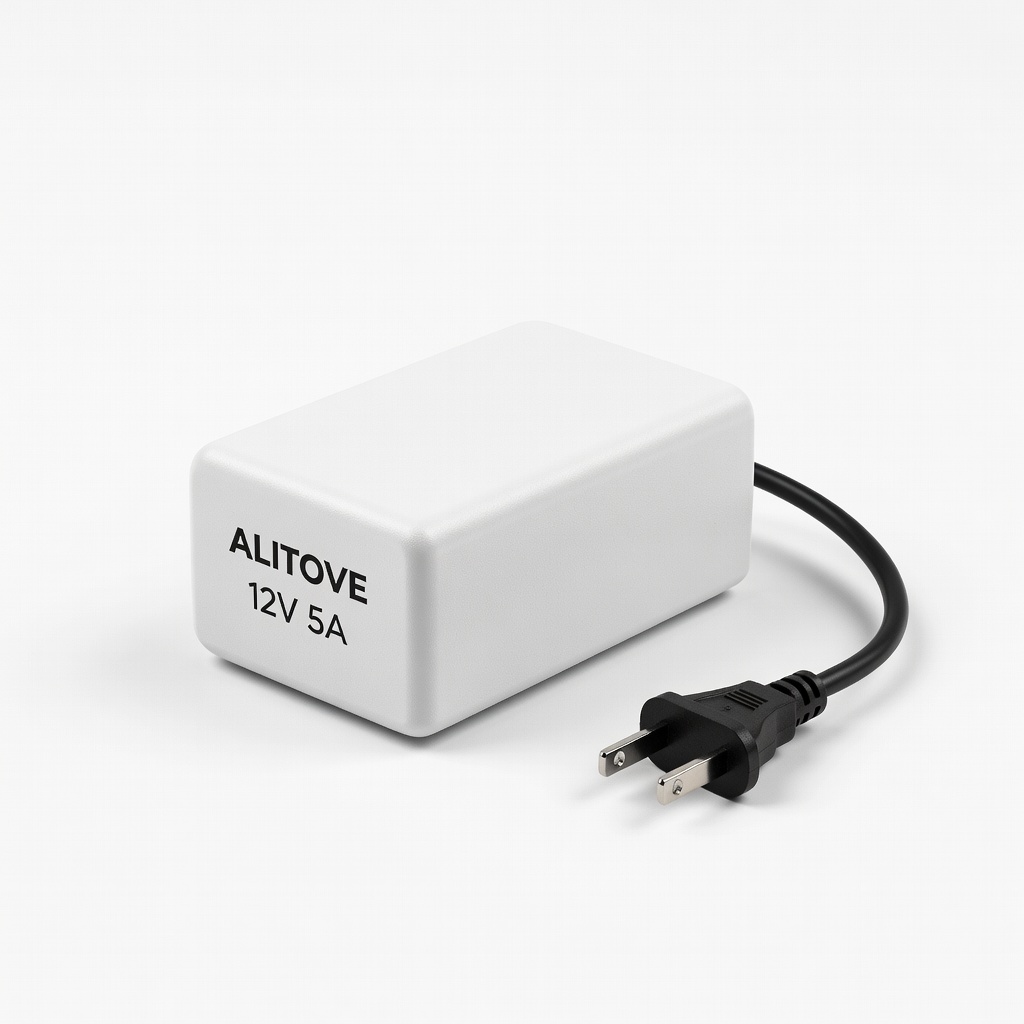
High amperage for power-hungry vintage amps; short-circuit protected.
Best for: Devices drawing over 2A, like guitar pedals.
Price Range: $18-$22
Quick fix for polarity mismatches without rewiring.
Best for: Legacy devices with center-negative.
Price Range: $6-$10
Verify adapter output before connecting to vintage gear.
AstroAI Digital Multimeter TRMS 6000 Counts Essential for accurate voltage/polarity testing; auto-ranging for ease.
Power Atari, NES, or synths without buying multiples.
Powerextra Universal AC/DC Adapter 3V-24V Adjustable voltage/current with switchable plugs; ideal for multiple vintage devices.
Dedicated use for 12V devices like old monitors.
SoulBay 12V 2A Power Supply Adapter Reliable fixed output for common vintage specs; UL certified for safety.
Devices drawing over 2A, like guitar pedals.
ALITOVE 12V 5A Power Supply High amperage for power-hungry vintage amps; short-circuit protected.
Legacy devices with center-negative.
DC Polarity Reversal Adapter Cable Quick fix for polarity mismatches without rewiring.