Is your MacBook keyboard starting to feel sticky or unresponsive from daily use, crumbs, or spills? A dirty keyboard can lead to frustrating typing issues and even long-term hardware problems if not addressed properly. As a beginner, you might worry about voiding your warranty or damaging delicate components, but with the right approach, cleaning is straightforward and safe.
In this guide, you'll learn how to safely clean your MacBook keyboard using household items and specialized tools. We'll cover everything from preparation to testing, ensuring you avoid common pitfalls. The process is gentle, focusing on Apple's recommended methods to prevent liquid damage or key misalignment.
Expect to spend just 10-15 minutes on this task—it's beginner-friendly, requiring no advanced skills or disassembly. By the end, your keyboard will look and feel brand new, improving your typing experience and extending your device's lifespan.
▸What You'll Need
- •Microfiber cloth (soft and lint-free)
- •Compressed air canister (for removing dust)
- •Isopropyl alcohol (70% concentration, required for disinfection)
- •Cotton swabs or soft-bristled brush (for crevices)
- •Optional: Keyboard cleaning kit for easier access
Estimated Time: 10-15 minutes
Difficulty: beginner
▸Step-by-Step Instructions
Step 1: Prepare Your Workspace
Start by choosing a clean, well-lit area to work in, such as a flat desk away from carpets to minimize dust. Lay down a soft towel or mat to protect your MacBook from scratches. This setup prevents additional debris from entering the keyboard and makes the process more comfortable.
Why it matters: A controlled environment reduces the risk of introducing new dirt or static electricity, which could harm internal components. Expect a tidy space ready for careful handling—no rushing needed here.
Gather all your tools nearby so you don't have to pause mid-process.
💡 Tips:
- •Work in a room with low humidity to speed up drying later.
- •If you have pets, keep them away to avoid fur interference.
⚠️ Warnings:
- •Avoid cleaning on a soft surface like a bed, as it traps dust.
Step 2: Power Off and Unplug Your MacBook
Shut down your MacBook completely by clicking the Apple menu and selecting 'Shut Down,' then wait for it to fully power off. Unplug the charger and any peripherals like external drives or mice. If your model has a removable battery (older models), remove it; otherwise, just ensure it's off.
This step is crucial for safety: It prevents electrical shorts from moisture and protects against accidental key presses. You'll know it's successful when the screen is black and there's no fan noise—give it 1-2 minutes to cool if it was in use.
Pro tip: For battery safety, Apple advises against cleaning while powered on.
💡 Tips:
- •Press and hold the power button for 10 seconds if it doesn't shut down normally.
⚠️ Warnings:
- •Never clean a running device—liquid could cause immediate damage.
Step 3: Remove Loose Debris with Compressed Air
Hold the compressed air canister upright and use short bursts to blow air across the keyboard surface and between the keys. Tilt the MacBook at a 75-degree angle (almost vertical) with the screen open to let debris fall out—avoid shaking it vigorously.
Why this matters: It dislodges crumbs, dust, and pet hair without physical contact, preventing scratches. Success looks like visible particles falling away; repeat if needed, but don't overdo it to avoid moisture buildup in the can.
This non-invasive method is Apple's first recommendation for keyboard maintenance.
💡 Tips:
- •Use the straw attachment for precision in tight spots.
- •Blow from left to right for even coverage.
⚠️ Warnings:
- •Don't tilt the can or use it upside down, as it releases liquid propellant.
Step 4: Dampen Your Cloth with Isopropyl Alcohol
Pour a small amount of 70% isopropyl alcohol onto a microfiber cloth—just enough to make it slightly damp, not soaking wet. Wring it out if needed to avoid drips. Alternatively, use a pre-moistened wipe designed for electronics.
This preparation ensures safe disinfection without excess liquid reaching internals. The alcohol evaporates quickly and cuts through oils from fingers. Expect the cloth to feel cool and moist but not drip when squeezed.
Avoid water alone, as it can cause corrosion.
💡 Tips:
- •Test the cloth on your skin first— it should evaporate in seconds without residue.
⚠️ Warnings:
- •Use only 70% alcohol; higher concentrations can damage plastics.
Step 5: Gently Wipe the Keycaps
With the damp cloth, wipe each keycap in a gentle, circular motion, applying light pressure. Start from the top row and work down, focusing on visible grime. For stubborn spots, let the alcohol sit for 10-15 seconds before wiping.
Why it matters: This removes fingerprints, spills, and bacteria safely. You'll see the keys brighten up, feeling smoother to the touch. The butterfly or scissor mechanism in MacBooks is delicate, so no scrubbing.
If keys are loose, don't force them—proceed to the next step for crevices.
💡 Tips:
- •Wipe in the direction of typing to mimic natural use and avoid key lift.
⚠️ Warnings:
- •Never pour liquid directly on the keyboard—always use the cloth as a barrier.
Step 6: Clean Between Keys with Swabs
Dip a cotton swab in isopropyl alcohol, squeeze out excess, and gently run it along the edges and between keys to target hidden dirt. Use a soft brush if preferred for broader areas. Be extra careful around the edges near the trackpad.
This step reaches where cloths can't, ensuring thorough cleaning. Expect to see dirt transfer to the swab—replace it often. It's key for preventing sticky keys in the long term.
For older MacBooks with removable keys, you could pop them off, but it's not recommended for newer models.
💡 Tips:
- •Use multiple swabs to avoid spreading grime.
- •Angle the swab to follow key contours.
⚠️ Warnings:
- •Don't insert anything sharp or force into mechanisms— it could break keys.
Step 7: Let It Dry Completely and Test
Set the MacBook screen-open in a dust-free area and wait 5-10 minutes for everything to air-dry. Once dry, power it on and test each key by typing a full paragraph or using a keyboard tester app.
Drying prevents short circuits; success is responsive keys with no stickiness or unusual sounds. If all functions normally, you're done—otherwise, repeat affected areas.
Regular cleaning like this maintains performance without professional service.
💡 Tips:
- •Use a fan on low to speed drying, but keep it distant.
⚠️ Warnings:
- •Don't use heat sources like hairdryers— they can warp plastics.
▸Pro Tips
- •Clean weekly if you eat near your MacBook to prevent buildup.
- •For heavy users, invest in a keyboard cover to minimize future dirt.
- •Always clean the screen afterward for a fully refreshed device.
- •Use distilled water mixed with alcohol if pure isopropyl is too strong.
- •Track cleaning dates in your calendar for consistent maintenance.
- •If traveling, carry travel-sized compressed air for quick touch-ups.
- •Combine with trackpad cleaning for a complete setup refresh.
▸Common Mistakes to Avoid
- •Using too much liquid, which seeps under keys and causes corrosion—avoid by wringing out cloths thoroughly.
- •Cleaning while powered on, risking electrical damage—always shut down first.
- •Scrubbing aggressively, leading to scratched or dislodged keys—opt for gentle motions instead.
- •Skipping drying time, resulting in sticky residue—wait at least 5 minutes.
- •Using household cleaners like window spray, which leave films or damage plastics—stick to electronics-safe solutions.
▸Troubleshooting
Problem: Keys still sticky after cleaning
Solution: Repeat steps 5-6 with fresh alcohol; if persistent, check for spills and consider Apple support for deeper issues.
Problem: A key doesn't respond post-cleaning
Solution: Gently press it several times; if no improvement, avoid forcing and take to an Apple Store for inspection.
Problem: Debris won't come out with air
Solution: Use a soft brush or toothpick wrapped in cloth, but never metal—seek pro help if embedded deeply.
Problem: Alcohol smell lingers
Solution: Air out in a ventilated area; it should dissipate in 30 minutes—normal and harmless.
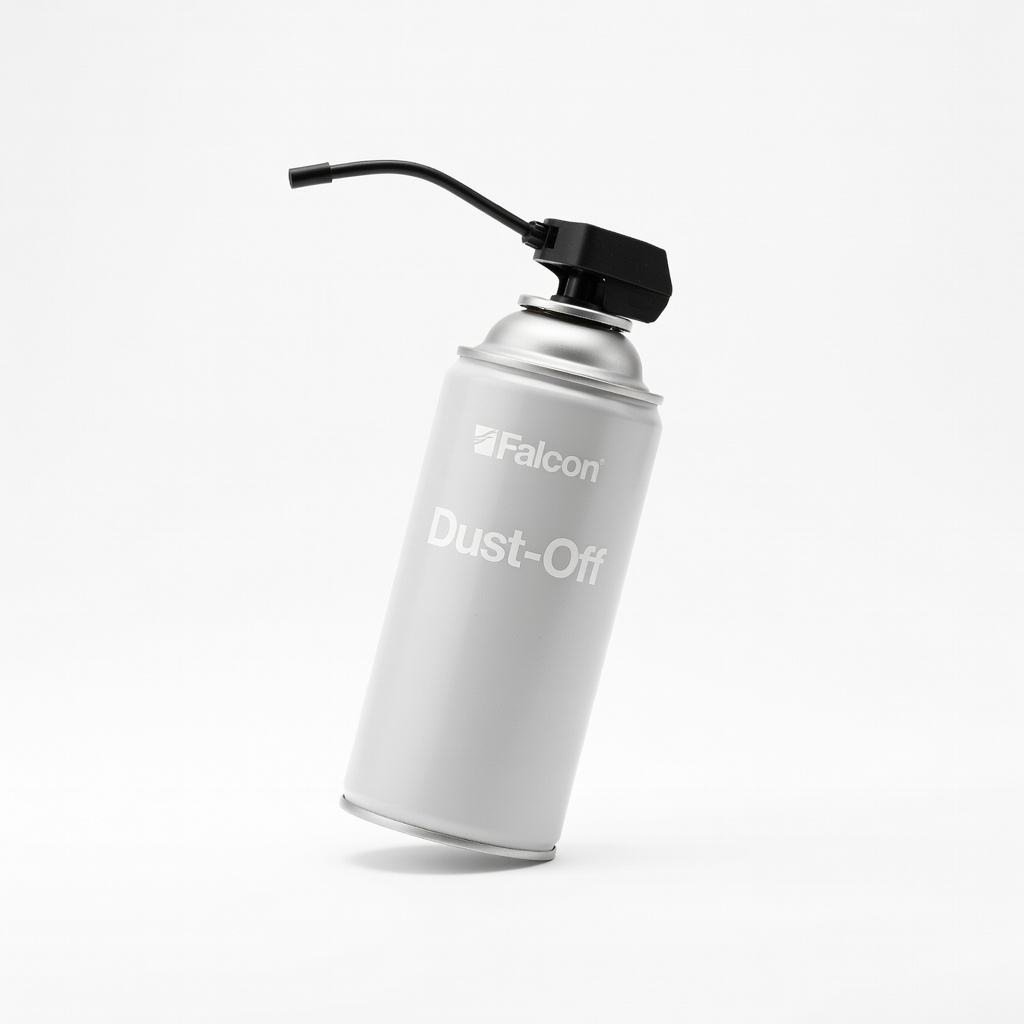
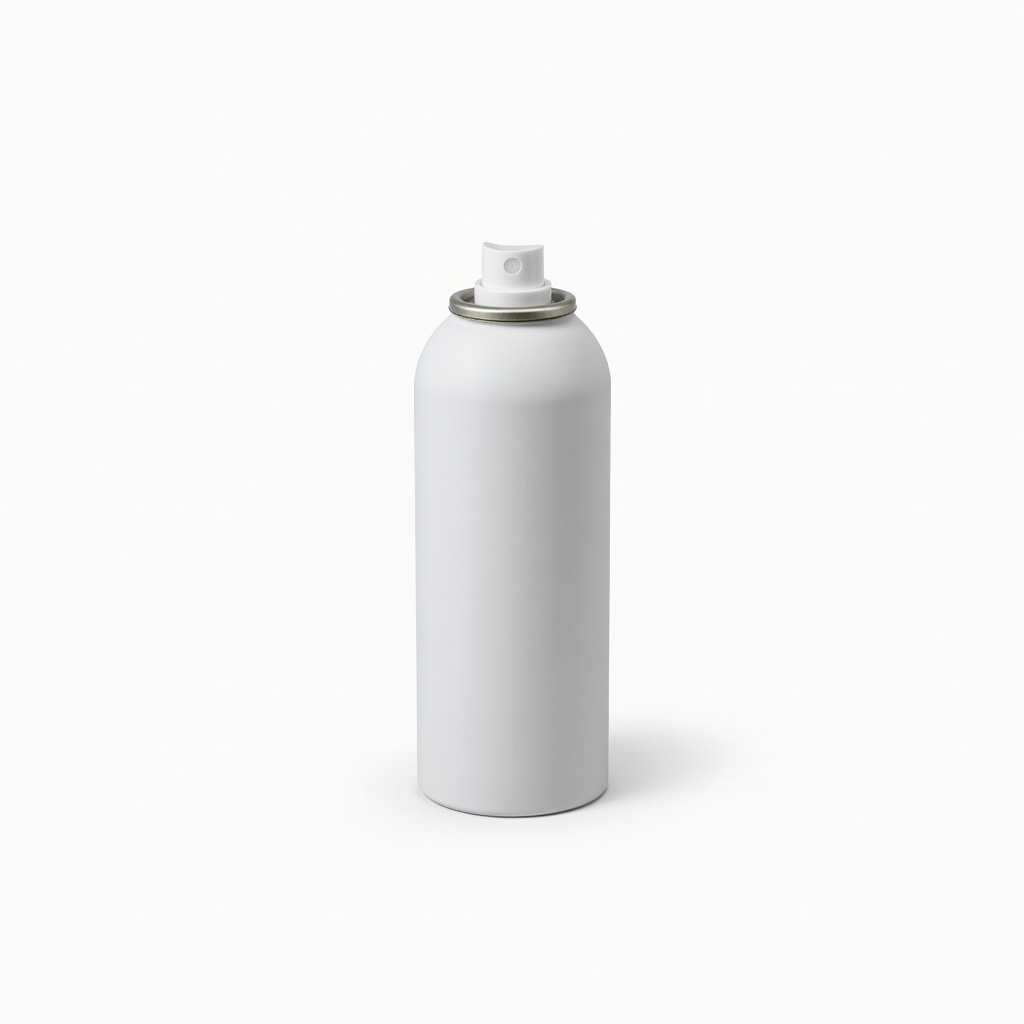
Falcon Dust-Off Compressed Air Duster
Provides powerful, dry air blasts without residue, ideal for dislodging dust safely per Apple's guidelines.
Best for: Essential for the initial debris removal step, especially for hard-to-reach keyboard gaps.
Price Range: $5-10
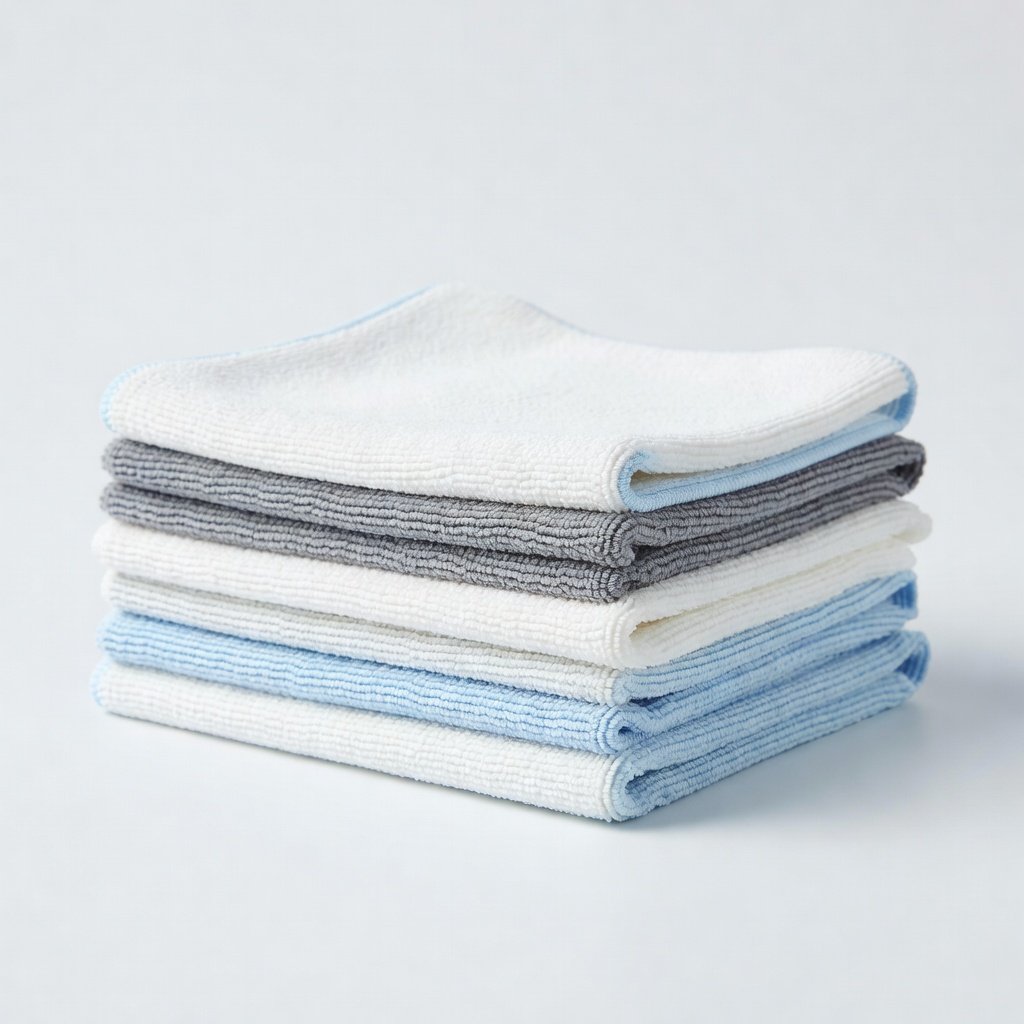
Amazon Basics Microfiber Cleaning Cloths
Lint-free and highly absorbent, perfect for damp wiping without scratching delicate key surfaces.
Best for: Used throughout wiping steps for streak-free results on keyboards and screens.
Price Range: $5-8 for a 24-pack
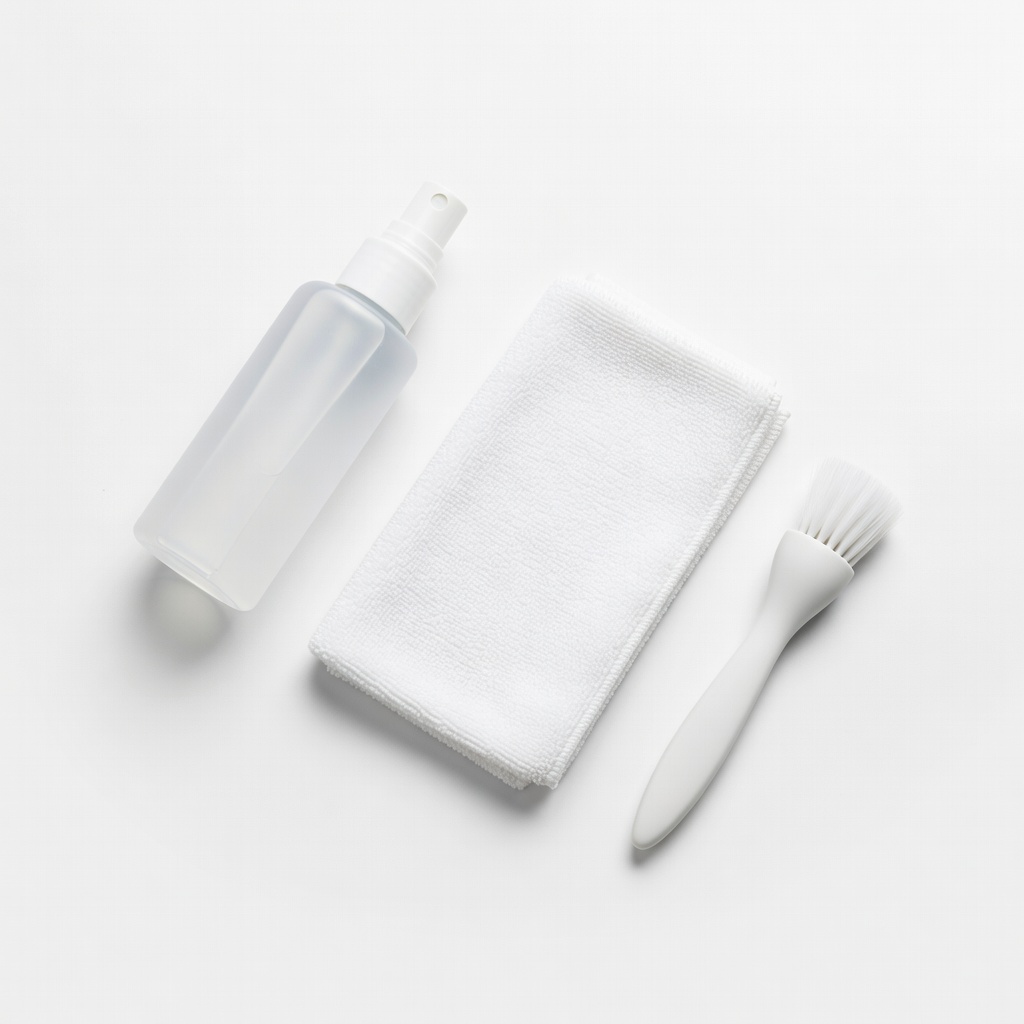
iKlear Keyboard Cleaning Kit
Includes alcohol wipes, swabs, and a brush tailored for Apple devices, making the process foolproof for beginners.
Best for: All-in-one solution for crevices and disinfection, great if you lack individual tools.
Price Range: $15-20
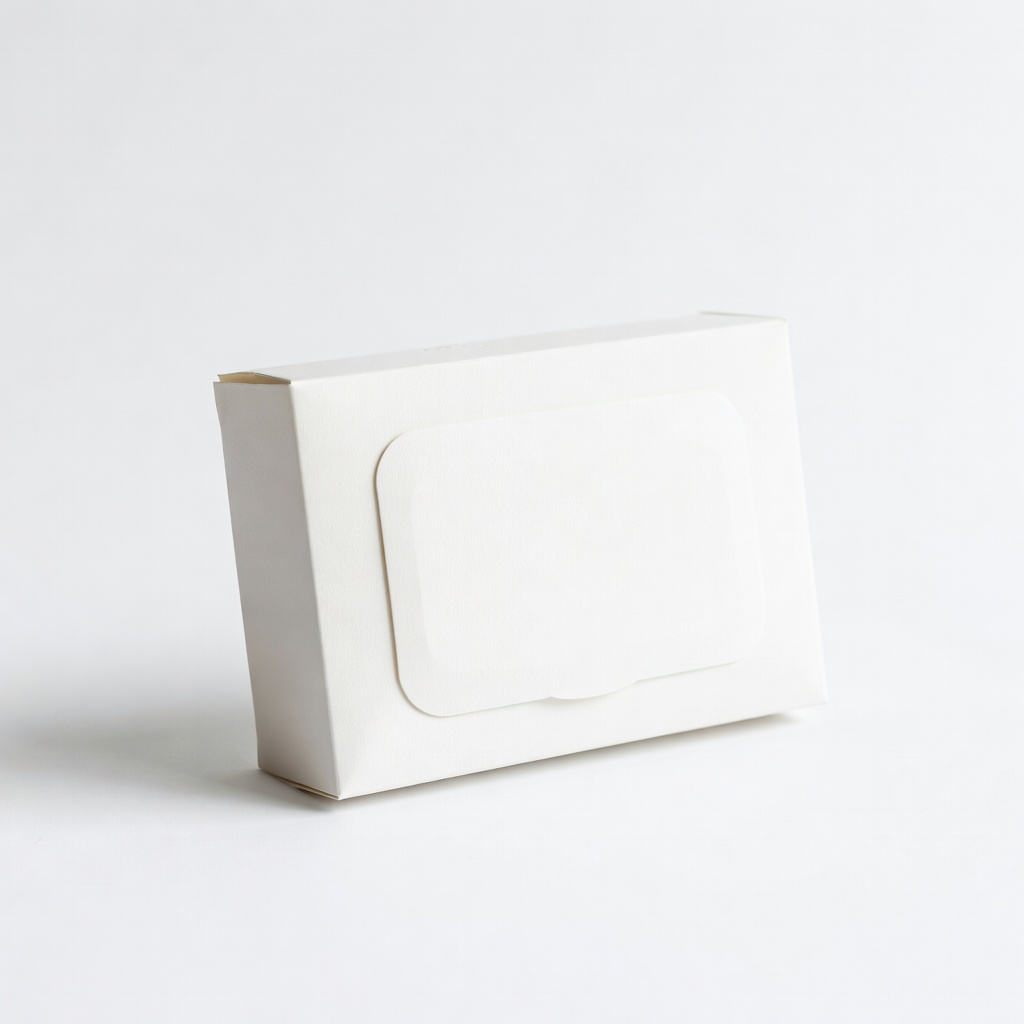
Swiffer Unscented Electronics Wipes
Pre-moistened with safe cleaners, convenient alternative to mixing alcohol for quick, no-drip cleaning.
Best for: Handy for light maintenance or travel, when you want to skip preparing solutions.
Price Range: $10-15 for 75 wipes
ROR Laptop Keyboard Cleaner Spray
Non-toxic, fast-evaporating formula designed for MacBooks, reducing static and fingerprints effectively.
Best for: For users preferring a spray over alcohol, apply to cloth for targeted grime removal.
Price Range: $12-18