Nothing ruins your morning ritual like a cup of coffee that tastes off or bitter, often due to mineral buildup and coffee residue in your machine. Regular cleaning not only improves flavor but also extends your coffee maker's lifespan, preventing clogs and breakdowns. If you've noticed weaker brews or strange odors, it's time for a deep clean.
In this complete guide, you'll learn how to thoroughly clean a standard drip coffee maker, from disassembling parts to descaling with household items. We'll cover everything for beginners, assuming you have a basic model with removable components. The process is straightforward and uses mostly pantry staples, making it accessible and cost-effective.
Expect to spend 20-30 minutes on the initial clean, with maintenance taking just 10 minutes monthly. No advanced tools required—just follow along to enjoy barista-quality coffee at home.
▸What You'll Need
- •White vinegar (or a coffee maker descaler solution)
- •Fresh water
- •Mild dish soap
- •Soft cloths or paper towels
- •Soft-bristle brush or old toothbrush
- •Optional: Baking soda for stubborn stains
- •Your drip coffee maker (with removable water reservoir, filter basket, and carafe)
Estimated Time: 20-30 minutes for full clean; 10 minutes for monthly maintenance
Difficulty: beginner
▸Step-by-Step Instructions
Step 1: Unplug and Disassemble the Coffee Maker
Start by ensuring your coffee maker is completely cool and unplugged from the power source to avoid any electrical hazards. This safety step prevents accidents and allows safe access to all parts.
Remove the water reservoir, filter basket, carafe, and any other detachable components. For most drip models like those from Mr. Coffee or Black+Decker, these parts twist or lift off easily. Empty any remaining water or grounds. Why it matters: Disassembling exposes hidden areas where residue builds up, ensuring a thorough clean.
What to expect: You'll have several loose parts ready for washing. If your model has a permanent filter, gently tap out loose grounds.
💡 Tips:
- •Work on a towel to catch drips and protect your counter.
- •Refer to your user manual for model-specific disassembly if unsure.
⚠️ Warnings:
- •Never clean while plugged in or hot—risk of burns or shocks.
Step 2: Wash Removable Parts with Soap and Water
Fill your sink with warm water and a few drops of mild dish soap. Soak the carafe, filter basket, and reservoir for 5-10 minutes to loosen coffee oils and grounds.
Scrub each part gently with a soft-bristle brush or sponge, focusing on crevices where residue hides. Rinse thoroughly under running water to remove all soap. Why it matters: These parts contact your coffee directly, so clean them prevents flavor contamination in future brews.
What success looks like: Parts should look spotless, with no visible grime or soapy film. Air-dry them on a rack to avoid water spots.
💡 Tips:
- •Add a teaspoon of baking soda to the soapy water for extra grease-cutting power on oily parts.
⚠️ Warnings:
- •Avoid abrasive scrubbers like steel wool, which can scratch plastic or glass.
Step 3: Wipe Down the Exterior and Base
Dampen a soft cloth with warm, soapy water and wipe the coffee maker's exterior, including the warming plate and control panel. Pay attention to spills around the base.
For the warming plate, use the cloth to remove any baked-on coffee stains. Dry everything immediately with a clean towel. Why it matters: A clean exterior prevents bacterial growth and keeps your kitchen looking tidy.
What to expect: The machine should feel smooth and free of sticky spots. Skip harsh chemicals—soap is sufficient for most surfaces.
💡 Tips:
- •Use a microfiber cloth for streak-free wiping on stainless steel models.
⚠️ Warnings:
- •Don't submerge the base in water; it's not waterproof.
Step 4: Descale the Interior with Vinegar Solution
Mix equal parts white vinegar and water (e.g., 1 cup each) and pour into the empty reservoir. Why vinegar? It's acidic and dissolves limescale from hard water without damaging the machine.
Place the carafe back on the base and run a full brew cycle, but without coffee grounds. Let the solution sit for 15-30 minutes if buildup is heavy, then run 2-3 more cycles with plain water to rinse. Why it matters: Descaling removes mineral deposits that clog tubes and affect brew temperature and taste.
Success indicator: The brew should run clear and odor-free after rinsing; discard the vinegar water down the drain.
💡 Tips:
- •If vinegar smell lingers, run an extra water cycle or brew with a baking soda solution next.
⚠️ Warnings:
- •Use distilled white vinegar only—apple cider can leave residues.
Step 5: Clean Hard-to-Reach Areas with a Brush
Use a soft-bristle brush or pipe cleaner to gently scrub the brew basket area, water tubes, and any showerhead-like sprayers inside the machine. Dip in the vinegar solution for added cleaning power.
Rinse by running a final water cycle. Why it matters: These spots accumulate mold or scale if ignored, leading to poor water flow.
What to expect: Improved water flow during the rinse cycle, with no sputtering or slow dripping.
💡 Tips:
- •A bottle brush works great for narrow tubes in pod-style makers if adapting this method.
⚠️ Warnings:
- •Be gentle to avoid dislodging internal parts.
Step 6: Reassemble and Test Run
Once all parts are dry, reassemble the coffee maker in reverse order: reservoir, basket, carafe. Plug it back in.
Run one full cycle with fresh water (no coffee) to flush any remnants. Then, brew a test pot with your favorite grounds. Why it matters: Ensures everything works properly and confirms the clean.
Success looks like: Hot, clear water flows evenly, and your test coffee tastes fresh without vinegar notes.
💡 Tips:
- •Taste the test brew—if off, repeat the rinse cycle.
⚠️ Warnings:
- •Don't use the machine for coffee until fully rinsed.
▸Pro Tips
- •Clean monthly for light use or bi-weekly if you brew daily to maintain peak performance.
- •For hard water areas, use filtered water in the reservoir to reduce future buildup.
- •Add a slice of lemon to the vinegar mix for a fresher scent during descaling.
- •Label your calendar for cleaning reminders—set it after each use.
- •If you have a pod machine like Keurig, adapt by running vinegar through empty cycles.
- •Dry parts completely before storage to prevent mildew.
- •Invest in reusable filters to cut down on paper waste and residue.
▸Common Mistakes to Avoid
- •Skipping the rinse cycles after descaling, leading to vinegary coffee—always run 2-3 water brews.
- •Using harsh chemicals like bleach, which can damage seals and leave toxic residues—stick to vinegar or approved cleaners.
- •Overlooking the carafe lid or basket handle crevices, causing ongoing odors—scrub every nook.
- •Cleaning while hot, risking burns—wait for full cooldown.
- •Ignoring manufacturer instructions for unique models, like single-serve pods—check your manual first.
▸Troubleshooting
Problem: Coffee maker still tastes sour after cleaning
Solution: Run additional plain water cycles or use a commercial descaler for stubborn buildup. If persists, check for damaged parts.
Problem: Weak brew flow or clogging
Solution: Repeat descaling with more vinegar soak time (up to 1 hour). Clean tubes with a brush. If unresolved, descale kit may be needed.
Problem: Vinegar smell lingers
Solution: Brew a cycle with 1/4 cup baking soda in water, followed by plain rinses. Air out the machine for a day.
Problem: Machine won't turn on post-clean
Solution: Ensure all parts are properly seated and dry. Check power cord. If issue continues, consult manual or professional repair.
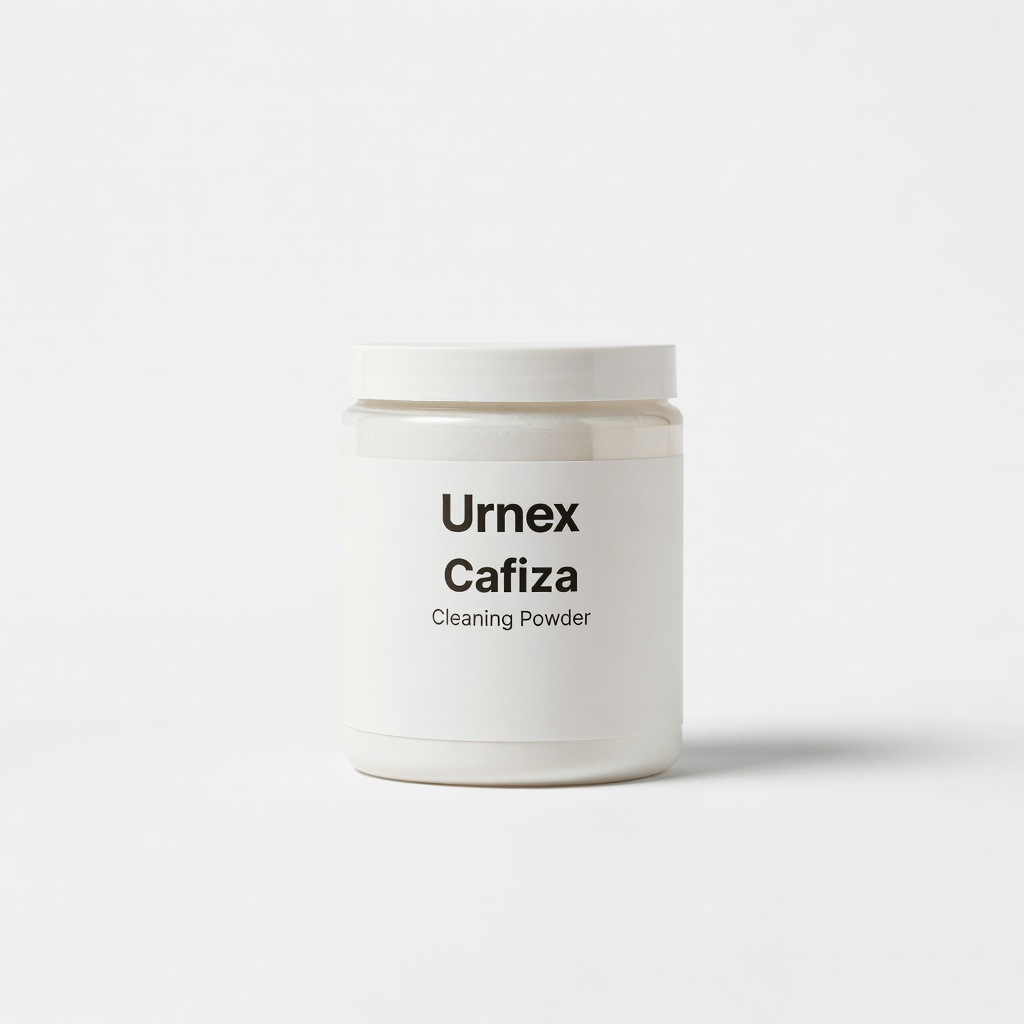
Urnex Cafiza Cleaning Powder
This professional-grade powder effectively removes coffee oils without vinegar's odor, ideal for deep cleans.
Best for: Use for monthly maintenance on heavily used machines to restore like-new performance.
Price Range: $10-15 for 20 servings
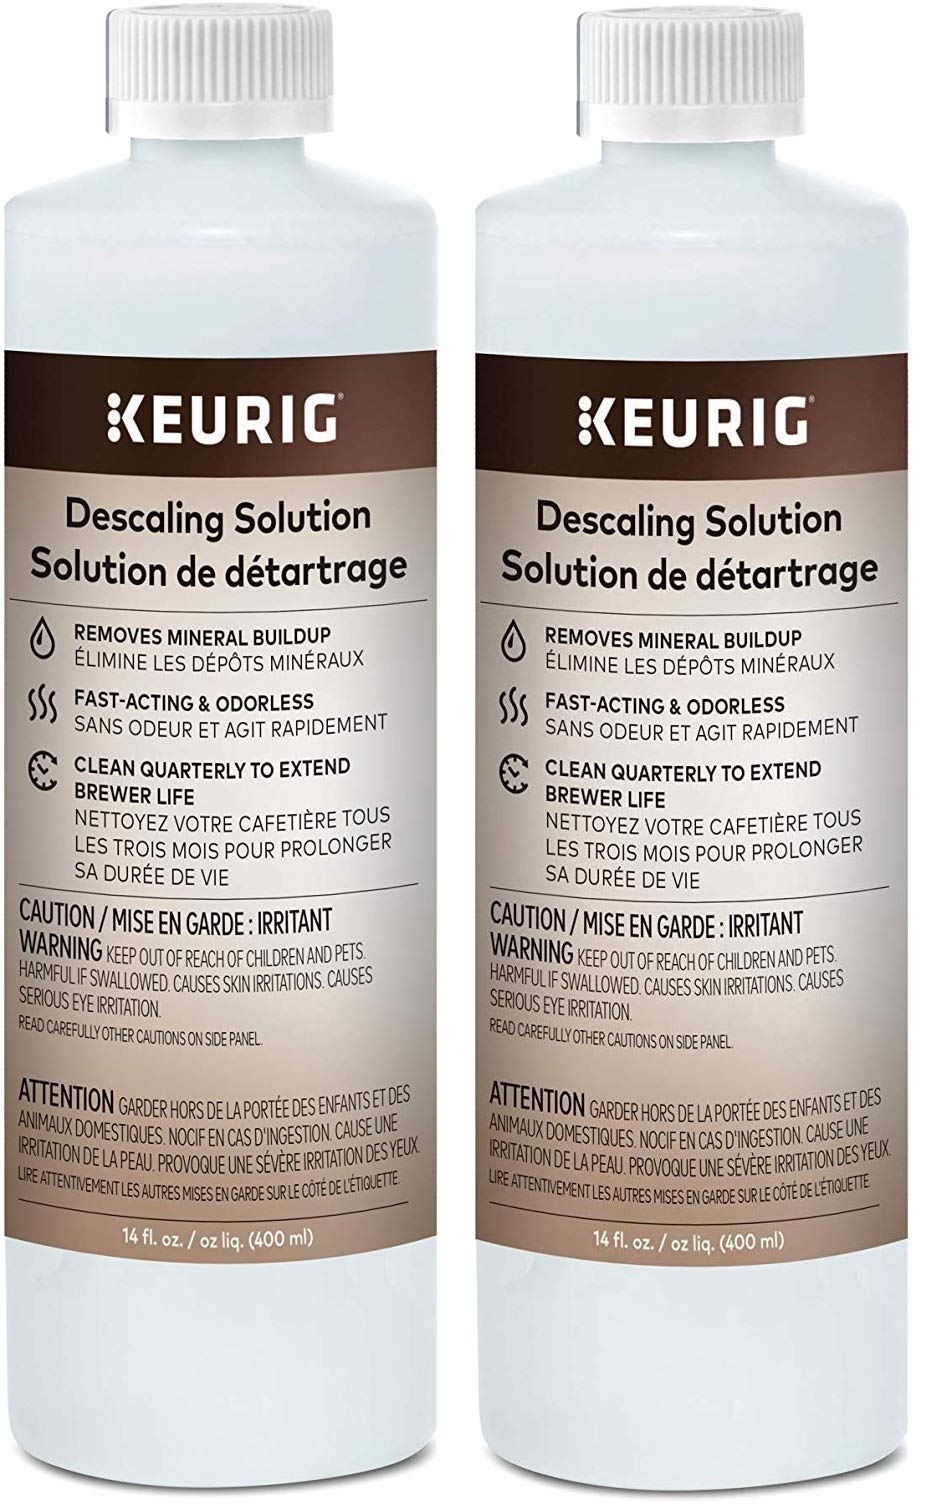
Keurig Descaling Solution
Formulated for pod machines but works on drips; it's citric acid-based and faster than vinegar.
Best for: Quick descaling for hard water buildup, especially in single-serve models.
Price Range: $8-12 per kit
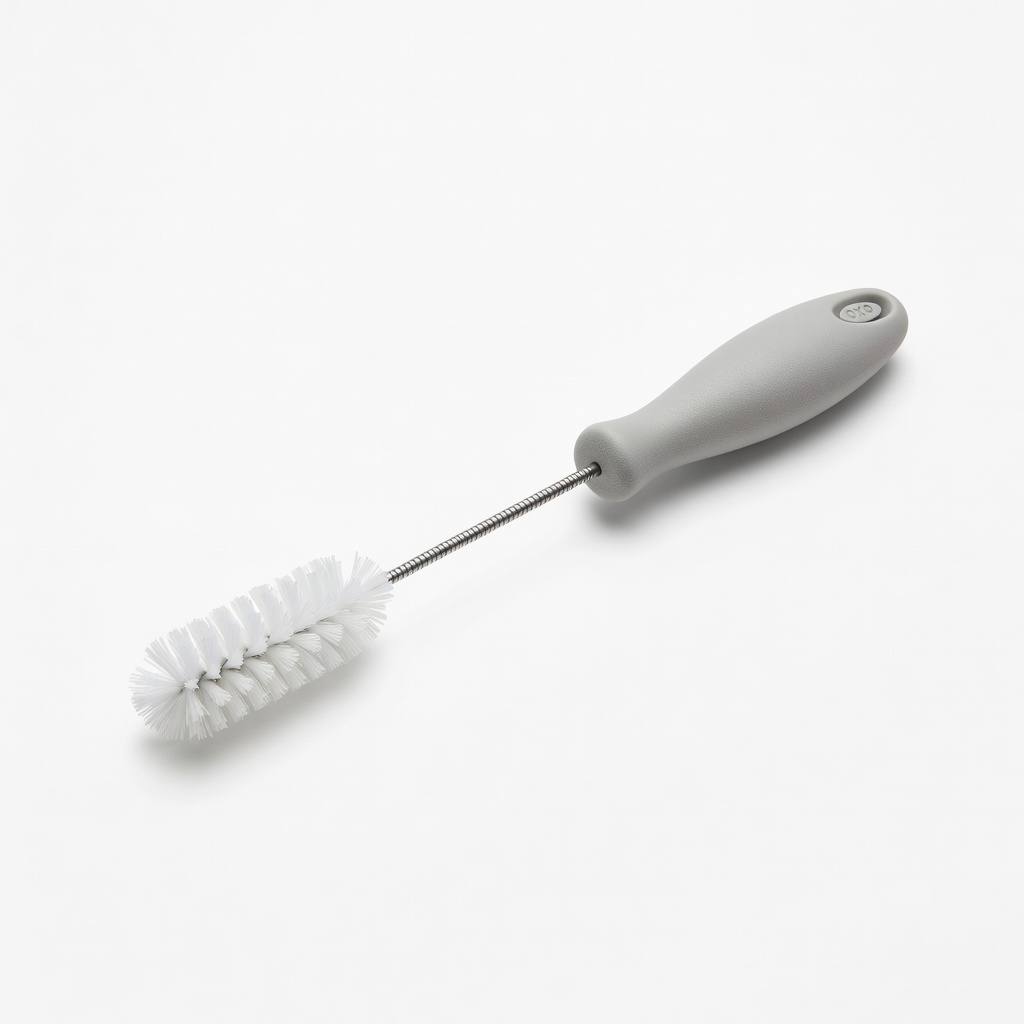
OXO Good Grips Coffee Maker Cleaning Brush
Soft bristles reach tight spots without scratching, making scrubbing easier for beginners.
Best for: Targeted cleaning of baskets and tubes during disassembly.
Price Range: $5-8
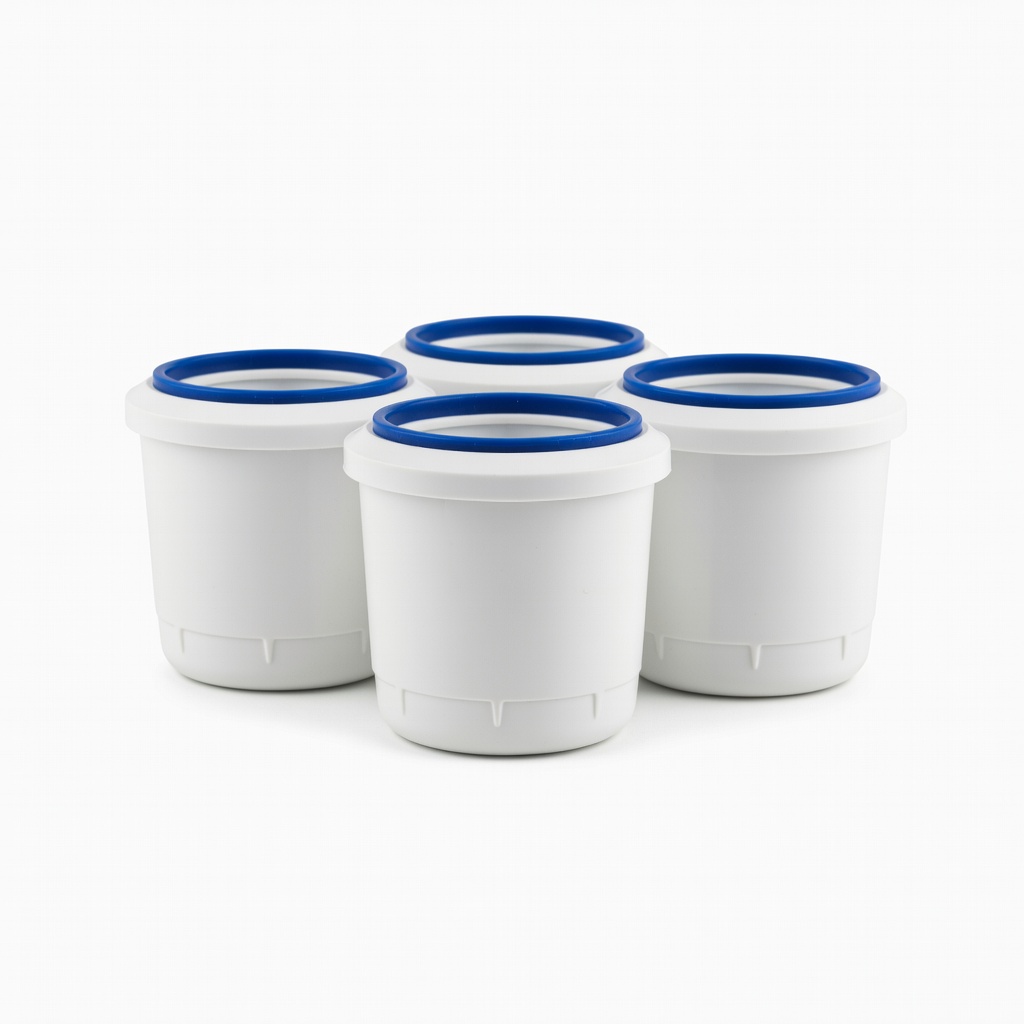
Brita Replacement Water Filters
Reduces mineral content in water, preventing future scale and improving coffee taste.
Best for: Install in your reservoir for daily use to minimize cleaning frequency.
Price Range: $6-10 for 3-pack
▸Frequently Asked Questions
How often should I clean my coffee maker?
Clean removable parts weekly and descale monthly, or more often in hard water areas, to keep it running efficiently.
Can I use lemon juice instead of vinegar?
Yes, lemon juice works as a natural descaler due to its acidity, but dilute it 1:1 with water and rinse thoroughly to avoid residue.
Is it safe to clean with baking soda?
Absolutely—baking soda is great for deodorizing and mild abrasion on parts, but use it sparingly to avoid buildup in internals.
What if my coffee maker is stainless steel?
Follow the same steps, but use non-abrasive cloths to prevent scratches; vinegar is safe for all materials.
Can I put the carafe in the dishwasher?
Check your manual—most glass carafes are top-rack dishwasher-safe, but plastic parts may warp, so hand-wash them.
How do I know if descaling is needed?
Signs include slower brewing, white mineral spots, or off-tasting coffee; test by running water—if it sputters, descale immediately.
Is cleaning different for espresso machines?
Yes, espresso needs backflushing and milk system cleans; this guide is for drip makers—see specialized guides for others.