Solar garden lights add a magical touch to your outdoor space, but dust, dirt, and weather exposure can dim their glow over time. If your lights aren't charging properly or shining as brightly, regular cleaning is the simple solution to restore their performance without buying replacements. This guide tackles a common pain point for homeowners: faded garden illumination that wastes energy and shortens light lifespan.
In this step-by-step tutorial, you'll learn how to safely clean your solar garden lights, from preparation to testing. We'll cover disassembling, wiping down panels, and preventing future buildup, all tailored for beginners. No advanced tools or skills required—just basic household items.
Expect the process to take 20-30 minutes per set of lights, depending on how many you have. It's straightforward, with clear instructions to ensure your lights work optimally through all seasons.
▸What You'll Need
- •Soft microfiber cloths or lint-free rags (required for gentle wiping)
- •Mild dish soap like Dawn (required for cleaning solution)
- •Warm water (required)
- •Soft-bristle brush or old toothbrush (required for scrubbing crevices)
- •Bucket or basin (optional, for soaking parts)
- •White vinegar (optional, for tougher grime)
- •Gloves (optional, to protect hands from soapy water)
Estimated Time: 20-30 minutes
Difficulty: beginner
▸Step-by-Step Instructions
Step 1: Gather Your Materials and Prepare the Area
Start by collecting all the tools and materials listed in the 'What You Need' section. Lay out a clean workspace, like a patio table or driveway, away from direct sunlight to prevent water spots on the panels. If your lights are staked in the ground, gently remove them by twisting or pulling the stakes out—avoid yanking to prevent damage to the wiring.
This preparation step ensures everything is at hand, saving time and reducing frustration. You'll know success when your workspace is organized and the lights are safely removed, ready for cleaning without risking scratches or exposure to elements.
Tip: Work on a cloudy day or in the shade to avoid the panels heating up during cleaning.
💡 Tips:
- •Label parts if you have multiple similar lights to avoid mix-ups.
⚠️ Warnings:
- •Don't clean in direct sun as water can evaporate too quickly, leaving streaks.
Step 2: Turn Off and Disassemble the Lights
If your solar lights have an on/off switch, turn them off to avoid any electrical issues. Carefully disassemble the light by unscrewing or unclipping the top panel from the base, following your model's instructions (check the manual if available). Separate the solar panel, LED bulb, and housing gently—most beginner-friendly models like pathway lights twist apart easily.
Disassembling allows thorough cleaning of hidden areas where dirt accumulates, improving light absorption and brightness. Success looks like all parts laid out cleanly, with no bent wires or cracked plastic.
This step matters because built-up grime on internal parts can block light output, reducing efficiency by up to 50%.
💡 Tips:
- •Take a quick photo before disassembling for easy reassembly.
⚠️ Warnings:
- •Avoid forcing parts; if stuck, use a soft cloth for grip instead of tools.
Step 3: Clean the Solar Panels
Mix a few drops of mild dish soap with warm water in a bucket to create a gentle solution. Dip a microfiber cloth into the soapy water, wring it out well, and gently wipe the solar panel in circular motions to remove dust, pollen, and bird droppings. For stubborn spots, use the soft-bristle brush lightly—never abrasive scrubbers.
Solar panels are the heart of your lights, converting sunlight to power; cleaning them boosts charging by 20-30%. Expect the panel to look clear and streak-free, reflecting light evenly.
Rinse with clean water using another damp cloth to remove soap residue, ensuring no minerals block the photovoltaic cells.
💡 Tips:
- •For eco-friendly cleaning, add a splash of white vinegar to the solution for natural degreasing.
⚠️ Warnings:
- •Skip harsh chemicals like bleach, which can degrade the panel coating over time.
Step 4: Wipe Down the Housing and LED Areas
Use the same soapy solution on a fresh cloth to clean the plastic housing, stake, and any decorative elements. Pay attention to crevices around the LED bulb where moisture or insects might hide—use the brush here for precision. Gently clean the lens over the LEDs to maximize light output.
This prevents corrosion and ensures even illumination. Success is a housing free of smudges, with the LED area sparkling and unobstructed.
Dirt here can scatter light, making your garden appear dimmer at night.
💡 Tips:
- •Dry crevices immediately with a dry cloth to prevent water from seeping into electronics.
⚠️ Warnings:
- •Don't submerge electrical parts in water; wipe only.
Step 5: Rinse, Dry, and Inspect All Parts
Rinse each component with a clean, damp cloth to remove any remaining soap. Then, pat dry with a dry microfiber cloth or let air-dry in the shade for 10-15 minutes. Inspect for damage like cracks or loose wires—if you spot issues, note them for replacement.
Proper drying prevents mold or short circuits. You'll know it's successful when everything is bone-dry, residue-free, and parts fit back together snugly.
This final check ensures longevity, as wet components can fail in humid weather.
💡 Tips:
- •Use compressed air (from a can) for hard-to-reach spots if available.
⚠️ Warnings:
- •Avoid using paper towels, which can leave lint on surfaces.
Step 6: Reassemble and Test the Lights
Reconnect the parts in reverse order of disassembly, ensuring secure fits without overtightening. Place the lights back in their garden spots, ideally in full sun for testing. Wait for dusk or cover the panel to simulate night—the lights should turn on brightly and charge the next day.
Testing confirms your cleaning worked, restoring full functionality. Success: Lights illuminate evenly, indicating clean panels and clear lenses.
If they don't work, double-check connections before troubleshooting.
💡 Tips:
- •Test one light first to verify the process before doing the whole set.
⚠️ Warnings:
- •Reinstall before dark to avoid tripping hazards.
▸Pro Tips
- •Clean lights every 1-2 months during growing seasons to prevent heavy buildup.
- •Position lights at a slight angle for better water runoff and easier future cleaning.
- •Use rainwater if possible for rinsing to avoid mineral deposits from tap water.
- •For winter prep, clean thoroughly before storage to avoid frost damage.
- •Combine cleaning with repositioning to optimize sun exposure.
- •Wear old clothes—outdoor cleaning can get messy with pollen or dirt.
- •Track cleaning dates in a garden journal for consistent maintenance.
▸Common Mistakes to Avoid
- •Using abrasive cleaners or tools, which scratches panels and reduces efficiency—stick to soft materials.
- •Forgetting to dry parts fully, leading to corrosion—always air-dry completely.
- •Cleaning in direct sunlight, causing streaks—choose shaded or overcast times.
- •Overlooking internal crevices, allowing dirt to build up and dim LEDs—use a brush for thoroughness.
- •Reassembling wet parts, risking short circuits—pat dry before snapping together.
▸Troubleshooting
Problem: Lights don't turn on after cleaning
Solution: Check for loose wires or water in connections; dry thoroughly and ensure the switch is on. If persistent, the battery may need replacement—seek a solar light repair guide.
Problem: Panels still look dirty or hazy
Solution: Try a vinegar-water mix (1:1) for mineral buildup, then rinse well. Avoid repeated harsh scrubbing; if damaged, consider new panels.
Problem: Lights charge slowly post-cleaning
Solution: Verify panels face south for max sun; clean again gently. If no improvement, dirt may have etched the surface—professional inspection if under warranty.
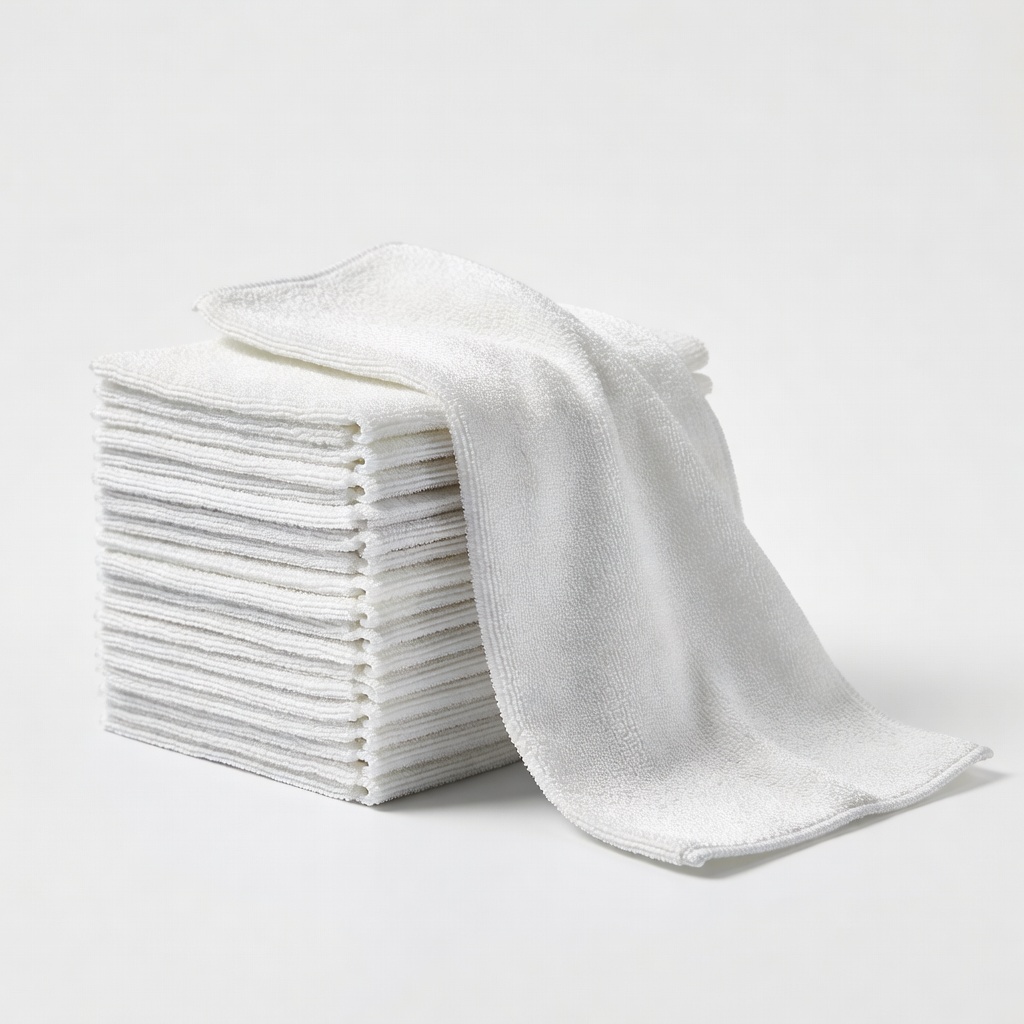
AmazonBasics Microfiber Cleaning Cloths, 24-Pack
These ultra-soft, lint-free cloths are perfect for streak-free wiping on solar panels without scratching delicate surfaces.
Best for: Use for all wiping and drying steps to ensure a polished finish on panels and lenses.
Price Range: $12.99
OXO Good Grips Electronics Cleaning Brush Set
The soft bristles safely remove dirt from crevices and LEDs without damaging plastic or wiring.
Best for: Ideal for scrubbing tight spots like around the bulb housing during the cleaning phase.
Price Range: $6.99
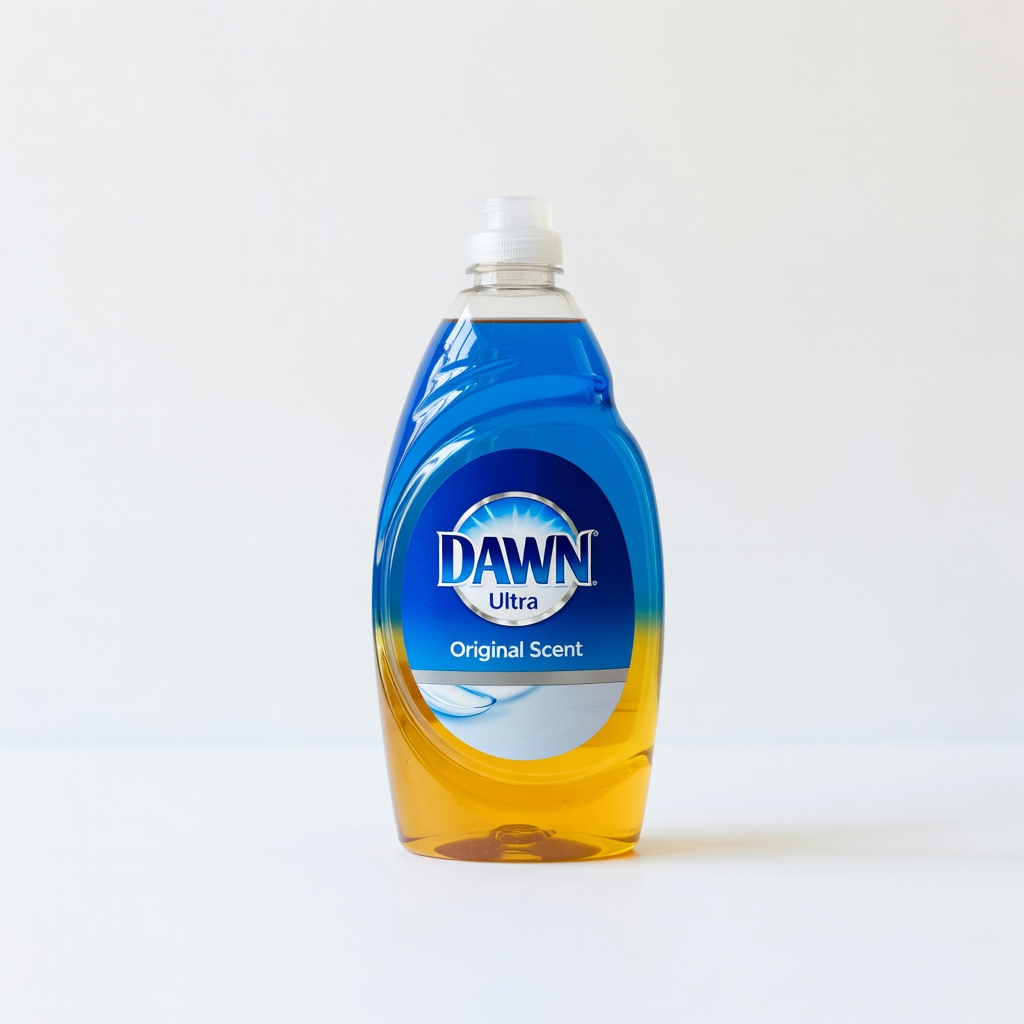
Dawn Ultra Dishwashing Liquid, Original Scent
This mild, grease-cutting soap creates an effective yet gentle solution for removing outdoor grime without harming solar components.
Best for: Mix with water for the primary cleaning solution in steps 3 and 4.
Price Range: $3.99
E-Cloth Deep Clean Microfiber Cloth
Water-activated cleaning reduces the need for soap, making it eco-friendly and efficient for quick touch-ups.
Best for: For vinegar-free cleaning or spot maintenance between full cleans.
Price Range: $9.99
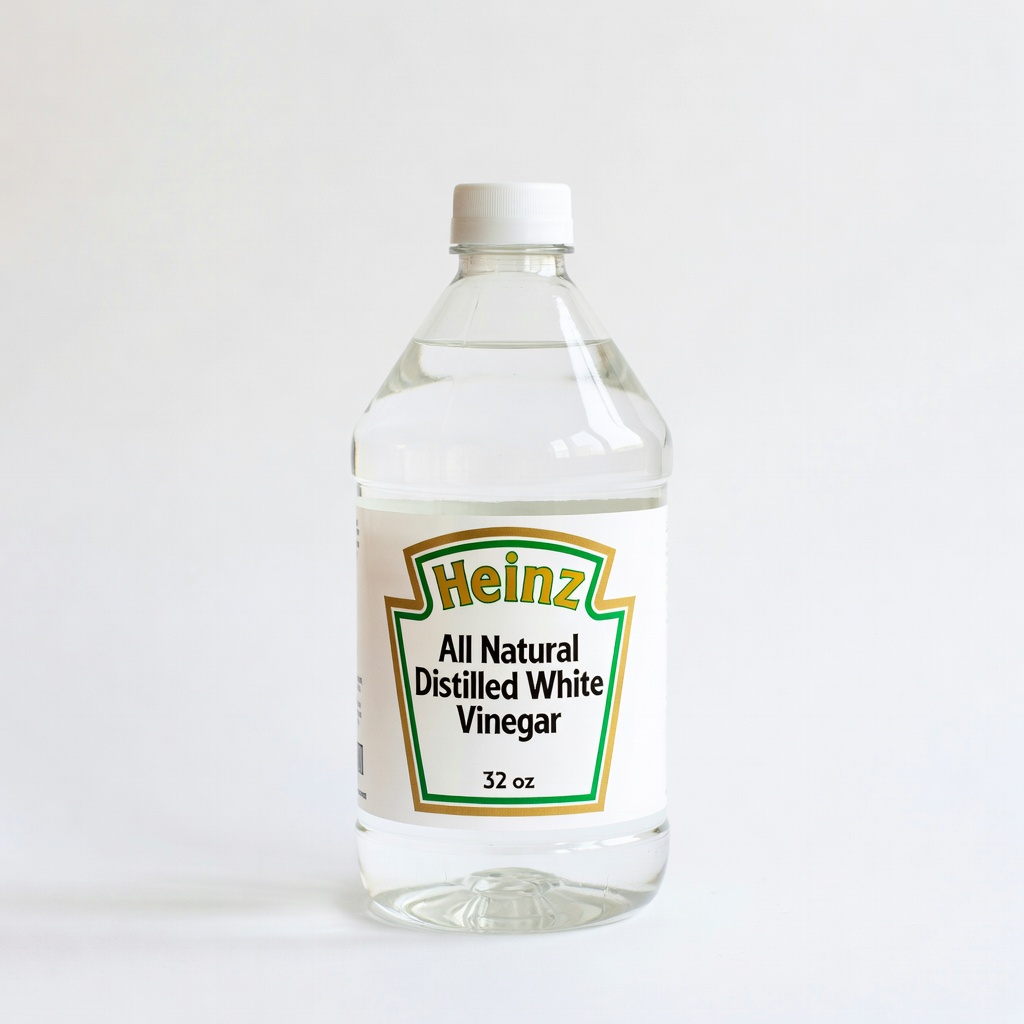
Heinz All Natural Distilled White Vinegar, 32 oz
A natural alternative to chemical cleaners, it dissolves tough mineral deposits on panels safely.
Best for: Add to water for stubborn grime in troubleshooting or optional deep cleans.
Price Range: $2.99