Oven racks can accumulate layers of baked-on grease, food splatters, and residue over time, making traditional scrubbing a tedious and frustrating chore. If you've ever spent hours wrestling with wire brushes only to end up with sore hands and incomplete results, you're not alone—this is a common pain point for home cooks. The good news is that you don't need harsh chemicals or elbow grease to restore them to like-new condition.
In this guide, you'll learn two effective, no-scrub techniques: the ammonia bag method and the bathtub soak method. Both rely on natural chemical reactions or detergents to loosen dirt overnight or during a short soak, making cleanup a breeze. Whether you're a beginner tackling your first deep clean or looking for a low-effort maintenance routine, these steps will save you time and effort.
Expect the process to take 1-2 hours of active time, plus soaking periods that can be done overnight for best results. It's beginner-friendly, requiring no special skills—just patience while the solutions work their magic.
▸What You'll Need
- •Oven racks (removed from the oven)
- •Household ammonia (pure, unscented; required for bag method)
- •Large black trash bags (required for bag method; one per rack)
- •Rubber gloves (required for safety when handling ammonia)
- •Dishwasher detergent or laundry detergent (required for bathtub method)
- •Hot water (from your tap or bathtub)
- •Soft sponge or cloth (for light rinsing; no scrubbing needed)
- •Old towels or newspaper (to protect surfaces)
- •Optional: Baking soda for extra grease-cutting power
Estimated Time: 1-2 hours active time + 8-12 hours soaking
Difficulty: beginner
▸Step-by-Step Instructions
Step 1: Remove the Oven Racks Safely
Start by preheating your oven briefly if needed to loosen any stuck-on debris, but turn it off and let it cool completely before proceeding. Pull out the racks carefully, supporting them from both ends to avoid bending the wires. Lay down old towels or newspaper on your kitchen floor or a sturdy outdoor surface to catch drips and protect against scratches.
This step is crucial because working with dirty racks in place can lead to spills inside the oven. Expect the racks to be greasy—handle with care to prevent slipping. Once removed, inspect for rust or damage; if severe, consider replacement before cleaning.
Why it matters: Proper removal ensures a clean workspace and prevents further mess.
💡 Tips:
- •Work in a well-ventilated area, especially if using ammonia later.
- •If racks are extremely heavy, enlist a helper.
⚠️ Warnings:
- •Never clean racks while the oven is hot to avoid burns.
- •Avoid bending racks during removal, as it can warp them.
Step 2: Choose Your Cleaning Method
Decide between the ammonia bag method (ideal for heavy grease, done in your garage or outdoors) or the bathtub soak method (great for multiple racks using detergent). The ammonia method uses fumes to break down grime without water, while the detergent soak relies on hot water and soap for a milder approach.
Both are no-scrub, but ammonia is more powerful for baked-on residue. If you have a bathtub, the soak method is simpler for beginners. Expect no harsh odors if ventilated properly for ammonia.
This choice sets the tone for the rest of the process—pick based on your available space and the level of dirt.
💡 Tips:
- •Ammonia method works best for gas oven racks; detergent for electric.
- •Test a small area if concerned about finishes.
⚠️ Warnings:
- •Do not mix ammonia with bleach— it creates toxic fumes.
Step 3: Prepare the Ammonia Bag Method
For each rack, pour about 1/2 cup of household ammonia into a large black trash bag. Place one oven rack inside the bag, seal it tightly with a twist tie or tape, and lay it flat on a protected surface outdoors or in a garage. The black bag helps contain fumes and heat for better results.
Ammonia's vapors will penetrate the grime overnight, loosening it without any physical effort. Why it matters: This method is fume-based, so no water means less mess. Expect a strong smell initially, but it dissipates after airing out.
If using the bathtub method instead, skip to the next step.
💡 Tips:
- •Use gloves when handling ammonia to protect your skin.
- •Double-bag if the rack is large to prevent leaks.
⚠️ Warnings:
- •Keep bags away from children and pets; store in a secure area.
Step 4: Soak the Racks (Bag or Bathtub)
Let the ammonia bags sit for 8-12 hours (overnight is ideal). For the bathtub method, fill your tub with hot water, add 1/2 cup dishwasher or laundry detergent (and optional 1/2 cup baking soda for extra power), then submerge the racks fully. Let them soak for 4-6 hours or overnight.
During soaking, the solutions will emulsify grease and lift debris. Why it matters: Time is your ally here—no scrubbing means the chemistry does the work. Expect the water to turn murky, which is a sign it's working; the racks should feel smoother to the touch after.
Drain the tub carefully if using that method, or simply open the bags after soaking.
💡 Tips:
- •Add dryer sheets to the soak for a fresh scent and easier wipe-down.
- •Soak longer for very dirty racks—up to 24 hours.
⚠️ Warnings:
- •Avoid soaking in a shared bathroom; use a liner if needed to protect the tub.
Step 5: Rinse and Inspect the Racks
After soaking, hose down or rinse the racks with hot water outdoors or in a utility sink to remove loosened grime. For bag method, the residue will slide off easily; for bathtub, lift and rinse immediately. Use a soft sponge to gently wipe any stubborn spots—but no scrubbing required.
Inspect each rack under good lighting; success looks like shiny metal with minimal residue. Why it matters: Thorough rinsing prevents re-depositing dirt. Expect 90% of cleaning to be done by the soak, with just a quick pass needed.
If any spots remain, repeat a short soak.
💡 Tips:
- •Use a pressure hose attachment for faster rinsing.
- •Rinse in sections if space is limited.
⚠️ Warnings:
- •Don't use high pressure on delicate finishes to avoid bending wires.
Step 6: Dry and Reinstall the Racks
Pat the racks dry with clean towels or let them air-dry completely on a rack or towel. Once dry, slide them back into the oven slots carefully, ensuring they lock in place.
Dry racks prevent rust and ensure safe use. Why it matters: Proper drying extends the life of your racks. Success: Sparkling clean racks ready for baking, with no greasy feel.
Your oven is now set for the next meal—celebrate the effort-free clean!
💡 Tips:
- •Air-dry in sunlight for natural disinfection.
- •Apply a light coat of vegetable oil post-clean to prevent future sticking.
⚠️ Warnings:
- •Ensure racks are fully dry to avoid oven smoke from moisture.
▸Pro Tips
- •Always wear gloves and work in ventilation to handle chemicals safely.
- •For eco-friendly option, use vinegar instead of ammonia in the bag method—less potent but safer.
- •Clean racks every 3-6 months to prevent buildup and make future cleans easier.
- •If outdoors isn't possible, use a sealed plastic bin for the bag method indoors with windows open.
- •Add lemon juice to the soak for a natural deodorizer and shine boost.
- •Time your clean for when the oven is already empty, like after a holiday.
- •For stainless steel racks, the detergent method preserves the finish better.
▸Common Mistakes to Avoid
- •Using too little solution: This leaves grime untouched—always measure 1/2 cup per rack for full coverage.
- •Skipping ventilation: Ammonia fumes can irritate eyes and lungs; open windows or work outside to avoid this.
- •Rushing the soak time: Short soaks don't fully loosen debris—patience overnight yields better results without effort.
- •Forgetting to protect surfaces: Drips can stain floors or tubs; use barriers to prevent cleanup after cleanup.
- •Mixing cleaning agents: Combining ammonia and chlorine creates dangerous gases—stick to one method.
▸Troubleshooting
Problem: Stubborn grease spots remain after rinsing
Solution: Apply a paste of baking soda and water, let sit 30 minutes, then rinse—no scrubbing needed. If persistent, repeat the full soak.
Problem: Racks have rust spots
Solution: Soak in a vinegar-water mix (1:1) for 1 hour before the main method. For heavy rust, sand lightly (minimal effort) or replace racks.
Problem: Ammonia smell lingers
Solution: Rinse multiple times and air-dry outdoors. Neutralize with vinegar spray if needed. Seek pro help if you have respiratory issues.
Problem: Racks won't fit back in oven
Solution: Check for warping from heat exposure—straighten gently by hand. If damaged, consult oven manual or professional repair.
Pure Household Ammonia (e.g., Sunnyside or Arm & Hammer)
It's a powerful, inexpensive degreaser that works via fumes to loosen baked-on grime without scrubbing.
Best for: Essential for the bag method on heavily soiled racks; use when household items aren't cutting it.
Price Range: $3-5 per bottle
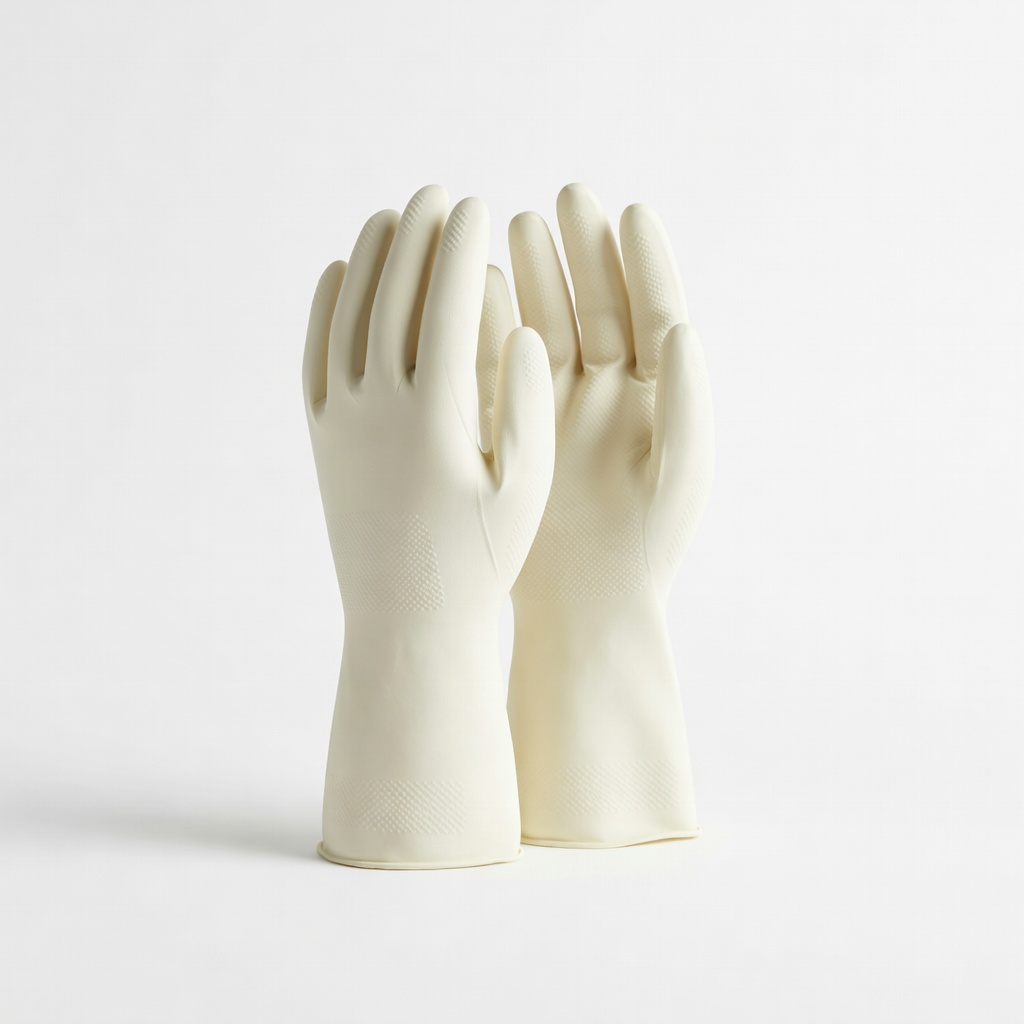
Playtex Living Rubber Gloves
Durable and chemical-resistant, they protect your hands from ammonia and hot water during handling.
Best for: Wear throughout the process, especially for beginners handling cleaners for the first time.
Price Range: $5-10 per pair
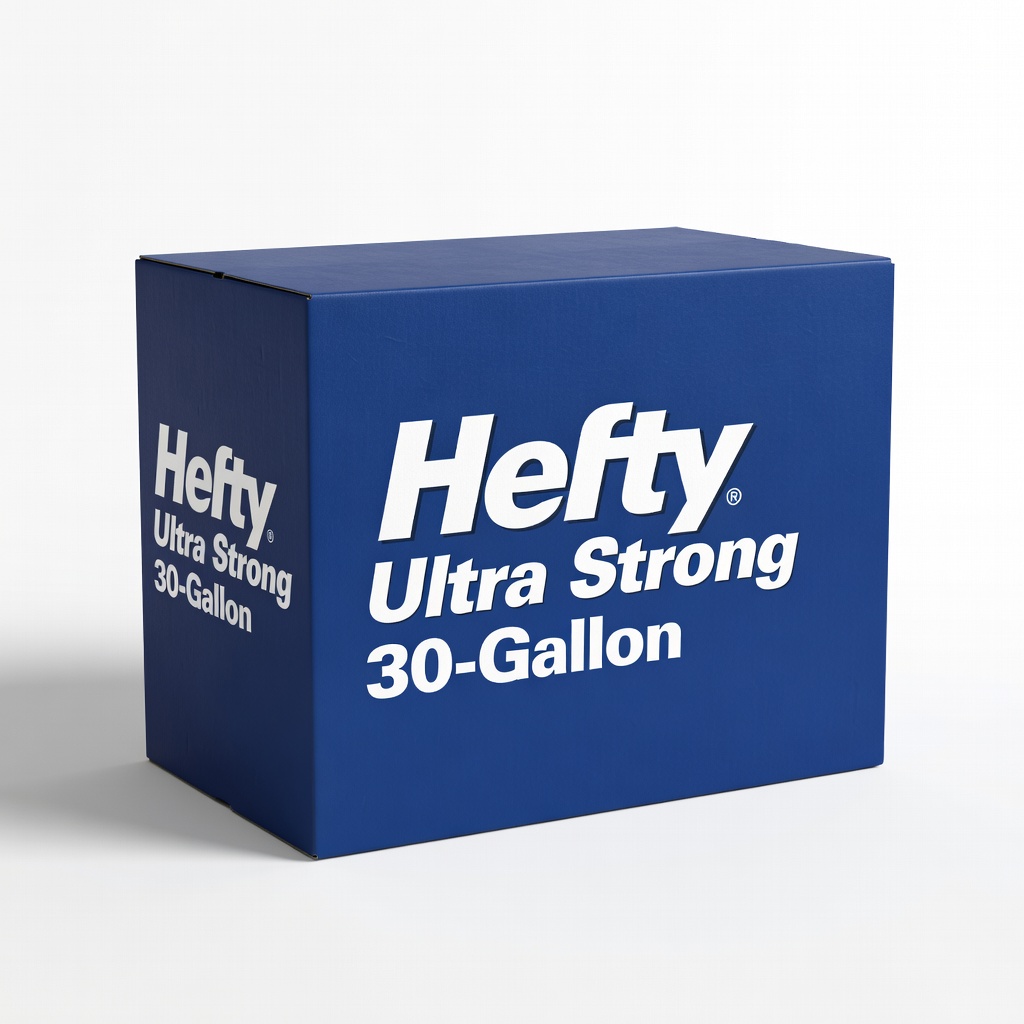
Hefty Ultra Strong Trash Bags (30-gallon)
Thick and leak-proof, they seal perfectly for the ammonia method without spilling fumes or liquid.
Best for: Ideal for containing single racks during overnight soaks in limited spaces.
Price Range: $10-15 for 40-count box
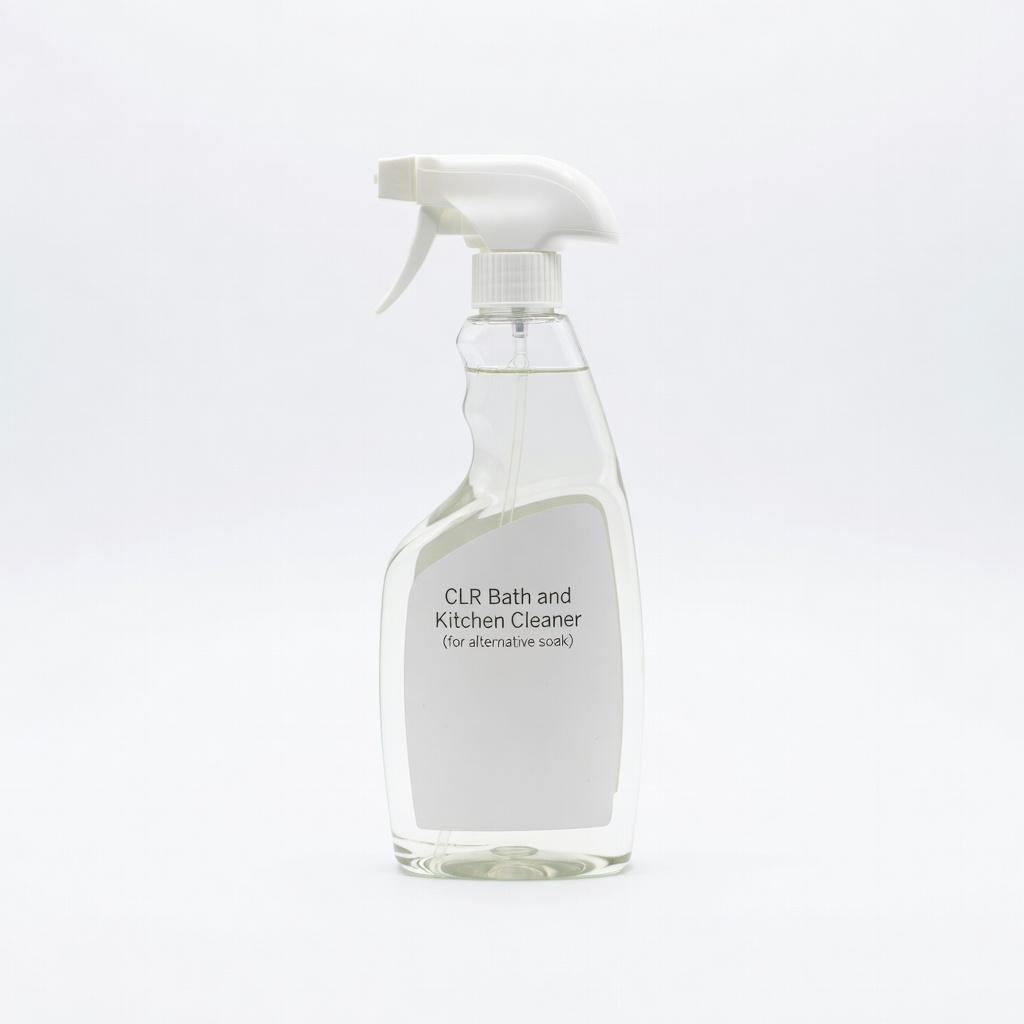
CLR Bath and Kitchen Cleaner (for alternative soak)
A limescale and grease remover that's safer than ammonia for indoor use, enhancing the bathtub method.
Best for: Substitute for detergent if you have hard water buildup; great for quick soaks.
Price Range: $6-8 per bottle
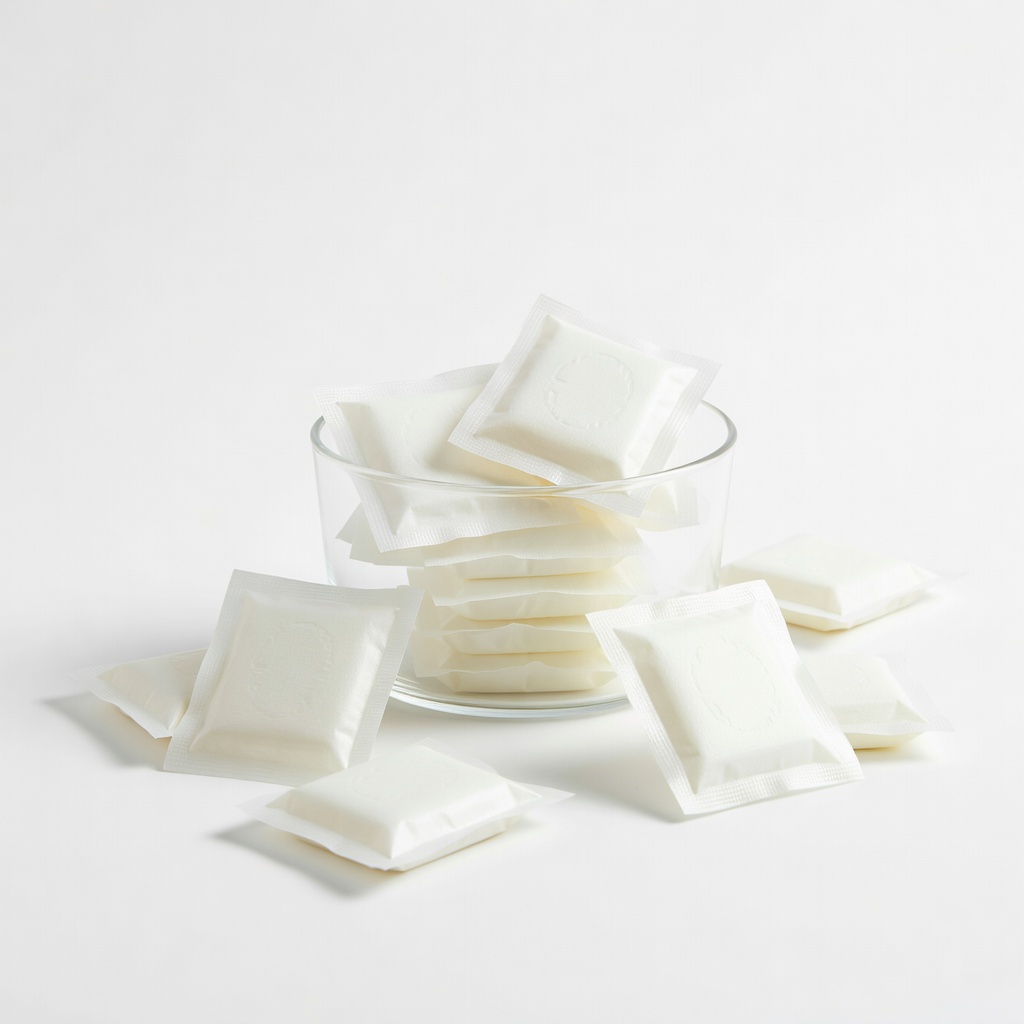
Method Dishwasher Detergent Packs
Eco-friendly and highly effective at breaking down grease in water soaks, with a pleasant scent.
Best for: Use in the bathtub method for multiple racks; perfect for those avoiding harsh chemicals.
Price Range: $4-7 per pack