If your foundation brush is caked with old concealer or your eyeshadow brushes are blending muddy colors, they're likely overdue for a deep clean. Dirty brushes can harbor bacteria, oil, and dead skin cells, which not only ruins your makeup application but can also lead to breakouts. The good news is that you don't need a fancy cleanser or expensive salon treatment to get them clean. A bottle of everyday dish soap is one of the most effective tools for removing stubborn makeup buildup.
In this guide, you'll learn a straightforward method for washing your makeup brushes with dish soap, step by step. You'll discover the right water temperature, the safest way to massage the bristles, and how to dry them so they stay in perfect shape. We'll also cover common mistakes to avoid, quick troubleshooting tips, and helpful product recommendations to make the process even easier.
By the end, you'll have clean, soft brushes that perform like new — and the confidence to incorporate brush cleaning into your beauty routine in just 15 to 20 minutes.
▸What You'll Need
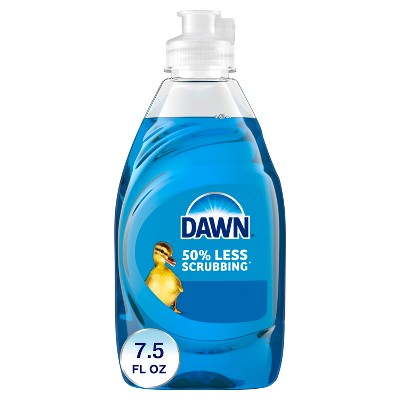
- •Mild dish soap (e.g., Dawn Ultra)
- •Lukewarm water
- •A bowl or clean sink
- •A textured cleaning mat or clean palm (optional but recommended)
- •Lint-free towel or paper towels
- •Brush guards or rubber bands (optional)
- •Makeup brush spray cleaner (optional, for between cleanings)
Estimated Time: 15–20 minutes for cleaning and rinsing, plus 4–8 hours for drying
Difficulty: beginner
▸Step-by-Step Instructions
Step 1: Gather Your Cleaning Supplies
Start by collecting everything you need: a gentle dish soap (like Dawn), a small bowl or clean sink, lukewarm water, a textured cleaning mat or a clean palm, and a soft towel. It’s also helpful to have a brush guard or rubber band for reshaping during drying, though that's optional.
Before you begin, sort your brushes into groups—face brushes, eye brushes, and lip brushes. This helps you clean similar densities together and avoid color transfer between products. If some brushes are heavily stained, spot treat them with soap first.
Take a moment to examine your brushes. If the ferrule (the metal band holding the bristles) is loose, avoid soaking it in water; you'll only clean the bristle end. Knowing your brush types will also help you use the right pressure during cleaning.
💡 Tips:
- •Use a dish soap without dyes, heavy fragrances, or moisturizers. Simple formulas cut oil best.
- •If you have a cleaning mat, place it at the bottom of your bowl or in the sink.
⚠️ Warnings:
- •Never submerge the entire brush head. The ferrule is not waterproof and can loosen the glue.
Step 2: Wet the Bristles with Lukewarm Water
Hold the brush under a gentle stream of lukewarm water, with the bristles pointing downward. Let the water run through the bristles for a few seconds until they're thoroughly saturated.
It's crucial to use lukewarm water, not hot. Hot water can strip natural bristles of their oils and even melt synthetic fibers, while cool water won't break down makeup oils effectively. Keep the water line below the metal ferrule at all times.
You'll notice the bristles will darken or cling together as the makeup begins to soften. This is a good sign—you're ready to move on to the soap.
💡 Tips:
- •Turn the brush so the water runs away from the ferrule. This keeps the water from seeping into the base.
- •If you're washing only a few brushes, you can dip them in a small bowl instead of running the tap.
⚠️ Warnings:
- •Avoid soaking brushes in a bowl of water. Long exposure to water weakens the glue bond and shortens brush life.
Step 3: Apply Dish Soap to the Brush
Squeeze a small drop of dish soap—roughly the size of a pea—onto your palm or onto the textured surface of your cleaning mat. For larger brushes, use a little more, but avoid over-soaping because more suds mean longer rinsing time.
Gently swirl the wet brush tip into the soap. You don't need to press hard; the soap is going to grab onto the oils and residue on the bristles. As you swirl, you'll see a film of makeup, oil, and dirt mixing with the soap.
Let the brush sit with the soap for 30 to 60 seconds, especially if it’s been a while since your last deep clean. This gives the dish soap time to break down stubborn products like foundation, concealer, and setting powder.
💡 Tips:
- •For very dirty brushes, start with a bit of soap, work it in, and then add another small drop if needed.
- •Always use a fresh drop of soap for each brush to avoid cross-contamination.
⚠️ Warnings:
- •Don't press the brush too hard into your palm. Excessive pressure can splay the bristles and change the brush's shape.
Step 4: Massage the Soap Through the Bristles
Using your fingers or the textured surface of a cleaning mat, gently massage the soap through the bristles. Work in small circular motions from the base of the bristles outward toward the tips. You should see makeup residue release and turn the suds a tinted color.
For a deeper clean, use a brush-cleaning mat or glove. Move the brush back and forth in small strokes, similar to writing with a paintbrush. This action lifts accumulated product from deep inside the bristles, leaving them noticeably cleaner.
Take your time here—this step is what does the heavy lifting. You're not just cleaning the surface; you're flushing out product that has settled near the ferrule.
💡 Tips:
- •Pay extra attention to dense brushes like foundation brushes. Use a bit more pressure on the mat, but never squeeze or bend the bristles sideways.
- •If you don't have a mat, your palm has a natural texture that works in a pinch.
⚠️ Warnings:
- •Be gentle with natural hair brushes. They are more delicate than synthetic fibers and can break if you scrub too hard.
Step 5: Rinse the Brush Thoroughly
Place the brush under lukewarm running water, again with the bristles pointing downward. Gently squeeze and release the bristles with your fingers as the water runs, encouraging trapped soap lather to wash away.
Continue rinsing until the water runs completely clear. Not just mostly clear—completely. Soap residue left in the bristles can irritate your skin and cause makeup to ball up on your brush next time you use it.
Check the water runoff at the base of the brush. If you see any remaining tint or suds, go back for another brief soap-and-rinse cycle. A clean brush should leave the water perfectly clear and feel slightly squeaky when pressed.
💡 Tips:
- •Use a high-pressure but cool-water stream for a final rinse. Cooler water helps close the bristle cuticle, making them feel softer.
- •Run your fingers between the bristles to ensure deep-set soap is released.
⚠️ Warnings:
- •Don't use cold water for the entire cleaning process. Water that's too cool won't lift oil-based makeup effectively; stick with lukewarm for the wash, then a cool rinse is fine.
Step 6: Deep Clean with a Brush Spa (Optional)
If you want a spa-level deep cleaning, repeat steps 3 through 5 on your textured cleaning mat. This second pass is especially useful for famously stubborn brushes—concealer brushes, eyeliner brushes, or anything that regularly comes into contact with oil-based products.
Use the grooves of the mat to work the soap into the entire bristle bundle, paying attention to the center of the brush where product tends to accumulate. Gently rotate the brush so all sides are covered.
After this second wash, you may notice that the water goes from cloudy to perfectly clear more quickly. That's your cue that the brush is truly clean.
💡 Tips:
- •Add a drop of dish soap directly to the mat for the second pass if the brush is densely packed.
- •If your brushes are near and dear, do this step every other week for maintenance.
⚠️ Warnings:
- •Don't over-scrub or your bristles may fray. Two passes with moderate pressure are better than one aggressive scrub.
Step 7: Squeeze Out Excess Water and Reshape
Once rinsed, gently press the bristles against a clean, dry towel to remove excess water. Use a pat-and-press motion—not a twist—to pull moisture from the base to the tips.
After the majority of the water is gone, reshape the bristles with your fingers. For pointed brushes like concealer or lip brushes, pinch the tip lightly to restore the fine point. For flat brushes, press them back into their flat or paddle shape.
This is also the time to use a brush guard or a loose rubber band to hold the bristles in shape while they dry. Proper shaping prevents the bristles from splaying out, which can ruin the precision of your application.
💡 Tips:
- •Use a dedicated microfibre towel or lint-free cloth so fibers don't cling to the damp bristles.
- •Don't skip the reshape step—a brush left to dry in a random shape will become distorted.
⚠️ Warnings:
- •Never tug or pull the bristles sharply; they can break or pull out. Always use gentle pressure.
Step 8: Dry the Brushes Bristle-Down
Place the brushes flat on a towel with the bristles hanging over the edge, or stand them upright in a cup with the bristles pointing down. The goal is to keep water from pooling in the ferrule and loosening the glue over time.
Air-dry them at room temperature, away from direct sunlight or heat. Drying usually takes 4 to 8 hours, depending on brush density and room humidity. Once the bristles are completely dry, the brush will feel soft and return to its normal shape.
Success is when the bristles are fluffy, clean, and free of residue, with no lingering soapy smell. Your brush should be ready to use for flawless makeup application.
💡 Tips:
- •Use a brush drying rack or a simple upside-down binder clip on a clothesline to keep brushes suspended.
- •Place a folded towel under a cookie cooling rack and lay brushes across it for simple drying.
⚠️ Warnings:
- •Never dry brushes standing upright in a cup—this traps water in the base and can cause the handle to bubble or the ferrule to loosen.
▸Pro Tips
- •Use lukewarm water, never hot or cold. Hot damages the glue, cold won't remove oils properly.
- •Always angle the brush downward during rinsing so water never seeps into the ferrule.
- •Do a daily spot clean with a spray brush cleaner in between deep washes to keep buildup from getting too heavy.
- •Choose a dish soap that doesn't contain extra moisturizers or added oils—they can leave a film on your brushes.
- •Keep a dedicated cleaning mat near your sink so you're more likely to wash your brushes regularly.
- •When drying with brush guards, remove them once the bristles are nearly dry to let them fully fluff up.
- •Replace the water in your cleaning bowl after every few brushes to avoid just reapplying dirt.
▸Common Mistakes to Avoid
- •Soaking brushes in a bowl of soapy water for an extended time—this weakens the glue that holds the bristles and can cause the handle to swell.
- •Using hot water to clean—it can warp synthetic bristles and strip natural brushes of their conditioning oils.
- •Drying brushes upright in a jar or cup—water seeps down into the ferrule and over time loosens the bristles.
- •Not rinsing thoroughly—leftover dish soap residue can make your brushes feel sticky, irritate your skin, and cause makeup to skip or patch.
- •Scrubbing natural hair brushes too aggressively—this breaks the delicate hair fibers and changes the shape of the brush.
▸Troubleshooting
Problem: Brushes still smell like dish soap after drying.
Solution: Rinse the brush again with lukewarm water and then a cool final rinse. Gently blot with a towel and let dry completely. If the smell persists, wash with a tiny drop of mild vinegar mixed with water, then rinse thoroughly.
Problem: Bristles are still tinted after cleaning.
Solution: Repeat the washing process with a fresh amount of dish soap. Let the soap sit on the brush for a few minutes before massaging. For ultra-stubborn stains, you can use a drop of olive oil mixed with dish soap to break down the pigment, then wash again with just soap.
Problem: Bristles are shedding or falling out.
Solution: This usually means water got into the ferrule during washing. Stop using the brush and let it dry completely for 24 hours. In the future, keep the water line well below the metal base and dry the brush upside down. If shedding continues, it may be time to replace the brush.
Problem: Brushes have become splayed and misshapen after drying.
Solution: Rewet the bristles with lukewarm water, gently reform them into the correct shape, and wrap with a brush guard or a paper towel secured with a rubber band. Lay flat to dry. Avoid direct heat and repeat this process until the brush regains its form.
Dawn Ultra Dishwashing Liquid Dish Soap
Dawn is a classic, ultra-effective grease-cutting dish soap that's gentle enough for synthetic and natural makeup brushes. Most makeup artists keep a bottle on their kit for this reason.
Best for: Use as your daily or weekly deep-cleaning detergent for almost any brush material.
Price Range: $5-$10
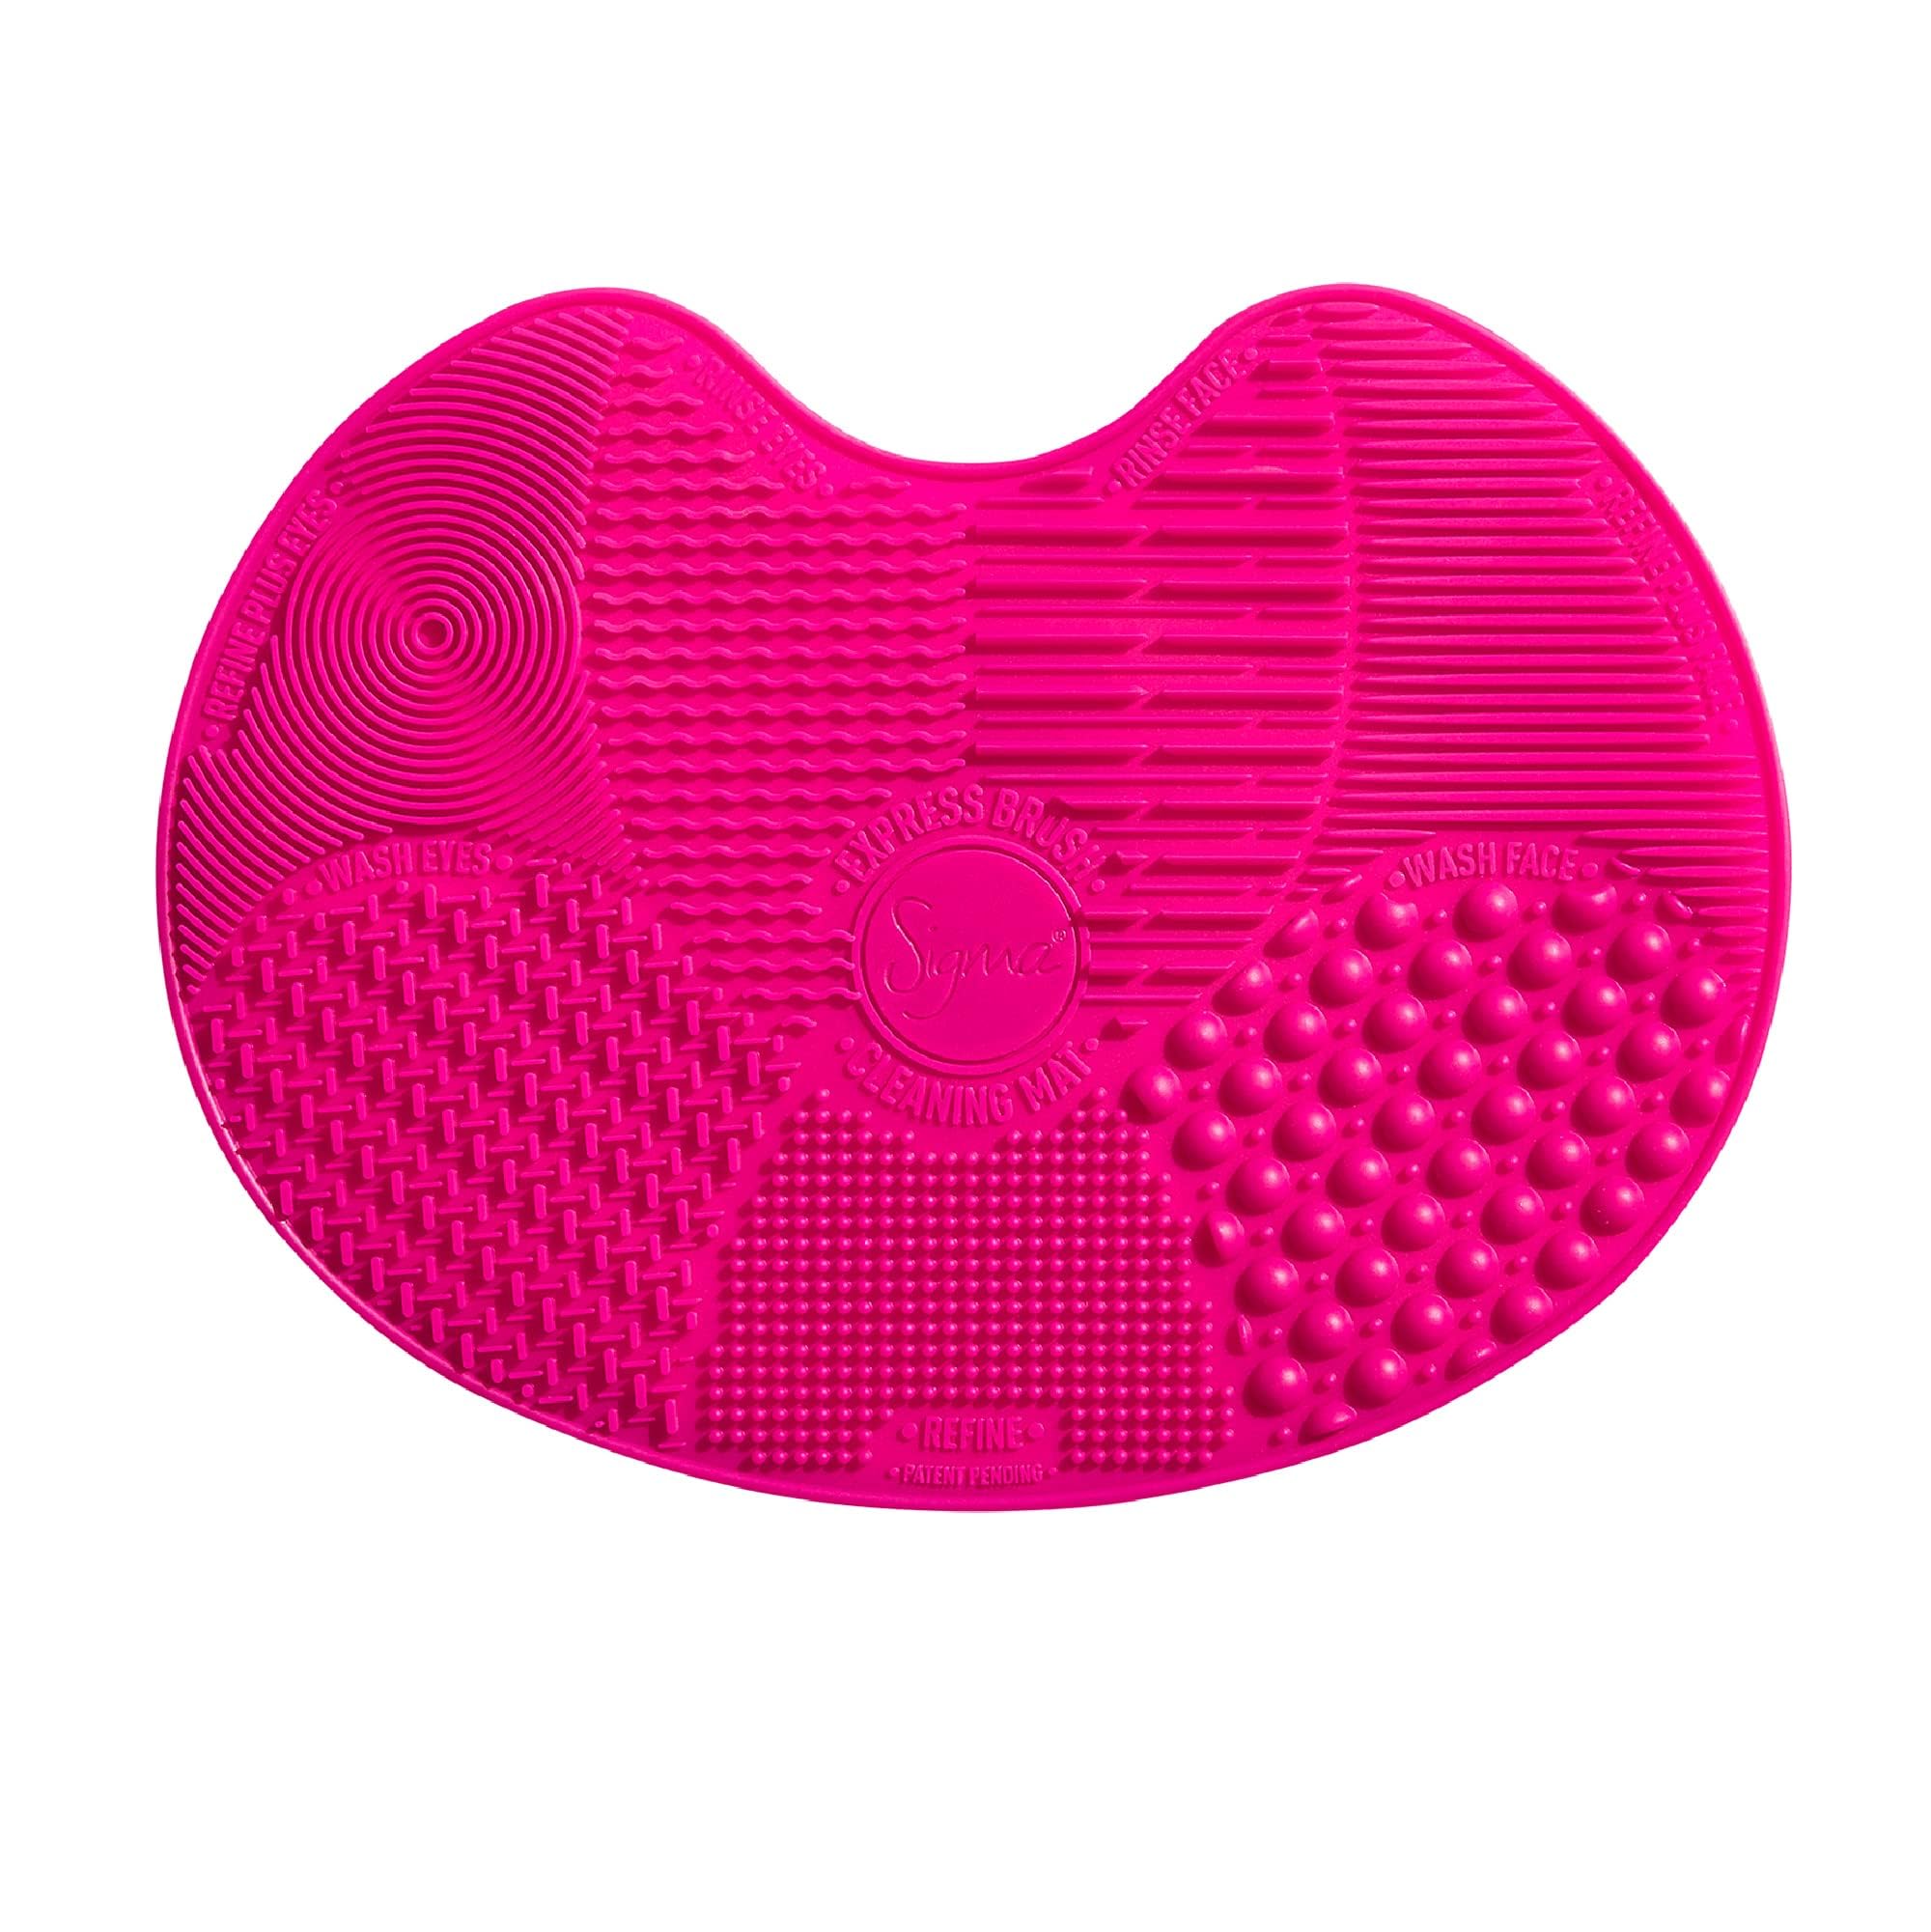
Sigma Beauty Brush Cleaning Mat
This textured silicone mat has multiple grooves designed for different brush sizes. It helps remove deep-seated makeup without excessive pressure, making your brushes last longer.
Best for: Place it at the bottom of your sink or bowl to massage lather through all your brushes.
Price Range: $15-$30
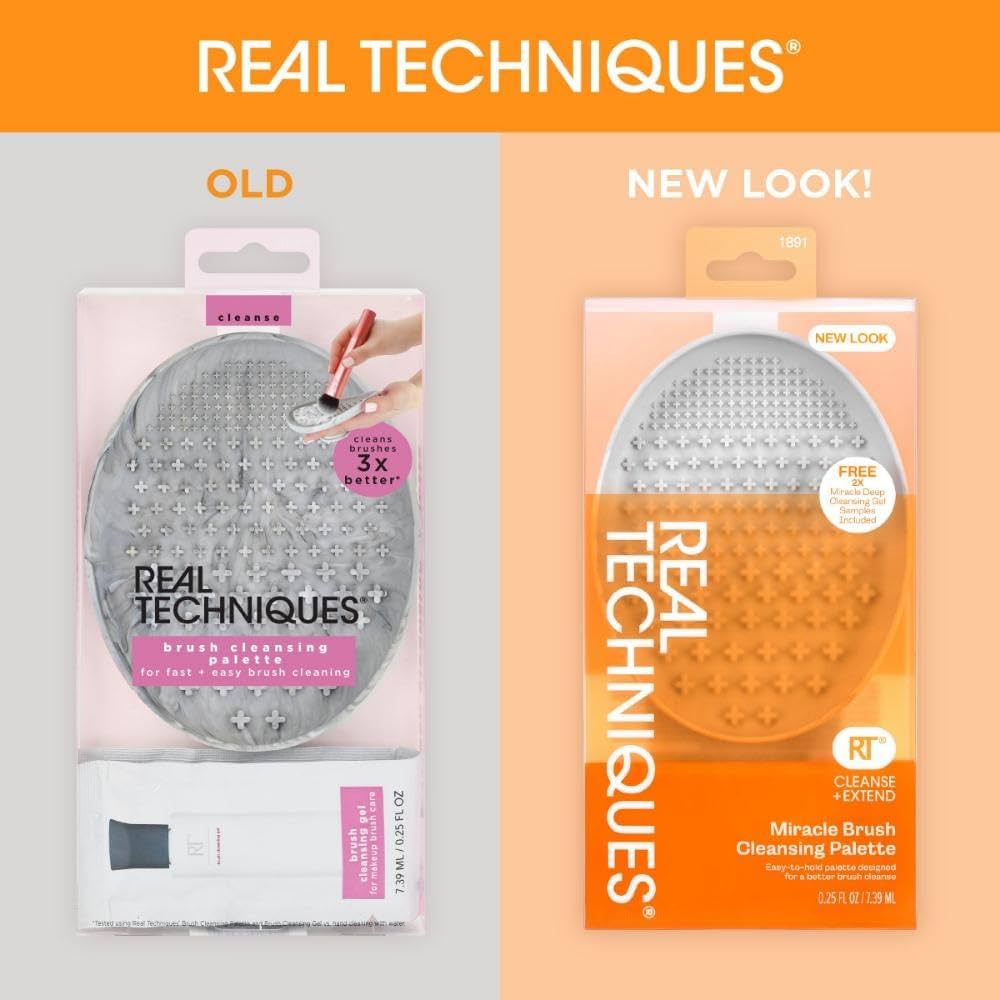
Real Techniques Brush Cleaning Glove
A slip-on glove with both nubbed and smooth textured zones, this glove lets you clean several brushes at once while keeping your hands soap-free. It's affordable and very beginner-friendly.
Best for: Slip it on and swirl your brushes against the different surfaces to lift away makeup.
Price Range: $10-$20
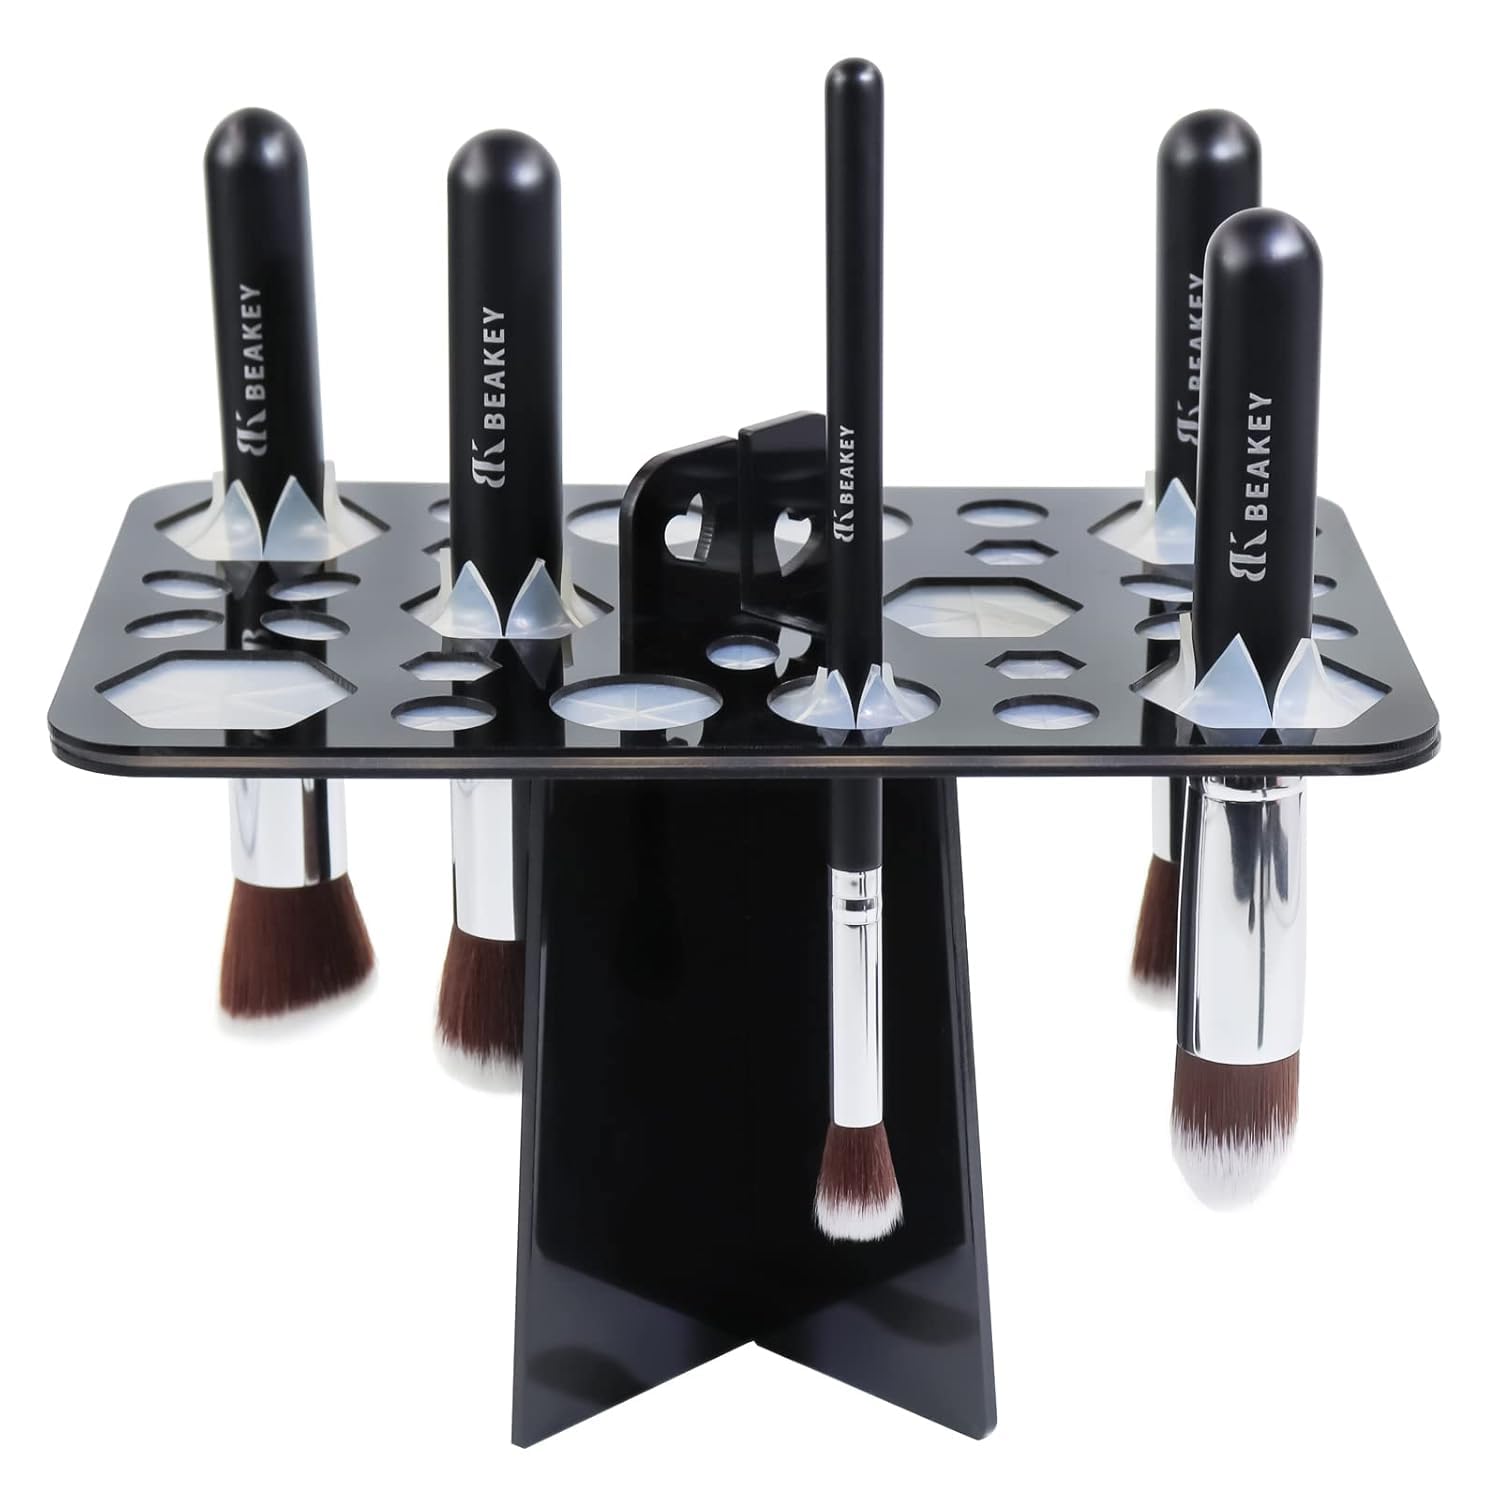
Morphe Brush Cleaning & Drying Rack
This space-saving rack clips brushes upside down so they dry evenly, protecting the ferrule and helping the glue last. It's a smart investment if you deep-clean frequently.
Best for: Hang brushes to dry after washing, ensuring no water is trapped in the base.
Price Range: $15-$40
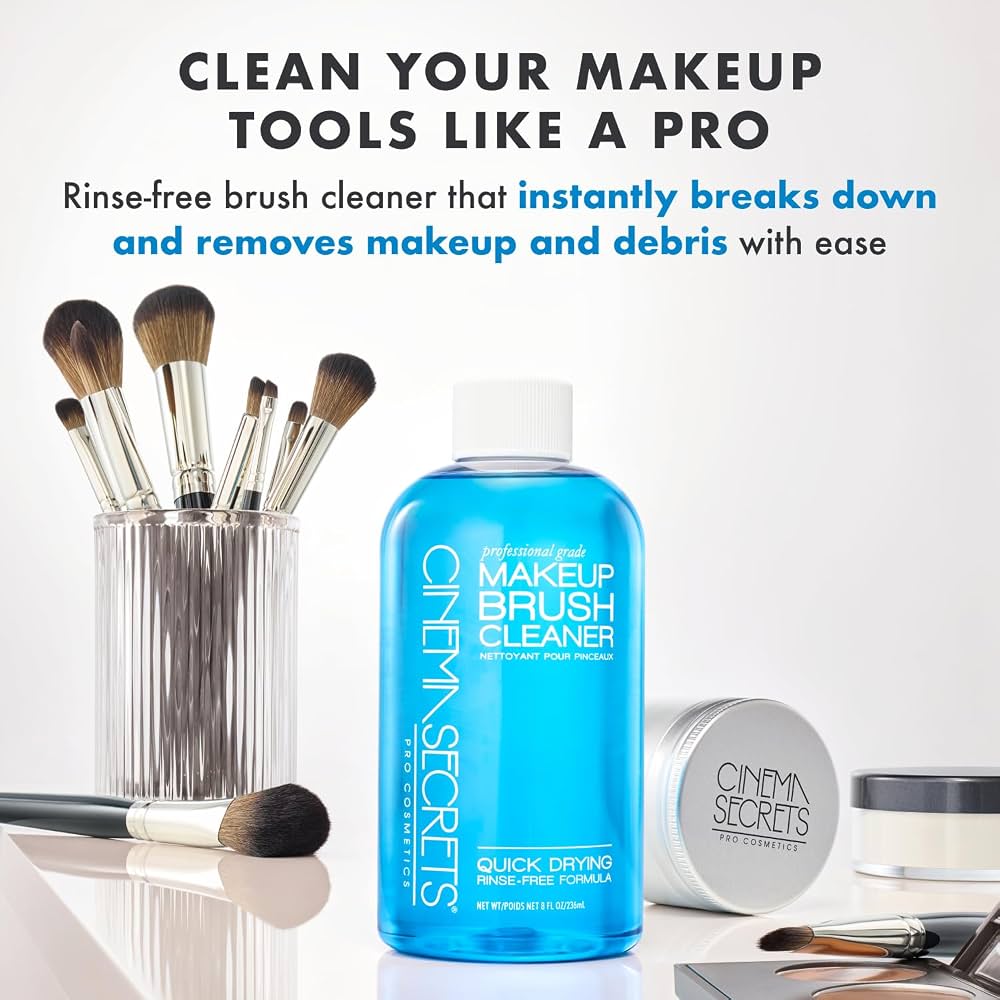
Cinema Secrets Makeup Brush Cleaner
Although not dish soap, this quick-drying spray is a perfect addition to your routine for between deep washes. It sanitizes brushes in seconds and evaporates fast, keeping your daily tools fresh.
Best for: Spritz onto a tissue and wipe your brushes daily, especially if you switch colors or use cream products.
Price Range: $15-$25