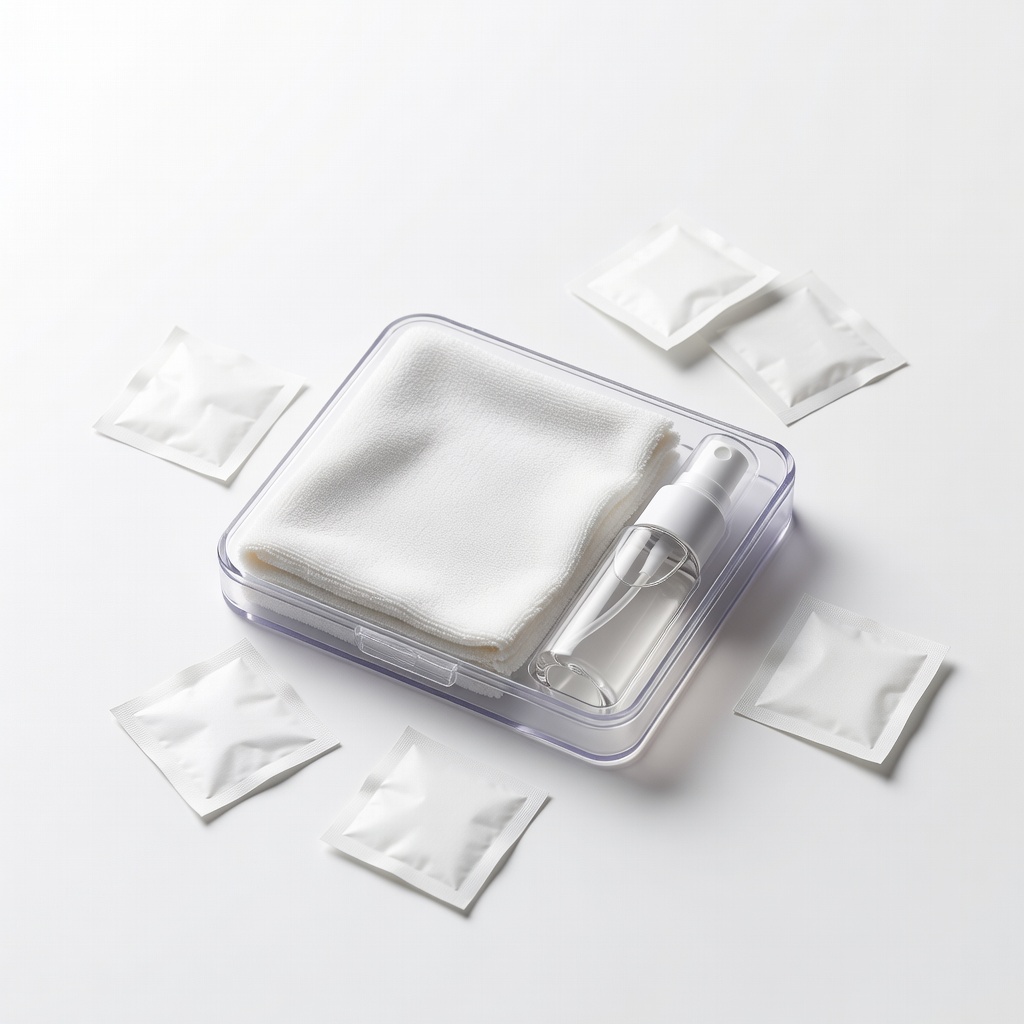
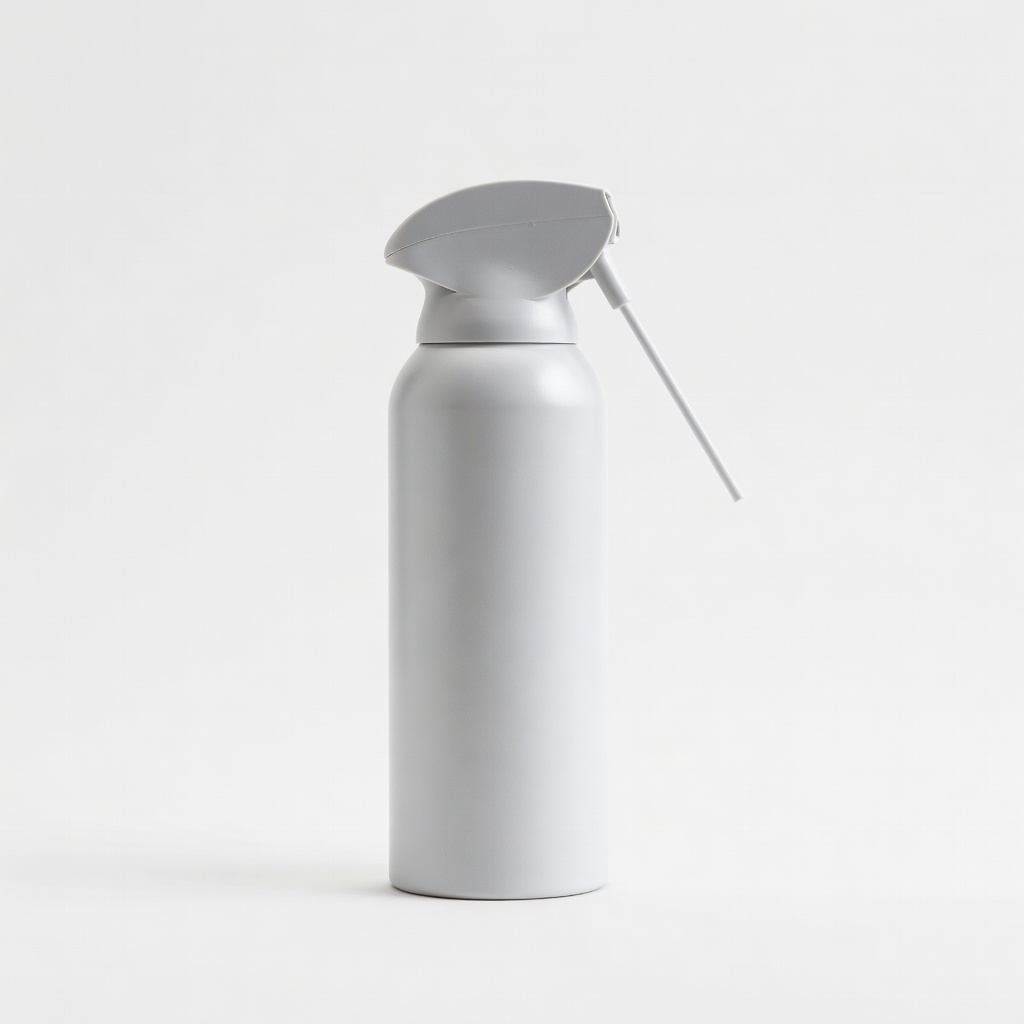
iKlear Headphone Cleaning Kit
Ideal for quick touch-ups on premium headphones like Bose or Sony models.
$10-15
iKlear Headphone Cleaning Kit Includes specialized wipes and brushes safe for all ear pad materials, preventing residue or damage.
Get the App
Better experience on mobile
Restore your headphones' comfort and hygiene with easy, beginner-friendly steps that take under 30 minutes.
Dirty headphone ear pads can trap sweat, earwax, and dust, leading to discomfort, skin irritation, and even muffled sound quality. If you've noticed your favorite headphones feeling grimy or less enjoyable to wear, it's time for a simple clean. Regular maintenance not only extends their lifespan but also keeps them hygienic for daily use.
In this guide, you'll learn a straightforward process to clean ear pads on over-ear or on-ear headphones, whether they're made of fabric, leather, or foam. We'll cover everything from gathering supplies to drying and reassembling, so you can achieve fresh, like-new ear pads without risking damage. The process is gentle and effective for most models.
Expect to spend 20-30 minutes total, depending on drying time. It's beginner-level, requiring no special tools or skills—just patience and care to avoid water damage to electronics.
Estimated Time: 20-30 minutes (plus 1-2 hours drying time) Difficulty: beginner
Before starting, collect all necessary items to ensure a smooth process. Lay them out on a clean workspace to avoid interruptions. This step prevents you from realizing midway that you're missing something essential, which could lead to incomplete cleaning or using substitutes that might harm your headphones.
Why it matters: Using the right materials protects the delicate ear pad fabric or leather from scratches or chemical damage. Expect to have everything ready in under 5 minutes, setting you up for success.
Tip: If your headphones have removable pads, check the manual first for specific care instructions.
💡 Tips:
⚠️ Warnings:
Turn off your headphones and unplug them from any devices. If they're wireless, ensure they're in off mode. Gently remove the ear pads if your model allows—most over-ear headphones like Sony WH-1000XM series have clips or magnets for easy detachment.
This prevents accidental activation or water exposure to electronics. You'll feel the pads pop off easily if designed to be removable; if not, proceed to spot cleaning without removal.
Success looks like: Headphones safely powered down and pads detached or ready for gentle handling.
💡 Tips:
⚠️ Warnings:
Use a soft-bristled brush or compressed air to gently remove dust, hair, and particles from the ear pads. Brush in one direction, away from the headphone interior, to avoid pushing dirt inside.
Why it matters: Loose debris can scratch surfaces if not removed first, and this dry method is safest for electronics. Expect visible dirt to lift away, making the pads look noticeably cleaner already.
For fabric pads, a quick shake outdoors helps too. This step takes just 2-3 minutes and preps for wet cleaning.
💡 Tips:
⚠️ Warnings:
Mix a few drops of mild dish soap with warm water in a small bowl to create a soapy solution. For leather pads, dilute isopropyl alcohol instead. Dip your cloth or brush lightly—never soak it.
This gentle solution breaks down oils and grime without residue. Why it matters: Overly soapy water can leave streaks or attract more dirt later. Success: A lightly damp tool ready for spot cleaning, not dripping wet.
💡 Tips:
⚠️ Warnings:
Dab the damp cloth or brush onto the ear pads in circular motions, focusing on soiled areas like the inner cushions. For tough spots, let the solution sit for 30 seconds before wiping. Rinse the cloth frequently in clean water.
Why it matters: Gentle pressure lifts dirt without saturating the material, preserving padding and breathability. Expect grime to transfer to the cloth, revealing fresher-looking pads.
Work from outer edges inward to contain mess. This is the core cleaning phase, taking 5-10 minutes.
💡 Tips:
⚠️ Warnings:
Use a clean, damp cloth with plain water to wipe away any soap residue. Follow with a dry microfiber cloth to absorb excess moisture.
This removes leftover cleaner that could irritate skin or stiffen materials. Why it matters: Residue-free pads ensure comfort and longevity. Success: Pads feel soft and dry to the touch, no sticky spots.
💡 Tips:
⚠️ Warnings:
Air-dry the ear pads in a well-ventilated area away from direct sunlight or heat sources. If removable, place them on a towel; otherwise, prop headphones upside down.
Drying prevents mold and maintains shape. Why it matters: Moisture can warp foam or cause odors. Expect full dryness in 1-2 hours; pads should feel plush and odor-free.
Patience here avoids long-term issues like peeling.
💡 Tips:
⚠️ Warnings:
Snap or clip the ear pads back onto the headphones once dry. Power on and play audio to check for comfort and sound clarity.
This confirms everything works post-clean. Why it matters: Ensures no damage occurred. Success: Headphones feel fresh, fit snugly, and sound as good as new.
💡 Tips:
⚠️ Warnings:
Problem: Stubborn stains that won't lift
Solution: Apply a 1:1 water-vinegar mix, let sit 1 minute, then wipe. If persistent, consider replacement pads.
Problem: Ear pads warped after cleaning
Solution: Shape them manually while damp and dry with weights (like books) to hold form. Prevent by avoiding over-wetting.
Problem: Lingering odor post-clean
Solution: Sprinkle baking soda, let sit 30 minutes, then brush off. Air out in sunlight if safe for material.
Problem: Damage to non-removable pads
Solution: If electronics got wet, dry completely and test; seek professional repair if audio issues persist.
Includes specialized wipes and brushes safe for all ear pad materials, preventing residue or damage.
Best for: Ideal for quick touch-ups on premium headphones like Bose or Sony models.
Price Range: $10-15
Ultra-soft and lint-free, perfect for wiping without scratching delicate surfaces.
Best for: Essential for all cleaning steps, especially drying residue on fabric or leather pads.
Price Range: $5-10 for a pack
Pre-moistened for targeted stain removal on leather or vinyl, alcohol evaporates quickly to avoid moisture issues.
Best for: Best for oily buildup from skin contact; use sparingly on foam.
Price Range: $8-12
High-quality foam and fabric options that match popular brands, for when cleaning isn't enough.
Best for: Replace worn pads on headphones like Audio-Technica or Sennheiser for renewed comfort.
Price Range: $20-40 per pair
Safely blasts away dust without contact, extending the life of your initial clean.
Best for: Great for crevices in non-removable pads or before deep cleaning.
Price Range: $5-10
Ideal for quick touch-ups on premium headphones like Bose or Sony models.
iKlear Headphone Cleaning Kit Includes specialized wipes and brushes safe for all ear pad materials, preventing residue or damage.
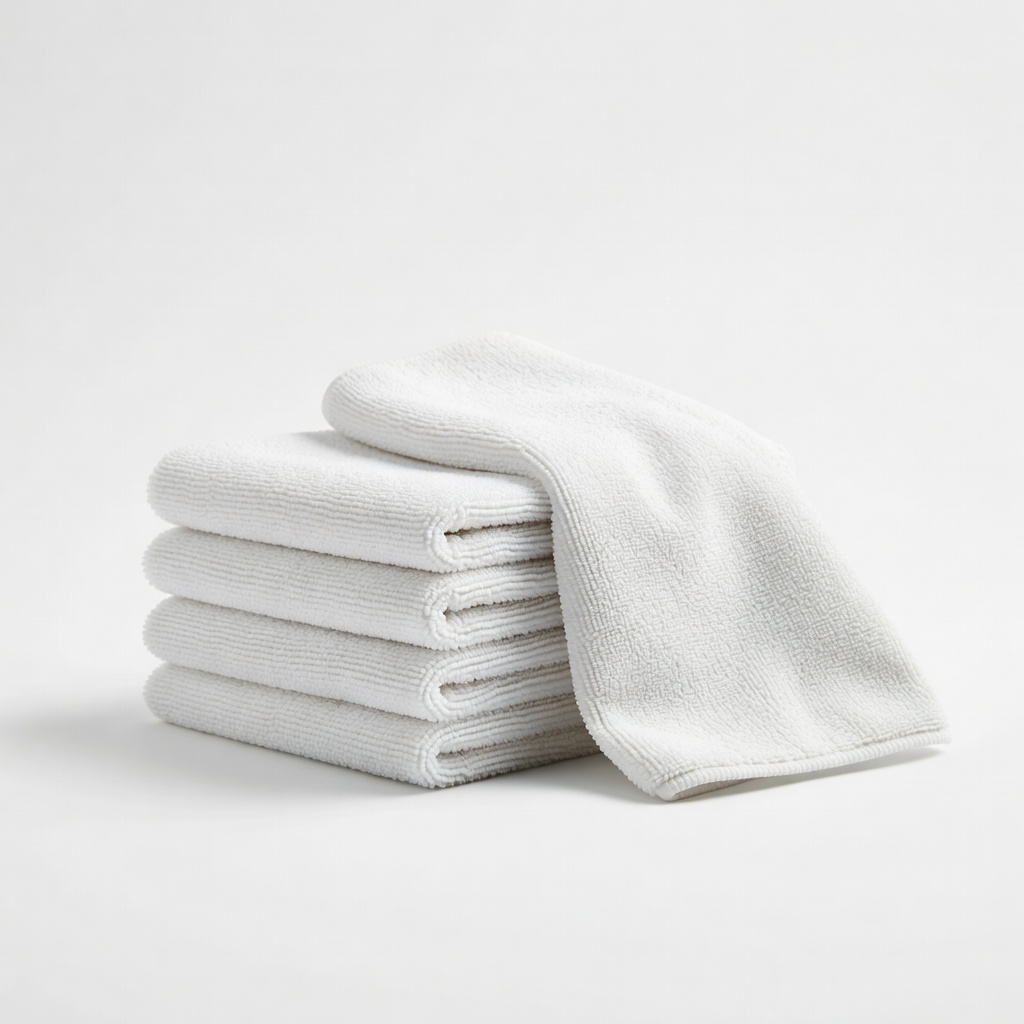
Essential for all cleaning steps, especially drying residue on fabric or leather pads.
Amazon Basics Microfiber Cleaning Cloths Ultra-soft and lint-free, perfect for wiping without scratching delicate surfaces.
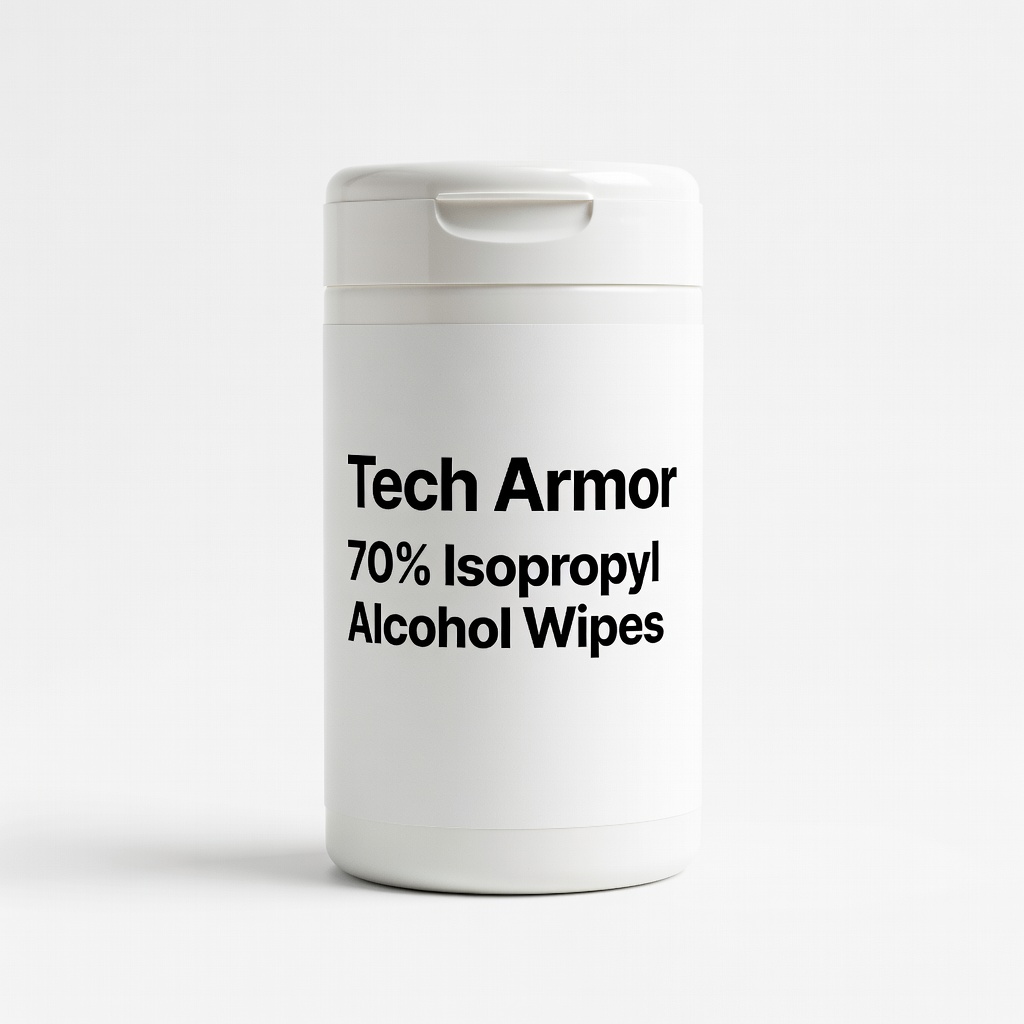
Best for oily buildup from skin contact; use sparingly on foam.
Tech Armor 70% Isopropyl Alcohol Wipes Pre-moistened for targeted stain removal on leather or vinyl, alcohol evaporates quickly to avoid moisture issues.
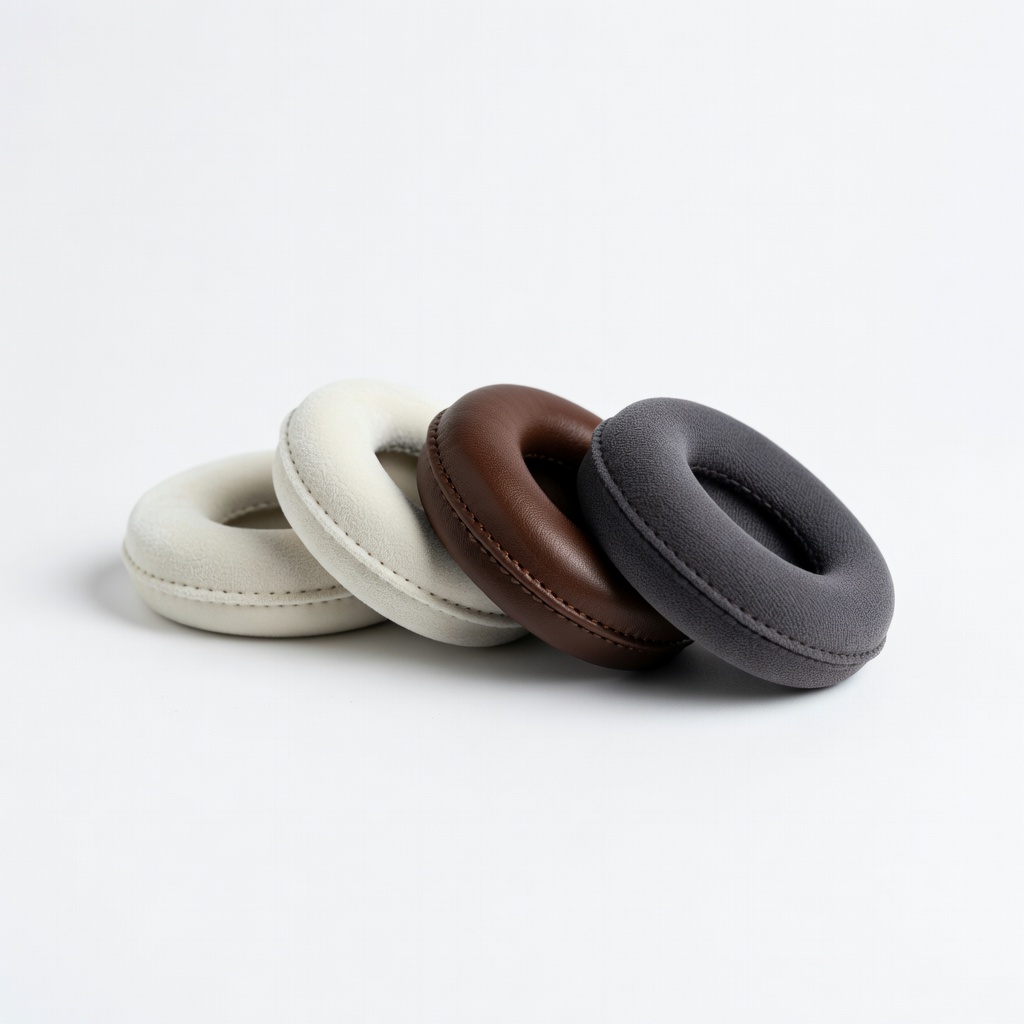
Replace worn pads on headphones like Audio-Technica or Sennheiser for renewed comfort.
Dekoni Audio Replacement Ear Pads High-quality foam and fabric options that match popular brands, for when cleaning isn't enough.
Great for crevices in non-removable pads or before deep cleaning.
Dust-Off Compressed Air Duster Safely blasts away dust without contact, extending the life of your initial clean.