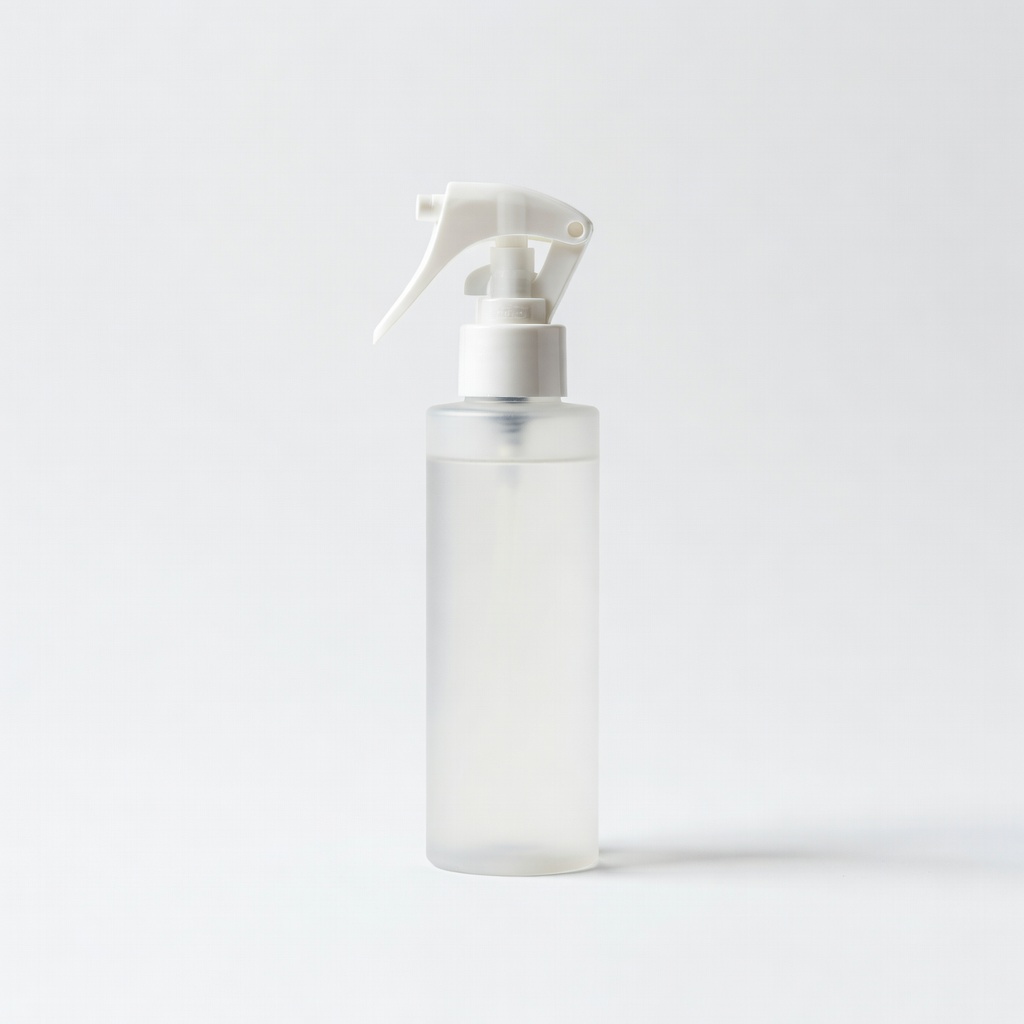
Pjur Toy Cleaner Spray
Ideal for quick post-use sprays on silicone or glass toys before rinsing.
$10-15
Pjur Toy Cleaner Spray This pH-balanced, antibacterial spray is gentle on all materials and kills 99.9% of bacteria without residue.
Get the App
Better experience on mobile
Master easy hygiene routines to keep your toys safe, sanitary, and ready for fun—extending their life without hassle.
Properly cleaning and storing adult toys isn't just about hygiene—it's essential for preventing bacterial growth, avoiding skin irritations, and ensuring your toys last longer. Many beginners skip these steps, leading to unpleasant odors, damage, or even health risks like infections. But don't worry; with the right approach, it's a quick habit that keeps things enjoyable and worry-free.
In this guide, you'll learn straightforward, beginner-friendly steps to clean various types of adult toys, from silicone vibrators to glass dildos. We'll cover why each step matters, what to expect, and tips to make it effortless. The whole process takes under 30 minutes per session and requires minimal supplies you likely already have.
By the end, your toys will be spotless, dry, and stored safely, ready for your next use. This routine not only protects your health but also maintains the toy's texture and functionality—no more sticky residues or faded colors.
Estimated Time: 15-25 minutes per toy, depending on type and drying time Difficulty: beginner
Before starting, collect all necessary items in one spot to make the process smooth. Lay out warm water in a bowl or sink, your mild soap or toy cleaner, a clean towel, and storage accessories. This prep prevents interruptions and ensures you have everything hygienic.
Why it matters: Using the right tools avoids damaging delicate materials like silicone or TPE, which can degrade with harsh cleaners. Expect a clutter-free workspace that takes just 1-2 minutes to set up.
For non-porous toys (e.g., silicone, glass), this setup works perfectly; porous ones like jelly may need extra care later.
💡 Tips:
⚠️ Warnings:
Turn off your toy and carefully remove any batteries, removable heads, or attachments. For battery-powered vibrators, twist open the compartment and take them out; for strap-ons, detach harnesses. Wipe away any visible residue gently with a dry cloth.
This step is crucial because moisture can corrode batteries, leading to leaks that ruin the toy. You'll notice the toy feels lighter and easier to handle—success looks like all parts separated without force.
If your toy has motors, this prevents water damage during cleaning; expect it to take under a minute.
💡 Tips:
⚠️ Warnings:
Run lukewarm water over the toy to remove loose debris, lubricants, or bodily fluids. Hold it under a gentle stream for 30-60 seconds, rotating to cover all surfaces. Avoid hot water, as it can warp materials.
Rinsing first prevents soap buildup and ensures thorough cleaning. What success looks like: Water runs clear, and the toy feels slick-free. This initial wash takes about 1 minute and preps for deeper cleaning.
For textured toys, focus on crevices to flush out hidden particles.
💡 Tips:
⚠️ Warnings:
Squirt a small amount of mild, unscented soap or dedicated toy cleaner onto the toy or a soft cloth. Gently lather and scrub all areas, including seams and buttons, for 1-2 minutes. For silicone toys, this removes bacteria effectively without residue.
Why it matters: Proper soaping kills germs that could cause UTIs or irritation. Expect a foamy lather that rinses easily—your toy should smell neutral and feel clean to the touch.
Body-safe cleaners are pH-balanced to protect sensitive skin; avoid if allergic to ingredients.
💡 Tips:
⚠️ Warnings:
Rinse the toy under lukewarm running water until all soap or cleaner is gone—no bubbles should remain. Rotate and squeeze gently to ensure water flows through any openings. This step usually takes 30-45 seconds.
Thorough rinsing prevents irritation from residue during future use. Success: The toy squeaks when rubbed (indicating no soap) and has no chemical scent.
For waterproof toys, you can submerge briefly; non-waterproof ones get a cloth wipe-down.
💡 Tips:
⚠️ Warnings:
Pat the toy dry with a clean, lint-free towel or microfiber cloth. Air-dry in a well-ventilated area away from direct sunlight for 10-20 minutes, or until no moisture remains. For quicker results, use a hairdryer on low, cool setting.
Drying prevents mold and bacterial growth in damp spots. What to expect: The surface feels smooth and dry, with no tackiness—full dryness ensures safe storage.
Avoid paper towels, as they leave fibers on smooth toys.
💡 Tips:
⚠️ Warnings:
Examine the toy for tears, cracks, or discoloration under good lighting. Feel for soft spots or stickiness, which indicate wear. If damaged, retire the toy safely.
This check ensures safety—compromised toys can harbor bacteria. Success: A flawless toy ready for use; note any issues for replacement.
It takes seconds but saves health risks down the line.
💡 Tips:
⚠️ Warnings:
Place the fully dry toy in a breathable storage bag or dedicated case, away from direct sunlight, heat, or other toys that could rub and cause friction damage. Keep in a cool, dark drawer.
Proper storage maintains material integrity and prevents dust buildup. Expect your toys to stay like-new; this final step takes 1 minute.
Separate silicone from silicone to avoid melting if stored hot.
💡 Tips:
⚠️ Warnings:
Problem: Persistent odor after cleaning
Solution: Soak in a vinegar-water solution (1:1) for 5 minutes, then rinse and dry thoroughly. If it persists, the toy may need replacement.
Problem: Sticky residue on toy surface
Solution: Wash with isopropyl alcohol diluted 1:10 with water, rinse well, and dry. Avoid if toy is porous.
Problem: Cracks or tears appearing
Solution: Stop using immediately and dispose safely. Check for compatible repairs only on non-porous toys; otherwise, buy a new one.
Problem: Dust or lint buildup in storage
Solution: Switch to a sealed, breathable pouch and clean storage area monthly. Use anti-static sprays sparingly.
This pH-balanced, antibacterial spray is gentle on all materials and kills 99.9% of bacteria without residue.
Best for: Ideal for quick post-use sprays on silicone or glass toys before rinsing.
Price Range: $10-15
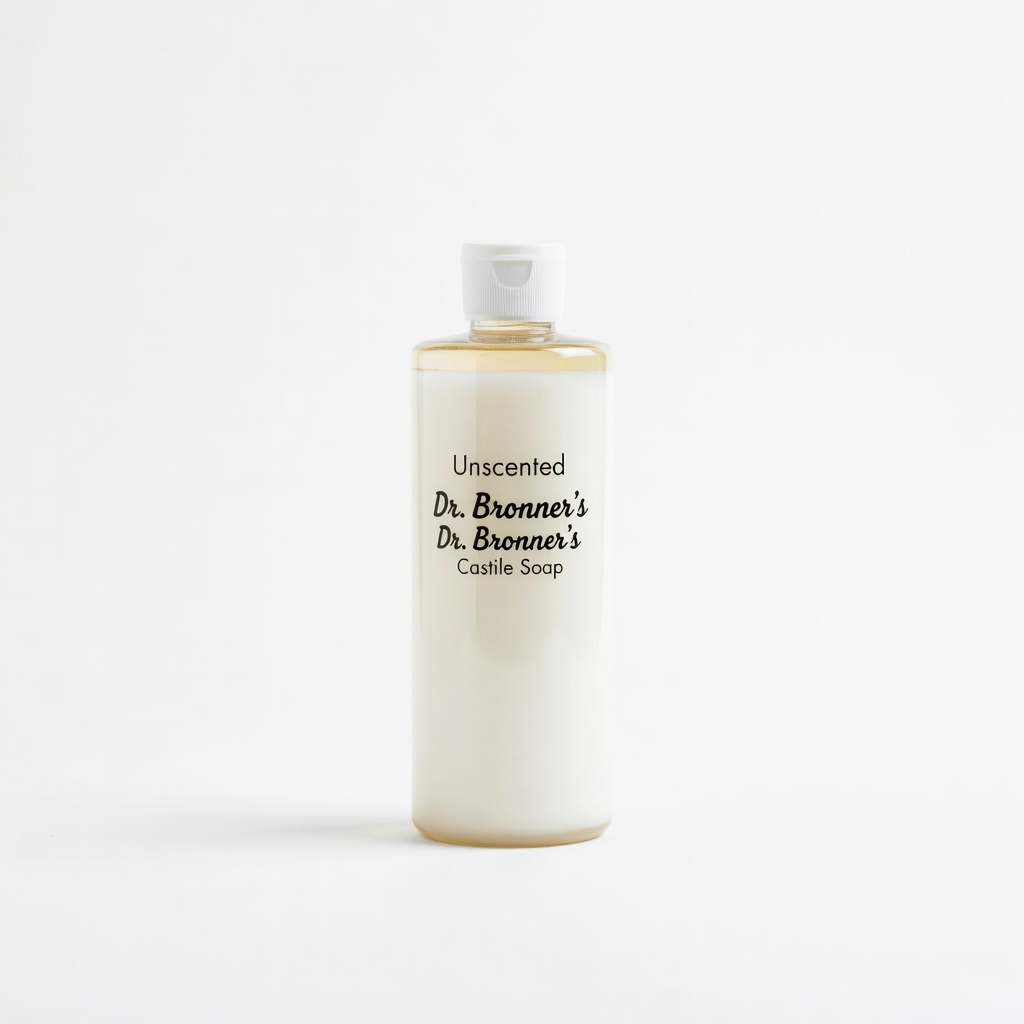
A mild, natural alternative to toy cleaners that's safe for skin and effective on body fluids.
Best for: For budget-friendly lathering on TPE or rubber toys during deep cleans.
Price Range: $5-10
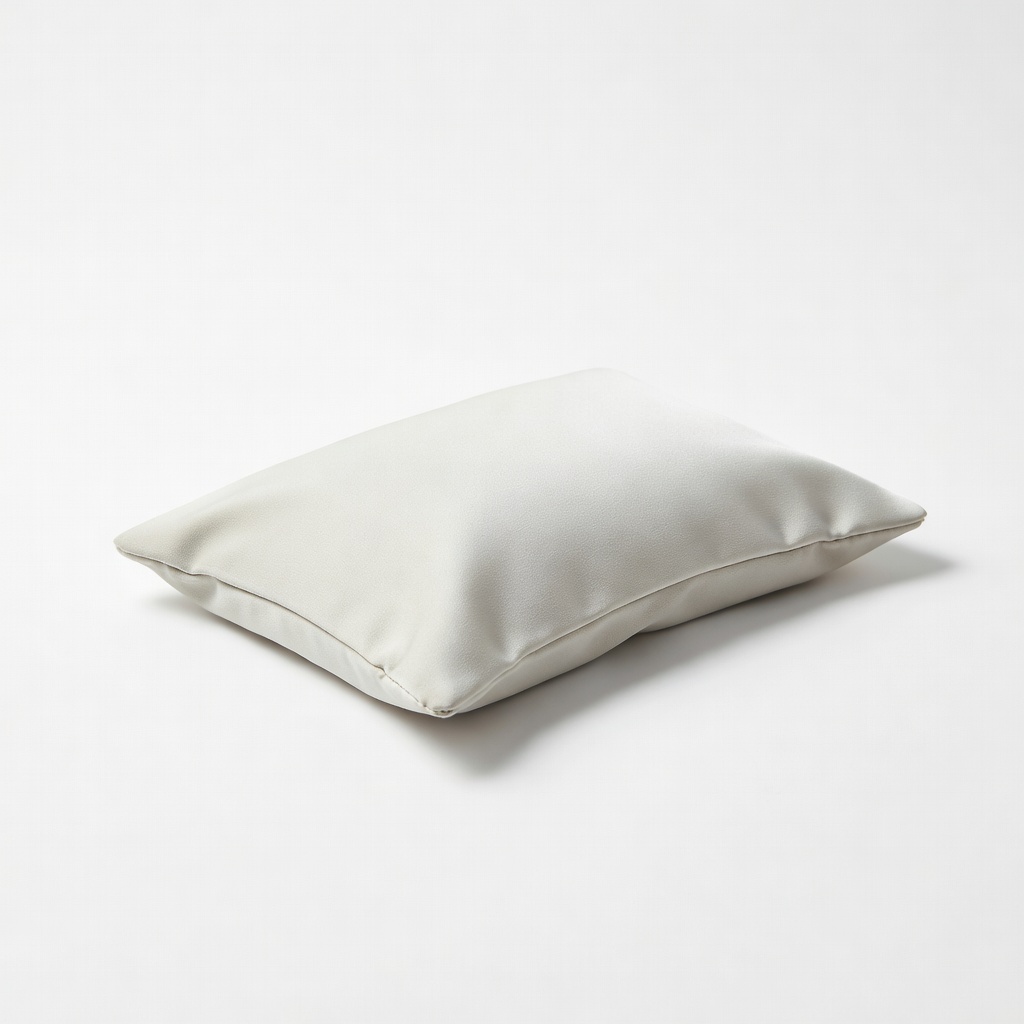
Breathable fabric prevents moisture trap while protecting from dust and scratches.
Best for: Storing multiple toys separately in a drawer for easy access and discretion.
Price Range: $8-12
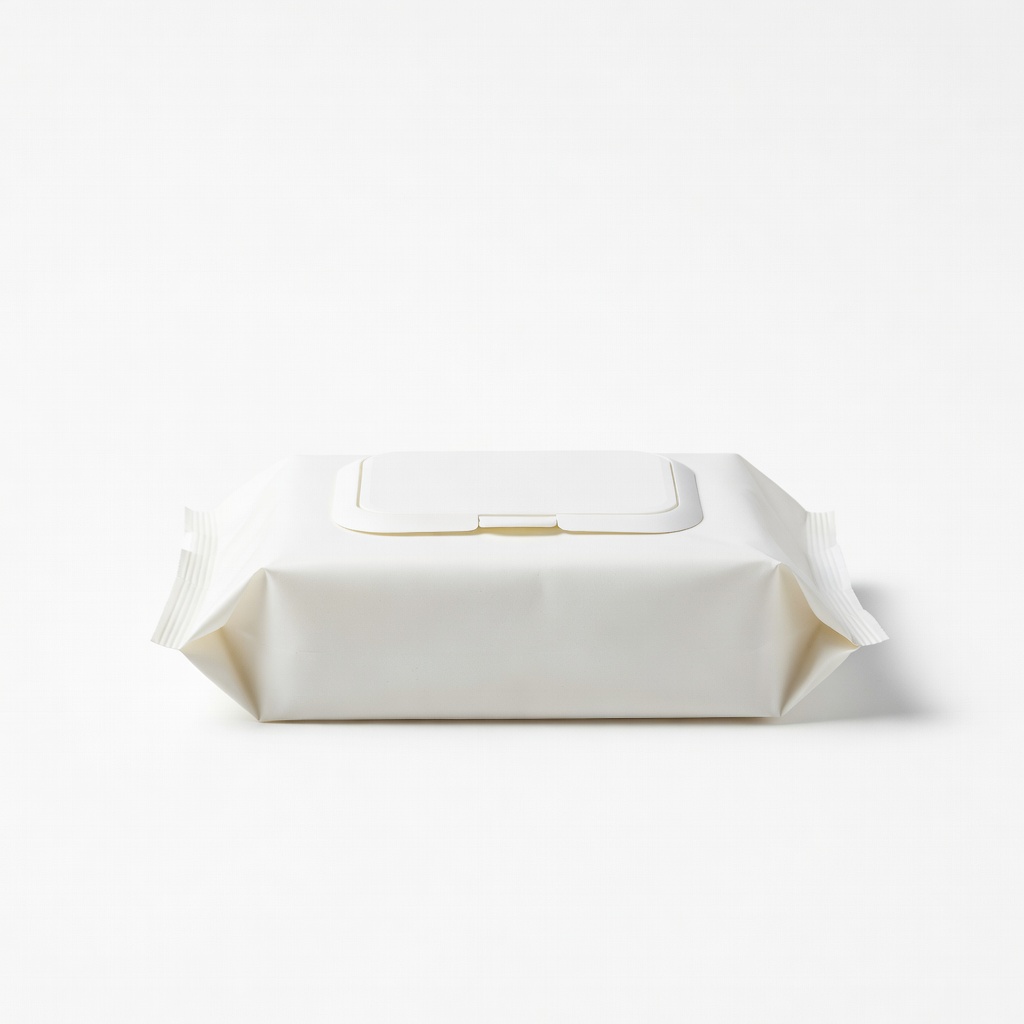
Pre-moistened, individually wrapped wipes for on-the-go or fast cleanups without water.
Best for: Touch-ups after travel or when sink access is limited.
Price Range: $7-10 for 20-pack
Chemical-free UV light kills germs on surfaces, complementing manual cleaning for extra hygiene.
Best for: Final sanitization step for non-porous toys before storage.
Price Range: $20-30
Ideal for quick post-use sprays on silicone or glass toys before rinsing.
Pjur Toy Cleaner Spray This pH-balanced, antibacterial spray is gentle on all materials and kills 99.9% of bacteria without residue.
For budget-friendly lathering on TPE or rubber toys during deep cleans.
Unscented Dr. Bronner's Castile Soap A mild, natural alternative to toy cleaners that's safe for skin and effective on body fluids.
Storing multiple toys separately in a drawer for easy access and discretion.
Sportsheets Silky Soft Storage Pouch Breathable fabric prevents moisture trap while protecting from dust and scratches.
Touch-ups after travel or when sink access is limited.
Tenga Everclean Wipes Pre-moistened, individually wrapped wipes for on-the-go or fast cleanups without water.
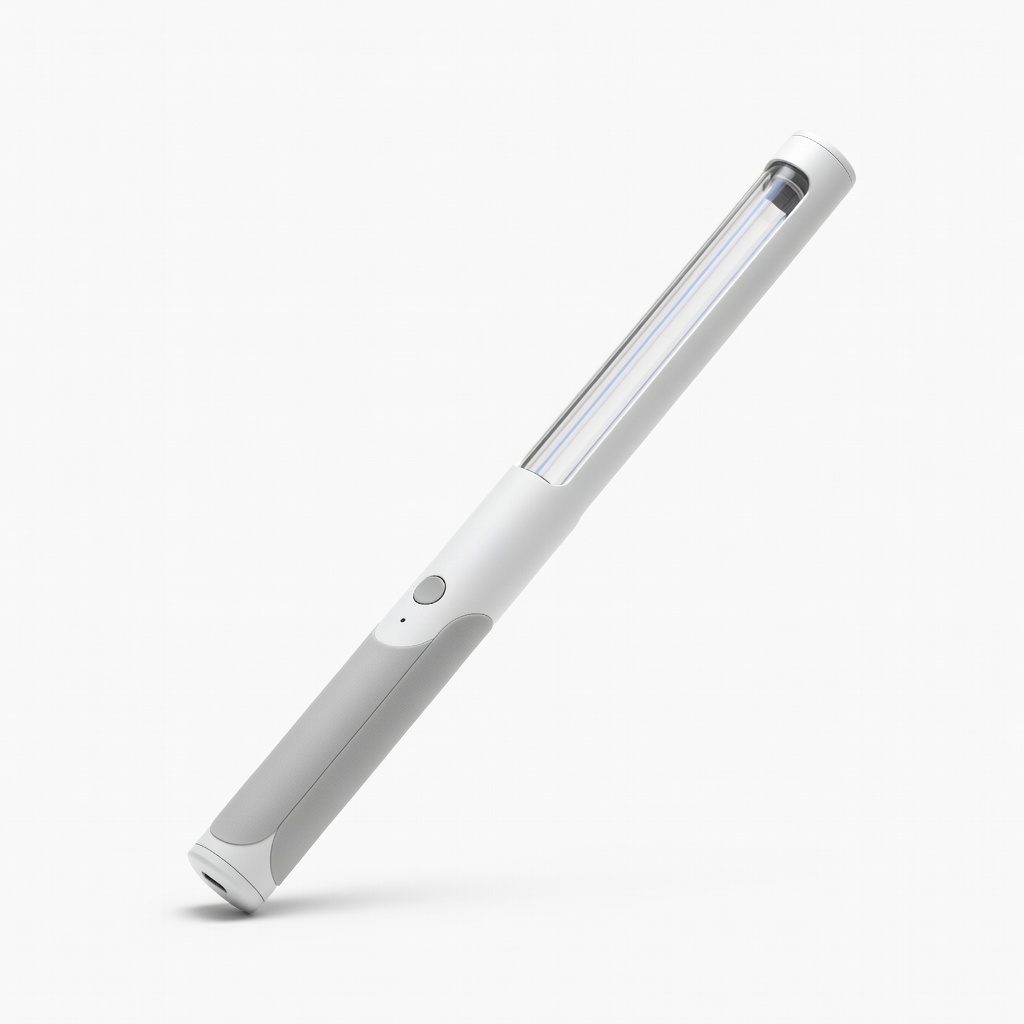
Final sanitization step for non-porous toys before storage.
UV-C Light Wand Sanitizer Chemical-free UV light kills germs on surfaces, complementing manual cleaning for extra hygiene.