Cast iron skillets are legendary for their heat retention and versatility, but many beginners are intimidated by them. They fear they're high-maintenance, or they've experienced sticky surfaces, rust, and foods that stay welded to the pan. The truth is, with just a few minutes of care after every use, you can keep your skillet in top shape and even build a non-stick surface that rivals modern cookware.
This guide will teach you how to properly clean your cast iron skillet without destroying the seasoning, and how to season it (or re-season it) for a slick, naturally non-stick finish. You'll learn the exact steps, the best oils to use, what to avoid, and how to troubleshoot common problems. Whether you've just bought your first skillet or you're rescuing a rusty antique, this is the only guide you'll need.
The whole process takes about 30 minutes for a full oven-seasoning, plus 5 minutes of cleaning after each use. It's easier than you think, and the payoff is an heirloom-quality skillet that can last a lifetime.
▸What You'll Need
- •Cast iron skillet (obviously!)
- •Hot water
- •Mild dish soap (optional, for greasy pans)
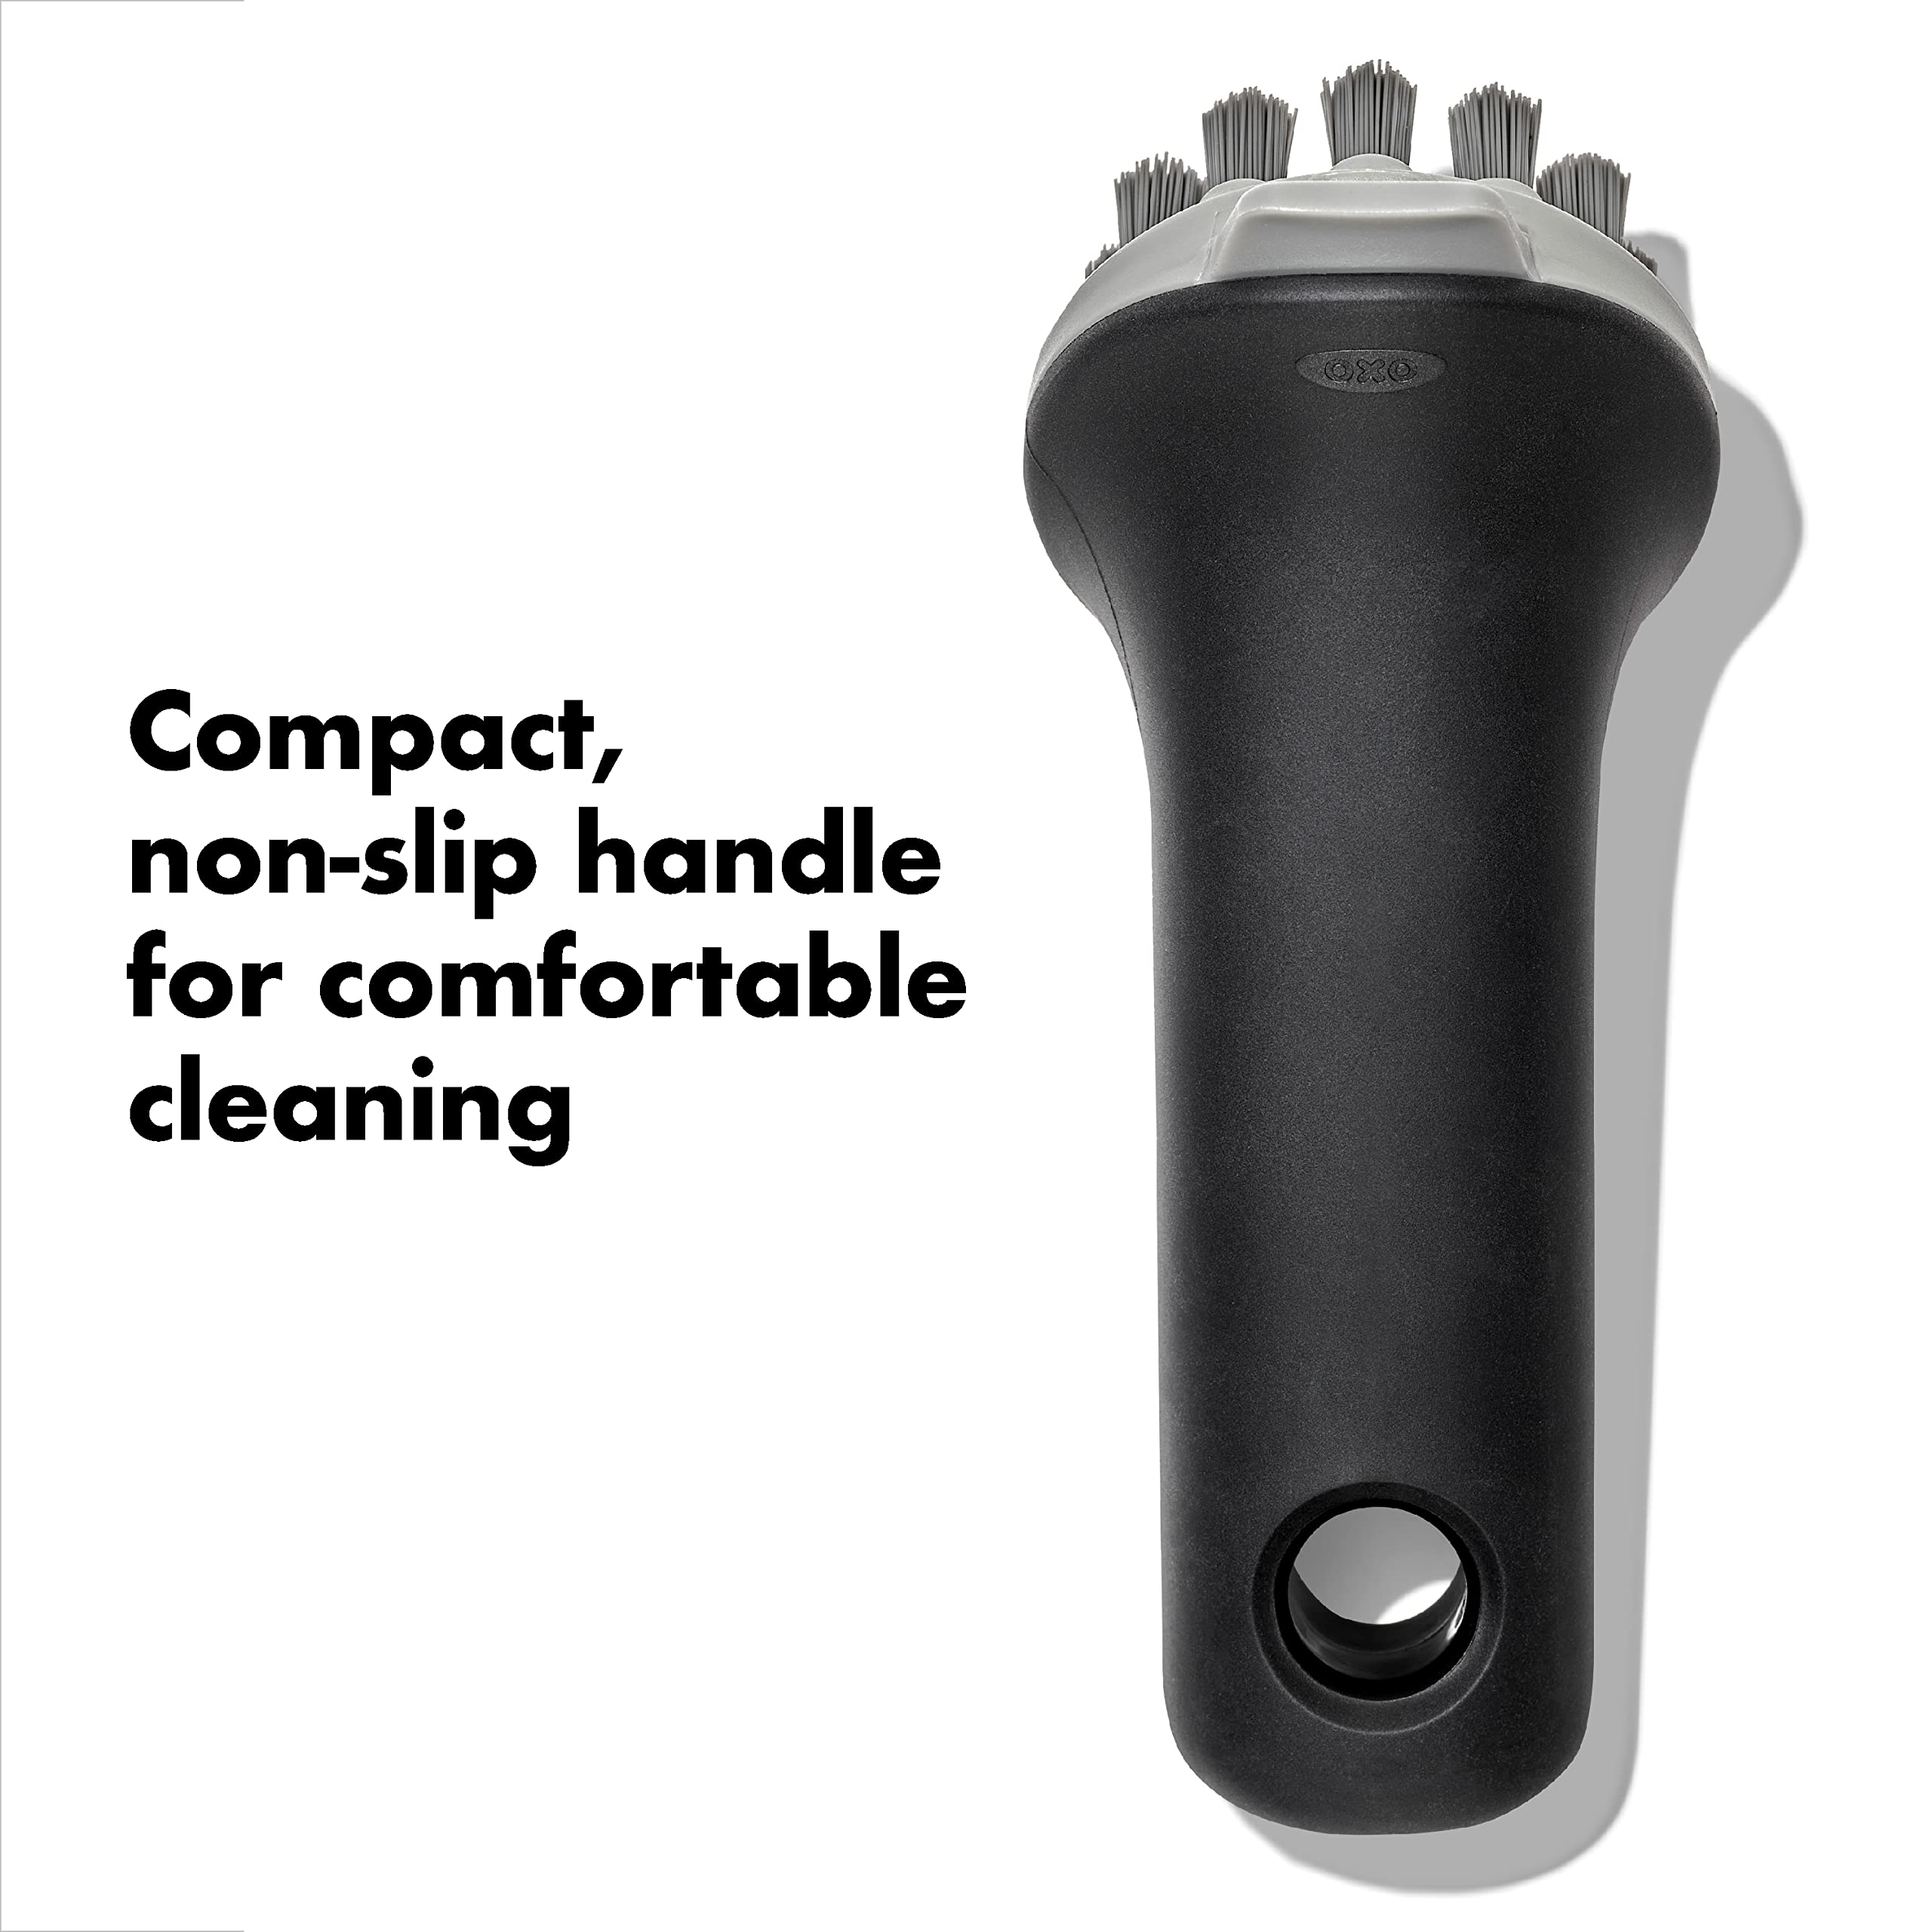
- •Stiff-bristled brush or non-abrasive scrubber
- •Coarse kosher salt (for stubborn food)
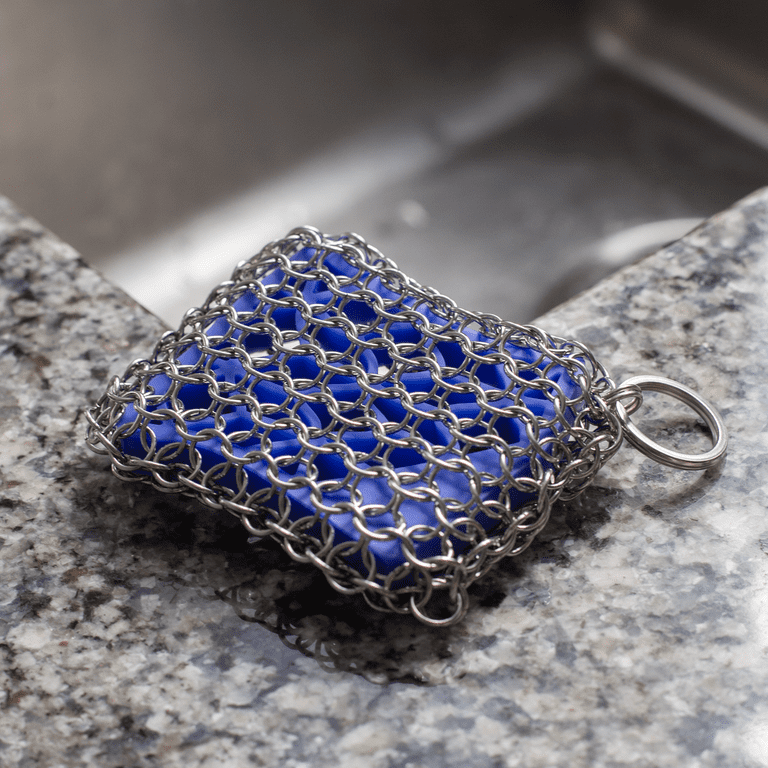
- •Chainmail scrubber (optional but helpful)
- •Paper towels or lint-free cloths
- •High smoke-point oil (flaxseed, grapeseed, canola, or vegetable)
- •Oven for seasoning
- •Oven mitts or pot holders
- •Optional: silicone handle cover, baking sheet (to catch drips)
Estimated Time: 30 minutes for oven seasoning (plus 10 minutes for cleaning after each use)
Difficulty: beginner
▸Step-by-Step Instructions
Step 1: Wash Your Skillet While It's Still Warm
After cooking, let your skillet cool down just enough to handle safely but still warm to the touch. Place it under hot running water. The hot water loosens food and helps melt away greasy residue. Use a stiff-bristled brush or a plastic scraper to remove food without scratching the seasoning. If the pan feels oily, a few drops of mild dish soap are fine today—modern detergents won't strip a well-built seasoning. Don't soak the pan; a quick wash is all it needs. The goal is to remove food, not to scrub your seasoning away.
Imagine the conditioning of a cast iron pan as a protective wax on your car. You wash the car, but you don't aggressively wax it with soap. Similarly, you just need to take the grime off, not polish the iron. Rinse off all soap and food residues thoroughly.
💡 Tips:
- •Use warm or hot water to avoid thermal shock. Cold water on a hot pan can cause warping.
- •Clean immediately after cooking, while the residue is still soft.
⚠️ Warnings:
- •Never plunge a blazing-hot skillet into cold water—it may warp or crack.
- •Avoid abrasive steel wool, which will scrape off your seasoning.
Step 2: Scrub Off Stubborn, Stuck-On Food
If there are blackened bits still stuck onto the skillet, don't panic. Reach for a container of coarse kosher salt and a few teaspoons of water. Sprinkle the salt generously over the stuck-on areas, then add just enough water to make a gritty paste. Using a folded paper towel, a sponge, or a chainmail scrubber, rub in a circular motion. The salt acts as a safe abrasive to lift food particles without scratching the iron or the seasoning layer.
Alternatively, use a chainmail scrubber. This stainless steel mesh stretches over the pan and digs out caked-on residue without harming the polymerized oil. Apply a little pressure and watch the stuck food release. After your salt or chainmail scrub, rinse thoroughly with hot water.
💡 Tips:
- •Use your cooking oil to coat the dry pan first; then the salt will seem even gentler.
- •For delicate spots, use a damp paper towel with a pinch of salt.
⚠️ Warnings:
- •Don't use a metal scouring pad like steel wool—it's too aggressive and will remove the seasoning layer.
Step 3: Rinse and Dry Thoroughly – Water Is the Real Enemy
Now rinse the skillet in hot water until every trace of salt and food is gone. Then, immediately dry it with a clean towel or a lint-free cloth. This might sound like a no-brainer, but many people set the pan aside to air-dry—that's the #1 way to get rust. After towel drying, place the skillet on a low stove burner for a minute or two to evaporate any remaining moisture deep in the pores of the iron. You'll see a little steam rise, and then no more. Alternatively, put it in a 200°F (95°C) oven for 10 minutes.
This drying step is key because the seasoning protects the pan only when the surface is dry. Any moisture left behind can start a rust colony that spreads quickly. Get in the habit of always following up with a short stovetop warming.
💡 Tips:
- •If you have well water or hard water, a final hot-water rinse followed by a towel dry is especially important.
- •Placing the pan on a medium-high burner for 1 to 2 minutes guarantees a bone-dry surface.
⚠️ Warnings:
- •Never let your cast iron air-dry in the sink—the wet iron will oxidize into rusty spots.
- •Keep the flame low to avoid overheating and causing the iron to warp.
Step 4: Apply a Thin, Even Coat of Oil to the Entire Pan
Now you're ready for the seasoning step. Add a small amount of a high-smoke-point oil—around 1 teaspoon for a 10-inch skillet. Grapeseed, canola, refined flaxseed, or even a generic vegetable oil work great. Use a paper towel or lint-free cloth to spread that oil over the entire surface, inside and outside, including the handle. Then, take a second clean paper towel and rub the surface again, trying to wipe off as much oil as you possibly can. This is often referred to as the 'wipe-on, wipe-off' technique.
The reason you want almost no oil is that a thick coat will polymerize unevenly and become gunky or sticky. A microscopic layer of oil is what you need; when heated, it will turn into that hard, glassy seasoning. You should feel the surface with your hand—it should be barely slippery and slightly shiny, but never wet.
💡 Tips:
- •If you're seasoning a truly bare pan, you may need a second coat after the first layer dries.
- •Store oil in a small squeeze bottle for precise application.
⚠️ Warnings:
- •Too much oil is the most common seasoning mistake. If it looks oily, wipe it off again.
- •Avoid using aerosol cooking sprays; they contain lecithin that builds a sticky film.
Step 5: Heat the Skillet in the Oven to Polymerize the Oil
Place the oiled skillet upside down on the middle rack of your oven. Set the temperature to 400°F (204°C) for canola or grapeseed oil, or 450°F (232°C) for flaxseed oil. Put a sheet pan lined with foil on the rack below to catch any drips. Bake for exactly one hour. The heat triggers polymerization, a chemical process where the oil's molecules bond together to form a hard, inert, smooth layer—this is the actual seasoning.
Once the hour is up, turn off the oven and leave the skillet inside to cool down slowly. This prevents thermal shock to the iron. When it has reached room temperature, you'll notice the surface looks darker and slightly satin. That's a solid first layer.
💡 Tips:
- •If your oven runs hot, use a thermometer to check the actual temperature.
- •Crack a window open; you may see a faint bit of smoke—that's normal.
⚠️ Warnings:
- •If you don't have a sheet pan underneath, the pooled oil will drip onto the oven floor and create a mess.
- •Do not skip the cooling-in-the-oven step—abrupt temperature changes can weaken the iron.
Step 6: Build a Non-Stick Surface With 3–5 Coats
A single layer won't give you that slick, egg-silky finish. To achieve a real non-stick skillet, repeat step 4 and step 5 three to four more times. Let the skillet cool after each one-hour bake, then re-oil it as described, using the same thin coat with the scrub, and bake again. Many home cooks do four or five cycles. With each layer, the pan's surface gets harder, smoother, and more water-repellent, which translates to fewer sticky foods and easier cleaning.
Doing multiple coats can be a weekend project, but it's worth it. You can also do this maintenance layer over time: just add an extra oil-and-bake cycle after a particularly heavy cleanup. It's never too late to add a layer.
💡 Tips:
- •Between cycles, use the pan normally and then do an extra bake. That builds seasoning naturally.
- •If the surface starts to look dull or spotty, add another coat.
- •You can speed things up by doing the first two coats on a stove, but the oven gives a more even result.
⚠️ Warnings:
- •If you see the pan getting a sticky residue, you're using too much oil with each coat.
- •Don't rush the cooling step; let it cool completely before re-oiling.
Step 7: Store Your Seasoned Skillet Properly
After the final coat, let the skillet cool completely to room temperature before storing. Place it in a dry cabinet or pantry, ideally hanging on a wall. If you need to stack it with other pans (including stainless steel), place a paper towel between the cooking surfaces to avoid scratching the seasoning. Avoid storing under the sink or any place that might be damp—moisture is a constant risk.
For long-term storage, some cooks apply a super-thin layer of oil as a protective barrier and then wrap the skillet in a cloth. This extra step is optional but helpful if you live in a humid climate.
💡 Tips:
- •Hanging the skillet on a pot rack is both decorative and keeps it in conditions that prevent rust.
- •If stacking, always place a paper towel or a silicone mat between pans.
⚠️ Warnings:
- •Never store a cast iron skillet with a tight-fitting lid that traps humidity.
- •If you live in a humid area, consider adding a moisture-absorber pack to your storage area.
Step 8: Perform Daily Maintenance and Re-Season When Needed
Your skillet doesn't need a full seasoning cycle every day. After each use, follow a simpler maintenance routine: wash with hot water and a brush, dry thoroughly, then place a little oil in the pan, wipe it around, and heat it until you see a wisp of smoke. Remove from heat, wipe dry again, and store. This quick flash of oil will reinforce the existing seasoning and keep it tuned.
But if you notice the pan becoming rusty, sticking, or losing its shine, it's time for a full re-season. Rust means the seasoning has broken down, so start from step 1 and do the oven step. Also, if you've cooked a very acidic dish (like tomato sauce) that can strip the seasoning, just do a fresh thin coat and heat it on the stove.
💡 Tips:
- •Keep a dedicated dry rag that you use only for oiling and wiping the pan.
- •If the pan has a surface that feels rough in the middle, that's a sign to re-season.
⚠️ Warnings:
- •Don't use strong soaps or harsh cleaners on a daily basis; mild soap is OK but dry and oil immediately.
- •Avoid placing the skillet in a damp oven or drawer overnight.
▸Pro Tips
- •Warm, not hot: wash when the skillet is just warm enough to handle easily. Rapid temperature changes can warp the iron.
- •Kosher salt is a game-changer: it's a safe abrasive for removing stuck food while protecting the seasoning.
- •A chainmail scrubber is the only tool that gets the skillet spotless without removing the seasoning—perfect for sticky caramel or burned cheese.
- •Dry on the stove every time: put the pan on low heat for 2 minutes after towel-drying to ensure every last bit of moisture evaporates.
- •Season the outside, too: the bottom and handle need the same oil treatment to prevent rust, especially for pans stored in a cabinet.
- •If your pan is always sticky, you're either using too much oil during seasoning or cooking with too much fat. Use just a teaspoon.
- •Keep a small spray bottle of your favorite seasoning oil for a quick wipe-down after each use.
- •Try eggs on your newly seasoned skillet: slide an egg in a little butter to test your non-stick claim.
▸Common Mistakes to Avoid
- •Using too much oil when seasoning: excessive oil leads to a sticky, tacky surface that's hard to clean. Always wipe the oil off as if you made a mistake.
- •Putting the skillet in the dishwasher: dishwasher detergents and water jets strip seasoning and cause rust. Never put cast iron in the dishwasher.
- •Soaking the pan in water in the sink: soaking for a few minutes might loosen food, but it also promotes rust and breaks down seasoning. Use salt scrub instead.
- •Seasoning with a low smoke point oil like olive oil or butter: those oils polymerize below cooking temperature and become sticky, ruining the finish. Use grapeseed, canola, flaxseed, or vegetable oil.
- •Letting the skillet air dry after washing: moisture feeds rust. Always towel dry, then apply a thin coating of oil to seal out moisture.
- •Using harsh detergents or steel pads to scrub: abrasive pads remove your seasoning and leave tiny scratches. Stick to salt or chainmail.
▸Troubleshooting
Problem: My skillet has brown or orange rust spots.
Solution: Scrub the rusted area with hot water and a stiff brush, or use a paste of baking soda and water. If needed, soak the pan in equal parts water and white vinegar for 1 hour, then scrub. Rinse, dry, and re-season with a couple of coats.
Problem: The seasoning feels sticky or tacky after cooking.
Solution: This happens when you cooked with too much oil or had heat too low. Try heating the pan in a warm oven (350°F/175°C) for 30 minutes to harden the top layer. If it's still tacky, you may need to strip and re-season.
Problem: Food sticks to the bottom even after seasoning.
Solution: Your pan may not have enough layers, or you're not letting it preheat before adding food. Always preheat the dry pan on medium heat for 2–3 minutes before adding oil and food. Also, add a bit more fat when cooking eggs or fish. If the problem persists, add 2–3 more seasoning coats.
Problem: The seasoning is flaking or peeling off.
Solution: Peeling usually means the previous season was applied too thickly or the pan was exposed to too much acidity. Strip the pan completely using a 50/50 vinegar-water soak and a scrub pad, then re-season from scratch with thin coats. Use only thin layers and gradually build them up.
Problem: I accidentally put it in the dishwasher and now it's rusty.
Solution: It's not ruined. Rub with a steel wool pad under hot running water to remove rust, then dry it thoroughly, apply a thin coat of oil, and bake it in the oven at 400°F for one hour. It may take 2–3 layers to restore the surface.
Lodge Chainmail Cast Iron Scrubber
This stainless steel mesh scrubber removes stuck-on food without scratching your seasoning. It's the go-to tool for deep cleaning cast iron pans, especially when salt alone isn't enough.
Best for: For scrubbing off burnt-on bits, caked sauces, and any residue from your cookware after cooking.
Price Range: $10-$20
OXO Good Grips Cast Iron Pan Brush
A stiff-bristled brush with a comfortable handle that's perfect for rinsing away food particles under warm water. It's a low-cost, gentle cleaning tool that respects the seasoning.
Best for: Daily wash routine to gently scrub away food residue without damaging the pan.
Price Range: $8-$12
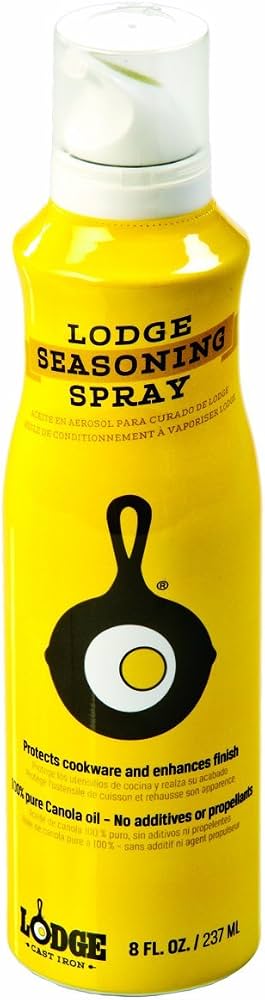
Lodge Natural Cast Iron Seasoning Oil
A pure, high-smoke-point oil that’s ideal for seasoning. It contains no additives, preservatives, or chemical propellants, and it’s the same oil used by the manufacturer to season their pans.
Best for: To apply a perfect thin coat during the seasoning process (steps 4–6) and for maintenance after each use.
Price Range: $10-$15
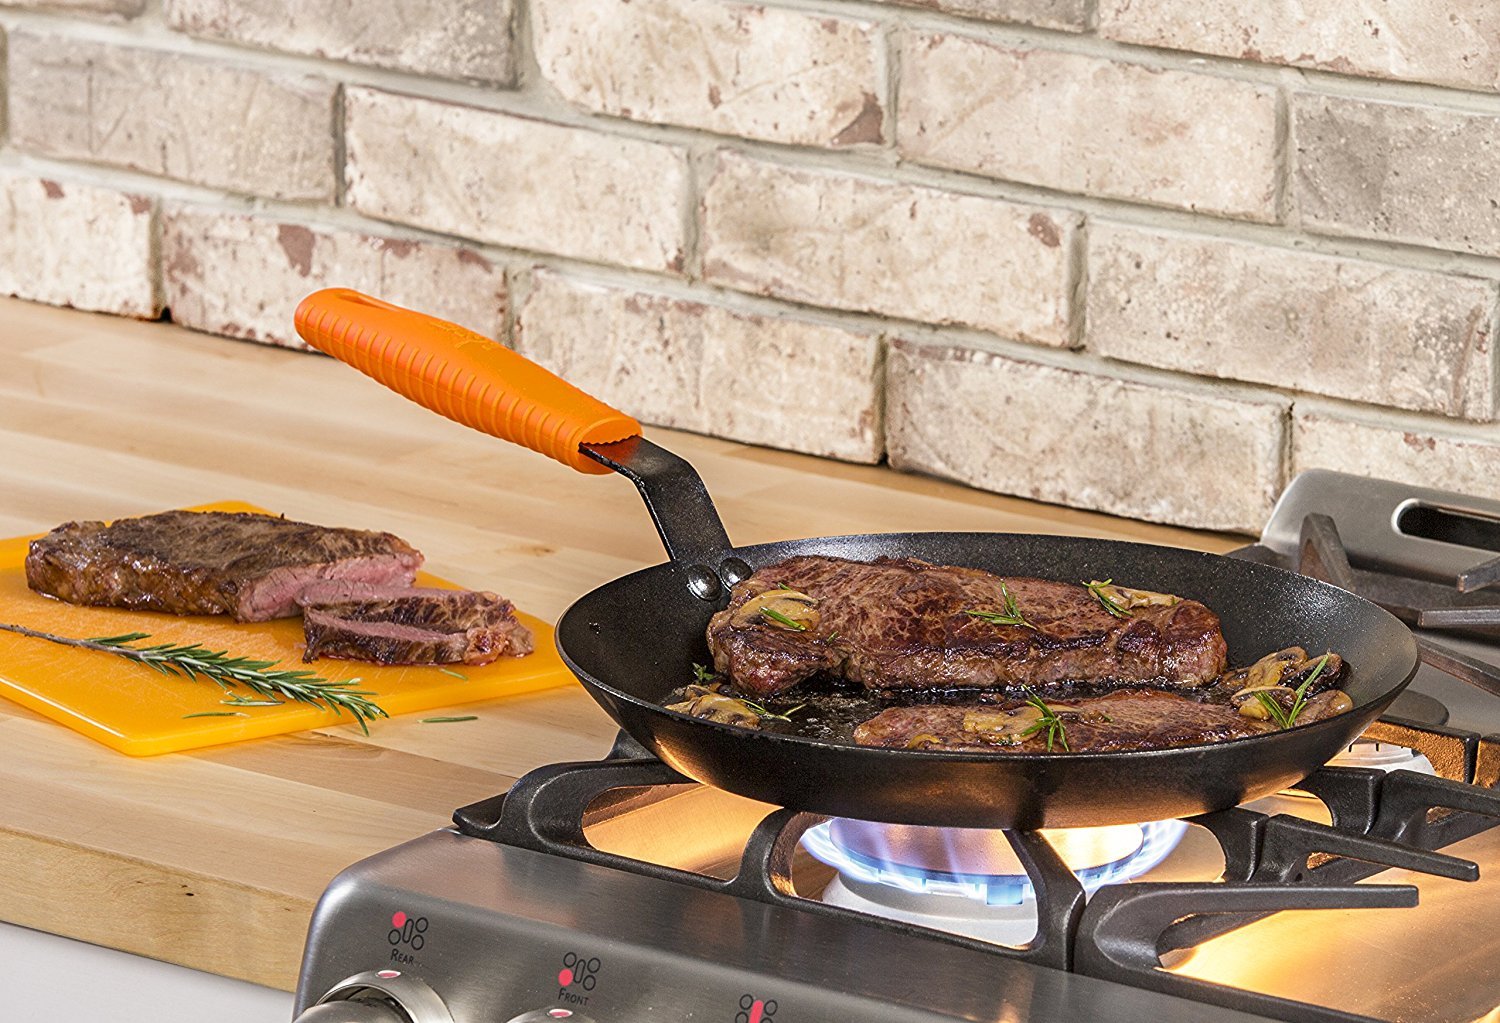
Lodge Silicone Handle Cover
A durable silicone handle that protects your hands while cooking and stays cool to the touch. It also provides a secure grip, making it easier to handle your skillet safely.
Best for: Whenever you need to hold, shake, or move the hot skillet. Great for everyday cooking.
Price Range: $7-$10
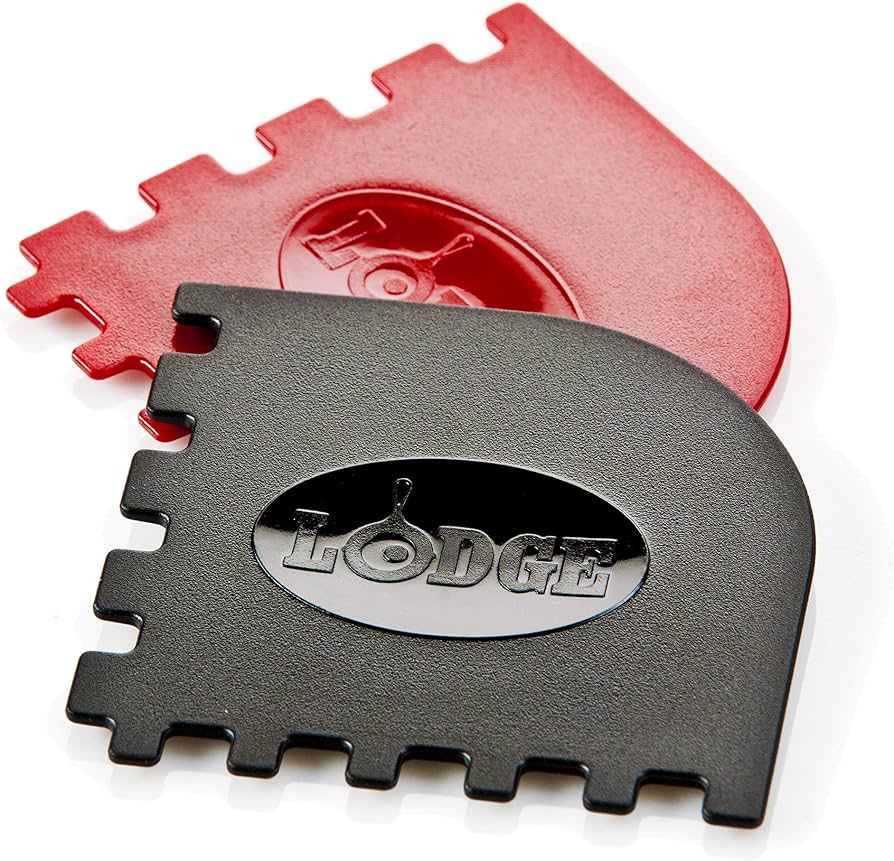
Lodge Cast Iron Scraper Set
A set of plastic safety scrapers that are perfect for lifting stuck-on food without scratching the iron. They’re an easy, safe first step before using a chainmail scrubber.
Best for: Using a plastic scraper as a quick way to remove big bits of food after cooking.
Price Range: $8-$15