A clean car interior makes every drive more enjoyable and protects the value of your vehicle. Yet it's easy to let crumbs, dust, coffee stains, and odors pile up until the cabin feels less comfortable. The good news is you don't need a professional detailer to bring it back to life.
This guide will walk you through a complete interior detail in logical, beginner-friendly steps. From removing clutter and vacuuming seats to shampooing carpets and conditioning leather, you'll learn what to do, what products to use, and how to avoid common mistakes. Expect to spend about one to two hours for a thorough cleaning, longer if you deep-shampoo or need to remove stubborn stains.
Grab your supplies, open the car doors, and let's get started.
▸What You'll Need
- •Shop vacuum or high-power car vacuum with crevice tool and brush attachment
- •Microfiber towels (5–8 clean, lint-free towels)
- •Soft-bristle detail brush and a small toothbrush or cotton swabs
- •pH-balanced all-purpose interior cleaner
- •Automotive glass cleaner
- •Upholstery or carpet cleaner (for stains and deep cleaning)
- •Leather cleaner and conditioner (for leather interiors)
- •Interior protectant/UV protectant (optional but recommended)
- •Trash bag and a small bin
- •Bucket with warm water
- •Optional: rubber gloves, compressed air or a keyboard blower, steam cleaner, portable carpet extractor
Estimated Time: 1–2 hours for a standard interior detail; 2–3 hours if you deep-shampoo carpets, treat leather, or remove stubborn odors.
Difficulty: beginner
▸Step-by-Step Instructions
Step 1: Remove Trash and Personal Items
Start with an empty car. Open all doors and remove trash, bottles, wrappers, loose change, napkins, electronics, and any personal belongings. Check every compartment: glove box, center console, seat-back pockets, under the seats, and the trunk. If you have child seats, remove them if possible so you can clean underneath.
Having a clear space makes every later step faster and more effective. It also prevents you from accidentally vacuuming up important items or pushing clutter into crevices. Use a trash bag and a box or tote to gather non-trash items.
What success looks like: The cabin is completely empty of loose items and you can see all surfaces that need cleaning.
💡 Tips:
- •Wear gloves to protect your hands from hidden debris
- •Use a phone flashlight to check under seats and in dark corners
⚠️ Warnings:
- •Remove any items that can melt, damage, or stain the upholstery, such as pens, lip balm, and food wrappers
Step 2: Remove and Clean Floor Mats
Pull out all floor mats, including the trunk liner if you have one. Shake them outside to remove dry dirt and debris. For rubber or all-weather mats, spray them with water and scrub with a stiff brush and mild soap or a dedicated car mat cleaner. Rinse with clean water.
For carpeted mats, use a vacuum first, then treat stains with upholstery cleaner and a brush. Rinse thoroughly and let them air-dry completely before putting them back. Drying can take several hours, so it helps to do this step first.
What success looks like: Mats are free of dirt and grime, don't smell, and are fully dry before going back in.
💡 Tips:
- •Use a pressure washer at a car wash for heavy-duty rubber mats
- •Set carpet mats upright so they dry evenly and quickly
⚠️ Warnings:
- •Never put wet mats back in the car; trapped moisture can cause mildew and rust
Step 3: Vacuum Seats, Carpets, and Headliner
Vacuum from top to bottom so gravity pulls loose dust and crumbs down. Use a soft brush attachment on the headliner and interior panels to avoid tearing the fabric. On seats, use a wide attachment and then a crevice tool along seams and around seat belts.
For carpets, use a brush attachment to agitate dirt out, then go over with the crevice tool along the edges. If you have pet hair, use a rubber-bristled tool or a damp rubber glove to gather hair before vacuuming.
What success looks like: No visible dust, crumbs, or hair on surfaces. The carpet texture looks fluffed and cleaner.
💡 Tips:
- •Vacuum in multiple directions to release embedded dirt
- •Use a narrow nozzle to get into cup holders and door pockets
⚠️ Warnings:
- •Keep the vacuum moving on headliners to avoid creasing
- •Don't press hard on delicate speaker grilles
Step 4: Brush and Vacuum Crevices and Tight Areas
A vacuum alone won't reach everything. Use a soft-bristle detail brush or an old toothbrush to loosen dirt from seams, stitching, vents, cup holders, buttons, and around the shifter. Follow each brushed area with the crevice tool to pull out loosened debris.
You can also use compressed air or a small keyboard blower to blow dust out of vents and cracks, then vacuum it up. For cup holders and deep pockets, use a damp microfiber towel wrapped around your finger or a cotton swab for final removal.
What success looks like: Crevices are visibly clear, and you can't find dirt when you run a fingertip across seams.
💡 Tips:
- •Use a dedicated interior detail brush with synthetic bristles to avoid scratching
- •Do this after vacuuming so you're not moving dirt around a clean car
⚠️ Warnings:
- •Avoid poking sharp tools into airbag seams or touchscreens
Step 5: Clean Hard Surfaces
Now clean the dashboard, center console, door panels, steering wheel, and other hard surfaces. Spray your chosen interior cleaner onto a clean microfiber towel, not directly onto the panel, so you don't over-spray onto electronics. Wipe in one direction, turning the towel frequently.
For textured surfaces, use a detail brush dipped in cleaner to break up grime, then wipe with a damp cloth. Pay special attention to the steering wheel and gear shifter, which collect oils and bacteria.
What success looks like: All hard surfaces feel smooth, look clean, and have no soapy or greasy residue.
💡 Tips:
- •Use separate towels for cleaning and drying
- •Use a toothbrush to clean around radio knobs and cup holder bottoms
⚠️ Warnings:
- •Do not let liquid run behind buttons or into vents; it can damage electronics
Step 6: Clean and Condition Seats
If you have fabric seats, vacuum them thoroughly, then treat spots with an upholstery cleaner. Use a soft brush to work the cleaner into stains, then blot with a dry towel. Don't over-wet the fabric, since dampness can lead to mildew.
If you have leather, use a pH-balanced leather cleaner and a soft cloth. Wipe in small circles, then allow it to dry slightly. Follow with a leather conditioner to restore moisture and prevent cracking. Test any product on an inconspicuous area first.
What success looks like: Seats are clean of visible spots and odorless. Leather is soft, matte, and not sticky.
💡 Tips:
- •Use a steamer on fabric seats to loosen set-in stains
- •Apply conditioner with a foam applicator for even coverage
⚠️ Warnings:
- •Never use bleach or automotive degreaser on leather
- •Avoid soaking fabric seats; spray cleaner on a cloth instead
Step 7: Deep-Clean Carpets and Upholstery
For a truly fresh interior, deep-shampoo the carpets and upholstery. A portable carpet cleaner, also called an extractor, sprays a cleaning solution and extracts it with suction. Work in small sections, from the top of the seat to the bottom and from the back of the car to the front. Rinse with clean water in the extractor to remove soap residue.
If you don't own a carpet extractor, you can rent one from a grocery store or use a carpet cleaner spray and a wet-dry vacuum. Before you start, test for colorfastness in a hidden spot.
What success looks like: The extractor water runs clearer as you go, carpets feel fresh, and there are no visible soap streaks.
💡 Tips:
- •Use a fan or leave windows open to speed up drying
- •Apply a stain remover before extracting for pet accidents or heavy stains
⚠️ Warnings:
- •Don't saturate upholstery; excessive moisture can take days to dry and may lead to mold
- •Never use a regular household vacuum on wet carpets
Step 8: Clean Interior Glass and Mirrors
Use an automotive glass cleaner and a clean, lint-free microfiber towel. Spray a small amount onto the towel or onto the glass, but never onto the dash. Wipe the windshield, side windows, and rear window, then buff off any streaks. Wipe in different directions on each side so you can tell which side has a streak.
For mirrors, use a lighter misting. Roll the windows down slightly to access the top edge.
What success looks like: Glass is crystal clear with no hazy film or streaks, even when viewed in sunlight.
💡 Tips:
- •Use a dedicated glass towel that is never used on dirty surfaces
- •For stubborn water spots, use a glass cleaner with a polishing action
⚠️ Warnings:
- •Avoid spraying glass cleaner onto the headliner or dashboard where it can leave light spots
Step 9: Deodorize and Freshen the Cabin
Now that surfaces are clean, take care of odors. Don't just cover them with air freshener; remove the source. Vacuum any remaining debris, check under seats for food residue, and shampoo mats if they still smell. Use an odor eliminator spray or a small odor absorber.
Baking soda left in a cup or sprinkled on carpets overnight can neutralize smells. After removing the baking soda, you can add a mild car freshener if you like.
What success looks like: The car smells clean and neutral, with no lingering mustiness.
💡 Tips:
- •Use fabric refreshers lightly; heavy scents can be overwhelming in a small cabin
- •Replace your cabin air filter if you notice a moldy smell when the A/C runs
⚠️ Warnings:
- •Do not use aerosol sprays directly on electronics or leather
- •Test any odor spray on a hidden spot first
Step 10: Apply Protectant and Final Inspect
Finish by applying a UV protectant to vinyl, plastic, and rubber trim to help prevent fading and cracking. Spray onto a towel or applicator pad and wipe evenly. For a natural look, choose a matte-finish protectant rather than a high-gloss one.
Wipe down door jambs, kick plates, and the trunk area. Do a final walk-around with a light to spot missed crumbs, fingerprints, or streaks. Check under the seats and in cup holders one last time.
What success looks like: The interior looks refreshed, the finish is even, and surfaces are protected from sun damage.
💡 Tips:
- •Let the protectant cure with doors open for a few minutes before closing
- •Use a small brush to apply protectant in tight corners
⚠️ Warnings:
- •Keep protectant off the steering wheel and pedals until it dries so it doesn't become slippery
- •Don't apply protectant to fabric or leather unless the product is labeled for it
▸Pro Tips
- •Always work from top to bottom so falling dust doesn't redirty clean lower areas.
- •Use at least two microfiber towels: one for applying cleaner and one for buffing.
- •Use a detailing brush and compressed air to clear vents and seams before vacuuming.
- •Protect electronics and touchscreens by spraying cleaner onto a towel, not the panel.
- •Add a drop of mild dish soap to the water used for mats to cut grease without harming rubber.
- •After cleaning leather, use conditioner sparingly; too much can attract dust.
- •For a streak-free glass finish, buff with a clean, dry microfiber towel after cleaning.
- •Leave windows slightly open during drying to reduce moisture and prevent mildew.
- •If you don't have a carpet extractor, a steam cleaner can also refresh fabric interiors.
▸Common Mistakes to Avoid
- •Using too much water on carpets or seats, leading to mildew. Mistake: over-saturating with cleaner or water. Avoid by using minimal moisture and drying thoroughly with a fan or open windows.
- •Using household cleaners like bleach or ammonia-based glass cleaners on plastic and leather. They can cause discoloration and cracking. Use pH-balanced automotive products instead.
- •Spraying cleaner directly onto electronics or the windshield, causing overspray streaks or electrical issues. Spray onto a cloth and wipe.
- •Forgetting to clean floor mats until after vacuuming, or putting them back wet. Clean them first and ensure they are completely dry.
- •Using one dirty rag for the whole car, spreading grime instead of removing it. Use clean microfiber towels and replace them as they soil.
▸Troubleshooting
Problem: Carpet stain won't come out.
Solution: Mix a small amount of dish soap with warm water and blot with a microfiber cloth. If that doesn't work, try a dedicated carpet stain remover or enzyme cleaner. For deep-set stains, use a portable extractor or consider professional detailing.
Problem: Windows are streaky after cleaning.
Solution: Clean them in the shade after the glass cools, using two towels: one to apply and one to buff. Wipe in one direction on one side and a different direction on the other to identify streaks. Try an automotive glass cleaner or a vinegar-water mix.
Problem: Leather seats feel sticky or look dull.
Solution: You may have used too much protectant or conditioner. Wipe with a slightly damp microfiber cloth, then buff with a dry towel. Use a small amount of leather conditioner next time and test on an inconspicuous spot.
Problem: Strong chemical or mildew smell after cleaning.
Solution: Make sure everything is completely dry. Use a fan or leave windows open overnight. Clean any moldy areas with a vinegar-water solution (test first). If the smell persists, replace the cabin air filter and have your HVAC system checked.
Problem: Cleaner leaves white residue on plastic.
Solution: You might be using a product with too much gloss or not buffing enough. Gently wipe with a damp microfiber cloth and then buff dry. Choose a matte-finish protectant for a natural look.
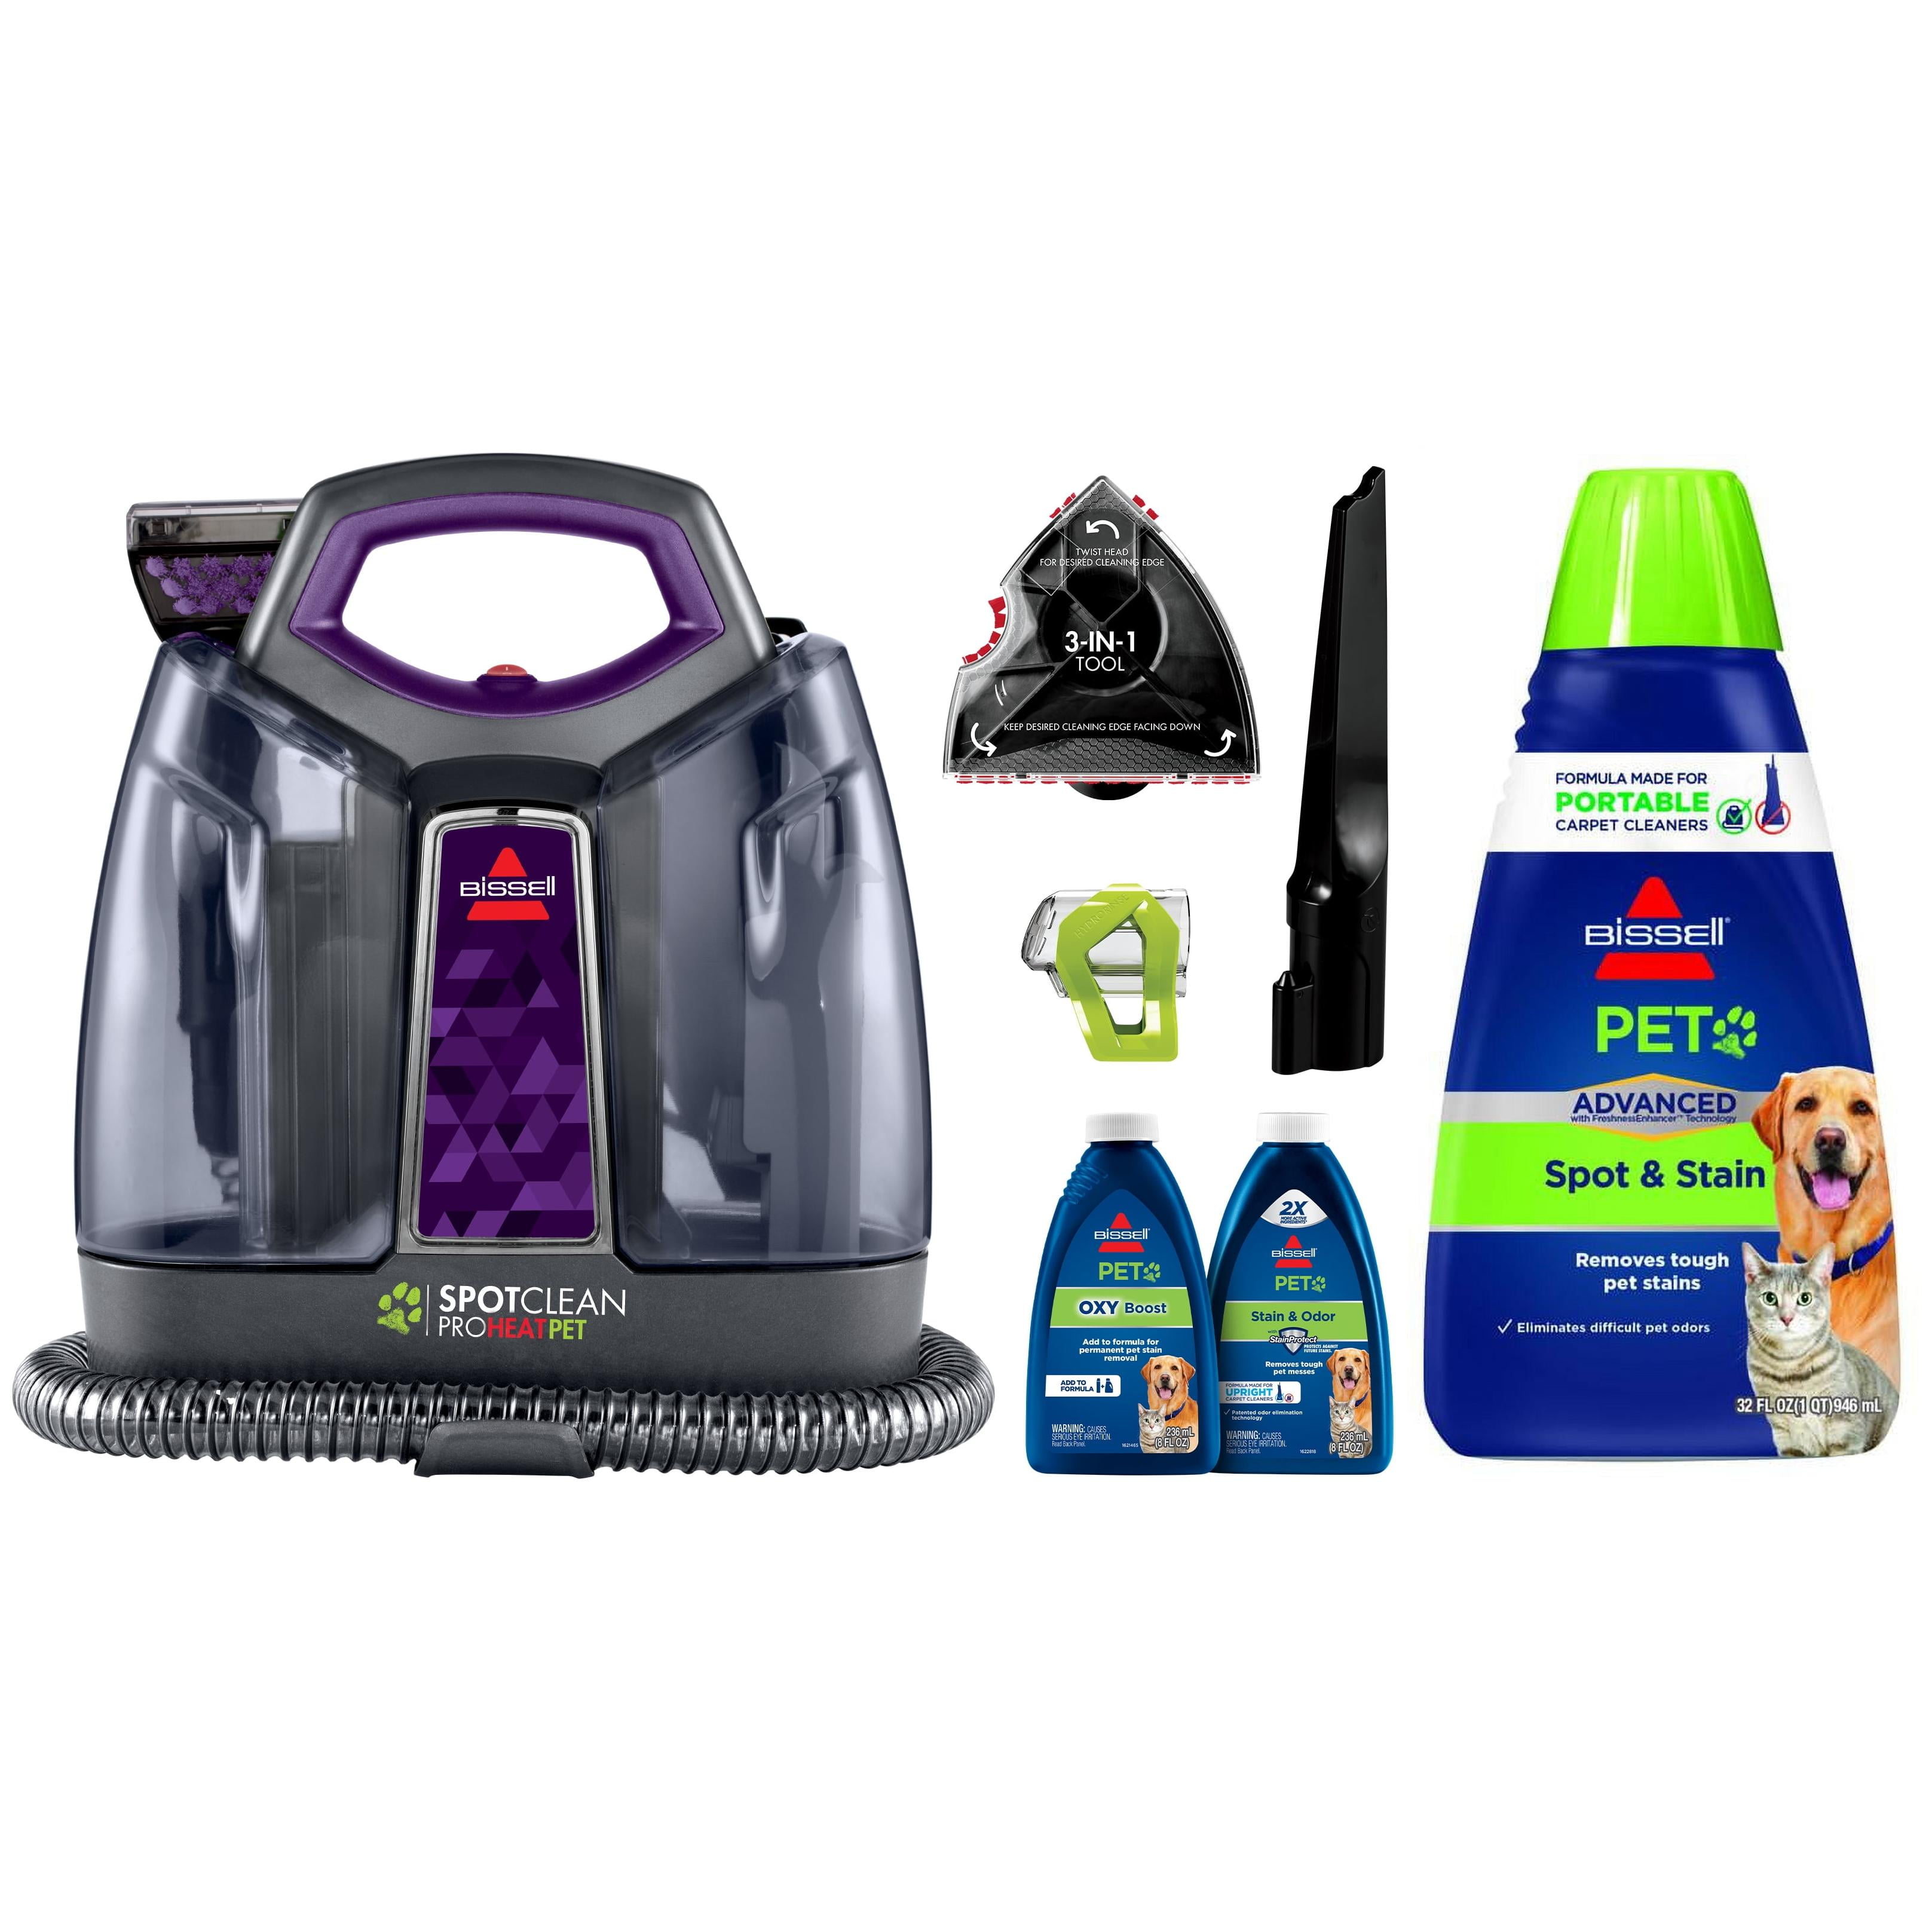
Bissell SpotClean ProHeat Portable Carpet Cleaner
Powerful portable extractor that lifts ground-in dirt and stains from carpets and fabric seats, giving you professional-style deep cleaning at home.
Best for: Use when carpets and upholstery need more than vacuuming, especially after spills, pet accidents, or heavy soiling.
Price Range: $100–$160
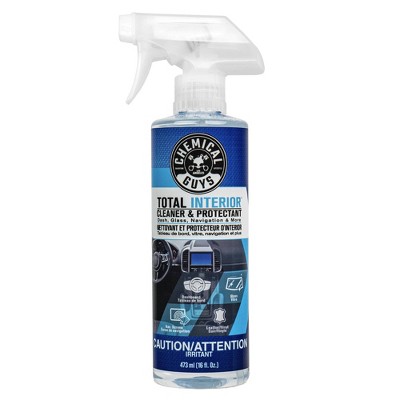
Chemical Guys Total Interior Cleaner and Protectant
pH-balanced, all-in-one cleaner safe for dashboards, vinyl, plastic, and trim. It removes dust and grime while leaving a streak-free, matte finish with UV protection.
Best for: Everyday interior hard-surface cleaning on dash, console, doors, and trim.
Price Range: $20–$30
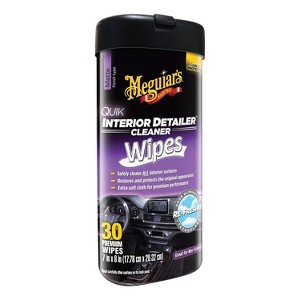
Meguiar's Quik Interior Detailer Wipes
Convenient pre-moistened wipes that handle quick touch-ups without a spray bottle, perfect for keeping your interior looking fresh between deep cleans.
Best for: Fast wipe-downs of dash, steering wheel, door panels, and center console.
Price Range: $7–$12
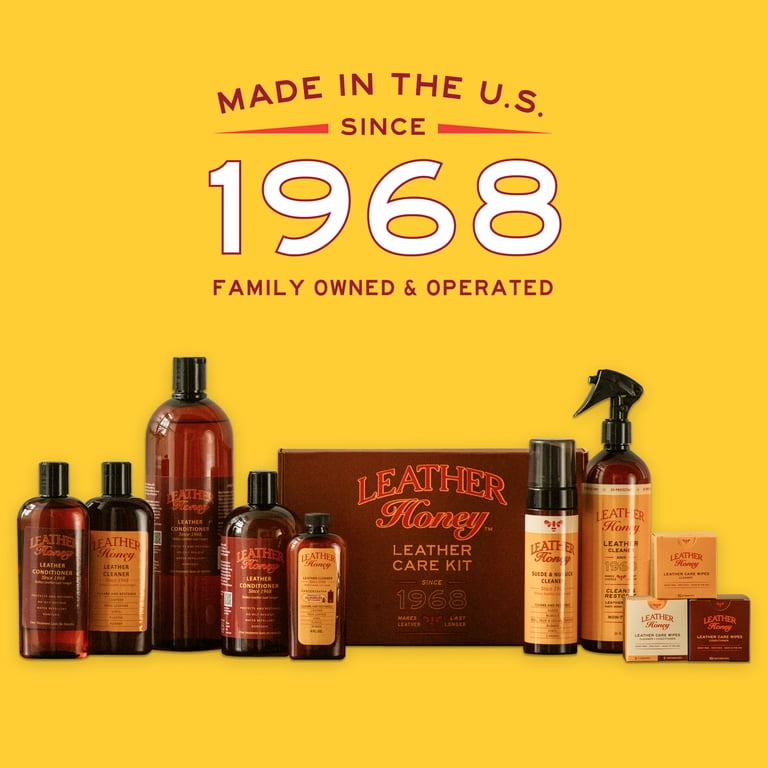
Leather Honey Leather Cleaner and Conditioner
A well-known pH-balanced cleaner and conditioner duo that restores moisture and protects leather from cracking, keeping seats soft and supple.
Best for: Cleaning and conditioning leather seats, door inserts, and trim every few months.
Price Range: $25–$35
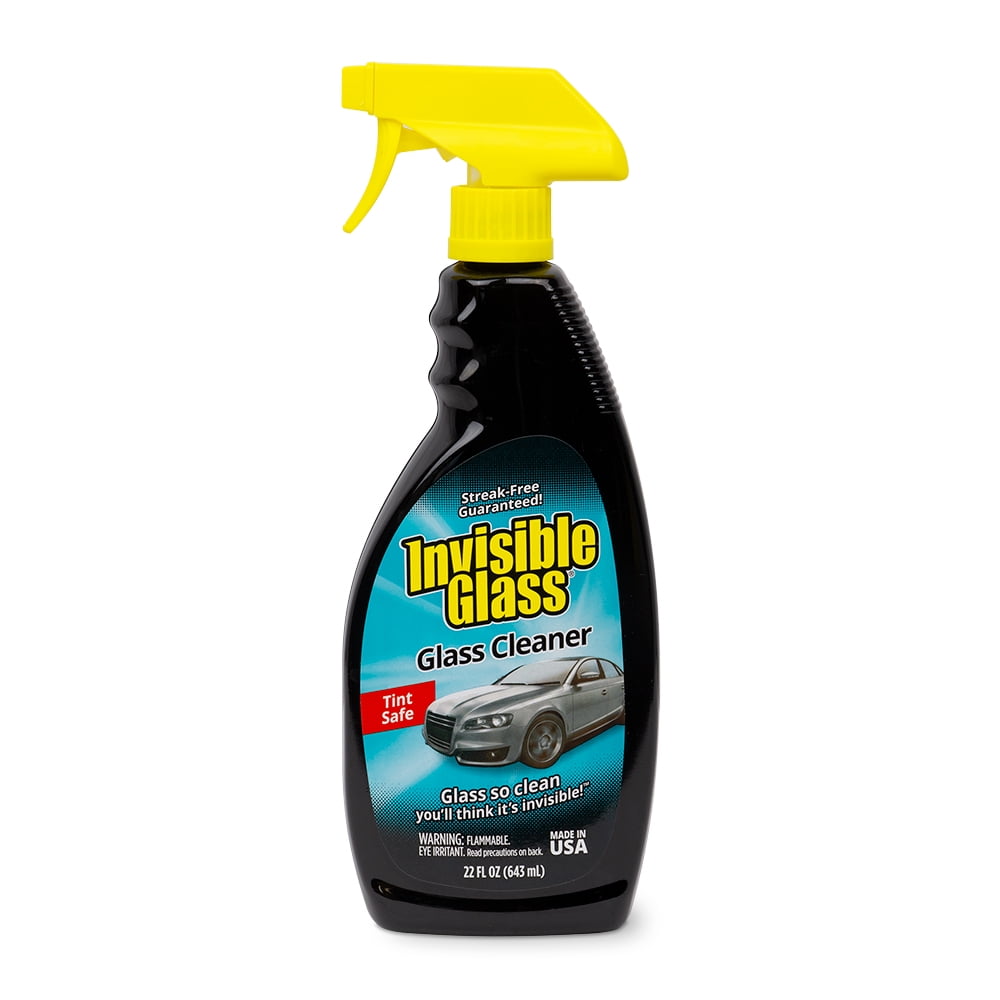
Invisible Glass Premium Glass Cleaner
Automotive-grade formula that cuts through film and grime without leaving the streaks or ammonia residue common in household glass cleaners.
Best for: Cleaning inside and outside of windshields, side windows, and mirrors.
Price Range: $8–$15