
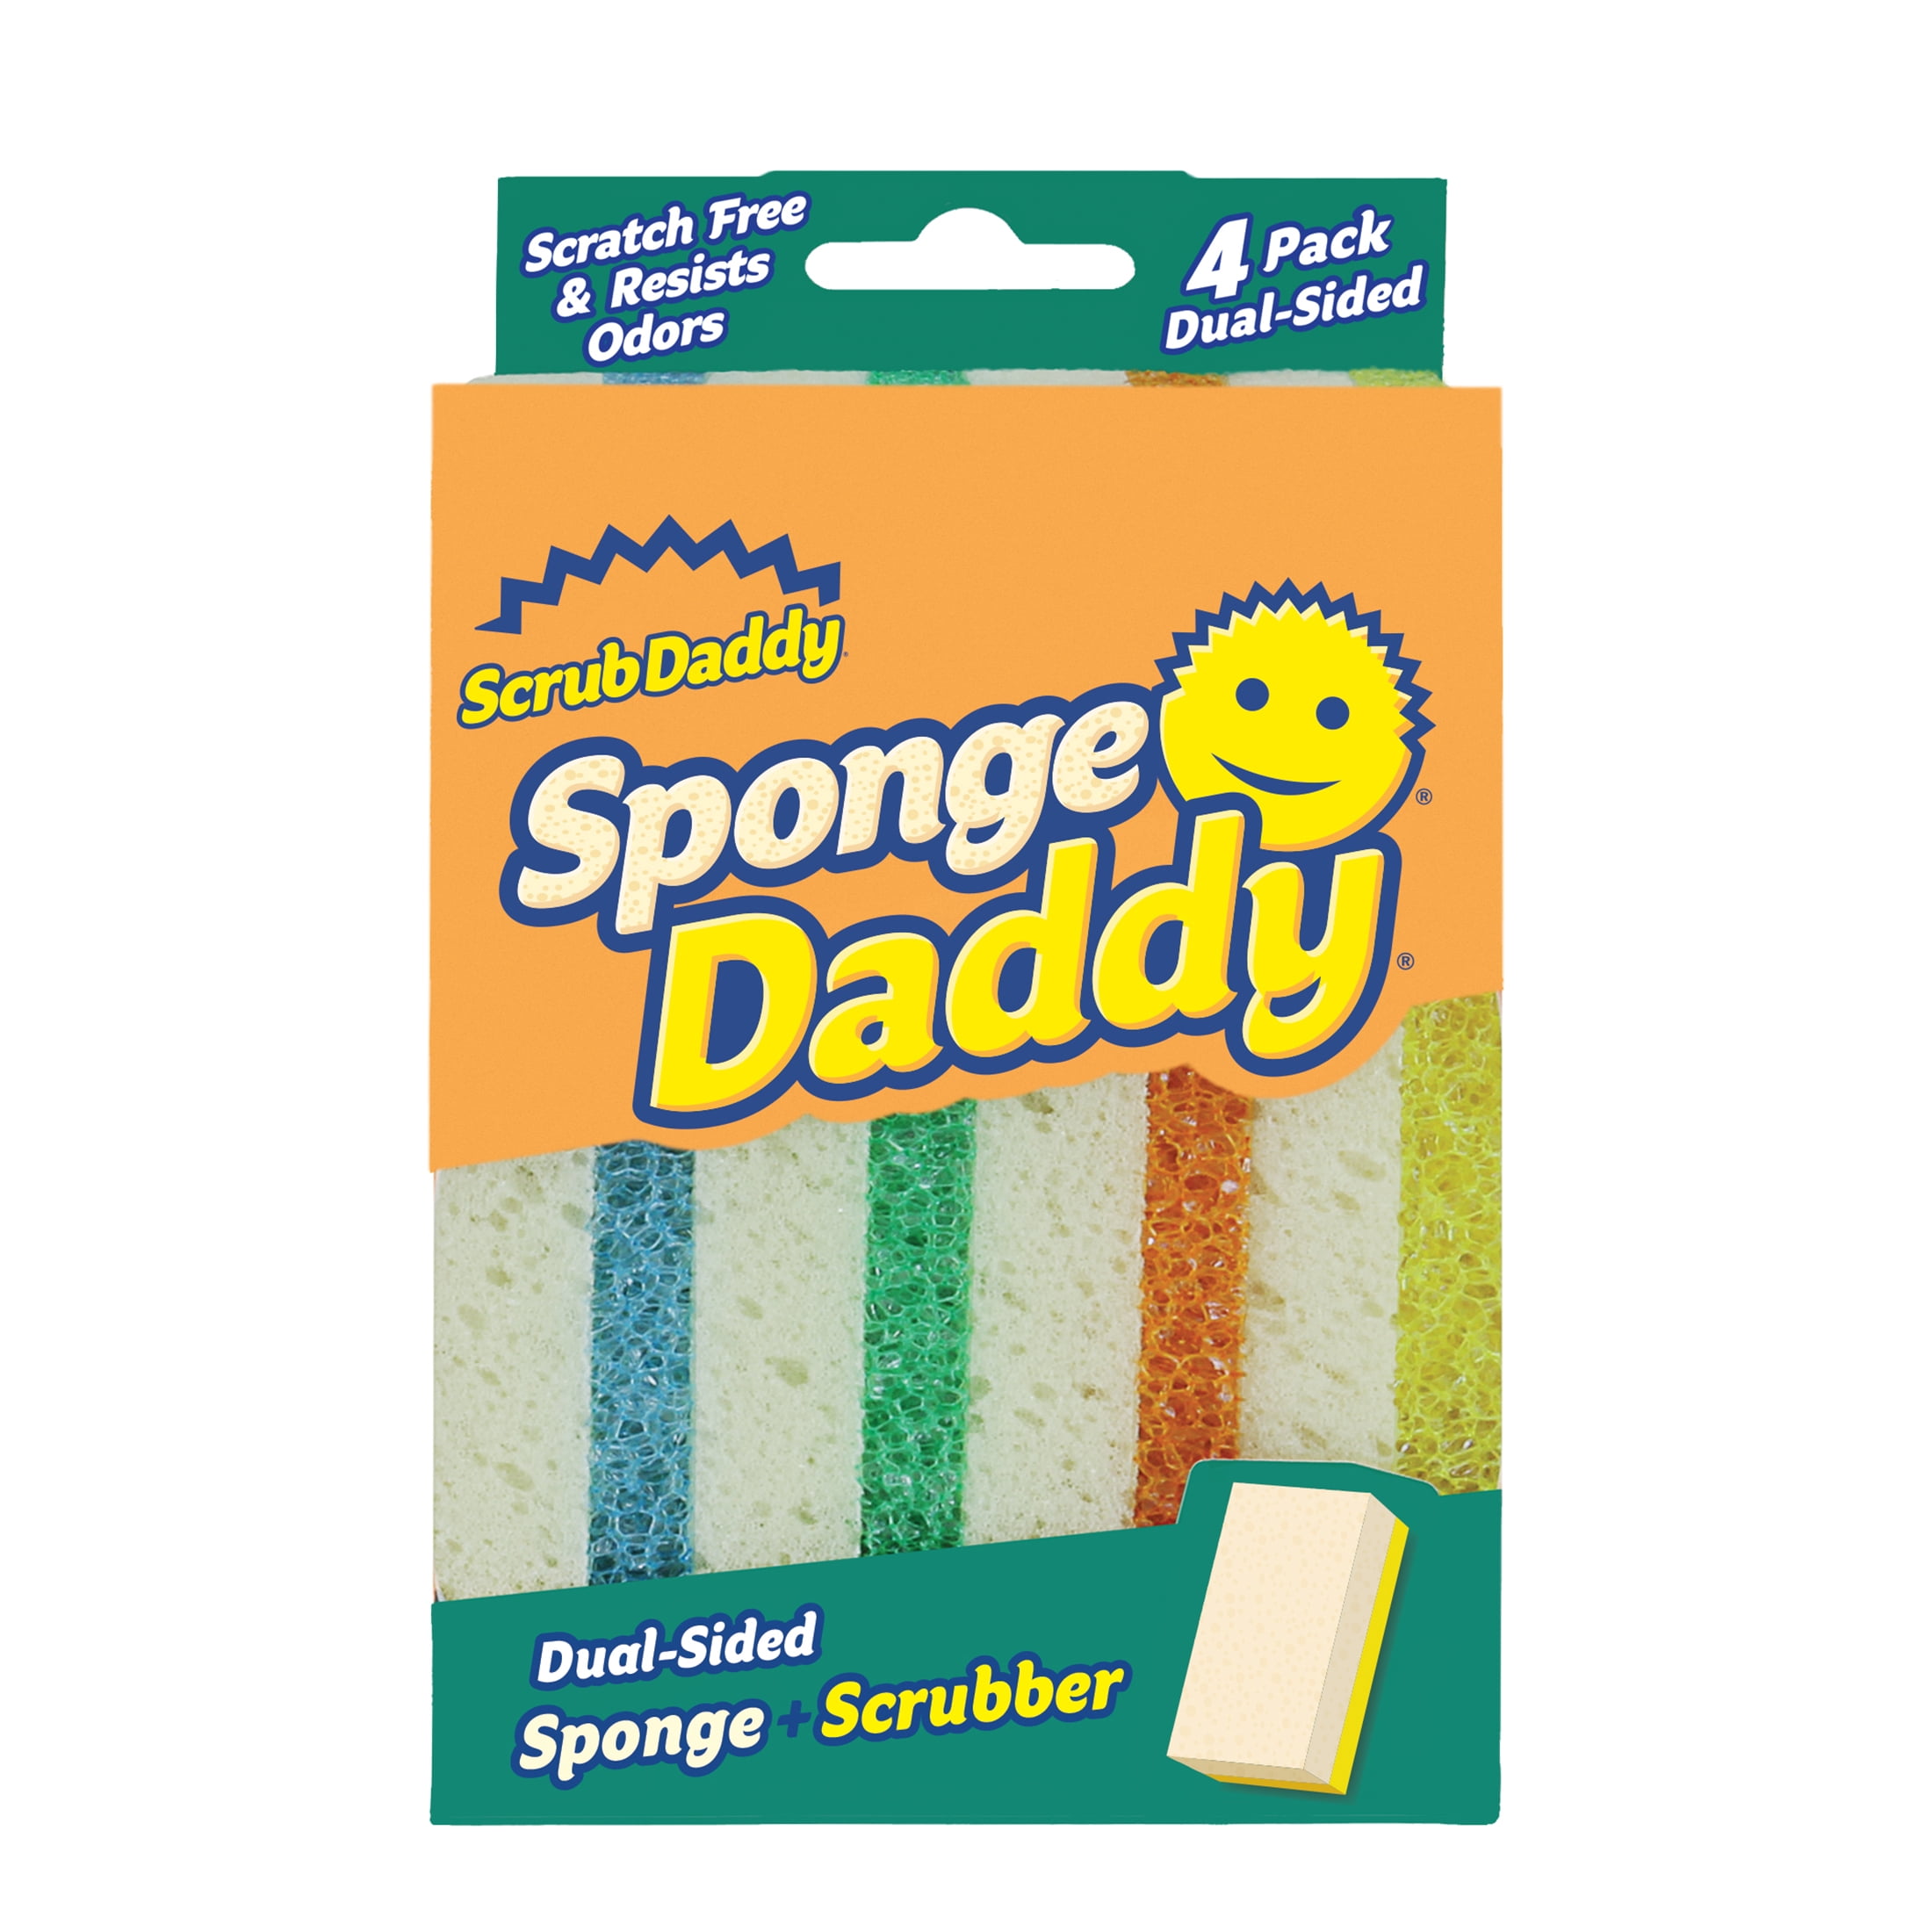
Scrub Daddy Non-Scratch Sponge
Use for wiping off baking soda paste and scrubbing stubborn spots without damage.
$4-$8
Scrub Daddy Non-Scratch Sponge Safe for oven enamel and glass, doesn't scratch, and is durable for this job.
Get the App
Better experience on mobile
Learn to clean your oven naturally using baking soda and vinegar—no harsh fumes required.
Cleaning the oven is often dreaded because of the strong chemical fumes and scrubbing involved. But you don't need harsh cleaners to get a sparkling oven. Using common kitchen ingredients like baking soda and vinegar, you can break down grease and grime safely and effectively. This method is non-toxic, inexpensive, and works on all types of ovens. In this guide, you'll learn a simple step-by-step process that requires minimal active scrubbing—just a little patience as the baking soda works overnight. By the end, your oven will look like new, without any chemical residue.
Estimated Time: About 30 minutes active work, plus 12+ hours for the paste to sit (overnight is best). Difficulty: beginner
Start by taking out all oven racks and any other removable items like the oven thermometer. Place the racks aside to clean separately (see step 8). Use a dry cloth or a vacuum with a brush attachment to remove loose crumbs, ash, and food particles from the bottom of the oven. This prevents them from turning into a paste that's harder to clean later.
If your oven has a self-cleaning cycle, run it beforehand only if you're comfortable with the heat and smell—this step is optional. For a truly chemical-free clean, skip the self-clean and proceed with the baking soda method.
💡 Tips:
⚠️ Warnings:
In a small bowl, mix about 1/2 cup of baking soda with 2-3 tablespoons of water. Stir until it forms a thick, spreadable paste. The consistency should be similar to frosting or peanut butter—not too runny. If it’s too thin, add more baking soda; too thick, add water a teaspoon at a time.
For extra cleaning power, you can add a few drops of dish soap or lemon juice, but plain baking soda works well. This paste is mildly abrasive and alkaline, which helps break down grease and burnt-on food without scratching.
💡 Tips:
Wearing gloves, dip your spatula or a clean cloth into the paste and spread it over the interior surfaces of the oven. Focus on the bottom, sides, back, and the door (avoid the glass if you don’t want to clean it separately). Coat any areas with visible grease or burnt-on food generously. You don’t need a thick layer everywhere—just enough to cover the grime.
Be careful not to get paste on the heating elements (the coils at the top and bottom of the oven) or the oven light bulb. The paste can harden and become difficult to remove from these areas. If you accidentally apply, wipe it off immediately with a damp cloth.
Close the oven door and let the paste sit for at least 12 hours or overnight. The longer it sits, the easier the dirt will wipe away.
💡 Tips:
⚠️ Warnings:
Allow the baking soda paste to work overnight (or at least 12 hours). During this time, the alkaline paste reacts with the acidic grease and carbonized food, softening them so they can be wiped away easily. You may see the paste dry and crack—that’s normal. It means it’s working.
If the paste feels hard when you come back, don’t worry. The next steps will rehydrate it.
💡 Tips:
⚠️ Warnings:
After the waiting period, open the oven and inspect the paste. It should look dry and cracked. Dampen a microfiber cloth or a non-scratch sponge with water and begin wiping the paste off. Work in sections, rinsing your cloth frequently. The paste will turn into a mud-like consistency as it mixes with water. This is normal.
For stubborn spots, use a plastic scraper or an old credit card to gently lift the softened grime. Do not scrub aggressively—let the baking soda do the work. Repeat wiping until most of the paste is removed.
💡 Tips:
⚠️ Warnings:
Fill a spray bottle with white vinegar. Lightly spray the entire interior of the oven where the baking soda paste was applied. You’ll see a fizzing reaction—this is the acidic vinegar neutralizing the alkaline baking soda, which lifts any remaining residue. Let the vinegar sit for 2-3 minutes.
Then, wipe again with a clean damp cloth to remove the last traces of baking soda and vinegar. The fizzing also helps dislodge any stubborn bits that didn't come off in the first pass. Continue wiping until the cloth comes away clean.
💡 Tips:
⚠️ Warnings:
Using a dry microfiber cloth, wipe the entire oven interior to remove any moisture. Pay special attention to the door seal and hinges where water can pool. Allow the oven to air dry for 30 minutes with the door open.
Once dry, inspect the oven. If you see any remaining white streaks or greasy spots, repeat steps 5-7 on those areas. In most cases, the oven will be clean and shiny. If there are burnt-on patches that didn't come off, apply a fresh dab of baking soda paste directly on them and let it sit for a few more hours before wiping again.
💡 Tips:
⚠️ Warnings:
While the oven dries, clean the racks you removed in step 1. The easiest method is to soak them in a bathtub or large sink with hot water, dish soap, and a cup of baking soda. Let them soak for at least 1 hour, then scrub with a non-abrasive sponge. For tough grime, make a paste of baking soda and vinegar and apply it to the racks before soaking.
Rinse thoroughly and dry with a towel before sliding them back into the oven. If the racks are too large for your tub, you can clean them in the driveway using a hose and a scrub brush.
💡 Tips:
⚠️ Warnings:
Problem: The paste has dried into a hard cake and won't wipe off easily.
Solution: Spray the paste generously with a mixture of equal parts vinegar and water, let it sit for 10-15 minutes to soften, then wipe again.
Problem: There are still burnt-on spots after the first treatment.
Solution: Make a stronger paste (add less water) and apply it directly to the spots. Let sit for a few hours, then scrub gently with a plastic scraper.
Problem: The oven smells like vinegar after cleaning.
Solution: Wipe down the interior with a damp cloth and water, then leave the door open for an hour. The smell will dissipate. You can also place a bowl of baking soda inside overnight to absorb odors.
Problem: White residue remains on the glass door.
Solution: Spray vinegar on the residue and wipe with a clean microfiber cloth. If still present, make a baking soda paste specific to the glass and scrub gently.
Safe for oven enamel and glass, doesn't scratch, and is durable for this job.
Best for: Use for wiping off baking soda paste and scrubbing stubborn spots without damage.
Price Range: $4-$8
High-quality spray bottle designed for vinegar and household cleaners; won't leak or clog.
Best for: Fill with white vinegar for the neutralizing step; also useful for general kitchen cleaning.
Price Range: $5-$10
Effective on stubborn stains without harsh chemicals; works well on oven glass and walls.
Best for: For extra cleaning power on baked-on spills after baking soda treatment.
Price Range: $5-$15
Lint-free, absorbent, and gentle; ideal for final wipe-down to avoid streaks.
Best for: Use for damp wiping and drying the oven interior and racks.
Price Range: $6-$12
Safely loosens burnt-on food without scratching enamel or glass.
Best for: Use to gently scrape off softened grime after the paste sits.
Price Range: $5-$10
Use for wiping off baking soda paste and scrubbing stubborn spots without damage.
Scrub Daddy Non-Scratch Sponge Safe for oven enamel and glass, doesn't scratch, and is durable for this job.
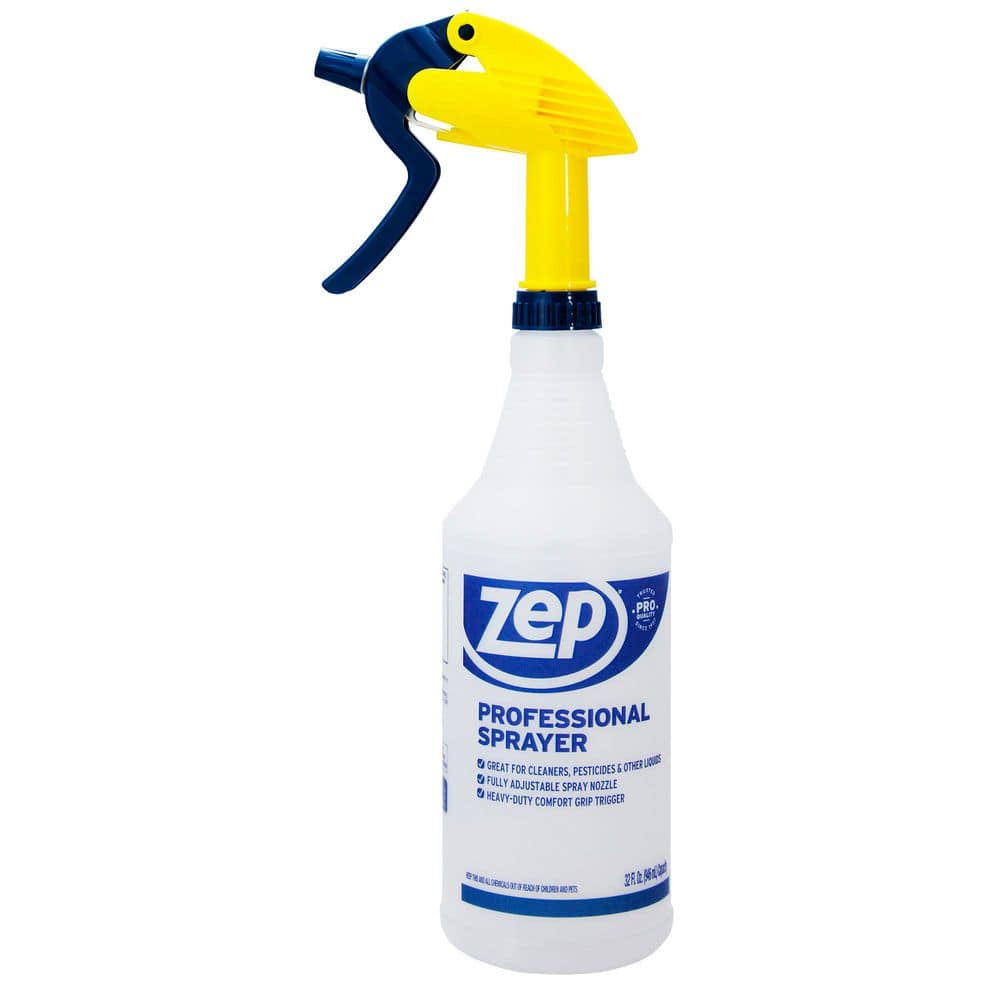
Fill with white vinegar for the neutralizing step; also useful for general kitchen cleaning.
Zep Spray Bottle High-quality spray bottle designed for vinegar and household cleaners; won't leak or clog.
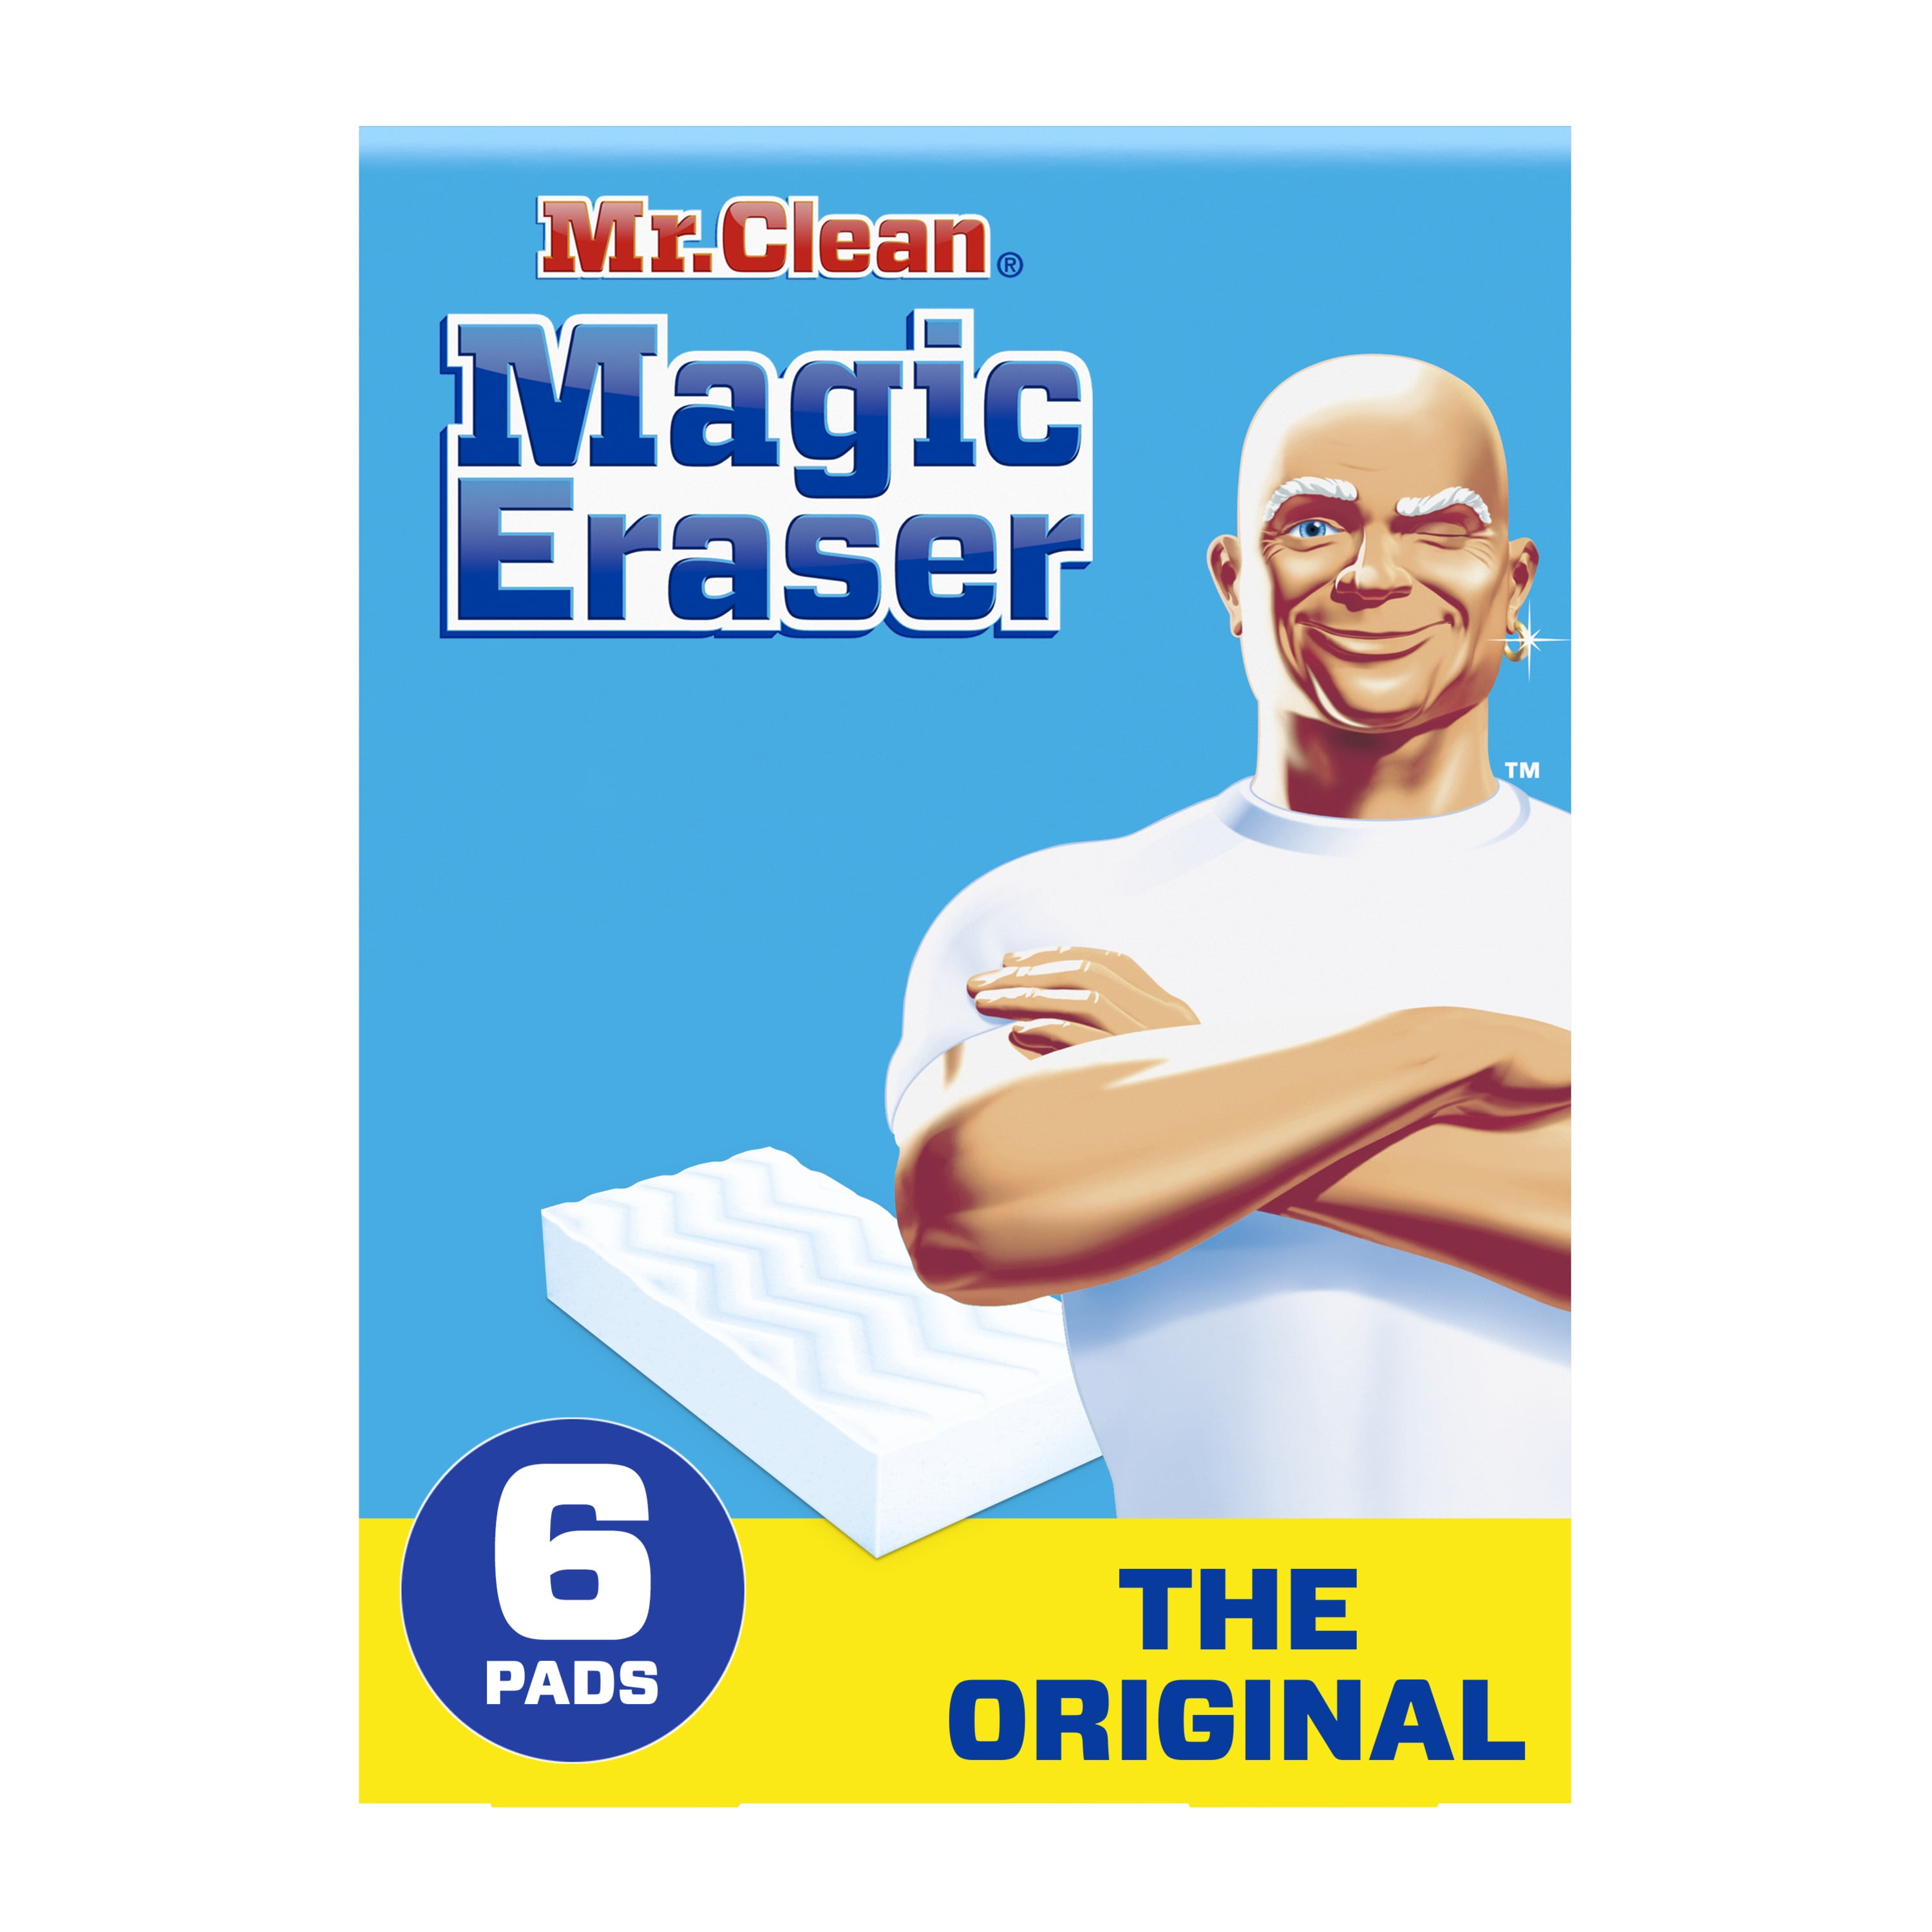
For extra cleaning power on baked-on spills after baking soda treatment.
Mr. Clean Magic Eraser (Original) Effective on stubborn stains without harsh chemicals; works well on oven glass and walls.
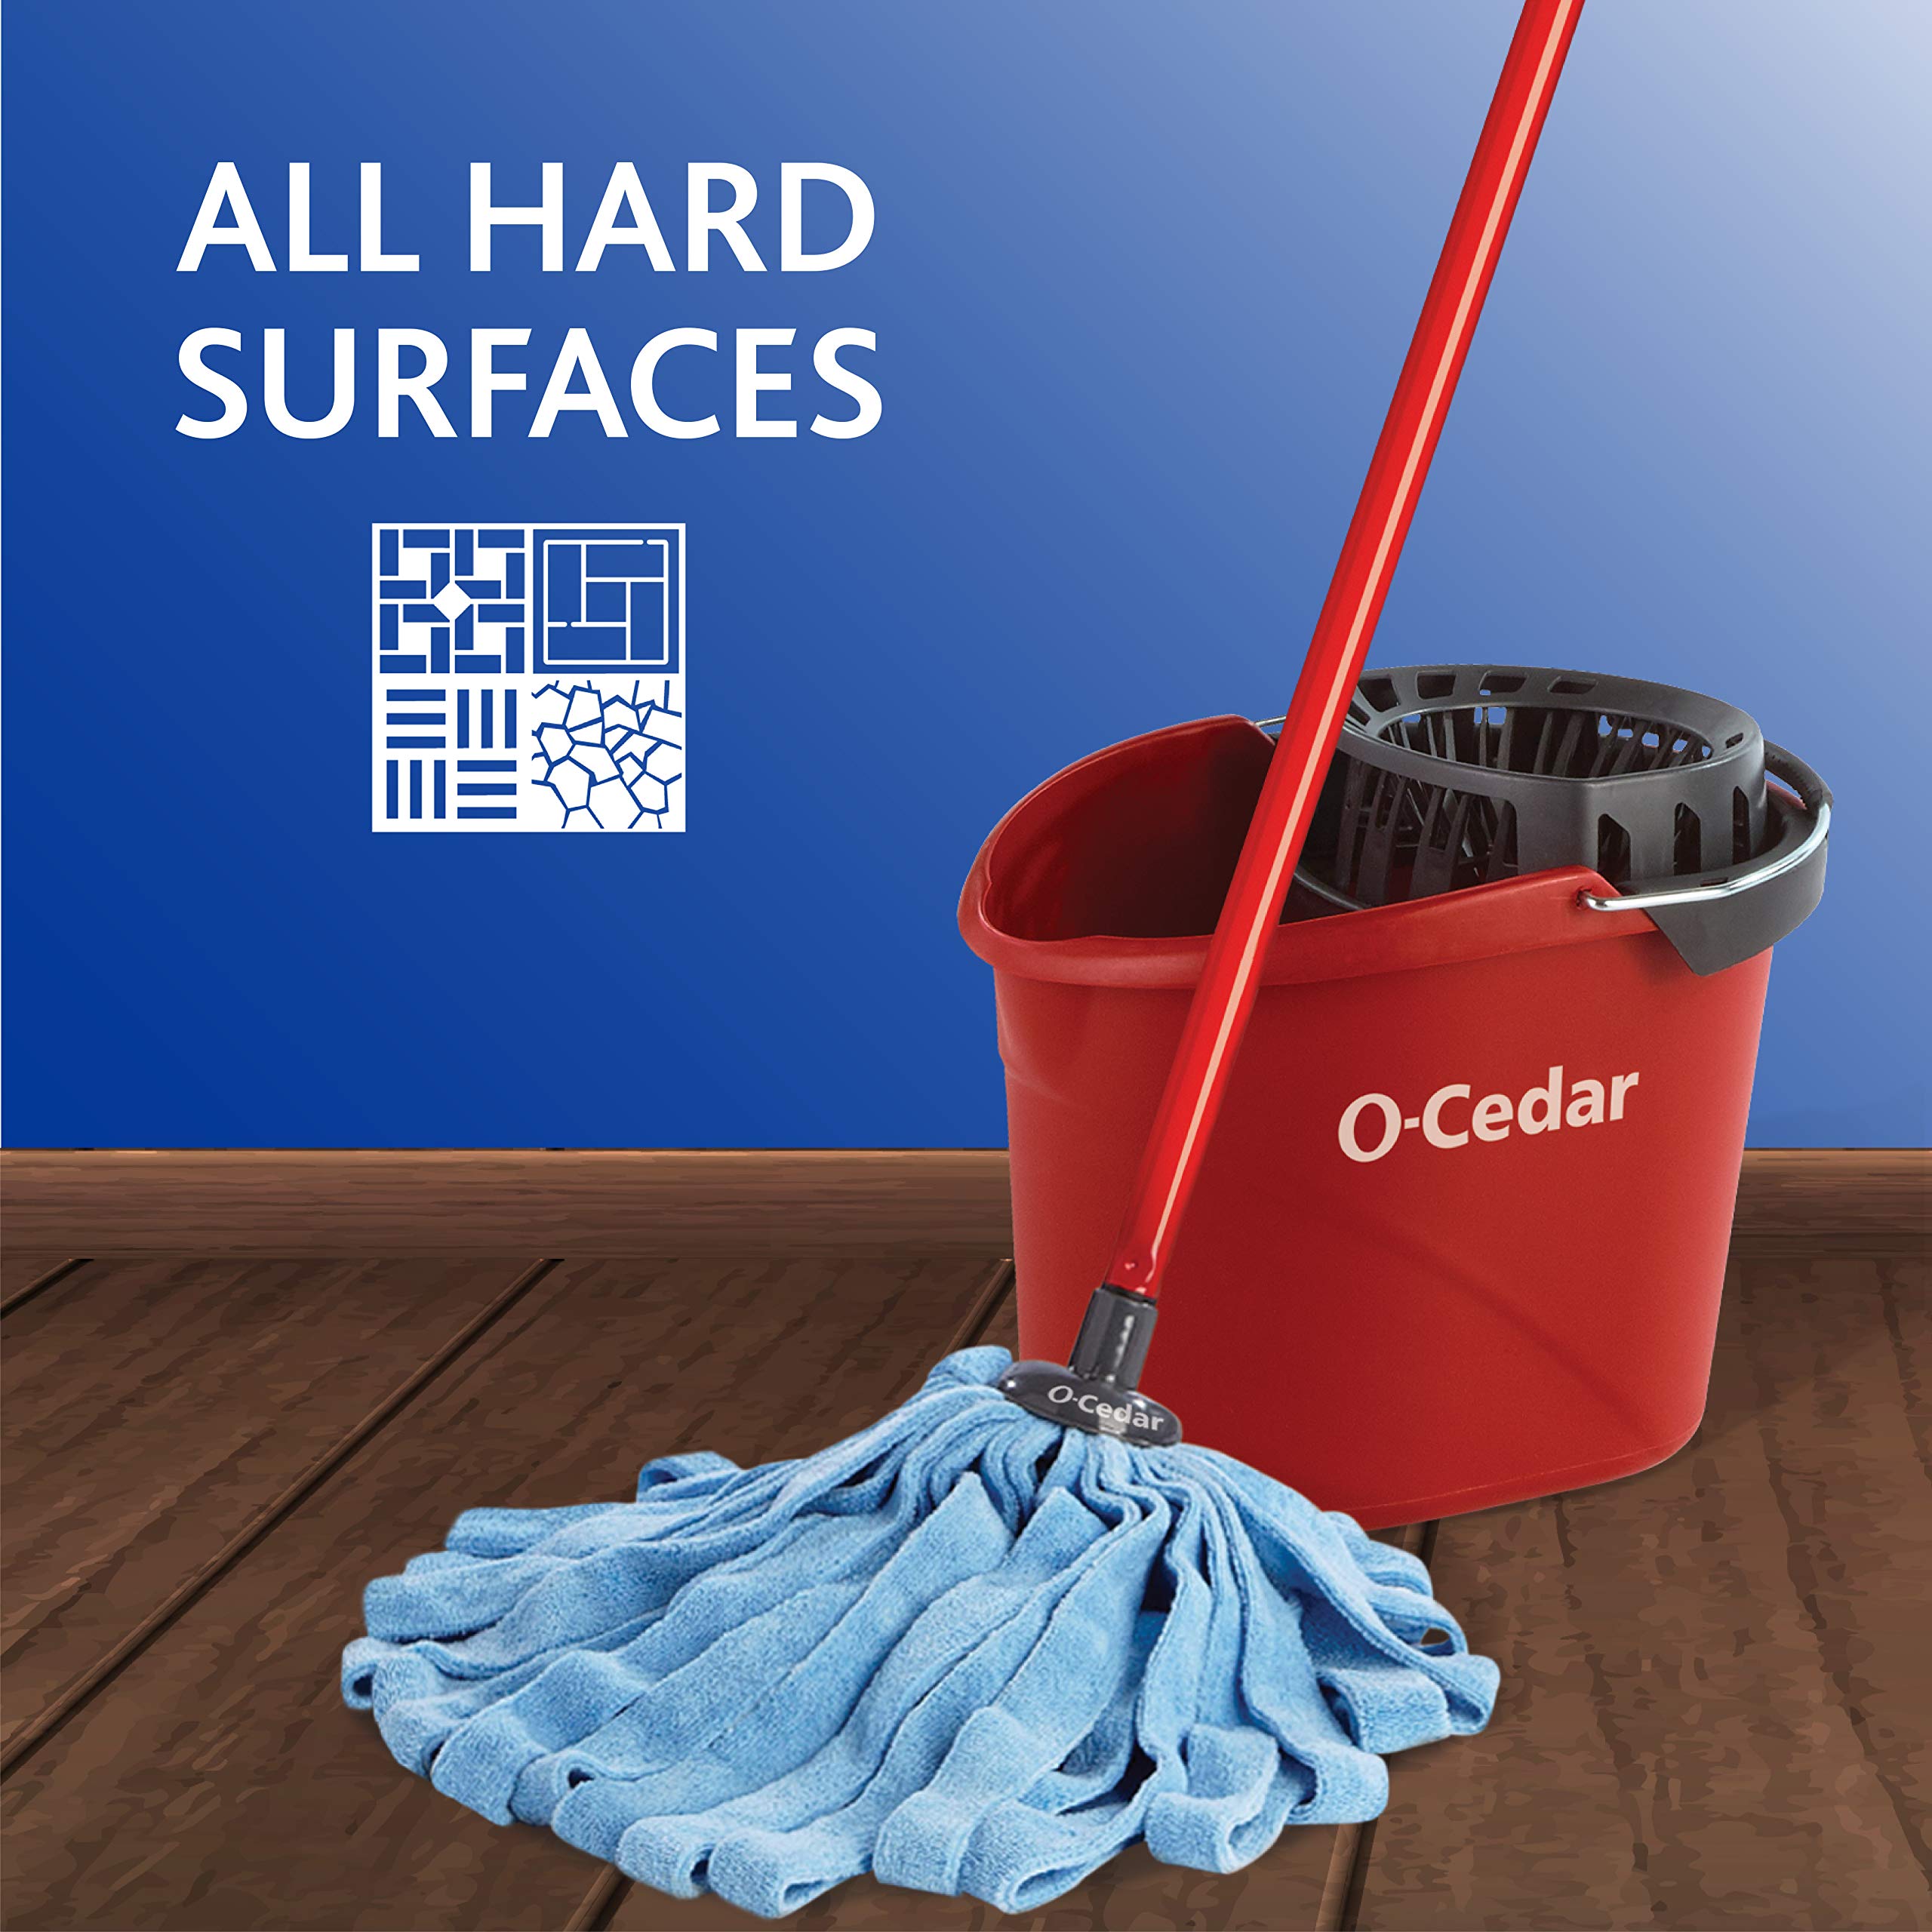
Use for damp wiping and drying the oven interior and racks.
O-Cedar Microfiber Cleaning Cloths Lint-free, absorbent, and gentle; ideal for final wipe-down to avoid streaks.
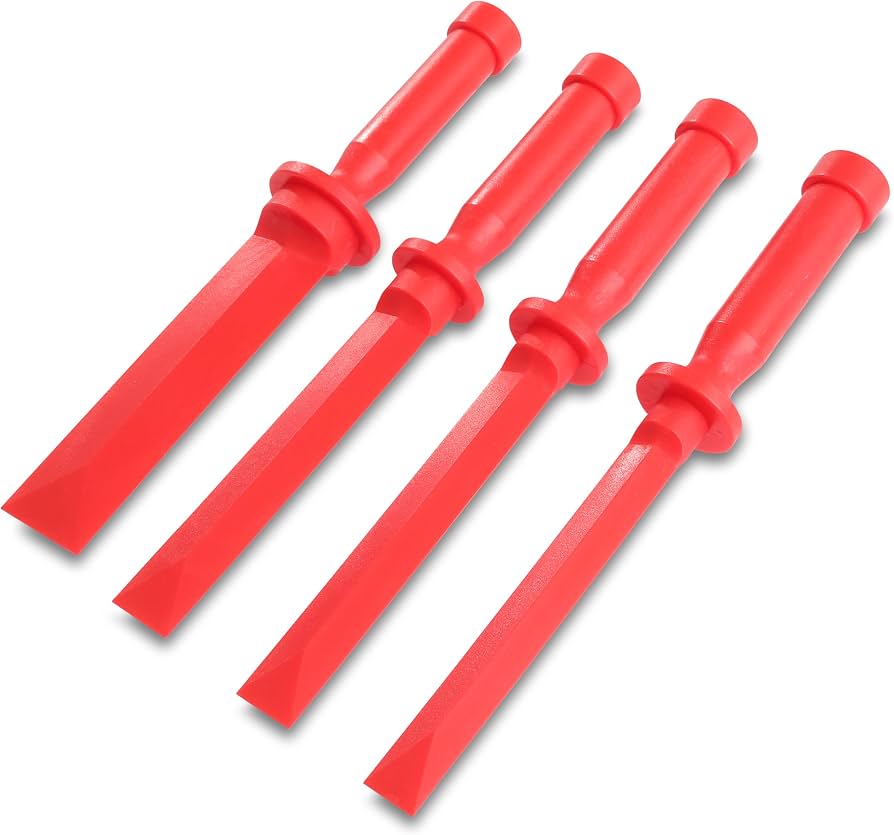
Use to gently scrape off softened grime after the paste sits.
Plastic Scraper Set (Non-Scratch) Safely loosens burnt-on food without scratching enamel or glass.