
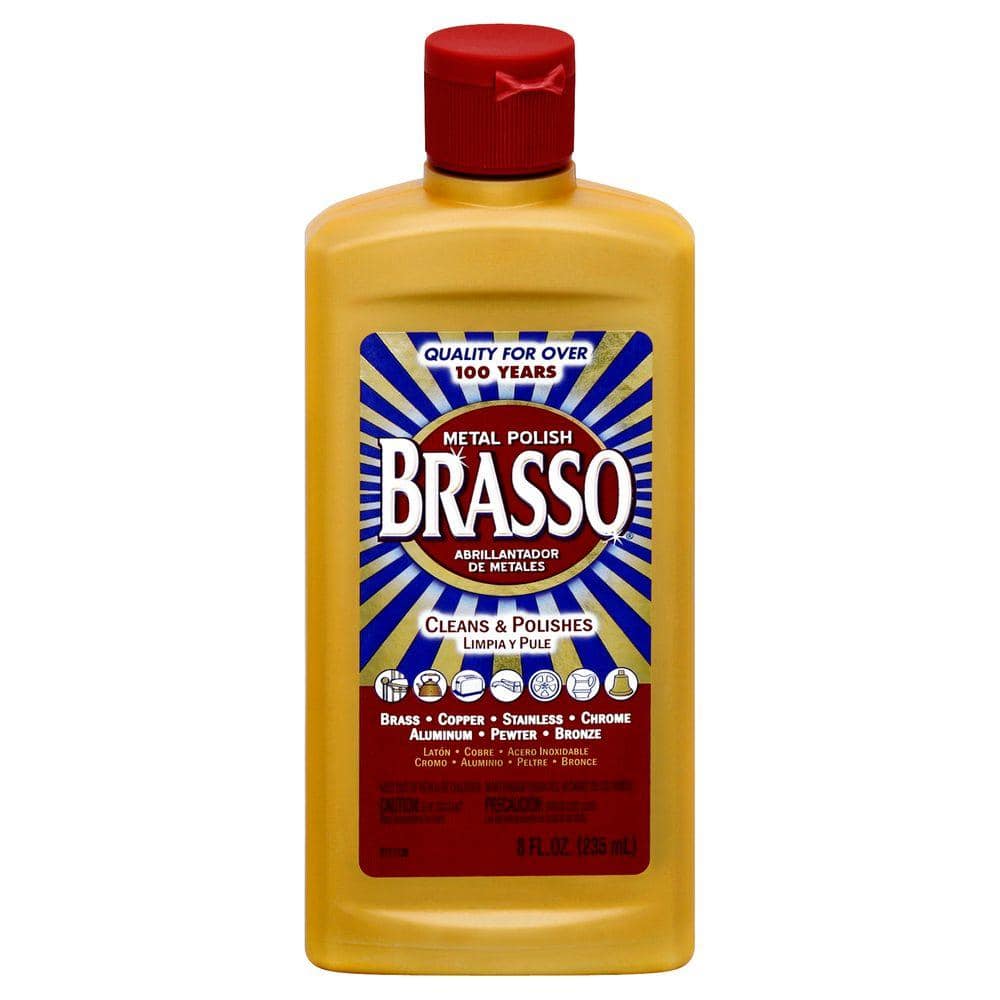
Brasso Metal Polish
Use on bare brass when natural methods aren't enough.
$5–$12
Brasso Metal Polish A trusted brass cleaner effective on moderate tarnish without being excessively harsh.
Get the App
Better experience on mobile
Learn gentle, effective methods to restore your antique brass lamp's shine without damaging its patina or value.
Antique brass lamps add timeless elegance to any room, but over time they can tarnish and lose their luster. Cleaning them incorrectly—using harsh abrasives or acidic cleaners—can destroy the prized patina that gives them character and value. This guide will walk you through safe, step-by-step techniques to clean your antique brass lamp, from initial dusting to final polishing. Whether you want a bright, shiny finish or prefer to keep some dark patina, you'll learn how to achieve the look you desire without harming the lamp. Expect to spend about 30 to 60 minutes, depending on the size and condition of your lamp. This is an intermediate-level task because it requires careful judgment and a gentle touch.
Estimated Time: 30–60 minutes Difficulty: intermediate
Before you begin, examine your lamp closely. Determine if it has an original lacquered coating (a clear protective layer) or if it is bare brass. Lacquered surfaces should not be polished with abrasives. Also note the extent of tarnish and the desired final look: do you want a mirror shine or a more antique, dark patina? This assessment guides your cleaning method. If the lamp is lacquered and the coating is intact, you only need to dust and wipe with a damp cloth. If the lacquer is peeling, you may choose to remove it completely (see warnings).
💡 Tips:
⚠️ Warnings:
Unplug the lamp and remove the lampshade, light bulb, and any removable parts like the finial or harp. Use a soft, dry microfiber cloth to gently dust the entire brass surface, including crevices. For hard-to-reach areas, use a soft-bristled brush. This prevents dirt from becoming abrasive during later cleaning steps. Place all small parts in a safe container.
💡 Tips:
⚠️ Warnings:
Before applying any cleaner to the whole lamp, test it on a small, inconspicuous area such as the underside of the base. This is crucial to ensure the cleaner doesn't discolor or damage the brass. Dampen a soft cloth with your chosen cleaning solution (e.g., mild soapy water or a 50/50 lemon juice and salt paste) and rub gently. Wait a few seconds, then rinse and dry. If the result is satisfactory, proceed. If the area appears scratched or discolored, choose a gentler method.
💡 Tips:
⚠️ Warnings:
For lamps with little tarnish or with intact lacquer, a simple soapy water wash is often enough. Mix a few drops of mild dish soap with distilled water in a bowl. Dampen a soft cloth (not soaking wet) and gently wipe the brass surface. Use a brush to work the solution into crevices. Rinse the cloth with clean distilled water and wipe away soap residue. Dry immediately with a separate dry microfiber cloth to prevent water spots.
💡 Tips:
⚠️ Warnings:
For bare brass (no lacquer) with tarnish, a natural paste of lemon juice and salt works wonders. Mix equal parts lemon juice and table salt to form a thick paste. Apply the paste to the tarnished areas with a soft cloth or brush, rubbing gently in a circular motion. The citric acid reacts with tarnish while the salt acts as a mild abrasive. Let the paste sit for 1-2 minutes, then rinse thoroughly with distilled water and dry completely. Repeat if necessary, but check progress frequently to avoid removing too much patina.
💡 Tips:
⚠️ Warnings:
If natural methods don't achieve the desired shine, you may use a commercial brass cleaner. Choose one formulated for brass (e.g., Brasso) and apply it sparingly with a soft cloth. Rub gently in small sections, then buff off according to the product instructions. Rinse with distilled water and dry immediately. Commercial cleaners can be aggressive, so use them only on bare brass and only when absolutely necessary.
💡 Tips:
⚠️ Warnings:
After any cleaning method, it's vital to remove all residues. Use a clean cloth dampened with distilled water to wipe away soap, polish, or lemon/salt paste. Then, immediately dry with a separate soft, dry cloth. Pay special attention to crevices where moisture can linger—use a brush or compressed air if needed. Any leftover moisture can cause water spots or future tarnish. Let the lamp air-dry for 10 minutes in a warm, well-ventilated area before reassembling.
💡 Tips:
⚠️ Warnings:
For a long-lasting shine and protection against future tarnish, apply a thin coat of paste wax. Use a wax specifically designed for metals, like Renaissance Wax or Butcher's Wax. Dab a small amount on a soft cloth and rub gently over the brass surface. Let it dry to a haze (usually a few minutes), then buff with a clean cloth to a brilliant shine. Wax also adds a layer that reduces fingerprints. Skip this step if you prefer the natural, matte look or if the lamp is lacquered.
💡 Tips:
⚠️ Warnings:
Once the lamp is completely dry and polished, reattach the finial, harp, and shade. Avoid touching the brass with bare fingers—use cotton gloves or a clean cloth to handle parts. Wipe the light bulb with a dry cloth (if dusty) before screwing it in. Plug the lamp in and test. Now step back and admire your work!
💡 Tips:
⚠️ Warnings:
Problem: The patina was accidentally removed, and the lamp looks too bright or uneven.
Solution: You can intentionally re-patina by applying a mixture of vinegar and salt, or use a commercial patina solution. Apply sparingly, let it sit, then rinse and dry. Alternatively, embrace the bright look and wax for protection.
Problem: Water spots remain after drying.
Solution: Gently buff the area with a microfiber cloth and a tiny drop of olive oil. If spots persist, use a commercial brass polish designed for water spot removal.
Problem: The lacquer is peeling or flaking.
Solution: You can remove the lacquer entirely using a lacquer remover or acetone. Follow the product instructions carefully, then clean and polish the bare brass. Note: this is permanent and will change the lamp's appearance.
Problem: The lamp has green corrosion (verdigris).
Solution: Verdigris indicates oxidation. For bare brass, use a paste of lemon juice and salt or baking soda. If severe, a commercial brass cleaner may be needed. For lacquered brass, remove the lacquer first. If the corrosion is deep, consider professional restoration.
A trusted brass cleaner effective on moderate tarnish without being excessively harsh.
Best for: Use on bare brass when natural methods aren't enough.
Price Range: $5–$12
A microcrystalline wax that provides long-lasting protection without yellowing or damaging patina.
Best for: Apply after cleaning to protect bare brass from tarnish and fingerprints.
Price Range: $15–$30
Soft, lint-free, and reusable—perfect for dusting, polishing, and drying without scratching.
Best for: Use for every step from dusting to final buffing.
Price Range: $8–$15
Ideal for cleaning intricate designs, crevices, and threaded areas without damaging the brass.
Best for: Use for applying paste and cleaning hard-to-reach spots.
Price Range: $6–$12
Prevents fingerprints and oils from your hands from marring the freshly cleaned surface.
Best for: Wear during reassembly and polishing stages.
Price Range: $5–$10
Use on bare brass when natural methods aren't enough.
Brasso Metal Polish A trusted brass cleaner effective on moderate tarnish without being excessively harsh.
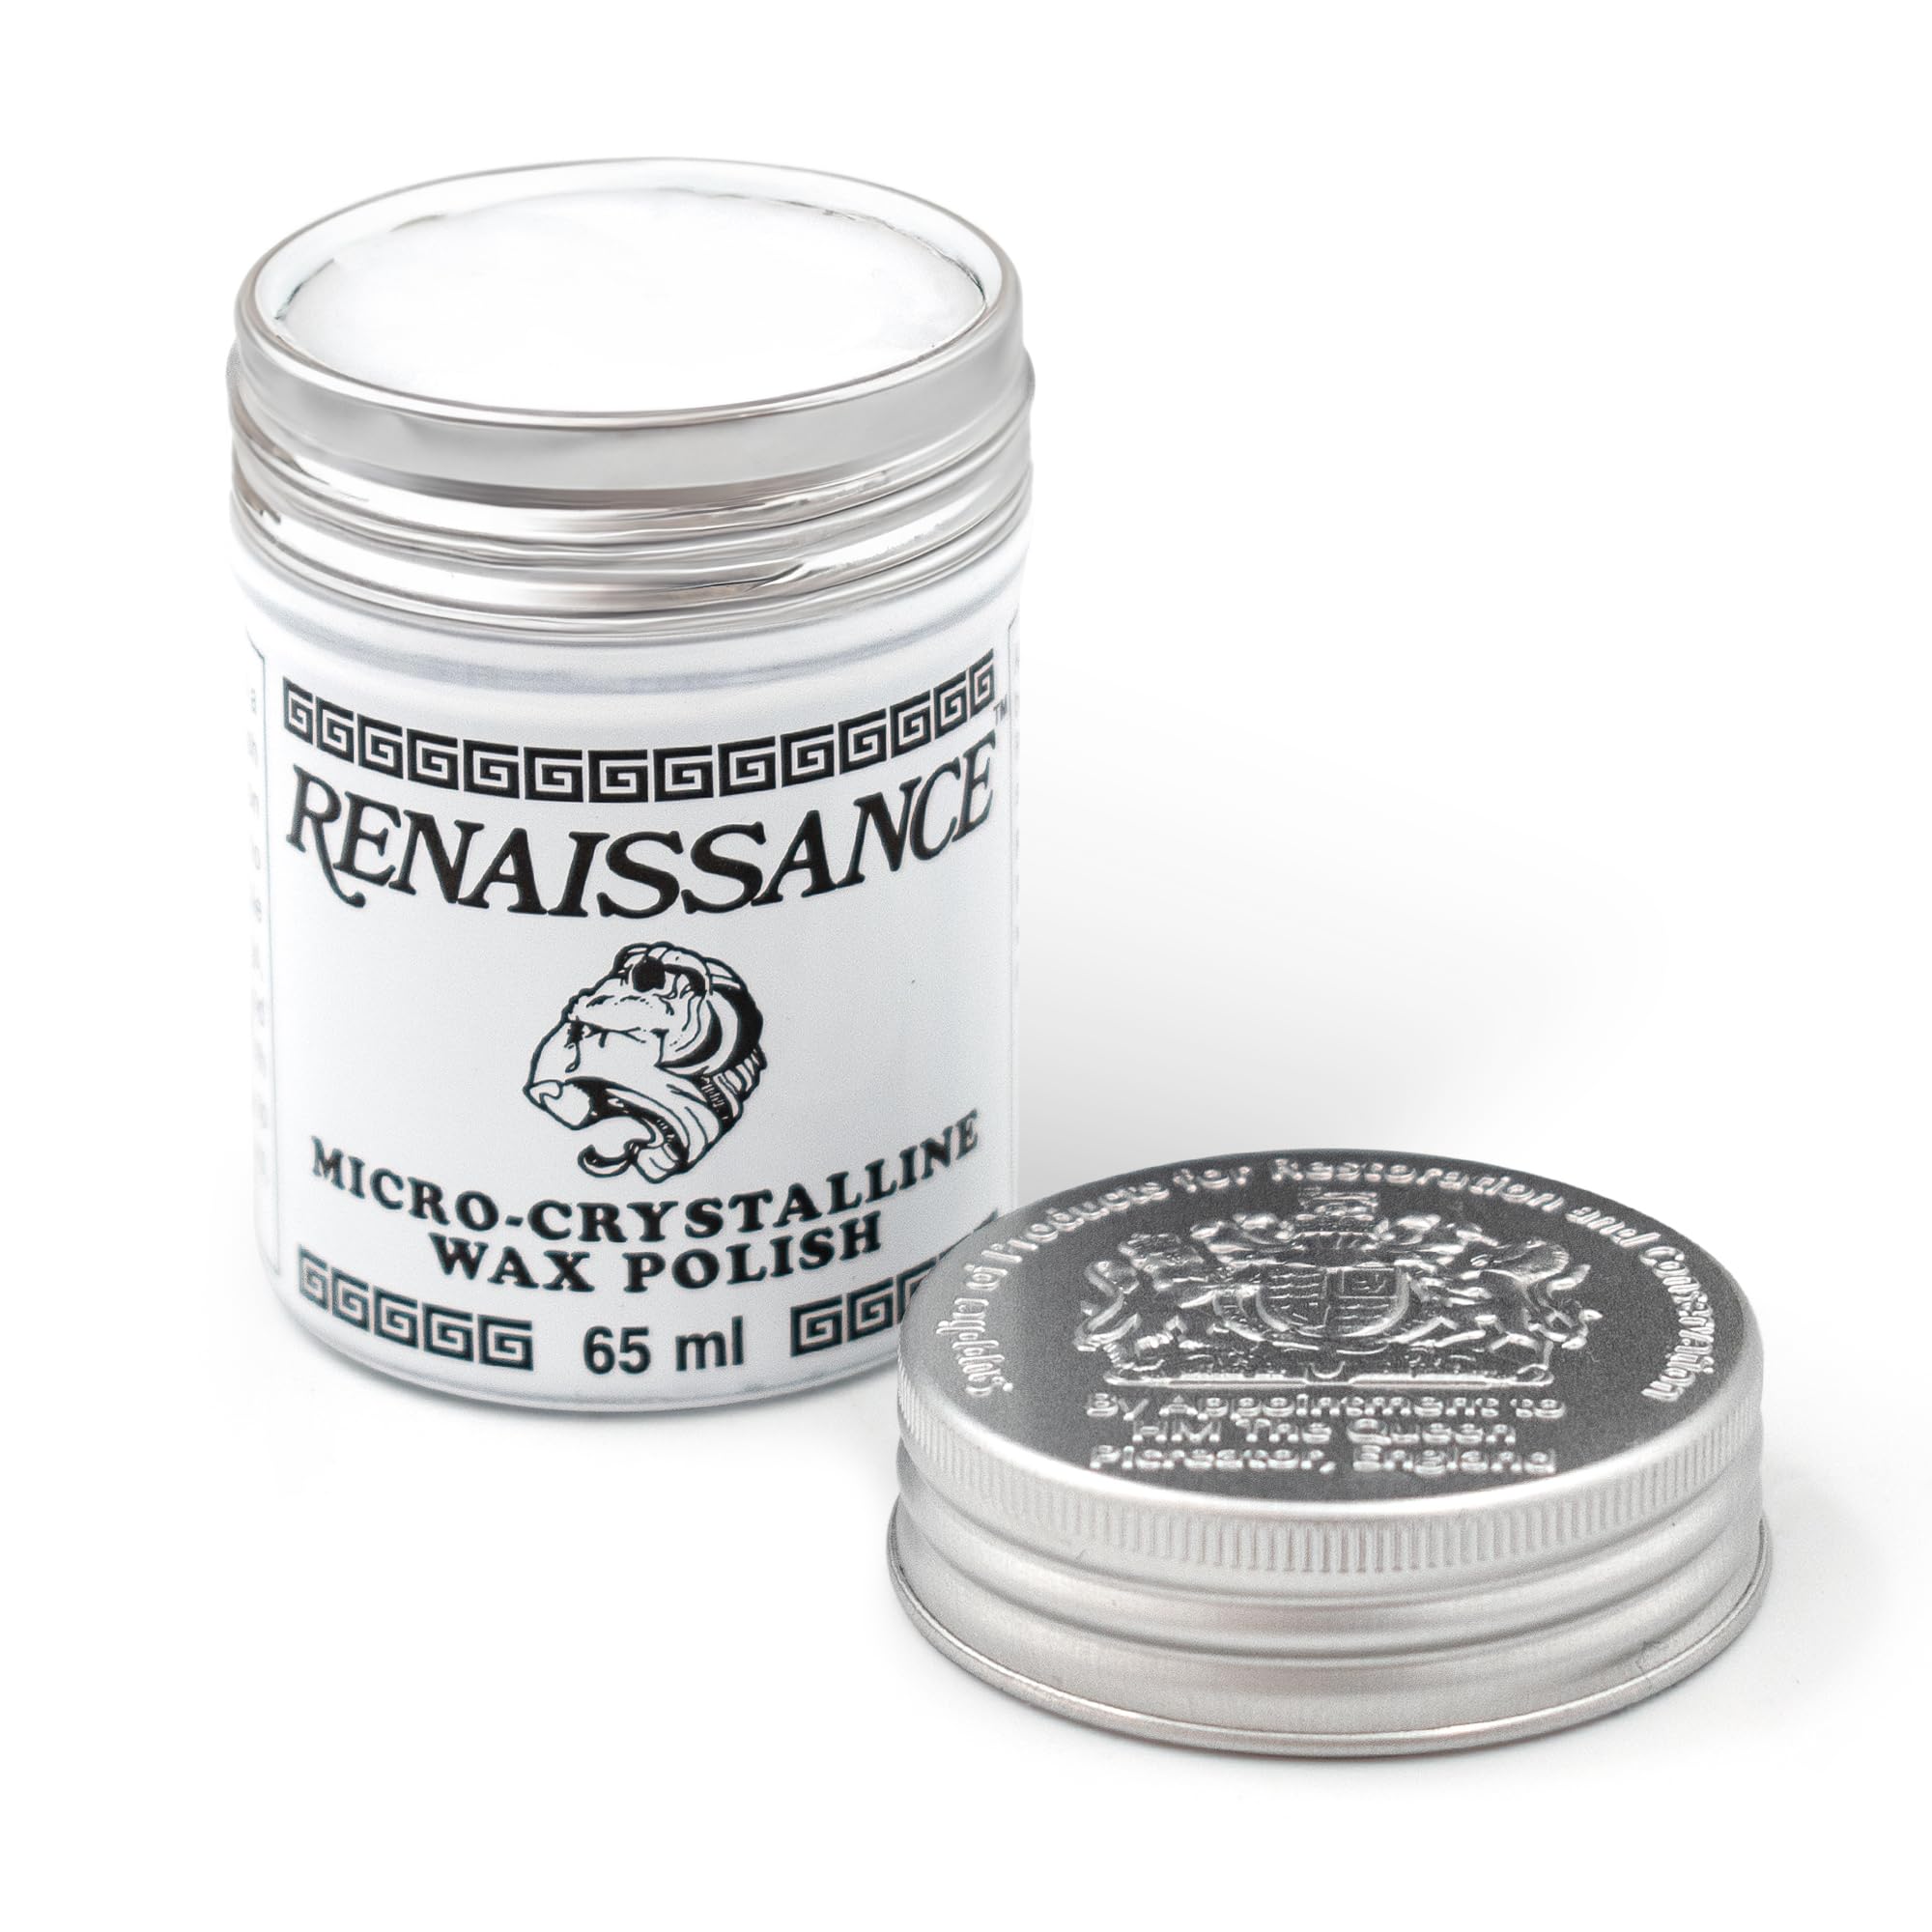
Apply after cleaning to protect bare brass from tarnish and fingerprints.
Renaissance Wax A microcrystalline wax that provides long-lasting protection without yellowing or damaging patina.
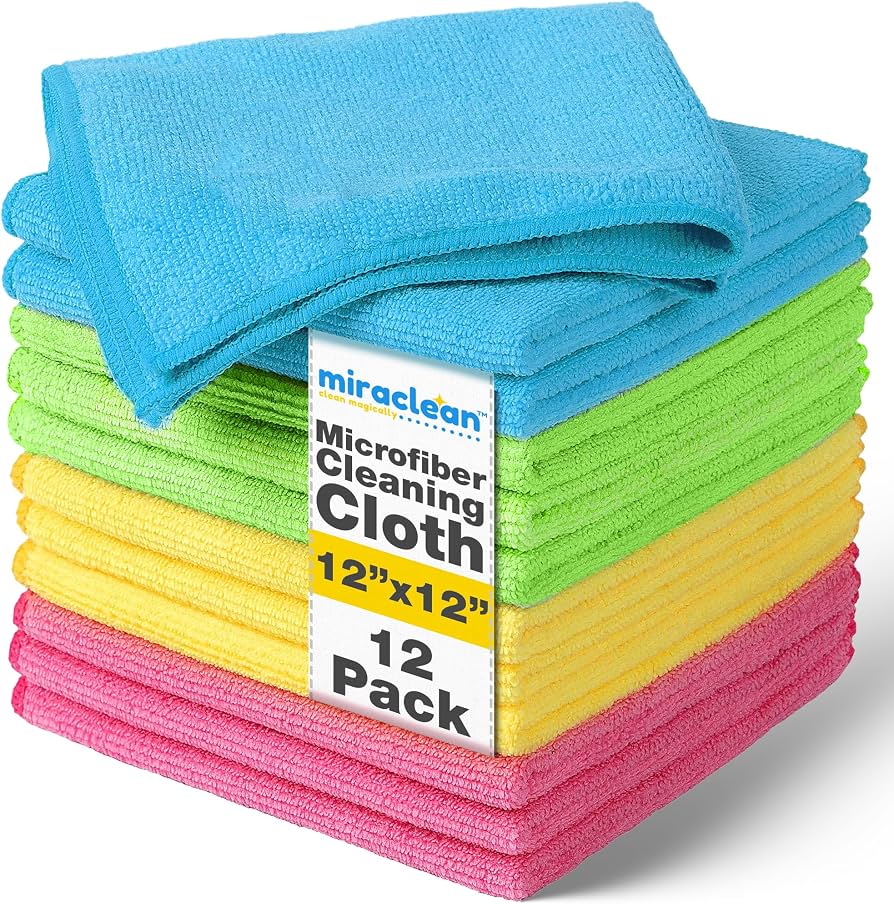
Use for every step from dusting to final buffing.
Microfiber Cloth Set (12-pack) Soft, lint-free, and reusable—perfect for dusting, polishing, and drying without scratching.
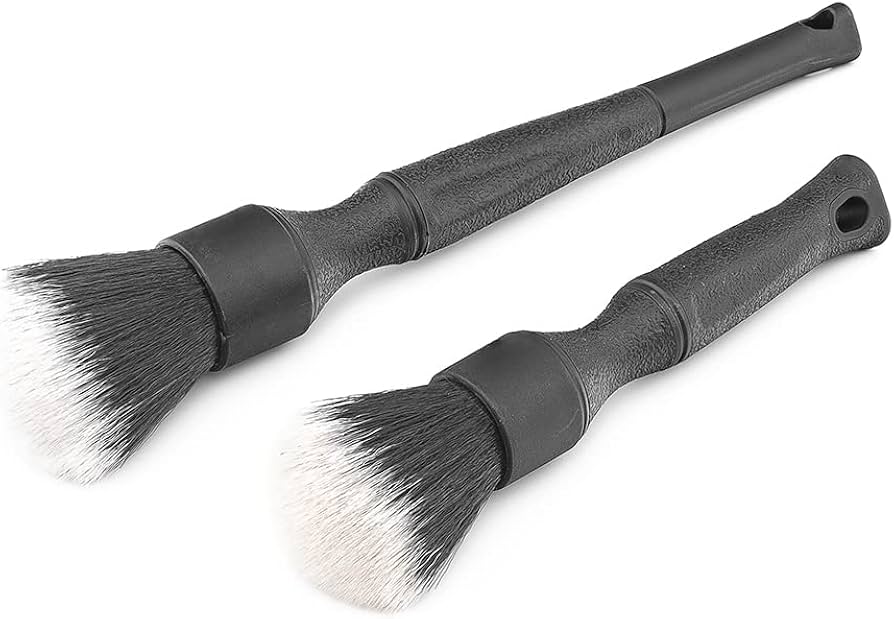
Use for applying paste and cleaning hard-to-reach spots.
Soft-Bristled Detail Brush Set Ideal for cleaning intricate designs, crevices, and threaded areas without damaging the brass.
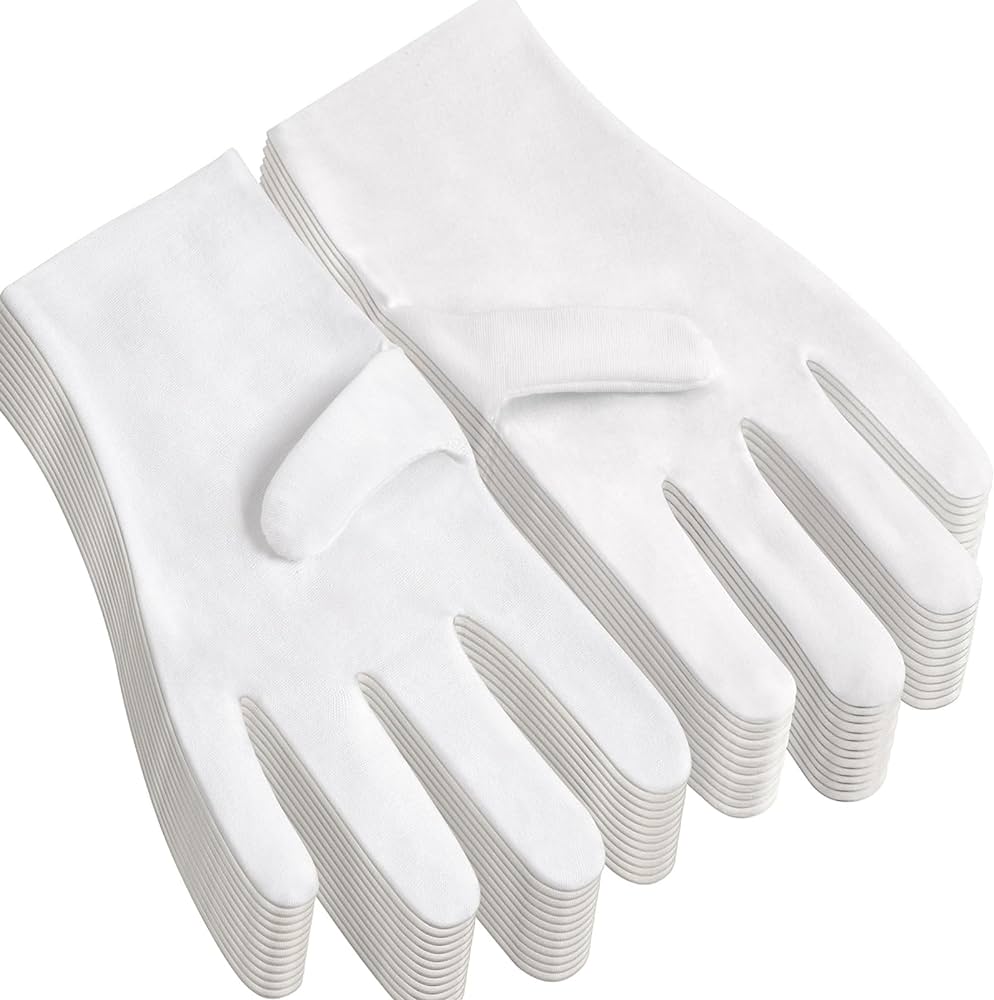
Wear during reassembly and polishing stages.
Cotton Cleaning Gloves (White) Prevents fingerprints and oils from your hands from marring the freshly cleaned surface.