Action figures are more than just toys—they're collectibles, memories, and sometimes valuable investments. Over time, they can accumulate dust, grease, and grime, especially if they sit on a shelf or are played with regularly. But the fear of peeling paint, scratching plastic, or warping joints often keeps collectors from giving them a proper clean. That's why it's essential to know the right techniques and supplies.
In this guide, you'll learn how to clean action figures safely, using simple tools you already own or can easily find. From dry dusting to deep washing and detailed crevice cleaning, we'll walk you through every step to keep your figures looking pristine. You'll also learn which common mistakes to avoid and how to troubleshoot tricky issues like sticky residue or cloudy plastic.
Cleaning an action figure takes just 30–45 minutes for a single figure, and with the right approach, you can restore almost any figure to its former glory without risking damage. No special skills are required—just patience, a gentle touch, and the following steps.
▸What You'll Need
- •Lukewarm water (ideally distilled)
- •Mild dish soap (like Dawn)
- •Small bowl
- •Soft-bristled brush (e.g., makeup brush, artist's brush)
- •Clean microfiber cloths (lint-free)
- •Cotton swabs (Q-tips)
- •Soft toothbrush (optional, for crevices)
- •Rubber eraser (e.g., art gum eraser) for scuff marks
- •Goo Gone or gentle adhesive remover (optional, for sticker residue)
- •White vinegar (optional, for cloudy plastic)
- •Soft towel or workspace mat
- •Cotton gloves (optional, to prevent fingerprints)
Estimated Time: 30–45 minutes per figure (or 1–2 hours for a shelf of 5–10 figures)
Difficulty: beginner
▸Step-by-Step Instructions
Step 1: Gather Your Supplies and Set Up a Cleaning Station
Lay a soft towel on a flat surface to prevent slipping or falling. Fill a small bowl with lukewarm water and add just a drop or two of mild dish soap. Place your soft brush, microfiber cloths, and cotton swabs nearby so they're easy to reach. Make sure you have adequate lighting so you can see fine details and dried grime.
This might seem simple, but organizing your workspace prevents unnecessary fumbling and reduces the risk of dropping your figure during cleaning.
💡 Tips:
- •Use distilled water instead of tap water to avoid mineral deposits on glossy finishes.
- •Wear cotton gloves to leave no fingerprints on freshly cleaned surfaces.
⚠️ Warnings:
- •Do not use hot water—it can warp plastic or loosen joints.
Step 2: Remove Loose Dust with a Soft Brush
Begin by dry brushing the figure to remove the top layer of dust and loose debris. Use gentle, sweeping motions from the top of the figure down to the feet. This step is crucial because if you go straight to washing, dust can turn into a gritty paste that scratches the surface.
A soft makeup brush or a clean paintbrush works best—the bristles bend and reach into creases without grinding particles into the plastic. Focus on areas like the shoulder joints, under the arms, and around the face where dust tends to collect.
💡 Tips:
- •Sweep in one direction rather than back-and-forth to avoid pushing dust into crevices.
- •Use a different brush for each color if the figure has light paint, so dark dust doesn't transfer.
⚠️ Warnings:
- •Avoid pressing down hard on painted areas, especially vintage figures with fragile paint apps.
Step 3: Spot-Test a Hidden Area
Before applying any water or soap to the rest of the figure, dampen a cotton swab with your soapy water solution and test it on a small, inconspicuous area—such as the back of the figure, under a foot, or inside a removable panel. Let it sit for about a minute, then wipe it off and inspect for any color transfer, paint running, or clouding.
This test is especially important for older, vintage, or bootleg figures that may have water-reactive paint or lower-quality plastic. It's always better to be safe than to damage a rare piece beyond repair.
💡 Tips:
- •For figures with bandai or painted details, test in a spot that's hidden when displayed.
- •Wait at least 30 seconds minimum for the soap to act before checking.
⚠️ Warnings:
- •If the paint begins to come off, stop wet cleaning immediately and switch to dry methods only.
Step 4: Wash the Figure with Mild Soap and Water
Dip a microfiber cloth into the soapy water and wring it out so it's only damp, not dripping. Gently wipe the entire figure, working in small circles to lift grease, fingerprints, and stubborn grime. Change to a clean section of the cloth as it picks up dirt.
This is the main washing step. For tougher grime, use a soft toothbrush dipped in the soapy water and scrub very lightly in circular motions on the affected areas. Check frequently to see if grime is loosening—never use force.
💡 Tips:
- •Do not soak the figure—a barely damp cloth is enough to clean without forcing water into joints.
- •Take detachable parts (weapons, backpacks, etc.) off beforehand to clean them separately and reach hidden areas.
⚠️ Warnings:
- •Do not submerge any figure that has lights, electronics, or a battery compartment. For those, use a lightly damp cloth and be extra careful around the electronic areas.
Step 5: Detail Tight Crevices with Cotton Swabs
For seams, folds, and tight creases where a cloth can't reach, use a cotton swab moistened with the soapy water. Gently press the swab into the crevice and rotate it to pick up dirt. Replace the swab as soon as it becomes dirty—reusing a contaminated swab just spreads the grime around.
You can also twist the cotton tip to form a fine point, which works wonders for cleaning trim details, nostrils, or tiny molded panel lines. Take extra care around face sculpts and painted eyes.
💡 Tips:
- •Use a fresh swab for each separate area (face, torso, legs) to avoid cross-contamination.
- •If the figure has a clear visor or window, clean it with a separate damp swab to avoid streaking.
⚠️ Warnings:
- •Do not push the cotton swab too deep into joints, as the cotton can snag or leave strands behind.
Step 6: Remove Soap Residue with a Clean Water Wipe
Once you've cleaned the entire figure, rinse off any soapy film by wiping with a fresh microfiber cloth dampened with clean lukewarm water (ideally distilled). Wipe the same areas you cleaned, but this time using plain water only. This step is essential because soap residue left on plastic can attract dust and leave white marks in crevices.
Change the cloth or use a different section for each major body part. You can also hold the figure under a gently running faucet if it's completely safe and waterproof, but the damp-cloth method is safer for most figures.
💡 Tips:
- •Use a distilled-water soaked cloth to avoid any mineral residue from tap water.
- •For figures with light-up features, use a barely damp cloth and avoid getting water into the battery cavity.
⚠️ Warnings:
- •Do not run water directly over figures with electronics or metal parts that can rust.
Step 7: Dry the Figure Thoroughly
After wiping away all soapy solution, pat the figure dry with a clean, dry microfiber cloth. Pay special attention to joints, folds, and any areas where water might have pooled. Let the figure air dry on a clean towel for 15–30 minutes to make sure every hidden pocket is completely dry.
Proper drying prevents mold, mildew, and hazy water spots. If you need to speed up the process, use a compressed air can to blow excess moisture out of tight joints or use a hair dryer on its lowest, coolest setting—never high heat.
💡 Tips:
- •Leave the figure in a well-ventilated area away from direct sunlight while drying.
- •For figures that still seem damp inside a joint, gently work the joint back and forth to allow air circulation.
⚠️ Warnings:
- •Do not use a hair dryer on high or even warm heat—plastic can warp, and paint can bubble.
Step 8: Inspect and Touch Up (Optional)
Once the figure is completely dry, inspect it under bright light for any remaining scuffs, sticker residue, or cloudy plastic. Use a rubber eraser (like an art gum eraser) to gently erase scuff marks and smudges on the body. For sticky price sticker residue, apply a tiny dab of Goo Gone to a cotton swab and rub gently, then wipe with a clean water-moistened swab.
This step is optional and should be done with extra caution. If you're unsure about the eraser or adhesive remover, stick to water and soap. After any touch-up, wipe the figure again with a dry microfiber cloth before restocking your shelf.
💡 Tips:
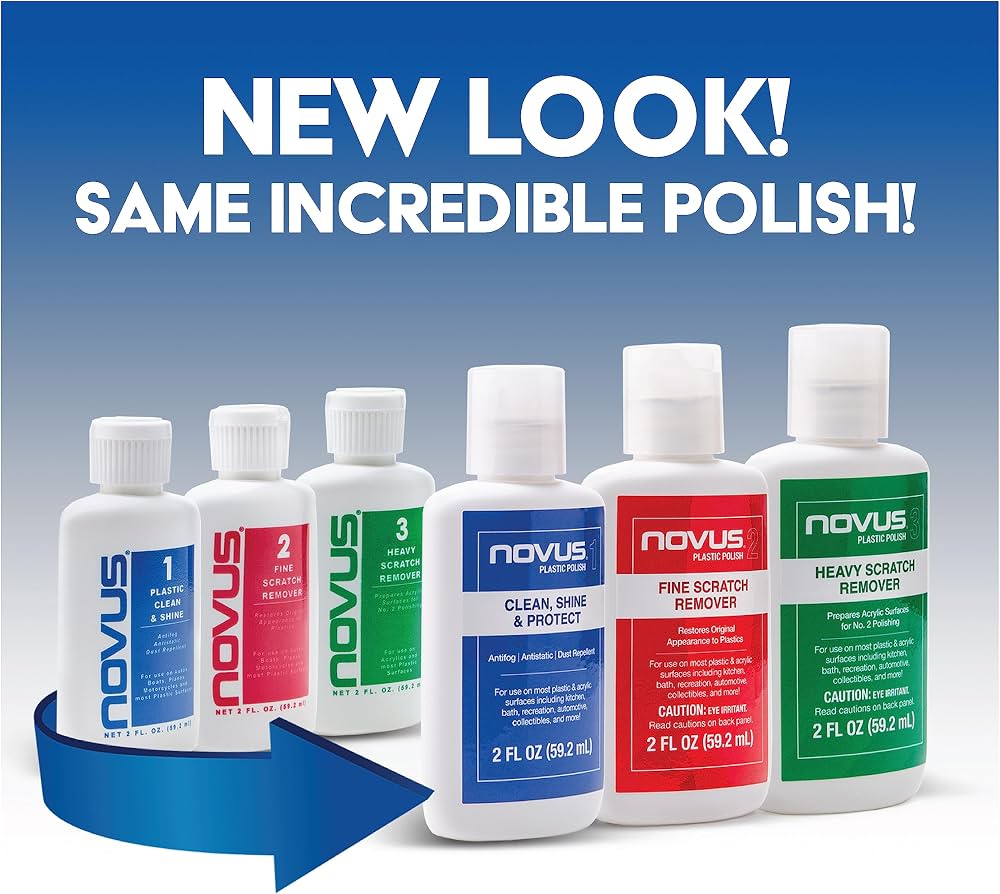
- •For a final shine, you can use a very small amount of a plastic-friendly polish, like Novus #1, applied with a soft cloth.
- •Work in a well-lit area so you don't miss any marks.
⚠️ Warnings:
- •Never use nail polish remover (acetone), rubbing alcohol, or bleach—these will strip paint and damage plastic.
▸Pro Tips
- •Dust your figures once every 2–4 weeks with a soft brush to prevent build-up, which makes deep cleaning easier.
- •Use a separate set of brushes and cloths for cleaning your figures—don't reuse your makeup brushes if you also apply makeup.
- •If you have many figures, clean them in batches and schedule a regular rotation to keep every piece looking good.
- •For figures with removable parts, take them apart (if designed to be taken apart) to clean individual pieces more thoroughly.
- •Use a toothpick wrapped with a tiny piece of microfiber cloth to reach ultra-fine gaps, like around a figure's eyes.
- •Always wash your hands before handling figures to avoid transferring skin oils, which can accelerate dust sticking.
- •Store cleaned figures in a display case or cabinet to reduce dust exposure and the need for frequent cleaning.
- •When using water-based cleaning solutions, remember that less is more—a damp cloth can remove the majority of grime.
▸Common Mistakes to Avoid
- •Using abrasive sponges, scouring pads, or even paper towels—these cause tiny micro-scratches that dull the plastic over time.
- •Submerging the entire figure in water without checking if it has electronics, metal parts, or water-sensitive decals.
- •Using hot water to clean—it can warp thin parts like capes or bendable limbs, and can also soften painted details.
- •Applying strong solvents like alcohol, acetone, or bleach to remove grime—they will eat into the plastic and dissolve paint.
- •Using too much force while scrubbing or turning joints, which can crack plastic or stress the joint pegs.
▸Troubleshooting
Problem: Sticky residue left by price stickers or tape.
Solution: Apply a tiny amount of Goo Gone or a similar safe adhesive remover to a cotton swab and gently rub the residue in a circular motion. Wipe the area with a clean water-moistened swab and dry. Always test on a hidden area first.
Problem: Cloudy or foggy plastic on clear parts (like Stormtrooper visors or sci-fi helmets).
Solution: Wipe the clear plastic with white vinegar on a soft cloth, then rinse with distilled water and dry with a fresh cloth. If cloudiness persists, use a plastic polish designed for clear acrylic or polycarbonate.
Problem: Paint rubs or chips during cleaning.
Solution: Stop wet cleaning immediately and switch to dry brushing only. If paint has already lifted, do not continue scrubbing. Consult a professional action figure restorer or try a very fine-tipped paint marker for touch-ups, but that's risky.
Problem: Figure smells like chemicals or mildew after cleaning.
Solution: Dry the figure completely and leave it in a well-ventilated area away from sunlight for a few days. If the odor persists, consider using a plastic-safe deodorizing wipe or activated charcoal sachet placed near the figure for a day or two (not directly on it).
Problem: Water got trapped inside a joint and is squeaking when you move it.
Solution: Gently move the joint back and forth to encourage the water to escape, then let it air dry for a few hours. If the squeak continues, apply a tiny drop of silicone grease (applied with a toothpick) to the joint.
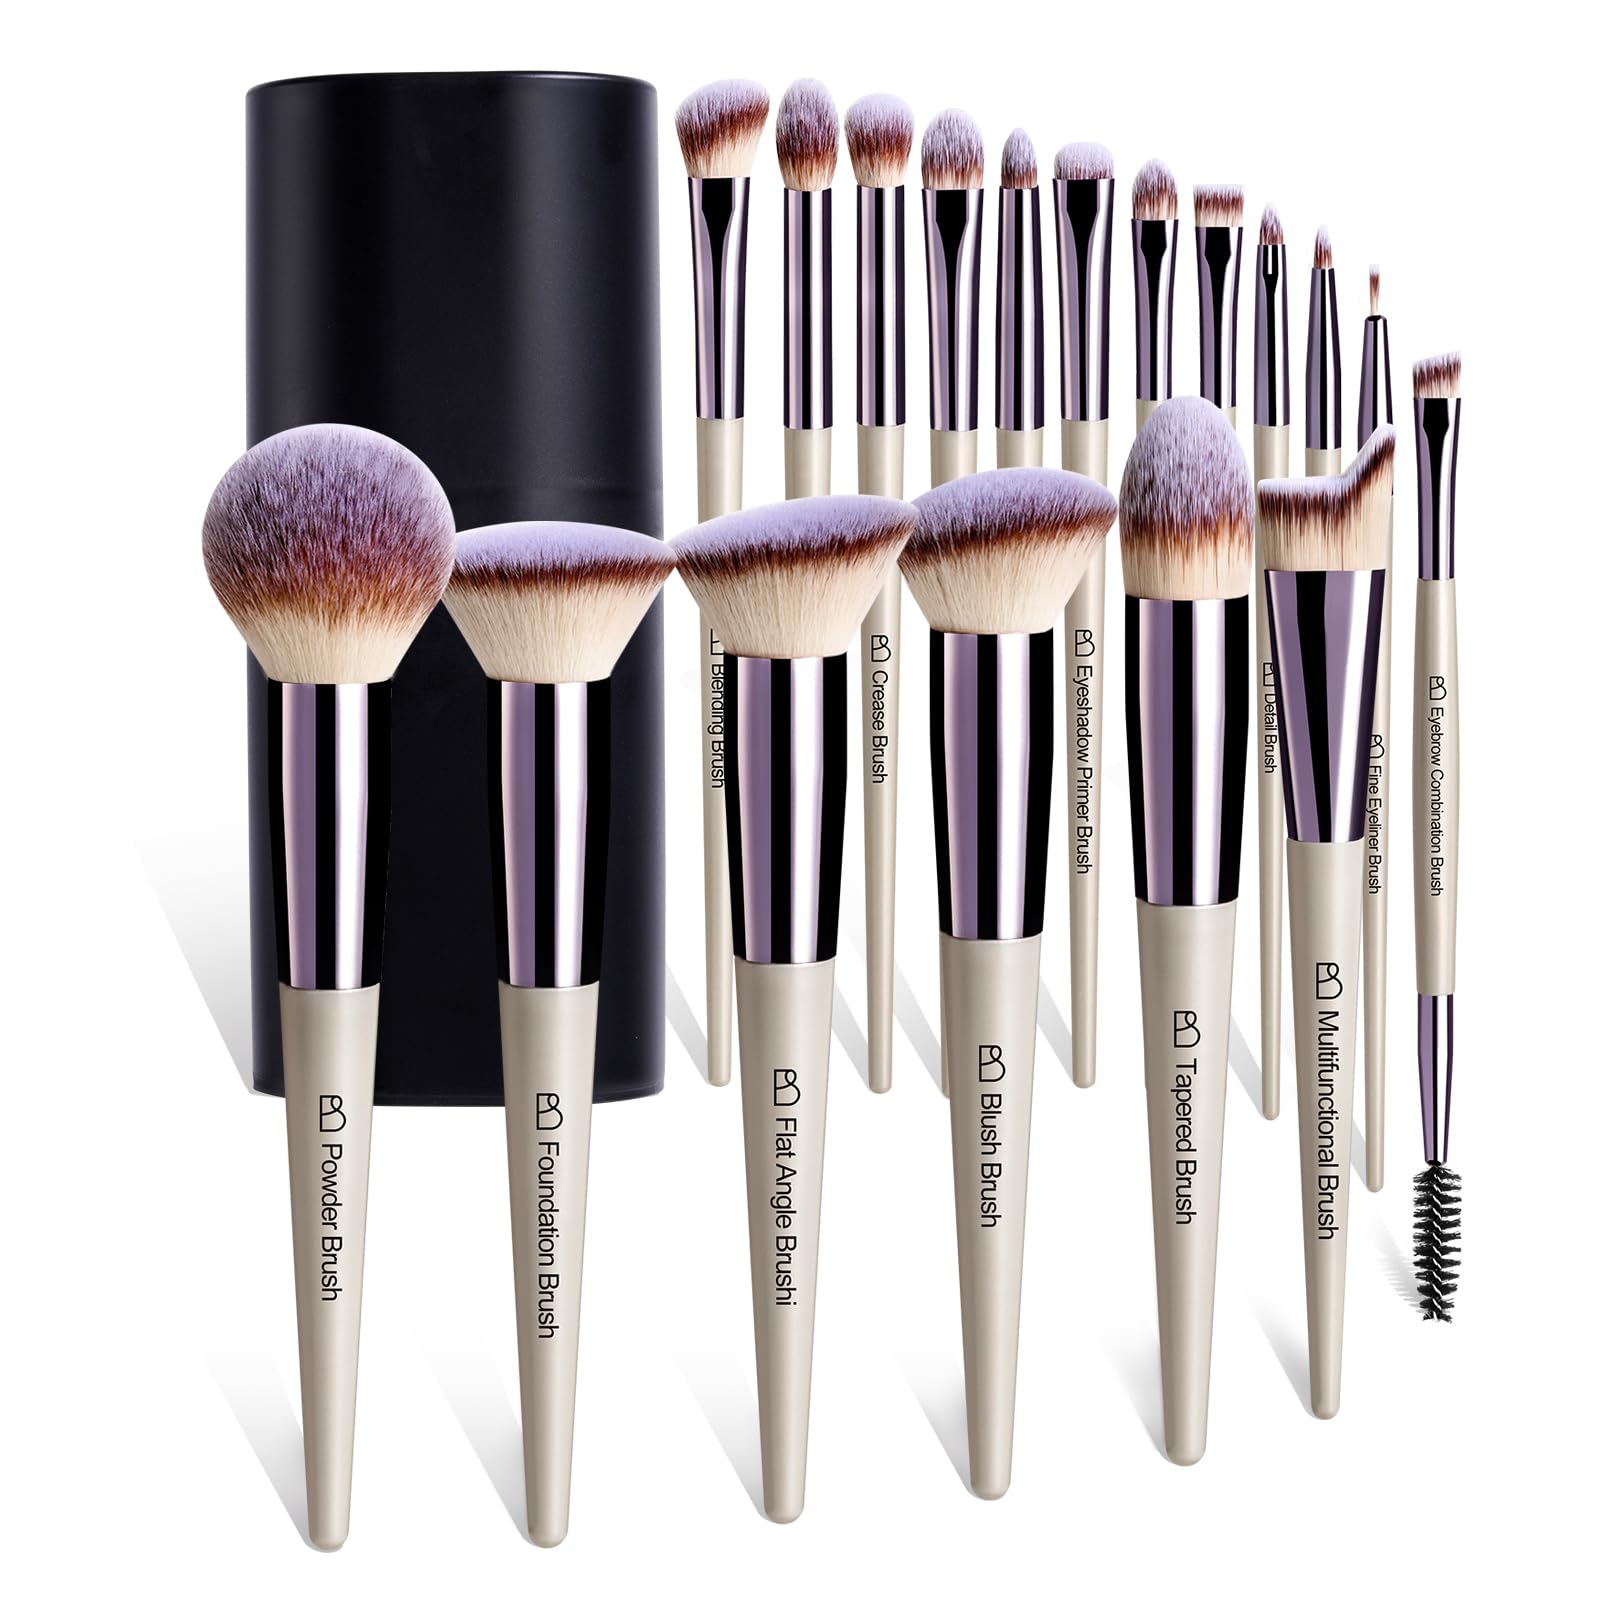
Soft Makeup Brush Set for Fine Detail
Soft-bristled makeup brushes are ideal for dry dusting and removing loose dirt from delicate painted surfaces without scratching or damaging the plastic.
Best for: Dry dusting before washing, and delicate touches on areas with fragile paint.
Price Range: $8–$15
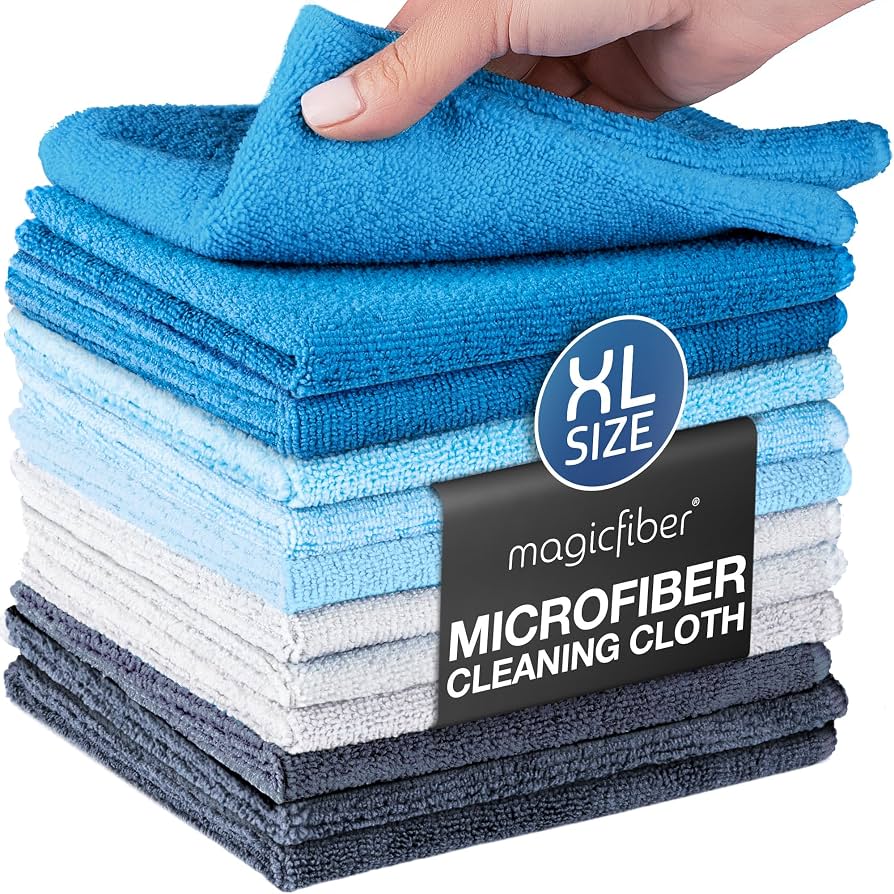
High-Quality Microfiber Cleaning Cloths
Microfiber cloths are lint-free and non-abrasive, making them perfect for applying cleaning solutions, wiping away residue, and polishing plastic to a shiny finish.
Best for: Washing with soapy water, wiping with clean water, and drying.
Price Range: $7–$12 for a pack of 6–12
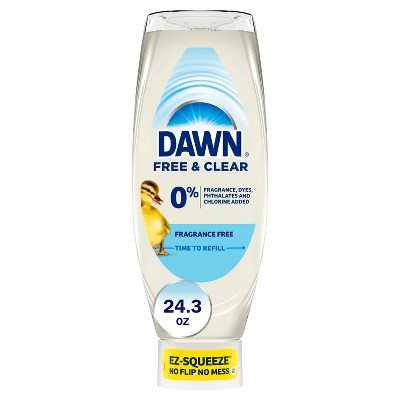
Mild Dish Soap (Dawn or Similar)
Dawn is a widely trusted mild dish soap that cuts through grease and grime without the harsh chemicals found in many all-purpose cleaners. A tiny drop goes a long way.
Best for: Mixing with lukewarm water for the main cleaning solution.
Price Range: $5–$8 for a 10 oz bottle
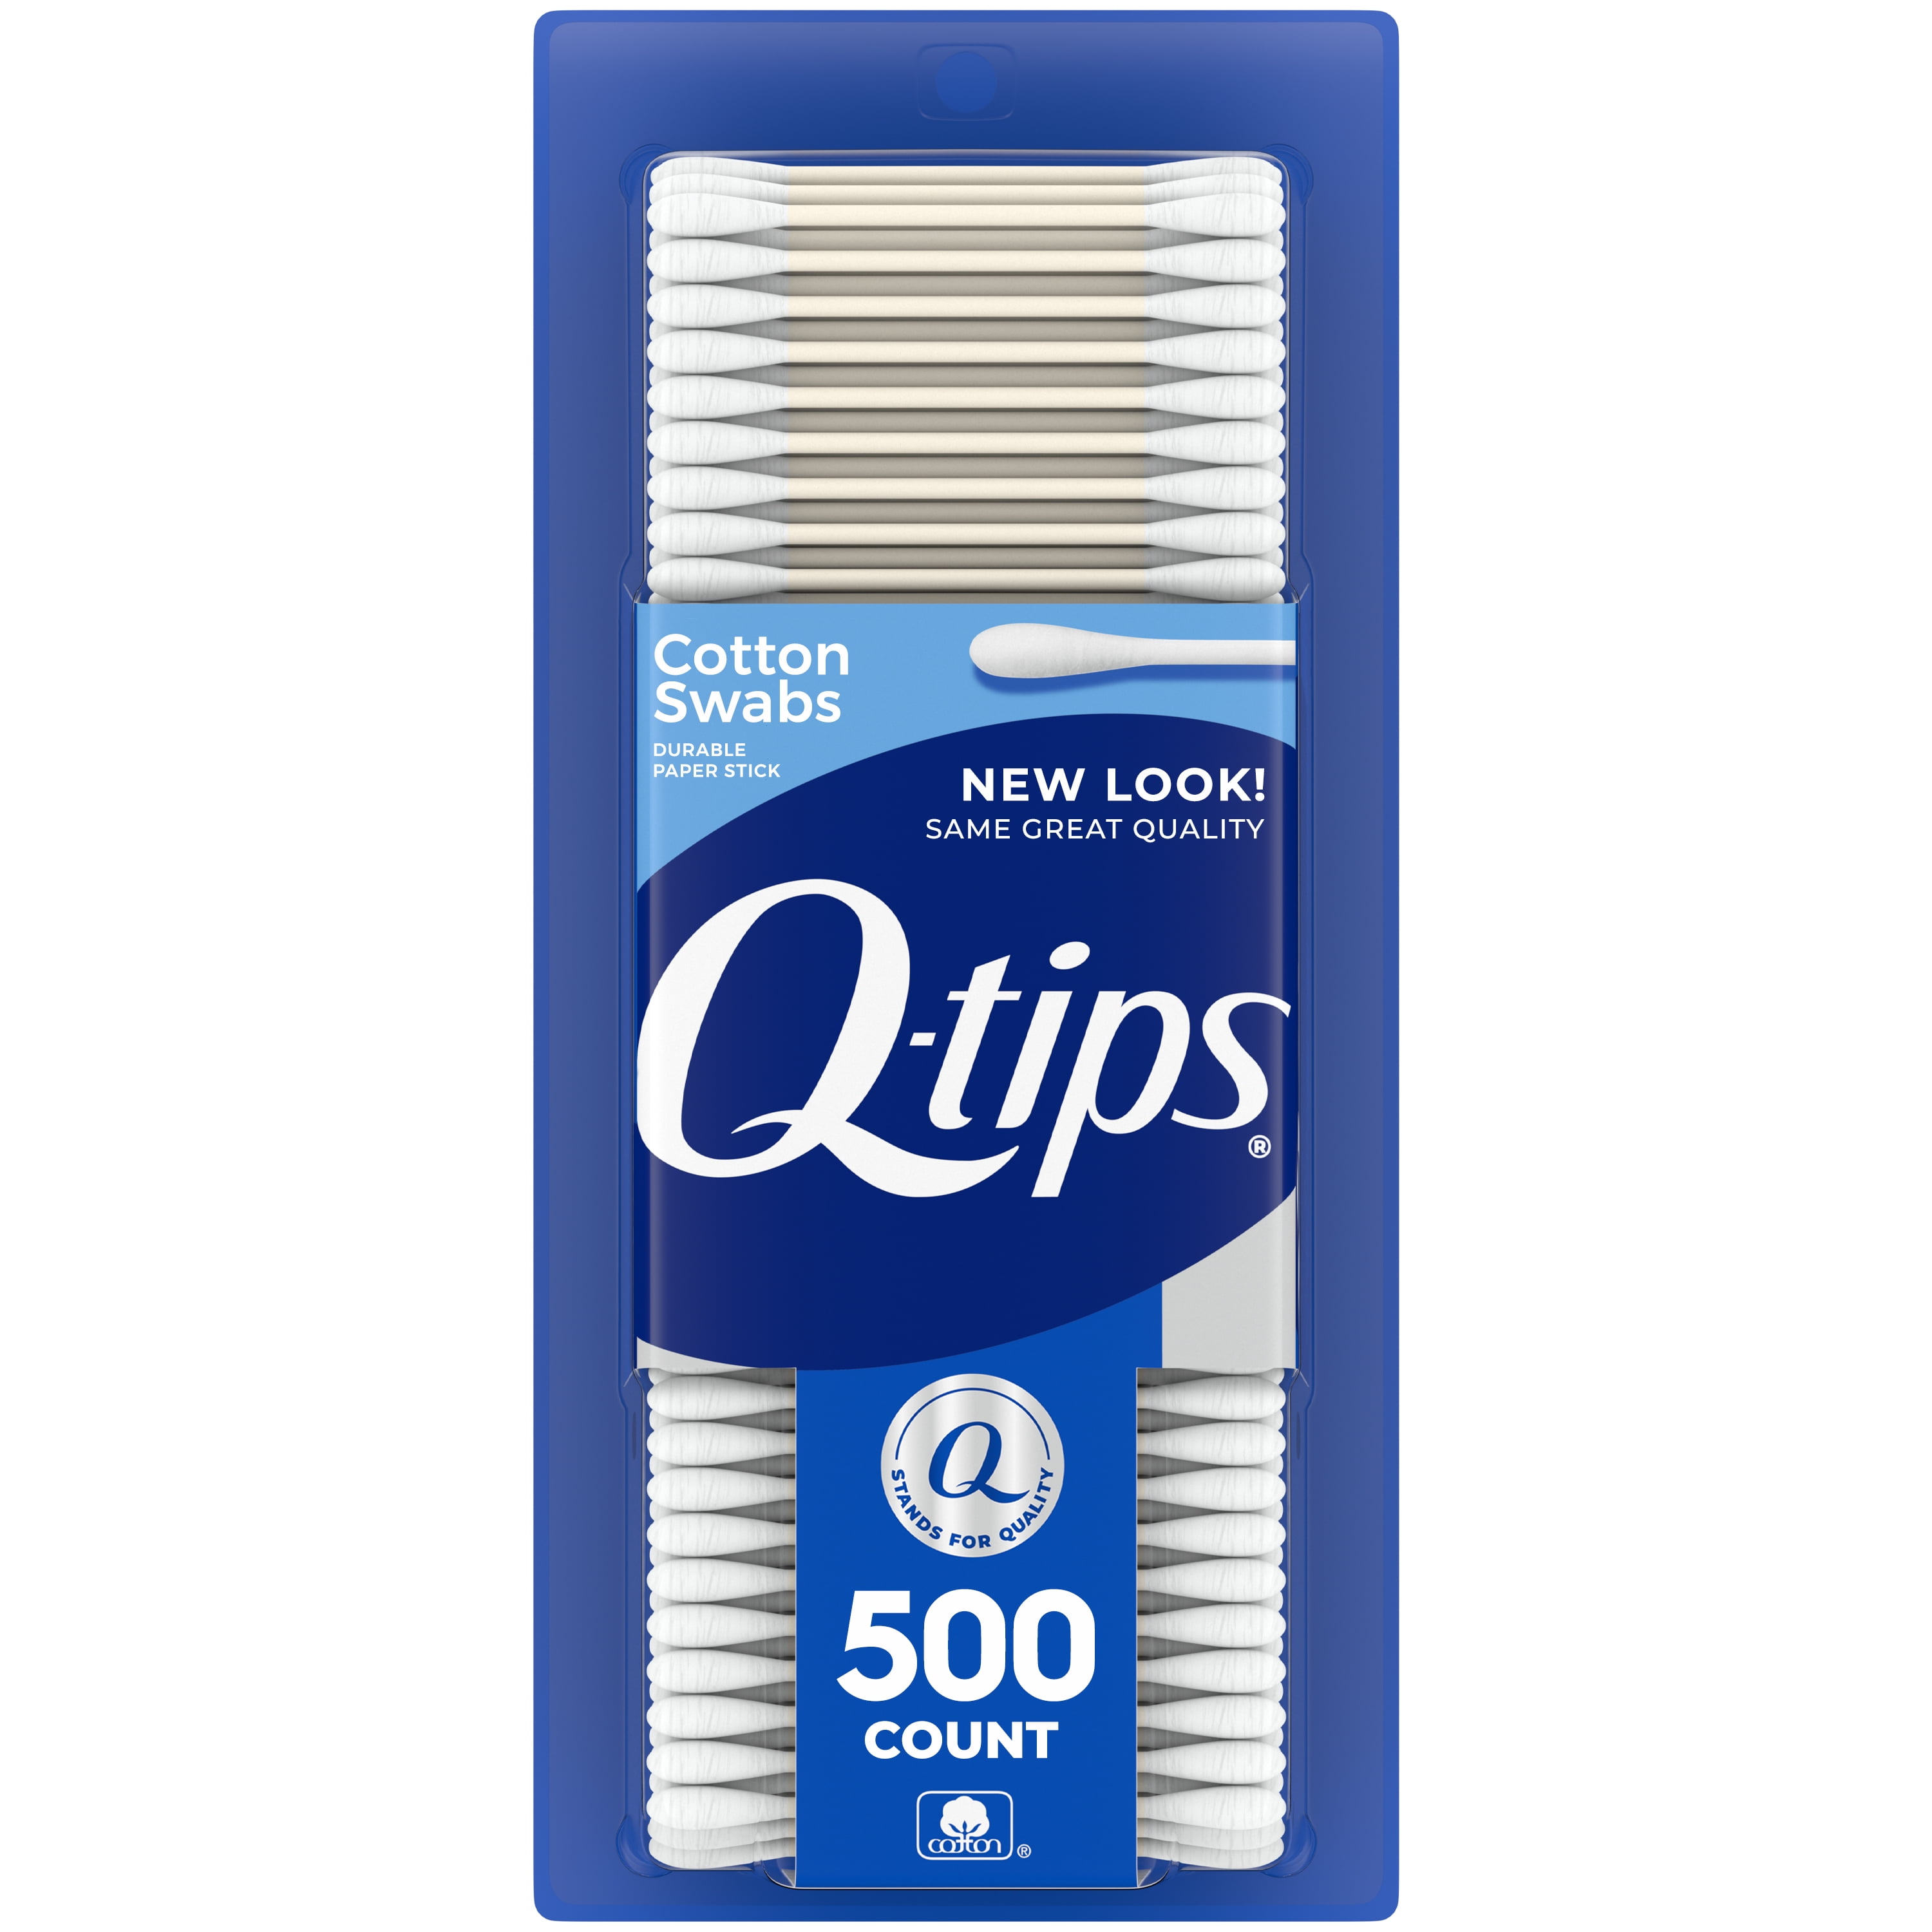
Cotton Swabs (Q-tips)
Cotton swabs are essential for precision cleaning in crevices, seams, and hard-to-reach areas around joints and facial details.
Best for: Detailed spot cleaning with soapy water or plain water.
Price Range: $3–$5 for 500 count
Novus Plastic Clean & Shine Kit
This kit includes a gentle plastic cleaner and a polish that helps remove light scratches and restore clarity to both colored and clear plastics. Ideal for finishing touches on high-end collectibles.
Best for: Final polishing and restoration of hazy or slightly scratched plastic surfaces.
Price Range: $15–$20 for a kit of 3 bottles