Dirty acrylic nail tools are a breeding ground for bacteria, fungi, and viruses that can lead to painful infections like paronychia or even nail fungus. As a beginner nail enthusiast, skipping proper cleaning might seem minor, but it can ruin your at-home manicure game and your health. This guide equips you with foolproof methods used by pros to keep tools spotless.
You'll learn a straightforward 8-step process using household items and salon-grade disinfectants. Expect crystal-clear tools ready for your next set, with zero residue or infection risk. The whole routine takes just 20-30 minutes and requires no fancy equipment—perfect for beginners.
By the end, your tools will sparkle, smell fresh, and be 100% safe, boosting your confidence in DIY acrylic nails.
▸What You'll Need
- •Acrylic nail tools (brushes, files, buffers, clippers, dappen dishes)
- •Mild dish soap (like Dawn)
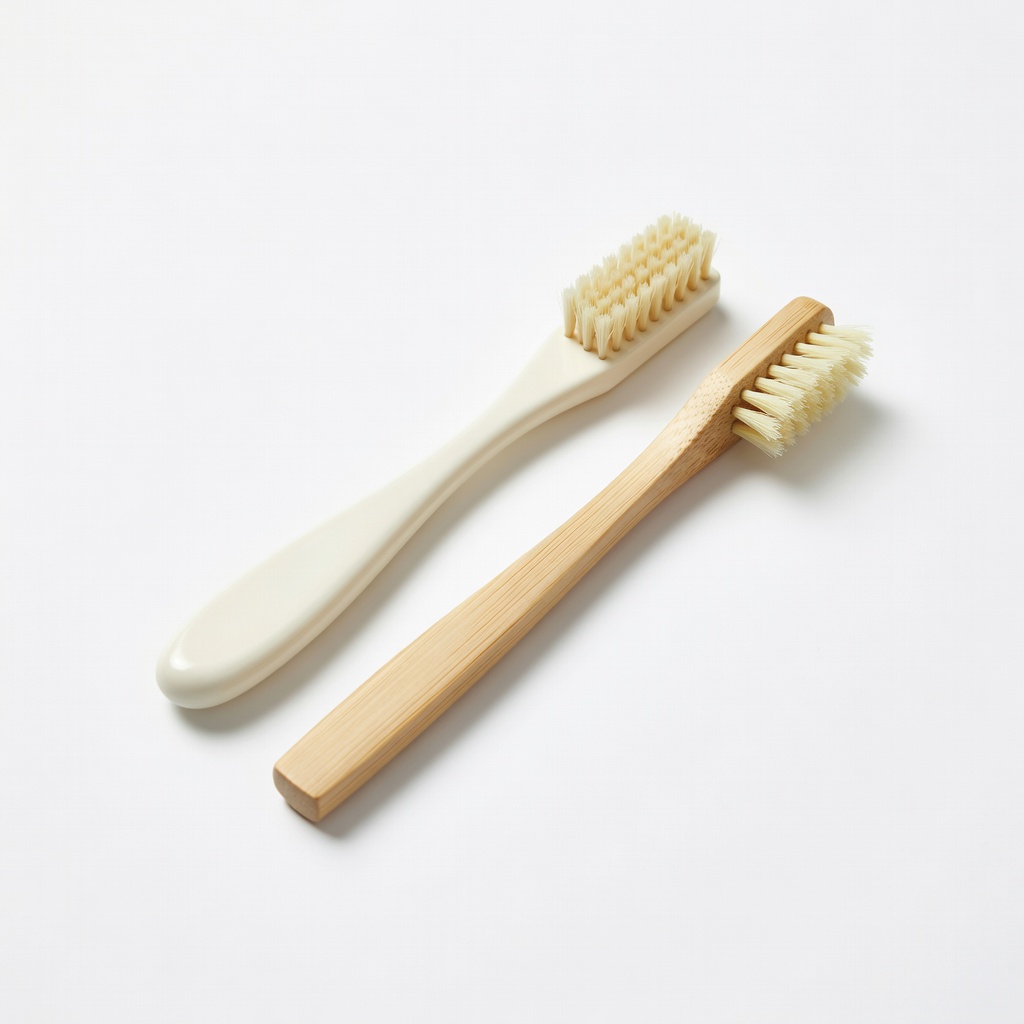
- •Soft-bristle nail brush or toothbrush
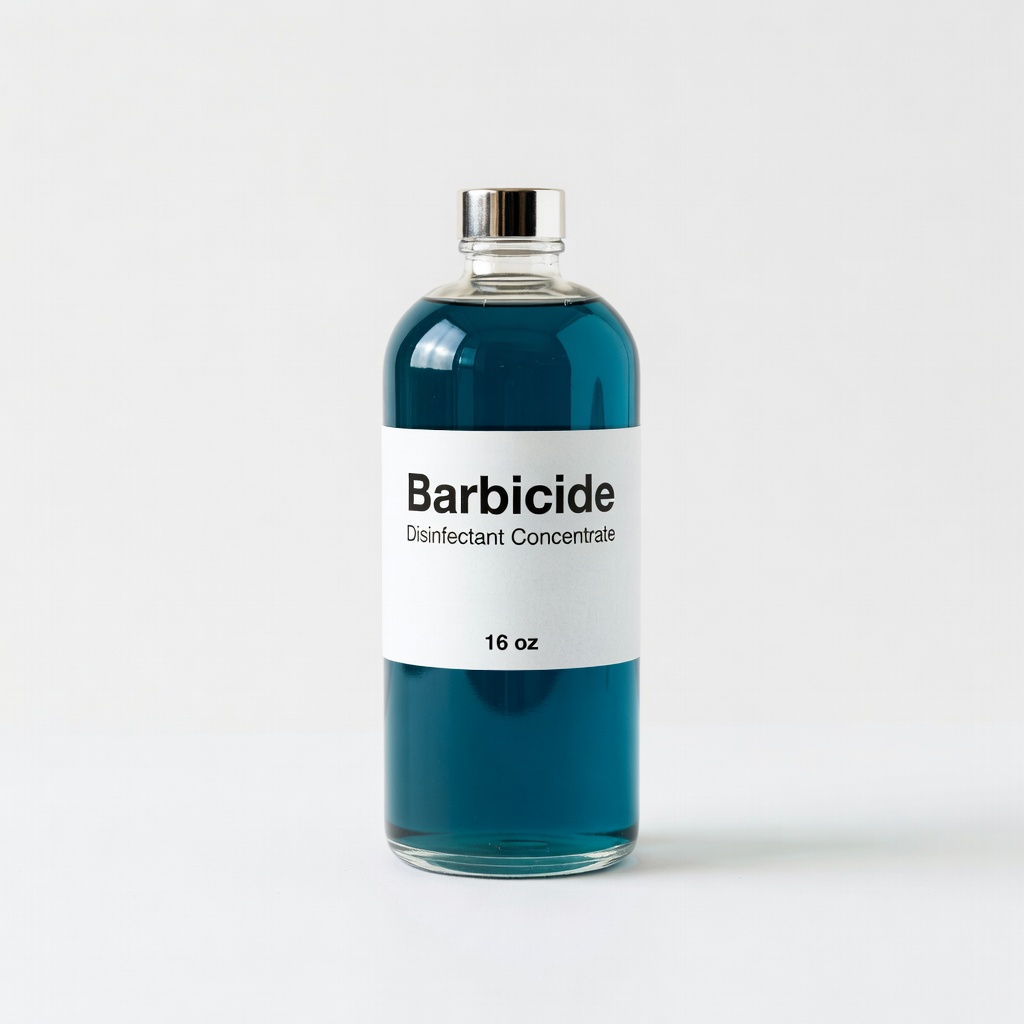
- •Barbicide or EPA-approved disinfectant (required for full sanitation)
- •Clean towels or paper towels
- •Gloves (optional, for skin protection)
- •Spray bottle (optional, for rinsing)
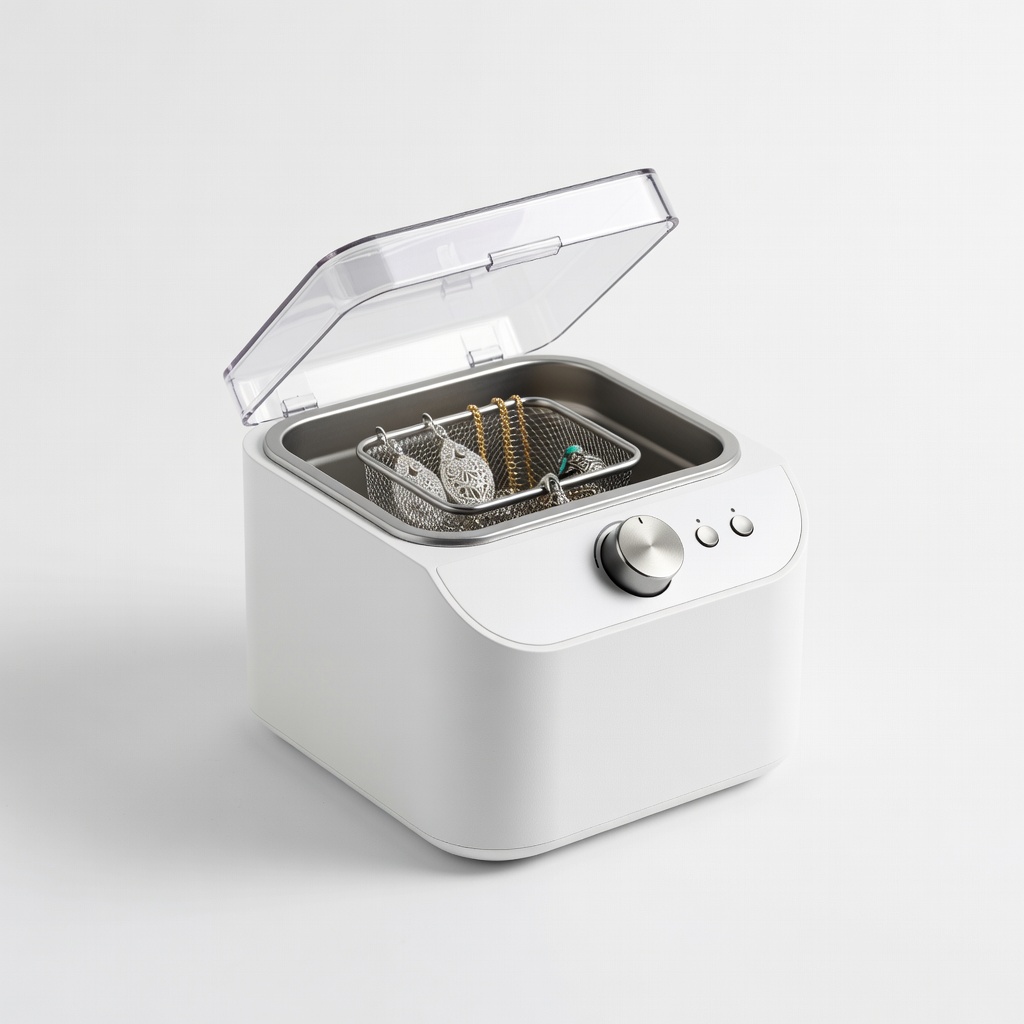
- •Ultrasonic cleaner (optional, for deep clean)
Estimated Time: 20-30 minutes per cleaning session
Difficulty: beginner
▸Step-by-Step Instructions
Step 1: Gather and Sort Your Tools
Lay out all your acrylic nail tools on a clean workspace. Separate metal tools (files, clippers) from brushes and plastic items (dappen dishes). Wipe off any visible excess acrylic powder or liquid with a dry cloth.
Why it matters: Sorting prevents cross-contamination and makes the process efficient. Expect tools to look less caked but still dirty—this is normal before washing.
Success looks like organized tools grouped by material, ready for the next step.
💡 Tips:
- •Work in a well-lit area to spot hidden residue.
Step 2: Pre-Wipe Excess Product
Use a dry or slightly damp cloth to gently wipe away bulk acrylic monomer, polymer, or dust from each tool. For brushes, squeeze out excess liquid without rinsing yet.
This removes 80% of debris without water, preserving tool integrity. You'll see chunks come off easily—what's left is finer grime for washing.
⚠️ Warnings:
- •Avoid soaking brushes dry; it can damage bristles.
Step 3: Wash with Soap and Warm Water
Fill a basin with warm water and a few drops of mild dish soap. Submerge tools (except electric ones) and agitate for 1-2 minutes. Use a soft brush to scrub crevices on files and brush bases.
Soap breaks down oils and proteins that harbor bacteria. Tools should feel slick and mostly clean, with suds turning grayish.
💡 Tips:
- •Add a teaspoon of baking soda for extra scrubbing power on stubborn spots.
Step 4: Rinse Thoroughly Under Running Water
Run each tool under hot tap water, brushing while rinsing until water runs clear—no soap bubbles or residue.
This prevents chemical buildup that weakens tools or irritates skin. Expect tools to look wet and clean but not disinfected yet.
⚠️ Warnings:
- •Don't skip; soap residue can inactivate disinfectants later.
Step 5: Prepare Disinfectant Solution
Mix Barbicide per instructions (usually 2 oz per gallon of water) in a clean container. For alcohol alternative, use 70% isopropyl.
EPA-approved disinfectants kill 99.99% of pathogens like staph and fungus—crucial for infection prevention. Solution should be clear and foamy lightly.
💡 Tips:
- •Label the container with mix date; refresh every 2 weeks.
Step 6: Soak Tools in Disinfectant
Fully submerge tools for 10 minutes (check product label). Use tongs for clippers if needed.
This targets hidden microbes. Tools emerge sanitized—smell the fresh disinfectant scent.
Step 7: Rinse, Dry, and Inspect
Rinse under cool water, pat dry with clean towels, and air-dry upright. Inspect for shine and no residue.
Moisture breeds bacteria, so full dryness is key. Success: Tools gleam like new.
⚠️ Warnings:
- •Never store damp; wait 30-60 mins.
Step 8: Store in a Clean Container
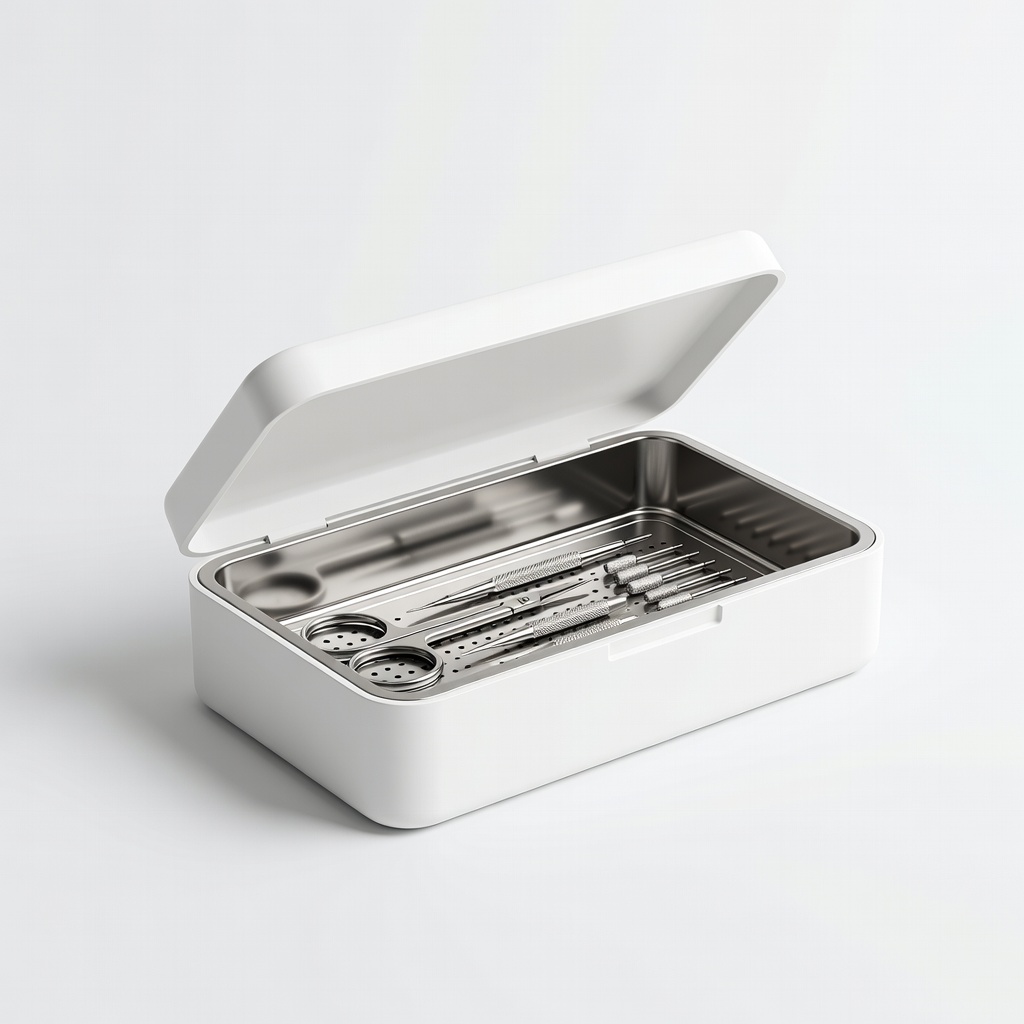
Place dried tools in a ventilated case or UV sterilizer pouch. Label with clean date.
Proper storage maintains sanitation. Your kit is now infection-proof for weeks.
💡 Tips:
- •Rotate use; clean after every session.
▸Pro Tips
- •Clean tools immediately after use to prevent hardening residue.
- •Use an ultrasonic cleaner for brushes weekly—cuts time in half.
- •Wear gloves to protect your hands from harsh chemicals.
- •Test disinfectant strength with strips for max efficacy.
- •For travel, use pre-soaked wipes between full cleans.
- •Air-dry on a rack to avoid lint from towels.
- •Track cleaning dates in a log for salon compliance.
▸Common Mistakes to Avoid
- •Skipping the disinfectant soak—soap alone doesn't kill fungi or viruses.
- •Storing tools wet—leads to rust on metal files and bacterial growth.
- •Using hot water on brushes—melts bristles over time.
- •Overloading the soak basin—tools must be fully submerged.
- •Ignoring product buildup on handles—harbors germs.
▸Troubleshooting
Problem: White residue remains after washing
Solution: Soak in acetone-diluted solution first, then repeat steps 3-4. Use a nylon brush for files.
Problem: Tools rust or corrode
Solution: Dry immediately and oil metal lightly with mineral oil. Avoid prolonged soaking.
Problem: Brushes lose shape
Solution: Reshape while damp and let air-dry hanging. Replace if frayed.
Problem: Disinfectant smells off
Solution: Discard and mix fresh batch. Seek pro if unsure of potency.
King Research Barbicide Disinfectant Concentrate, 16 oz
EPA-registered, kills HIV, hepatitis, and nail pathogens in 10 mins—gold standard for salons.
Best for: Daily soaking for full tool sets to prevent infections.
Price Range: $20-25
Magnasonic Professional Ultrasonic Jewelry Cleaner
Deep cleans crevices without scrubbing, ideal for beginners to save time.
Best for: Weekly deep clean for brushes and files.
Price Range: $35-45
Tweezerman Nail Brush Set
Durable soft bristles target tool grooves without scratching.
Best for: Scrubbing during soap wash step.
Price Range: $8-12
UV Sanitizer Box for Nail Tools
Extra layer of sterilization post-cleaning, kills remaining germs with UV light.
Best for: Storage and final sanitization.
Price Range: $25-35
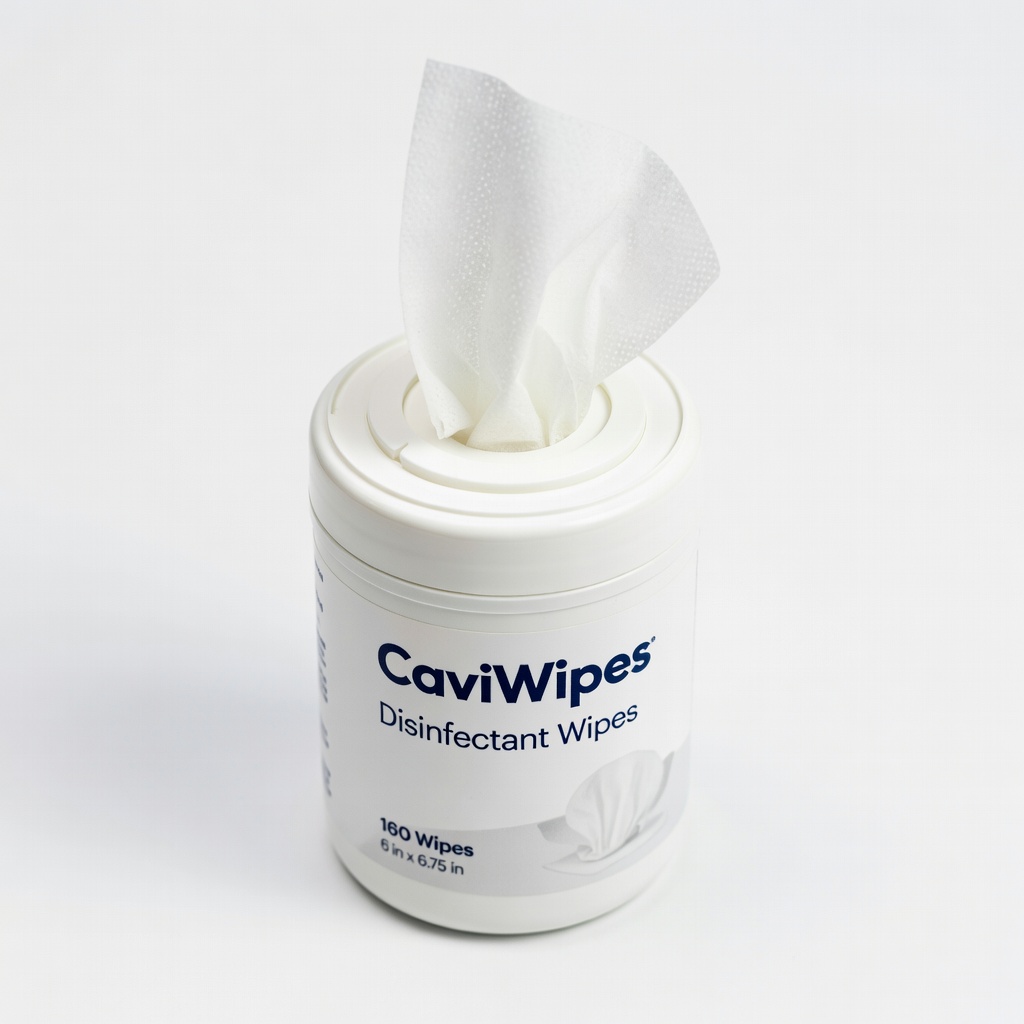
CaviWipes Disinfectant Wipes
Quick no-rinse option for on-the-go touch-ups between full cleans.
Best for: Pre-wipe or travel sanitation.
Price Range: $15-20 per canister