A dirty vacuum filter can drastically reduce your cleaner's suction power, leaving your floors dusty and your machine straining. If you've noticed weaker performance or unusual noises, it's likely time for a filter refresh. Regular cleaning prevents clogs, improves air quality, and can save you from costly repairs.
In this guide, you'll learn how to clean all types of vacuum filters—from washable foam and pleated HEPA to disposable ones—without needing advanced tools. We'll cover the process step by step, so even if you're new to vacuum maintenance, you'll feel confident. The whole task takes just 10-30 minutes and requires basic household items.
Expect a straightforward routine: unplug, remove, clean, dry, and reinstall. By the end, your vacuum will hum efficiently again, and you'll know how often to repeat this for peak performance.
▸What You'll Need
- •Your vacuum cleaner (consult the user manual for filter location)
- •Soft brush or vacuum hose attachment for dusting
- •Mild dish soap (for washable filters only)
- •Clean running water or a sink/bucket
- •Dry towels or air-drying space
- •Optional: Screwdriver or coin for filter access panels
- •Optional: Compressed air canister for hard-to-reach dust
Estimated Time: 10-30 minutes, depending on filter type and drying time
Difficulty: beginner
▸Step-by-Step Instructions
Step 1: Unplug and Prepare Your Vacuum
Start by turning off your vacuum and unplugging it from the power source to ensure safety and prevent accidents. Place the vacuum on a flat, stable surface like a table or the floor in a well-ventilated area, such as a garage or laundry room. This step matters because working with a powered device risks electric shock or injury from moving parts.
Consult your vacuum's user manual (usually found online if lost) to identify the filter type and location—most are near the base or behind a removable panel. What success looks like: Your vacuum is powered down, manual in hand, and you're ready to access internals without hassle.
Tip: If you don't have the manual, search your model number online for a digital version—it's quicker than guessing.
💡 Tips:
- •Work in a dust-free area to avoid re-contaminating the filter.
⚠️ Warnings:
- •Never clean while plugged in; electricity and water don't mix.
Step 2: Locate and Remove the Filter
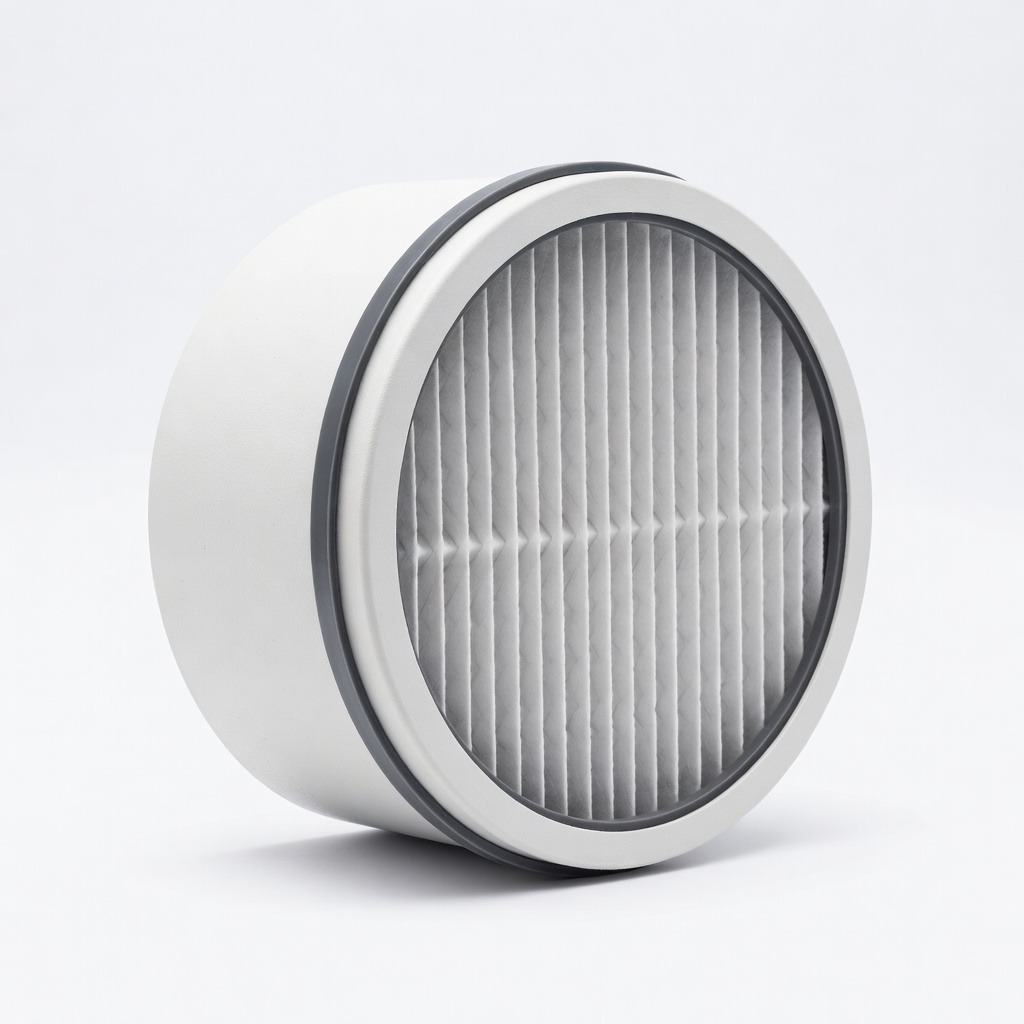
Open the access panel or compartment where the filter sits—twist, unlatch, or use a screwdriver/coin as needed. Gently pull out the filter; for bagless models, it might be in the dust cup, while uprights often have it at the base. Handle carefully to avoid bending pleats on HEPA filters.
Why this matters: Filters trap dust, allergens, and debris, so removing it exposes built-up grime that reduces airflow. Expect to see gray dust or lint; if it's caked on, that's normal but signals overdue maintenance. Success: The filter is fully removed without damage, ready for cleaning.
For disposable filters (non-washable), note if replacement is needed—don't attempt to clean them deeply.
💡 Tips:
- •Take a photo before removal to remember reassembly.
⚠️ Warnings:
- •Avoid forcing stuck filters; check for clips or screws first to prevent breakage.
Step 3: Tap Out Loose Debris
Hold the filter over a trash bin or outdoors and gently tap it against a hard surface to dislodge loose dirt. Use a soft brush or your vacuum's hose (on low suction) to whisk away surface dust from both sides. This dry method works for all types and prevents water damage to non-washable filters.
It matters because loose particles can scratch delicate materials if wet-cleaned prematurely. You'll see puffs of dust falling out—success is a noticeably cleaner filter with no visible clumps. For foam filters, squeeze lightly to release trapped bits.
Pro tip: Do this outside on windy days to minimize indoor mess.
💡 Tips:
- •Wear a mask if you're sensitive to dust clouds.
⚠️ Warnings:
- •Don't slam the filter; fragile HEPA pleats can tear easily.
Step 4: Clean Washable Filters
For foam, cloth, or pleated washable filters (check your manual), rinse under lukewarm running water. Add a drop of mild dish soap, gently agitate or swirl for 1-2 minutes, then rinse thoroughly until water runs clear. Avoid hot water or harsh chemicals, as they can degrade materials.
This step restores porosity for better airflow—clogged filters strain the motor. Expect soapy runoff initially; success is a filter that looks renewed and free of residue. Skip this for disposable paper filters; just replace them.
Dry immediately by shaking off excess water—no wringing, which can crush pleats.
💡 Tips:
- •Use a soft toothbrush for stubborn spots on pleated filters.
⚠️ Warnings:
- •Never submerge the entire filter if attached to non-removable parts; focus on the filter media only.
Step 5: Dry the Filter Completely
Lay the filter flat on a clean towel in a dry, airy spot away from direct sunlight or heat sources. Allow 24 hours for full drying—fan assistance speeds it up to 4-6 hours. Check by feeling; it should be bone-dry to prevent mold or bacterial growth.
Why it matters: Installing a damp filter traps moisture, leading to odors, reduced efficiency, or motor damage from humidity. Success: The filter feels light and dry, with no soft spots.
For quick checks, press gently; any coolness means more drying time.
💡 Tips:
- •Prop it upright for better airflow if space allows.
⚠️ Warnings:
- •Rushing this step causes 80% of post-cleaning issues—patience pays off.
Step 6: Reinstall and Test the Vacuum
Once dry, slide the filter back into its slot, ensuring it clicks or seats properly. Close panels securely. Plug in, turn on, and run on a bare floor to test suction—listen for normal motor sound without straining.
This confirms everything works; poor suction means recheck alignment. Success: Strong pull and quiet operation, like a new vacuum.
Vacuum a small area; if performance is restored, you're done!
💡 Tips:
- •Run a full clean cycle post-install to clear any residual dust.
⚠️ Warnings:
- •Misaligned filters can cause leaks—double-check the manual's diagram.
▸Pro Tips
- •Clean filters every 1-3 months based on usage—more often for pet owners or high-dust homes.
- •Use compressed air for electronics-adjacent filters to avoid moisture near motors.
- •Label your filter with cleaning dates using tape for a maintenance schedule.
- •For multi-filter vacuums, clean them all at once to save time.
- •Invest in extras: Keep a spare to swap while one dries.
- •Gentle handling extends filter life—treat pleats like fine china.
- •Combine with emptying the dust bin for a full refresh.
▸Common Mistakes to Avoid
- •Using hot water on washable filters, which warps materials and reduces effectiveness—stick to lukewarm.
- •Installing a damp filter, leading to mold and odors—always wait 24 hours or use a fan.
- •Forgetting to unplug first, risking shocks or voiding warranties—safety first.
- •Over-soaping during rinse, leaving residue that clogs pores—rinse until crystal clear.
- •Ignoring the manual, causing improper removal and damage—download it if needed.
▸Troubleshooting
Problem: Filter won't budge or is stuck
Solution: Gently wiggle while checking for hidden latches; apply light pressure with a flat tool. If broken, contact manufacturer for warranty.
Problem: Suction still weak after cleaning
Solution: Inspect for tears or improper seating; clean other parts like the hose. Test without attachments.
Problem: Filter smells musty post-clean
Solution: It wasn't fully dry—air out longer or bake at low heat (100°F) in an oven for 30 mins if material-safe.
Problem: Dust blows back out
Solution: Filter may be damaged or the wrong type—replace it. Ensure seals are tight.
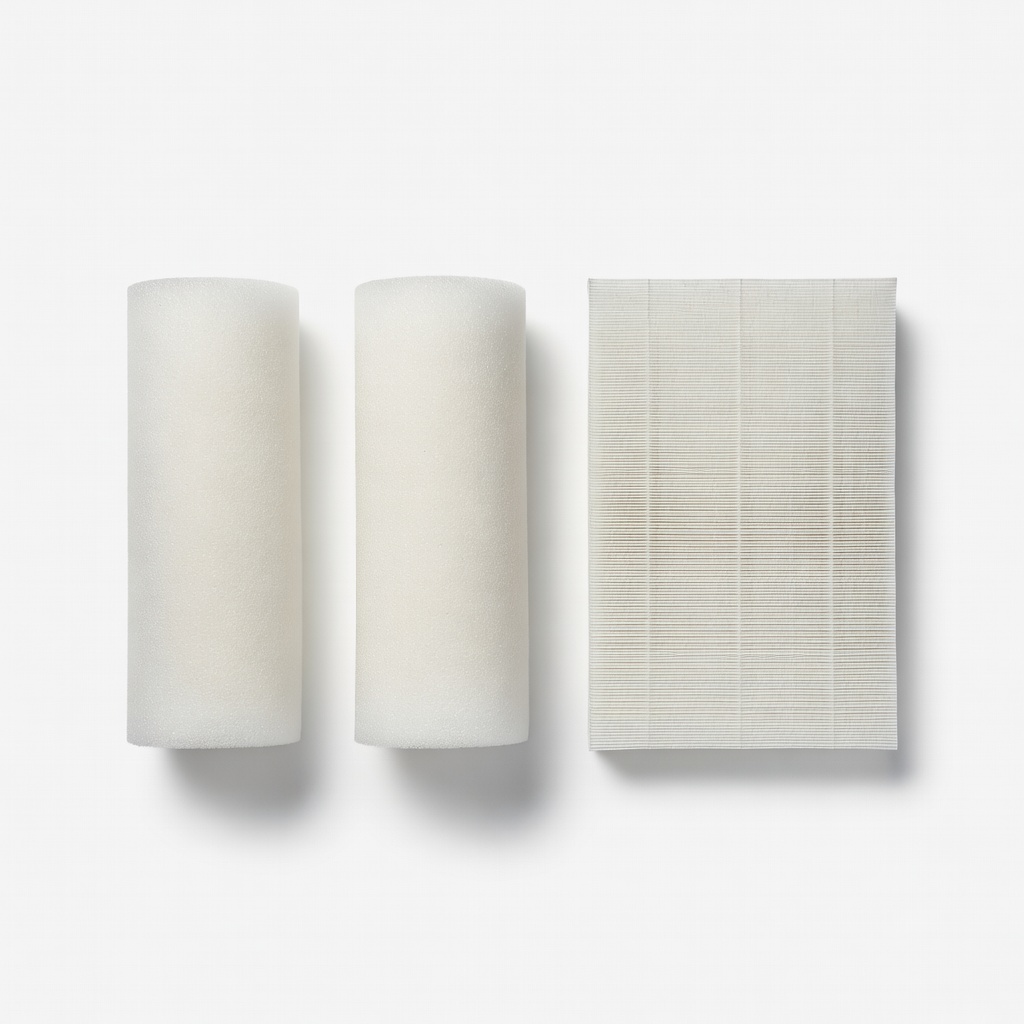
Bissell Washable Filter Kit
Affordable, reusable filters designed for easy cleaning, compatible with many upright models to maintain HEPA-level filtration.
Best for: Ideal for bagless vacuums needing frequent rinses; swap in while cleaning the original.
Price Range: $10-20
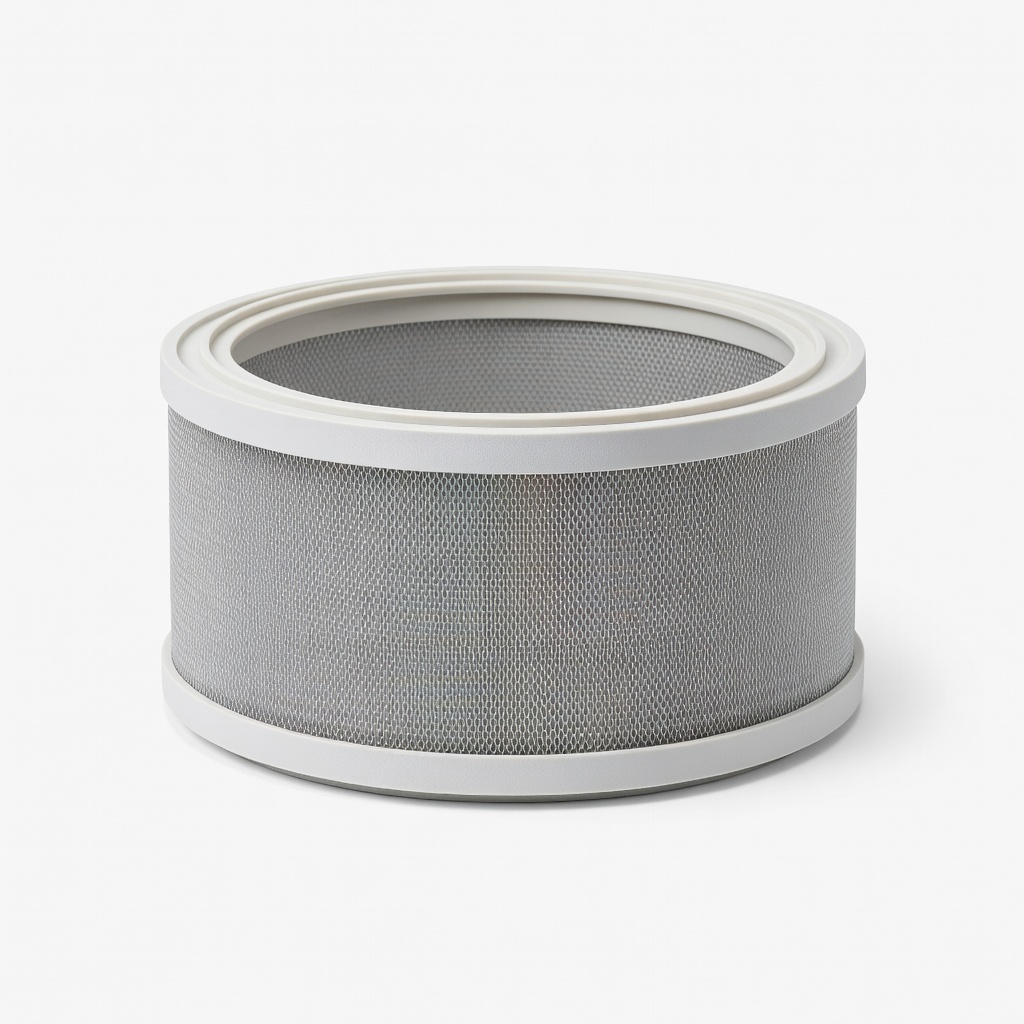
Dyson HEPA Replacement Filter
High-quality, pleated design captures 99.97% of allergens; easy to clean and restores cordless vacuum performance.
Best for: For Dyson owners with pet hair or allergies; clean quarterly for optimal airflow.
Price Range: $20-40
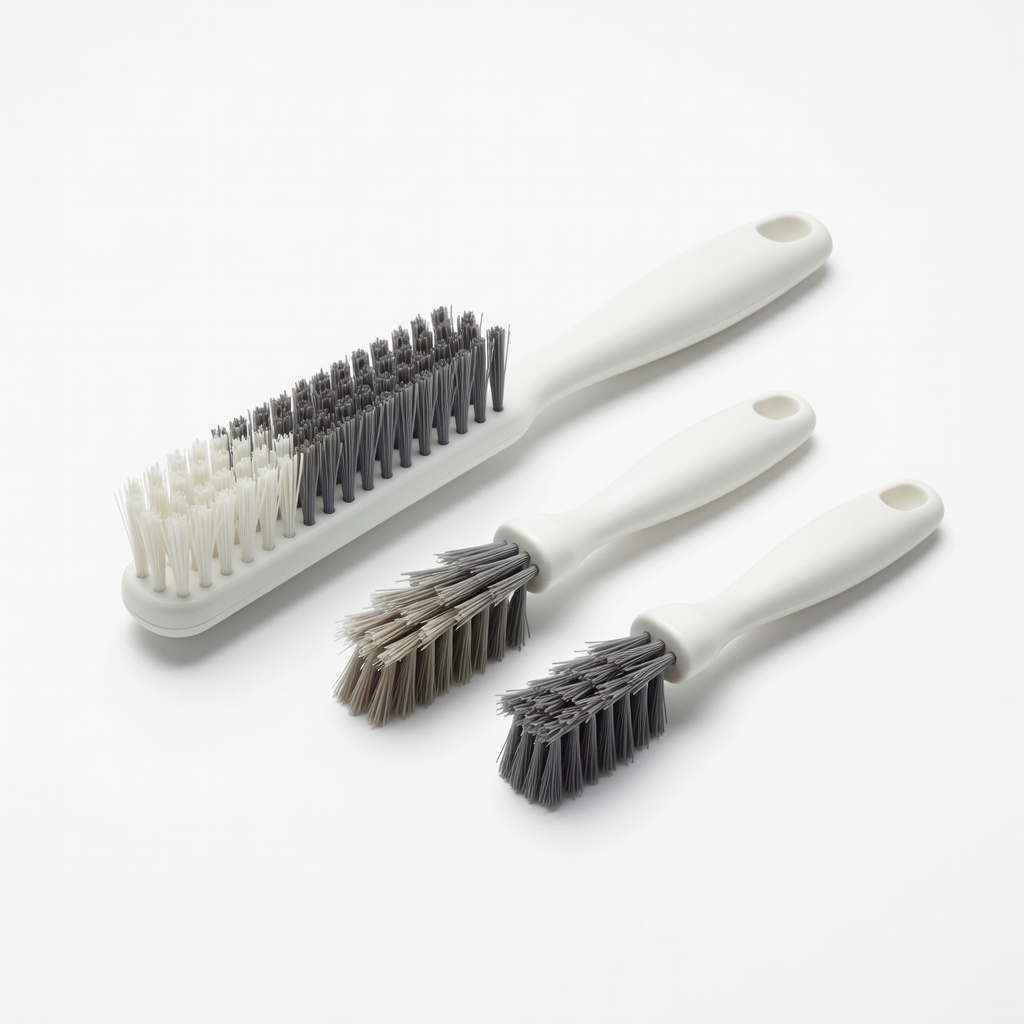
Hoover Vacuum Filter Cleaning Brush Set
Soft-bristled tools remove dust without damage, perfect for beginners tackling all filter types.
Best for: Use during the tapping step for stubborn debris on foam or pleated filters.
Price Range: $5-15
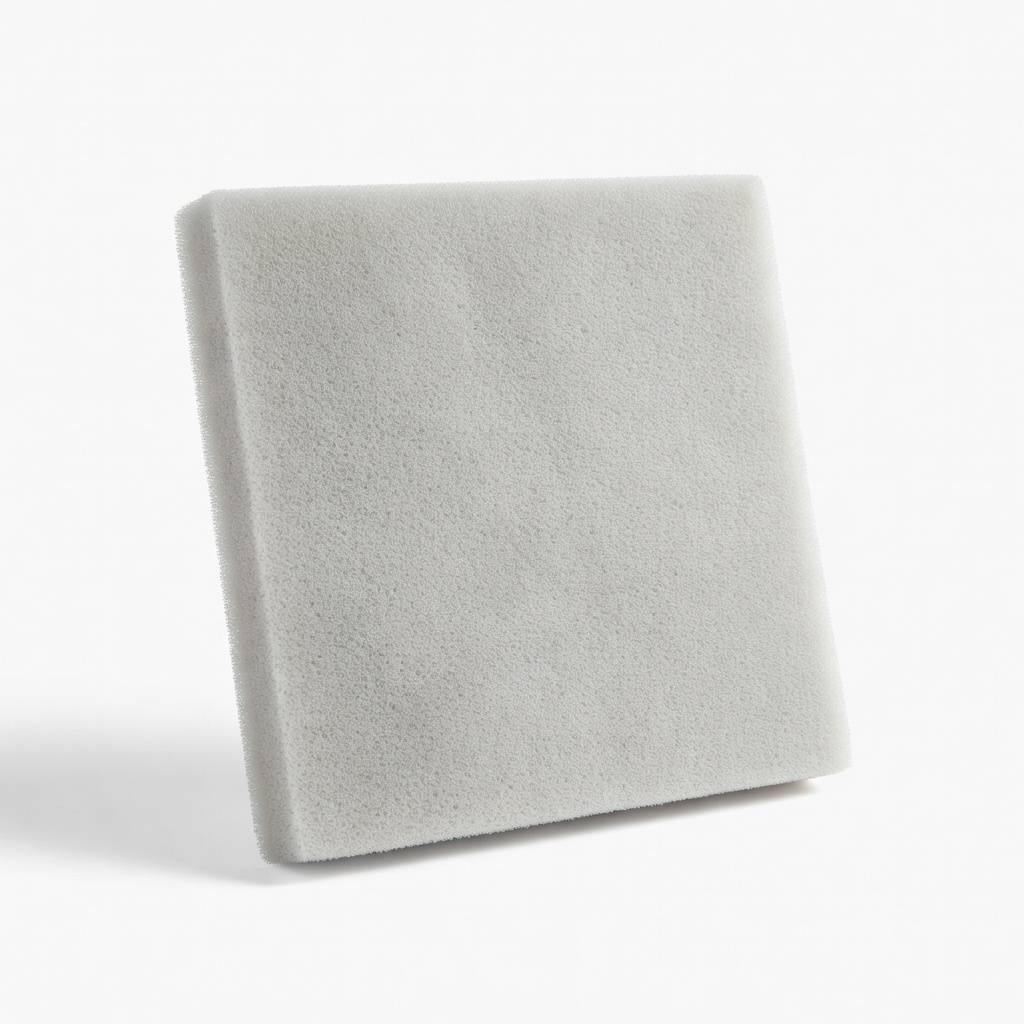
Shark Washable Foam Filter
Durable and machine-washable option for Shark vacuums, preventing clogs in high-traffic homes.
Best for: Budget-friendly upgrade for canister models; clean monthly to avoid motor strain.
Price Range: $15-25
Dirt Devil Allergen HEPA Filter
Traps fine particles effectively and is vacuum-sealable for dry cleaning, extending usability.
Best for: For allergy sufferers; ideal semi-disposable for lightweight stick vacuums.
Price Range: $10-20