If you've been grinding through epic gaming sessions on your PS5, you've probably noticed your DualSense controller getting sticky from sweat, dust, and snack crumbs. A dirty controller can lead to unresponsive buttons, drifting analog sticks, or even hygiene issues, ruining your immersion. Regular cleaning not only restores its sleek look but also prevents long-term damage, ensuring smooth controls for your next boss fight.
In this guide, you'll learn a simple, step-by-step process to clean your PS5 controller safely at home. We'll cover everything from gathering tools to testing functionality afterward. No advanced skills needed—just basic household items and a bit of patience. The whole process takes about 10-15 minutes and is perfect for beginners, helping you maintain your gear without voiding warranties.
▸What You'll Need
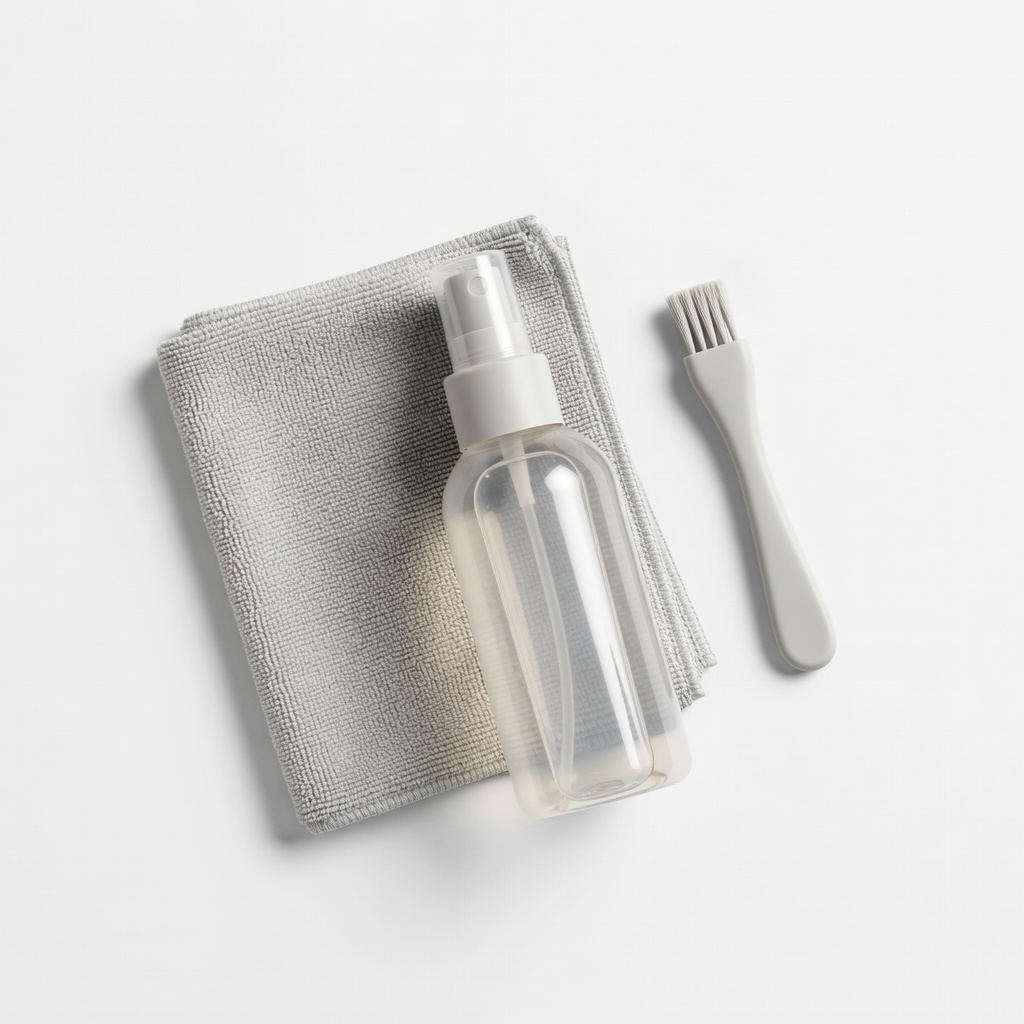
- •Microfiber cloth (soft and lint-free)
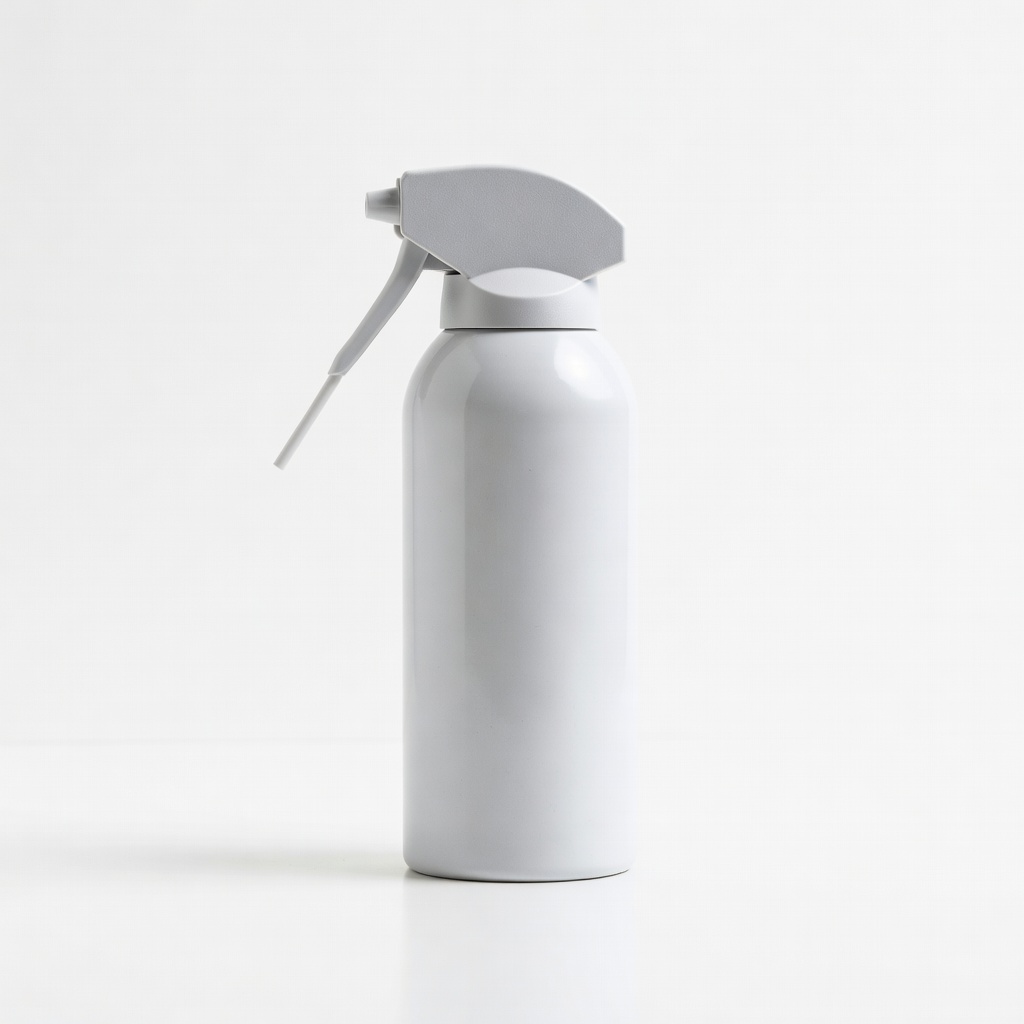
- •70% isopropyl alcohol (required for safe disinfection)
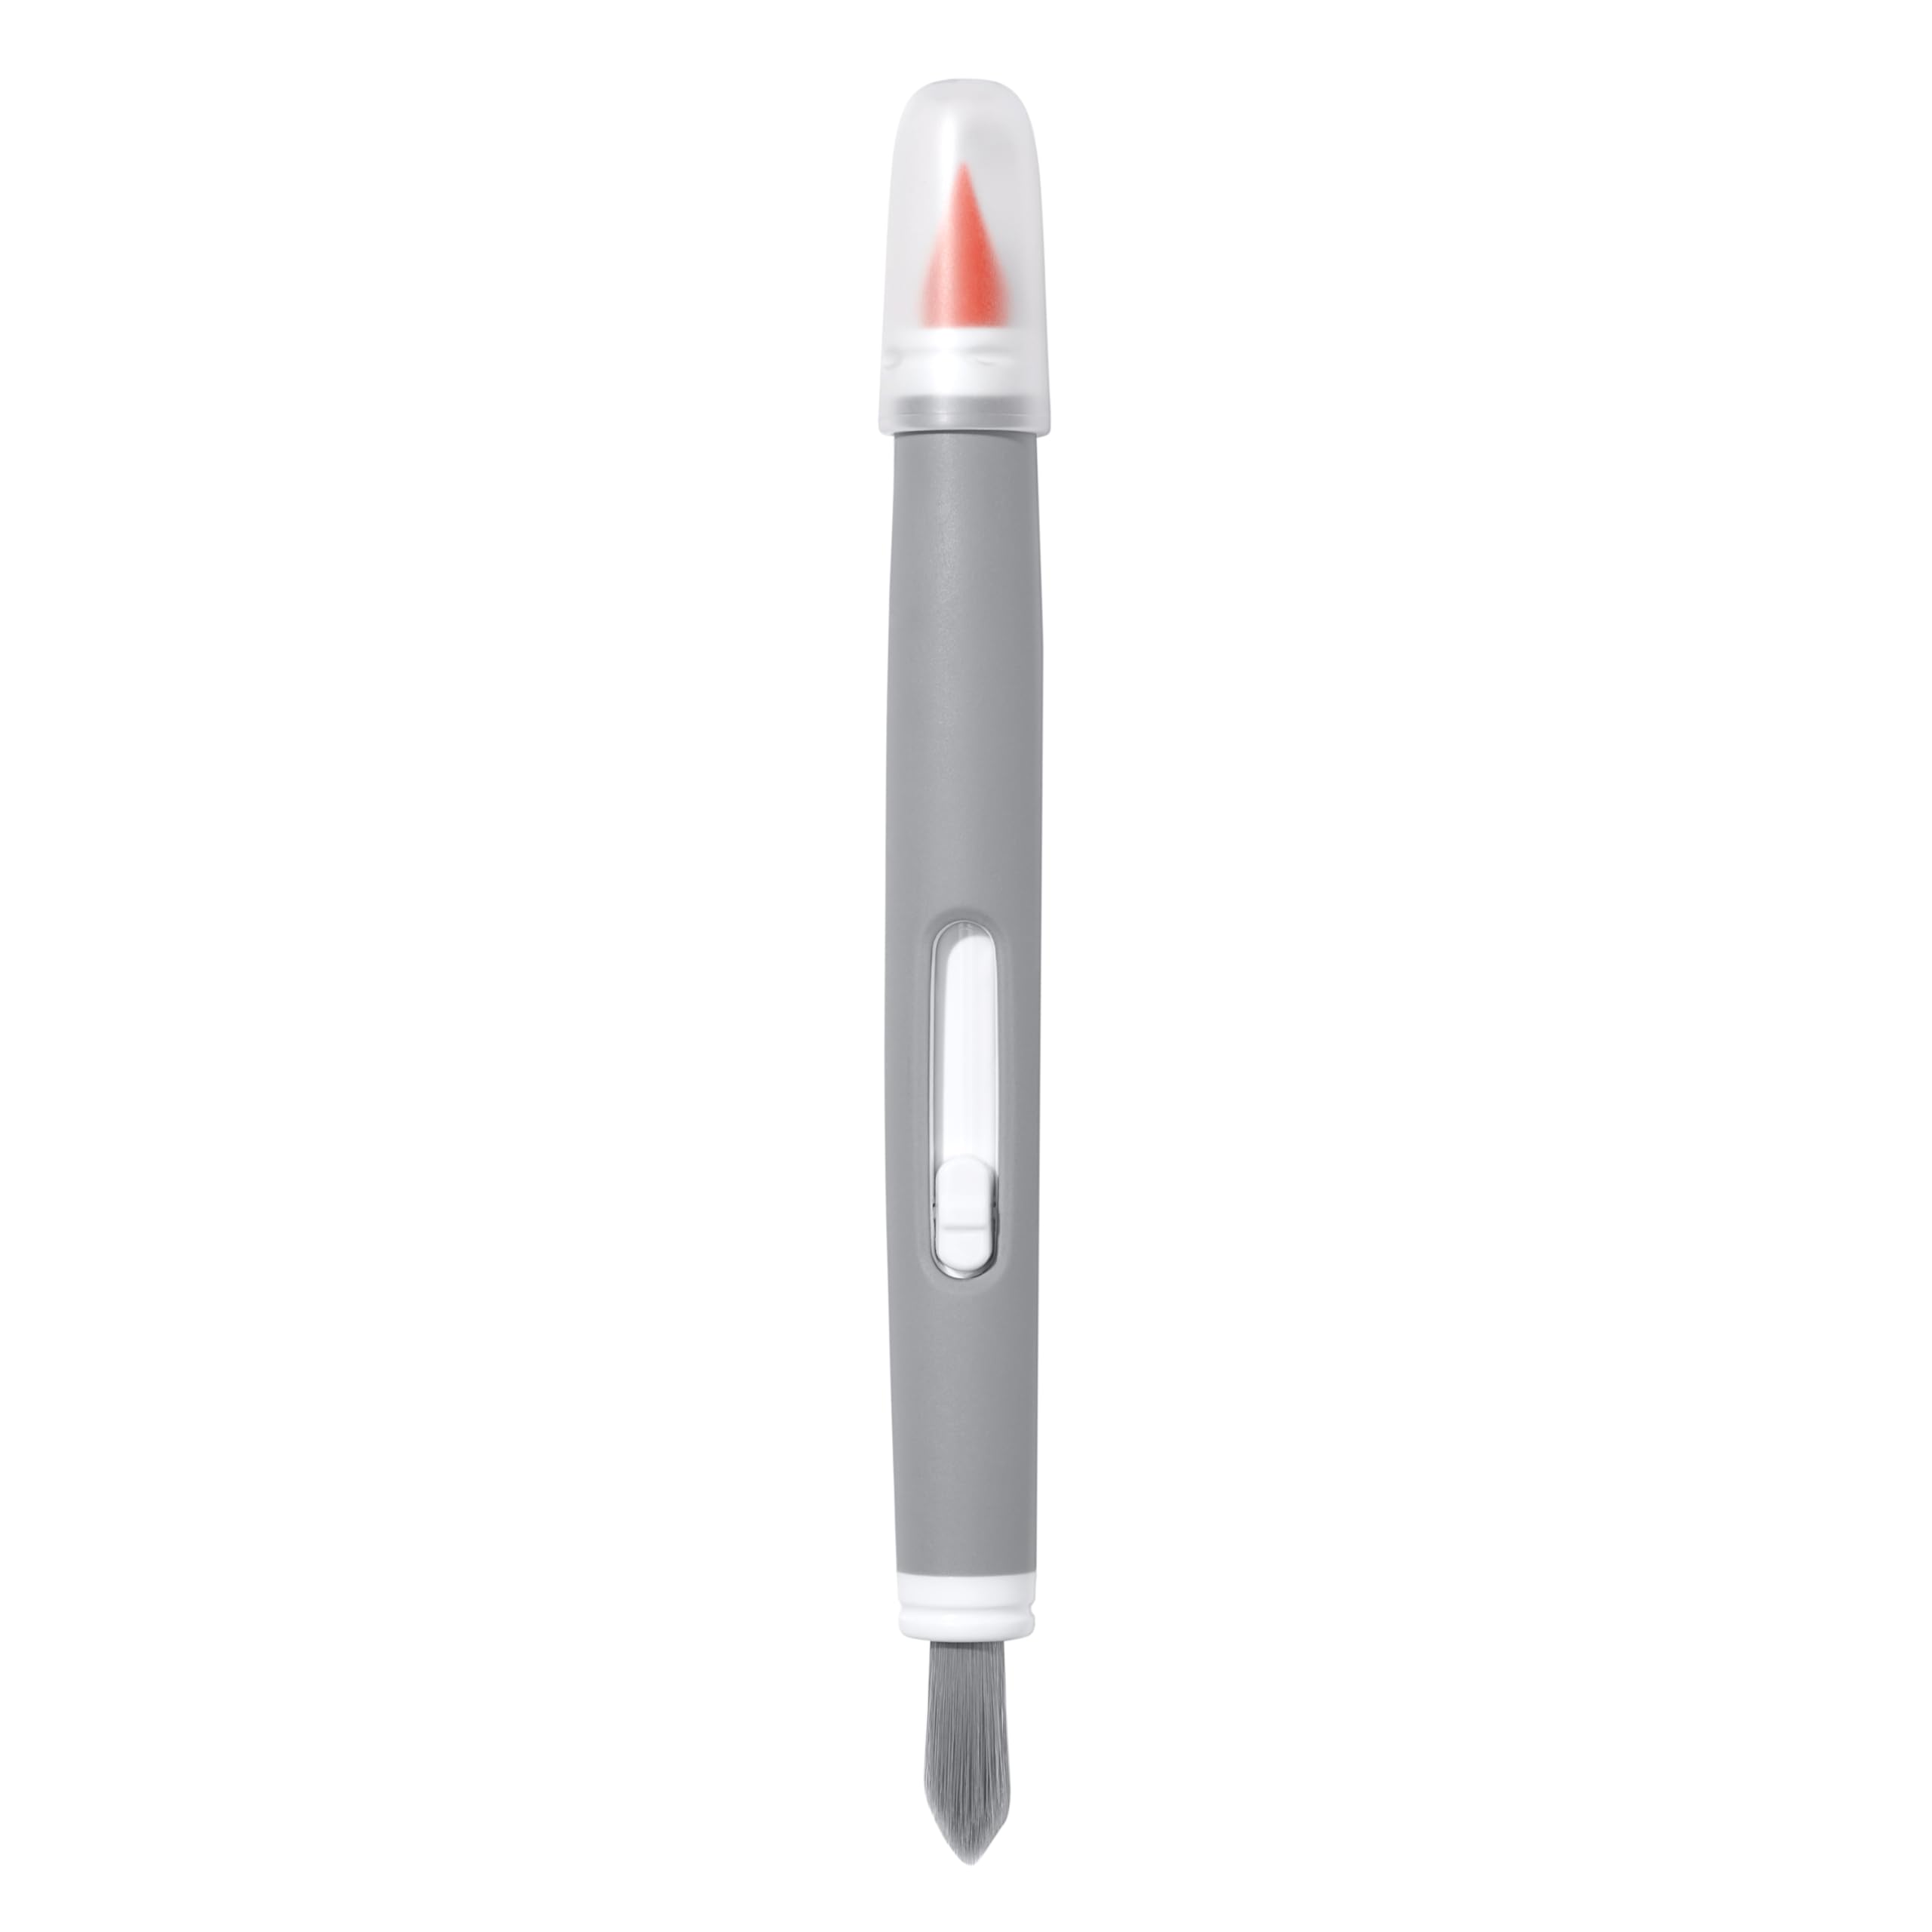
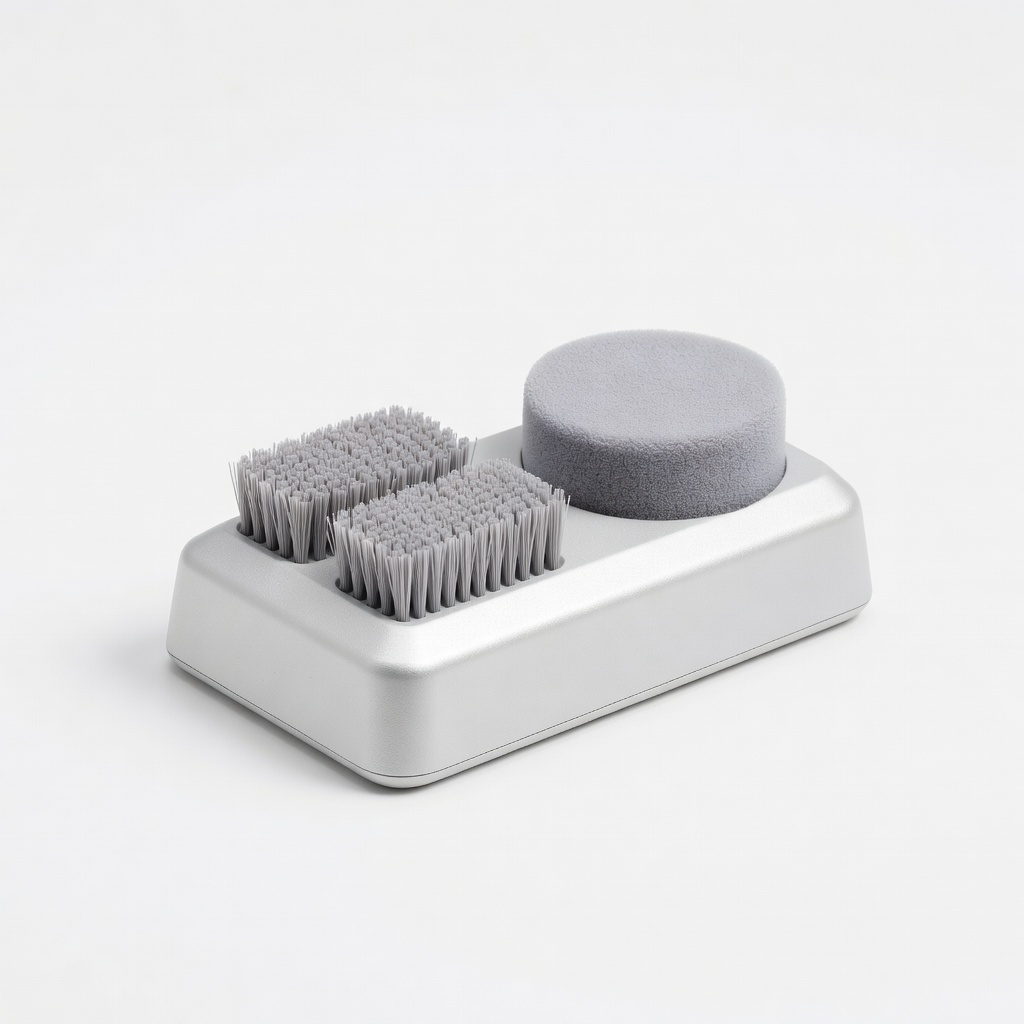
- •Cotton swabs or soft-bristled toothbrush (for crevices)
- •Compressed air canister (optional, for dust removal)
- •Distilled water (optional, to dilute alcohol if needed)
- •Small bowl or container for solutions
Estimated Time: 10-15 minutes
Difficulty: beginner
▸Step-by-Step Instructions
Step 1: Power Off and Disconnect the Controller
Start by turning off your PS5 console and unplugging the controller from any charging cable or USB connection. If it's wireless, press the PS button to ensure it's fully powered down. This prevents accidental inputs or electrical issues during cleaning.
Why it matters: Cleaning with the controller on could cause shorts or damage internals. Expect the controller to feel familiar in your hand, now ready for a deep clean without interference.
Hold the controller in a well-lit area on a flat surface like a table covered with a soft cloth to avoid scratches.
💡 Tips:
- •Work in a dust-free room to prevent new particles from settling.
⚠️ Warnings:
- •Never clean while connected to power—risk of short-circuiting.
Step 2: Remove Any Attachments or Covers
If your controller has any custom skins, grips, or faceplates, gently peel them off. For the standard DualSense, check for any debris around the edges. Shake the controller lightly over a trash bin to dislodge loose particles.
This step ensures you can access all surfaces evenly. You'll notice any obvious dirt or crumbs falling out, making the rest of the cleaning more effective.
Be gentle to avoid stretching or tearing attachments.
💡 Tips:
- •Take a photo before removal to remember how pieces fit back.
⚠️ Warnings:
- •Avoid using sharp tools to pry off covers—could scratch the plastic.
Step 3: Wipe the Exterior with a Dry Cloth
Use the microfiber cloth to gently wipe the entire outer surface of the controller, including the back, sides, and grips. Focus on textured areas where fingerprints and oils accumulate.
Dry wiping removes surface dust and light grime without moisture, which is safer for electronics. Success here: The controller should look less smudged and feel smoother to the touch.
Apply light pressure in circular motions for even coverage.
💡 Tips:
- •Breathe on the cloth lightly for static dust attraction if needed.
⚠️ Warnings:
- •Don't rub too hard on glossy areas to prevent micro-scratches.
Step 4: Clean Buttons and D-pad with Alcohol-Dampened Swab
Dampen a cotton swab with 70% isopropyl alcohol (just a drop—don't soak it) and gently clean around the face buttons (X, O, Square, Triangle), D-pad, and share button. Press each button a few times while wiping to work the solution into crevices.
Alcohol evaporates quickly and kills bacteria without leaving residue, unlike water. Expect buttons to feel crisp and less sticky after this.
Let the alcohol air-dry for 30 seconds between buttons to avoid spreading liquid.
💡 Tips:
- •Use a fresh swab for each section to prevent cross-contamination.
⚠️ Warnings:
- •Avoid excess liquid—too much can seep inside and damage circuits.
Step 5: Scrub Analog Sticks and Triggers
For the analog sticks, rotate them fully while wiping the base with an alcohol-dampened swab or soft toothbrush. Clean the adaptive triggers by sliding a swab along the edges without forcing them.
This targets sweat and oils that cause drift. You'll feel the sticks move more freely, indicating success.
If using compressed air, blow short bursts around the bases to clear hidden dust first.
💡 Tips:
- •Twirl the swab around the stick base for thorough coverage.
⚠️ Warnings:
- •Don't pull or twist sticks forcefully—could dislodge internals.
Step 6: Clean the Charging Port and Microphone
Use compressed air or a dry swab to remove dust from the USB-C port and microphone hole. If needed, lightly dampen a swab with alcohol for stubborn grime, but be precise.
Ports collect lint easily, affecting charging. Success: Clear visibility inside the port with no blockages.
Insert the swab shallowly to avoid pushing debris deeper.
💡 Tips:
- •Test charging after to ensure no residue blocks connection.
⚠️ Warnings:
- •Never use metal tools in ports—risk of bending pins.
Step 7: Dry and Reassemble the Controller
Allow the controller to air-dry for 5-10 minutes in a well-ventilated area. Reattach any covers or skins once fully dry.
Drying prevents moisture-related issues. The controller should smell fresh and look brand new.
Wipe one final pass with a dry cloth for shine.
💡 Tips:
- •Place it near a fan on low speed to speed up drying.
⚠️ Warnings:
- •Don't use heat sources like hairdryers—could warp plastic.
Step 8: Test Functionality
Power on your PS5, connect the controller, and test all buttons, sticks, and triggers in a game or menu. Check for responsiveness and any unusual noises.
This verifies the clean didn't cause issues. Everything should work as before or better.
If wireless, pair it via Bluetooth if needed.
💡 Tips:
- •Play a quick level to simulate real use.
⚠️ Warnings:
- •If issues persist, repeat cleaning or check for deeper problems.
▸Pro Tips
- •Clean weekly if you game daily to prevent buildup.
- •Use distilled water mixed 50/50 with alcohol for sensitive surfaces.
- •Store controller in a dust-free case post-cleaning.
- •For heavy use, focus extra on analog sticks where oils accumulate most.
- •Wear gloves if you have oily skin to minimize new residue.
- •Combine cleaning with firmware updates for optimal performance.
- •Label swabs with alcohol concentration to reuse safely.
▸Common Mistakes to Avoid
- •Using too much liquid, which can seep into internals and cause corrosion—dilute and dab sparingly.
- •Skipping the drying step, leading to sticky residue or shorts—always wait 5-10 minutes.
- •Forcing tools into ports or buttons, potentially damaging components—use gentle pressure only.
- •Cleaning while powered on, risking electrical shorts—always disconnect first.
- •Ignoring attachments, trapping dirt underneath—remove them every time.
▸Troubleshooting
Problem: Analog stick feels sticky after cleaning
Solution: Repeat step 5 with a fresh alcohol swab and rotate more thoroughly; if persists, it may need professional repair for drift.
Problem: Buttons not responding post-clean
Solution: Ensure fully dry and test connection; wipe excess alcohol if any remains—avoid over-cleaning.
Problem: Dust returns quickly
Solution: Use compressed air more frequently and store in a protective case; clean your gaming area too.
Problem: Controller won't charge
Solution: Clear port debris again and test cable/port; if issue continues, consult Sony support.
iKlear Electronics Cleaning Kit
Includes pre-moistened wipes and microfiber cloth safe for plastics, preventing scratches and residue.
Best for: Ideal for quick, no-fuss exterior and button cleaning without measuring alcohol.
Price Range: $10-15
OXO Good Grips Electronics Cleaning Brush
Soft bristles reach crevices without damage, perfect for analog sticks and ports.
Best for: Use for dry brushing dust before alcohol application on textured areas.
Price Range: $8-12
Amazon Basics 70% Isopropyl Alcohol Wipes
Convenient, individually wrapped wipes for precise disinfection without spilling.
Best for: Great for on-the-go touch-ups or if you prefer wipes over swabs.
Price Range: $5-10 for 100-pack
Dust-Off Compressed Air Duster
Powerful yet safe blasts remove hidden dust from ports and vents effectively.
Best for: Essential for initial dust clearance in hard-to-reach spots.
Price Range: $7-10
Controller Gear Controller Cleaning Stand
Holds controller upright for even drying and storage, reducing dust re-accumulation.
Best for: Post-cleaning display to keep it organized and clean longer.
Price Range: $15-20