Does your microwave look like a science experiment gone wrong? Burnt-on sauce, greasy splatters, and mystery residue are a common kitchen frustration. Harsh chemical sprays can leave fumes that linger and transfer onto food. The good news: a fresh lemon and a bowl of water can solve all of it naturally.
In this step-by-step guide, you'll learn the classic 'lemon steam' method. By heating lemon-infused water until boiling, the steam condenses on every surface inside your microwave, loosening baked-on grime, dissolving grease, and absorbing odors. All that's left is a quick wipe-down.
This beginner-friendly method takes about 10 to 15 minutes total and uses supplies you likely already own. Let's make your microwave sparkle — naturally.
▸What You'll Need
- •1-2 fresh lemons (or 2–3 tablespoons of bottled lemon juice)
- •A large microwave-safe bowl or glass measuring cup (4-cup capacity recommended)
- •Water
- •Oven mitts or a thick kitchen towel (for removing the hot bowl)
- •A clean sponge or microfiber cloth
- •Dish soap (for washing the turntable)
- •Optional: baking soda (for stubborn spots)
- •Optional: a small scrub brush or toothpick (for crevices)
Estimated Time: 10–15 minutes total (5 minutes prep, 5–6 minutes steaming, 5 minutes wiping and washing)
Difficulty: beginner
▸Step-by-Step Instructions
Step 1: Prep the Lemon Water Solution
Fill a large, microwave-safe bowl with 1 cup of water. If you're using a fresh lemon, roll it on the counter with your palm to release the juices, then slice it in half. Squeeze the juice from both halves into the water, and drop the squeezed halves into the bowl as well — the peel contains citrus oils that boost the cleaning power.
If you're using bottled lemon juice, add 2 to 3 tablespoons to the water. The citric acid in lemon juice is a natural degreaser that cuts through the film and residue left by food. For extra grime-busting power, add a splash of white vinegar to the mix.
💡 Tips:
- •Use warm water from the tap to speed up the heating time.
- •Give the bowl a quick stir to mix the lemon juice evenly.
⚠️ Warnings:
- •Never use a metal bowl or metal utensils — they can cause sparks in the microwave.
Step 2: Place the Bowl in the Microwave
Set the bowl in the center of the microwave's turntable, or slightly off-center if your microwave has no turntable. Check that the bowl is stable and won't tip over during rotation. If you have a turntable, rotate it by hand a little to make sure the bowl clears the sides.
The squeezed lemon halves should stay in the water — they'll continue to release citrus oils as the water heats, making the steam more effective. If you're worried about splatter, place the bowl on a microwave-safe plate to catch any boil-over.
💡 Tips:
- •Shift the bowl to the back corner if your turntable is crooked or wobbly.
⚠️ Warnings:
- •Make sure the bowl is not touching the walls or ceiling of the microwave.
Step 3: Heat the Solution Until the Window Fogs Up
Close the microwave door and heat on high power for 3 to 5 minutes. You'll know it's working when the window fogs up with steam and you can see the water boiling inside. For low-wattage microwaves (under 1000W), go with 5 minutes; for high-wattage microwaves (1200W or more), start with 3 minutes.
Once the timer goes off, resist the urge to open the door. Leave the microwave shut for 2 to 3 minutes. This steeping period is crucial: it lets the steam condense on the walls, ceiling, and door, soaking into dried food and softening it. The longer you let it sit, the less scrubbing you'll need.
💡 Tips:
- •For heavily soiled microwaves, heat for the full 5 minutes and wait 5 full minutes before opening.
- •The interior should be noticeably steamy and the water should be boiling when you check through the window.
⚠️ Warnings:
- •Keep children and pets away from the microwave during and immediately after heating — the steam is extremely hot and can cause burns.
- •Do not open the door right away; you risk a burst of hot steam in your face.
Step 4: Carefully Remove the Bowl
Open the door slowly and step back to allow the steam to escape. Using oven mitts or a thick kitchen towel, carefully lift the bowl out of the microwave. Do not touch the rim or the bottom — the bowl and the water inside will be boiling hot. Set the bowl down on a heat-safe surface, such as a trivet, folded towel, or stove top.
The leftover lemon water is still useful. Once it has cooled for a few minutes, you can dip a sponge into it for extra cleaning power while wiping down the interior, or use it later to clean countertops. Just remember, it's acidic, so don't pour it on natural stone surfaces without diluting it.
💡 Tips:
- •Keep the bowl away from the edge of the counter to avoid accidental burns.
- •If you used a plate under the bowl, it will also be hot — handle it carefully.
⚠️ Warnings:
- •Never pick up the bowl with bare hands. Even brief contact with the water can cause burns.
Step 5: Wipe Down the Interior
Dip a clean sponge or microfiber cloth into the warm lemon water (or plain warm water) and wring it out well. Start wiping from the top of the microwave down toward the bottom — the ceiling will be covered with condensed steam and potentially loosened, drippy grime. The softened food should come off with little effort.
Work your way around all four walls, the floor, and the inside of the door, including the glass window and the rubber seal. For tight corners and small vents, a cotton swab, toothpick, or a small scrub brush can dislodge stubborn bits. Once you've wiped everything, go back over with a clean, damp cloth to remove any leftover lemon film.
💡 Tips:
- •Wring out your sponge regularly so you're not just spreading dirty water around.
- •For a streak-free glass door, finish with a dry microfiber cloth.
⚠️ Warnings:
- •Be gentle around the door seal — pulling or stretching it can damage the seal and cause heat to leak.
Step 6: Wash the Turntable and Roller Ring
The steam cleans the interior walls, but the glass turntable and roller ring were underneath the bowl and missed most of the action. Remove them from the microwave and wash them in the sink with warm, soapy water. Most glass turntables are also dishwasher-safe, so you can just toss them in on your next load.
Dry the parts thoroughly before putting them back in the microwave. Using a towel ensures there are no water spots and that the roller ring slides smoothly. Reassemble the turntable, making sure it's seated correctly so it rotates without wobbling.
💡 Tips:
- •Check your owner's manual to confirm whether the turntable is dishwasher-safe.
- •For a little extra shine, add a few drops of lemon juice to the rinse water.
⚠️ Warnings:
- •Never put the turntable back into the microwave while it's wet, as excess moisture can sit in the crevices and lead to mildew.
Step 7: Do a Final Pass and Enjoy the Fresh Scent
Do a final wipe over all surfaces with a clean, damp cloth to pick up any remaining sticky lemon residue and ensure the microwave is residue-free. If you want a light, lingering citrus scent, skip a few spots and let the lemon do its magic. Close the door and your microwave is ready for use.
If you're dealing with a lingering burnt smell, don't be afraid to leave the now-cooled bowl of lemon water in the microwave for a few hours or overnight. The lemon will continue to absorb odors naturally. And for everyday maintenance, this routine takes only a few minutes once a week.
💡 Tips:
- •Consider placing a small bowl of fresh lemon peel and water in the microwave whenever it's not in use — it works as a natural deodorizer.
- •Use a toothpick to clean the little grease-lip around the inside of the door frame.
⚠️ Warnings:
- •Make sure the interior is fully dry before closing the door; damp environments encourage mildew.
▸Pro Tips
- •Roll the lemon on the counter before cutting — it breaks down the cells inside and yields more juice.
- •Drop the lemon rinds into the water. Citrus oils in the peel are natural degreasers that boost the steam's cleaning power.
- •Add a splash of white vinegar to the lemon water for a powerful grease-cutting boost.
- •Always give the microwave a few extra minutes to sit after heating — the longer the steam condenses, the less scrubbing you'll do.
- •Keep a dedicated microfiber cloth for microwave cleaning so you don't cross-contaminate with dish sponges.
- •Use the leftover warm lemon water to wipe the outside of your microwave, including the keypad and handle.
- •To prevent splatters in the first place, place a paper towel over food — but never cover the vents entirely.
▸Common Mistakes to Avoid
- •Opening the door immediately after the heating cycle — the sudden burst of hot steam can burn your face and arms. Let it sit for at least 2–3 minutes.
- •Using a bowl that's too small — the water can boil over and create a messy, sticky situation. Use at least a 4-cup bowl or measuring cup.
- •Scrubbing before the steam has done its job — dried-on food needs time to soften. If you're scrubbing hard, reheat and wait instead.
- •Forgetting the ceiling — steam condenses at the top, so the ceiling is often the dirtiest part of a microwave. Don't skip it.
- •Leaving the hot glass bowl on a cold surface (like a wet counter) — thermal shock can crack the glass. Use a trivet or folded towel.
▸Troubleshooting
Problem: Water hasn't boiled after 5 minutes.
Solution: Make sure the microwave is set to high power and that you're starting with warm water. If the microwave is taking unusually long to heat, it may need servicing.
Problem: Stubborn spots remain after cleaning.
Solution: Make a paste of baking soda and water, apply it to the spots, and let it sit for 5 minutes before scrubbing. You can also repeat the lemon-steam process for a longer period.
Problem: Burnt smell lingers after cleaning.
Solution: Leave the cooked lemon water (or a new batch with fresh lemon slices) in the microwave overnight. Citrus is a natural odor absorber.
Problem: Water boiled over and made a bigger mess.
Solution: Let the microwave cool, then wipe up the sticky liquid with a warm, damp cloth. Next time, use a larger bowl and maybe reduce the heating time to start.
Problem: Rust or brown spots on the interior.
Solution: These are usually from food residue or water marks. Wipe with a cloth dipped in white vinegar, then rinse well with warm water. If rust has bubbled the paint inside, the oven may be in need of professional inspection.
Problem: A spark or arcing happens while heating the lemon water.
Solution: This usually means something metal is in the bowl or touching the walls. Stop the microwave immediately, remove any metal, and make sure the bowl is centered.
Problem: The microwave is not heating at all after cleaning.
Solution: This is almost certainly an electrical issue rather than a cleaning one. Unplug the microwave and contact a qualified service technician. Do not attempt to repair the high-voltage components yourself.
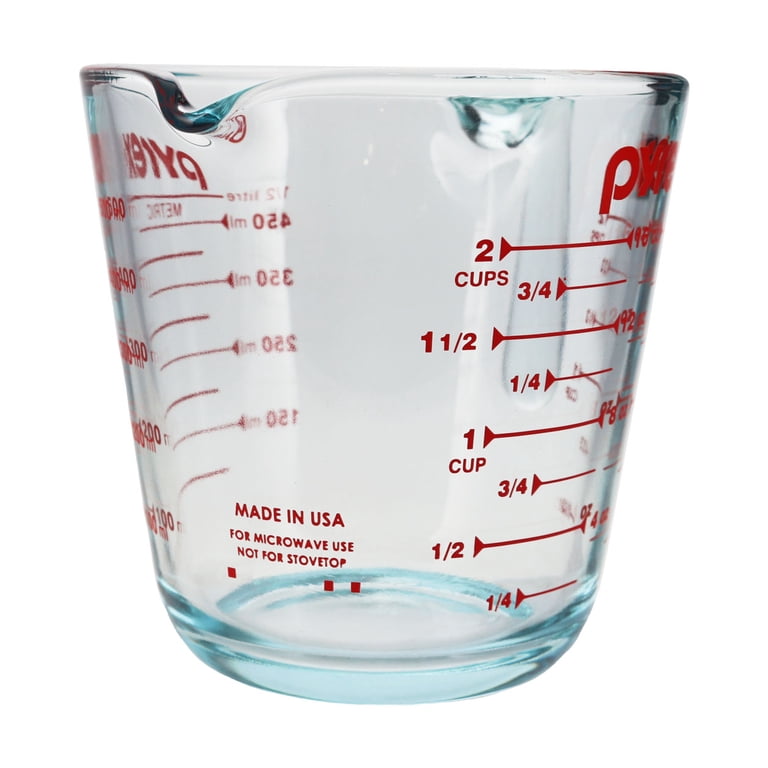
Pyrex Glass Measuring Cup (2-Cup)
Borosilicate glass heats evenly, won't stain or warp, and is completely microwave-safe. The handle and spout make it easy to pour leftover lemon water.
Best for: Use it as your go-to bowl for the lemon-steam cleaning method. The 2-cup size is ideal, but a 4-cup version works even better.
Price Range: $10–$20
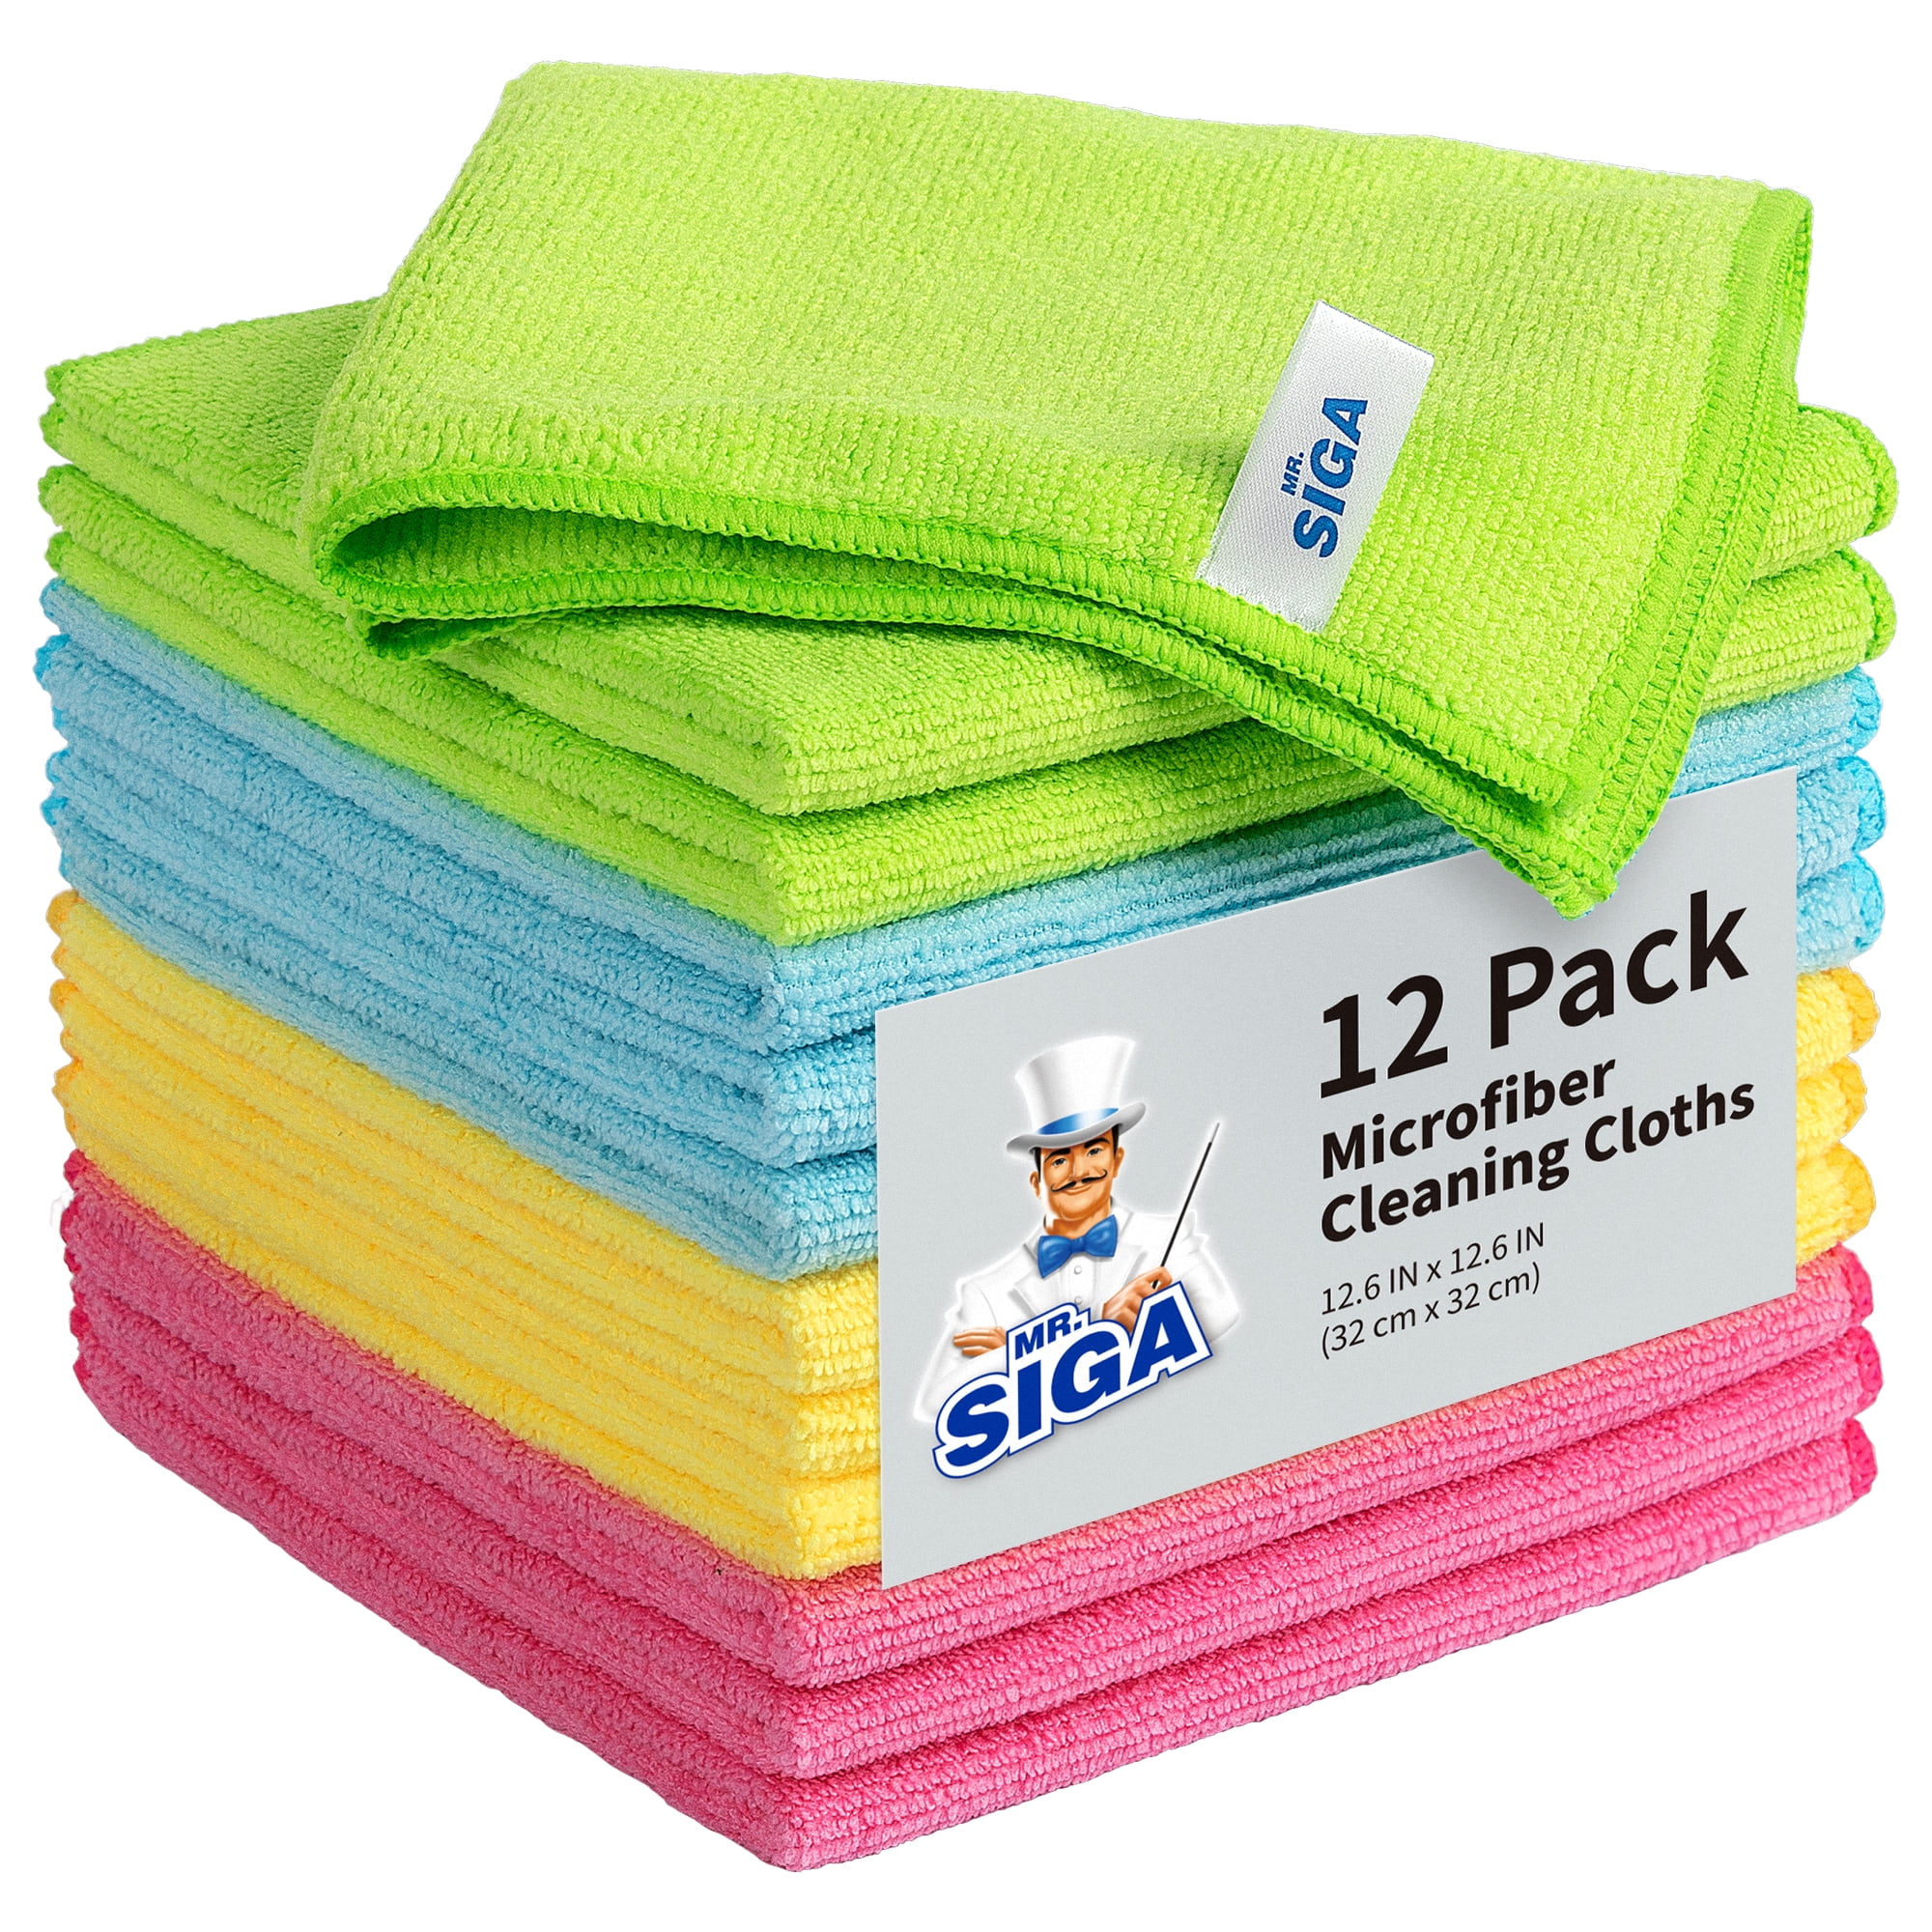
Microfiber Cleaning Cloths (e.g., MR.SIGA 12-Pack)
Lint-free and highly absorbent, microfiber cloths lift grime and leave streak-free glass without scratching. They're reusable and washable.
Best for: Use for the interior wipe-down and to dry the glass door after cleaning.
Price Range: $8–$16
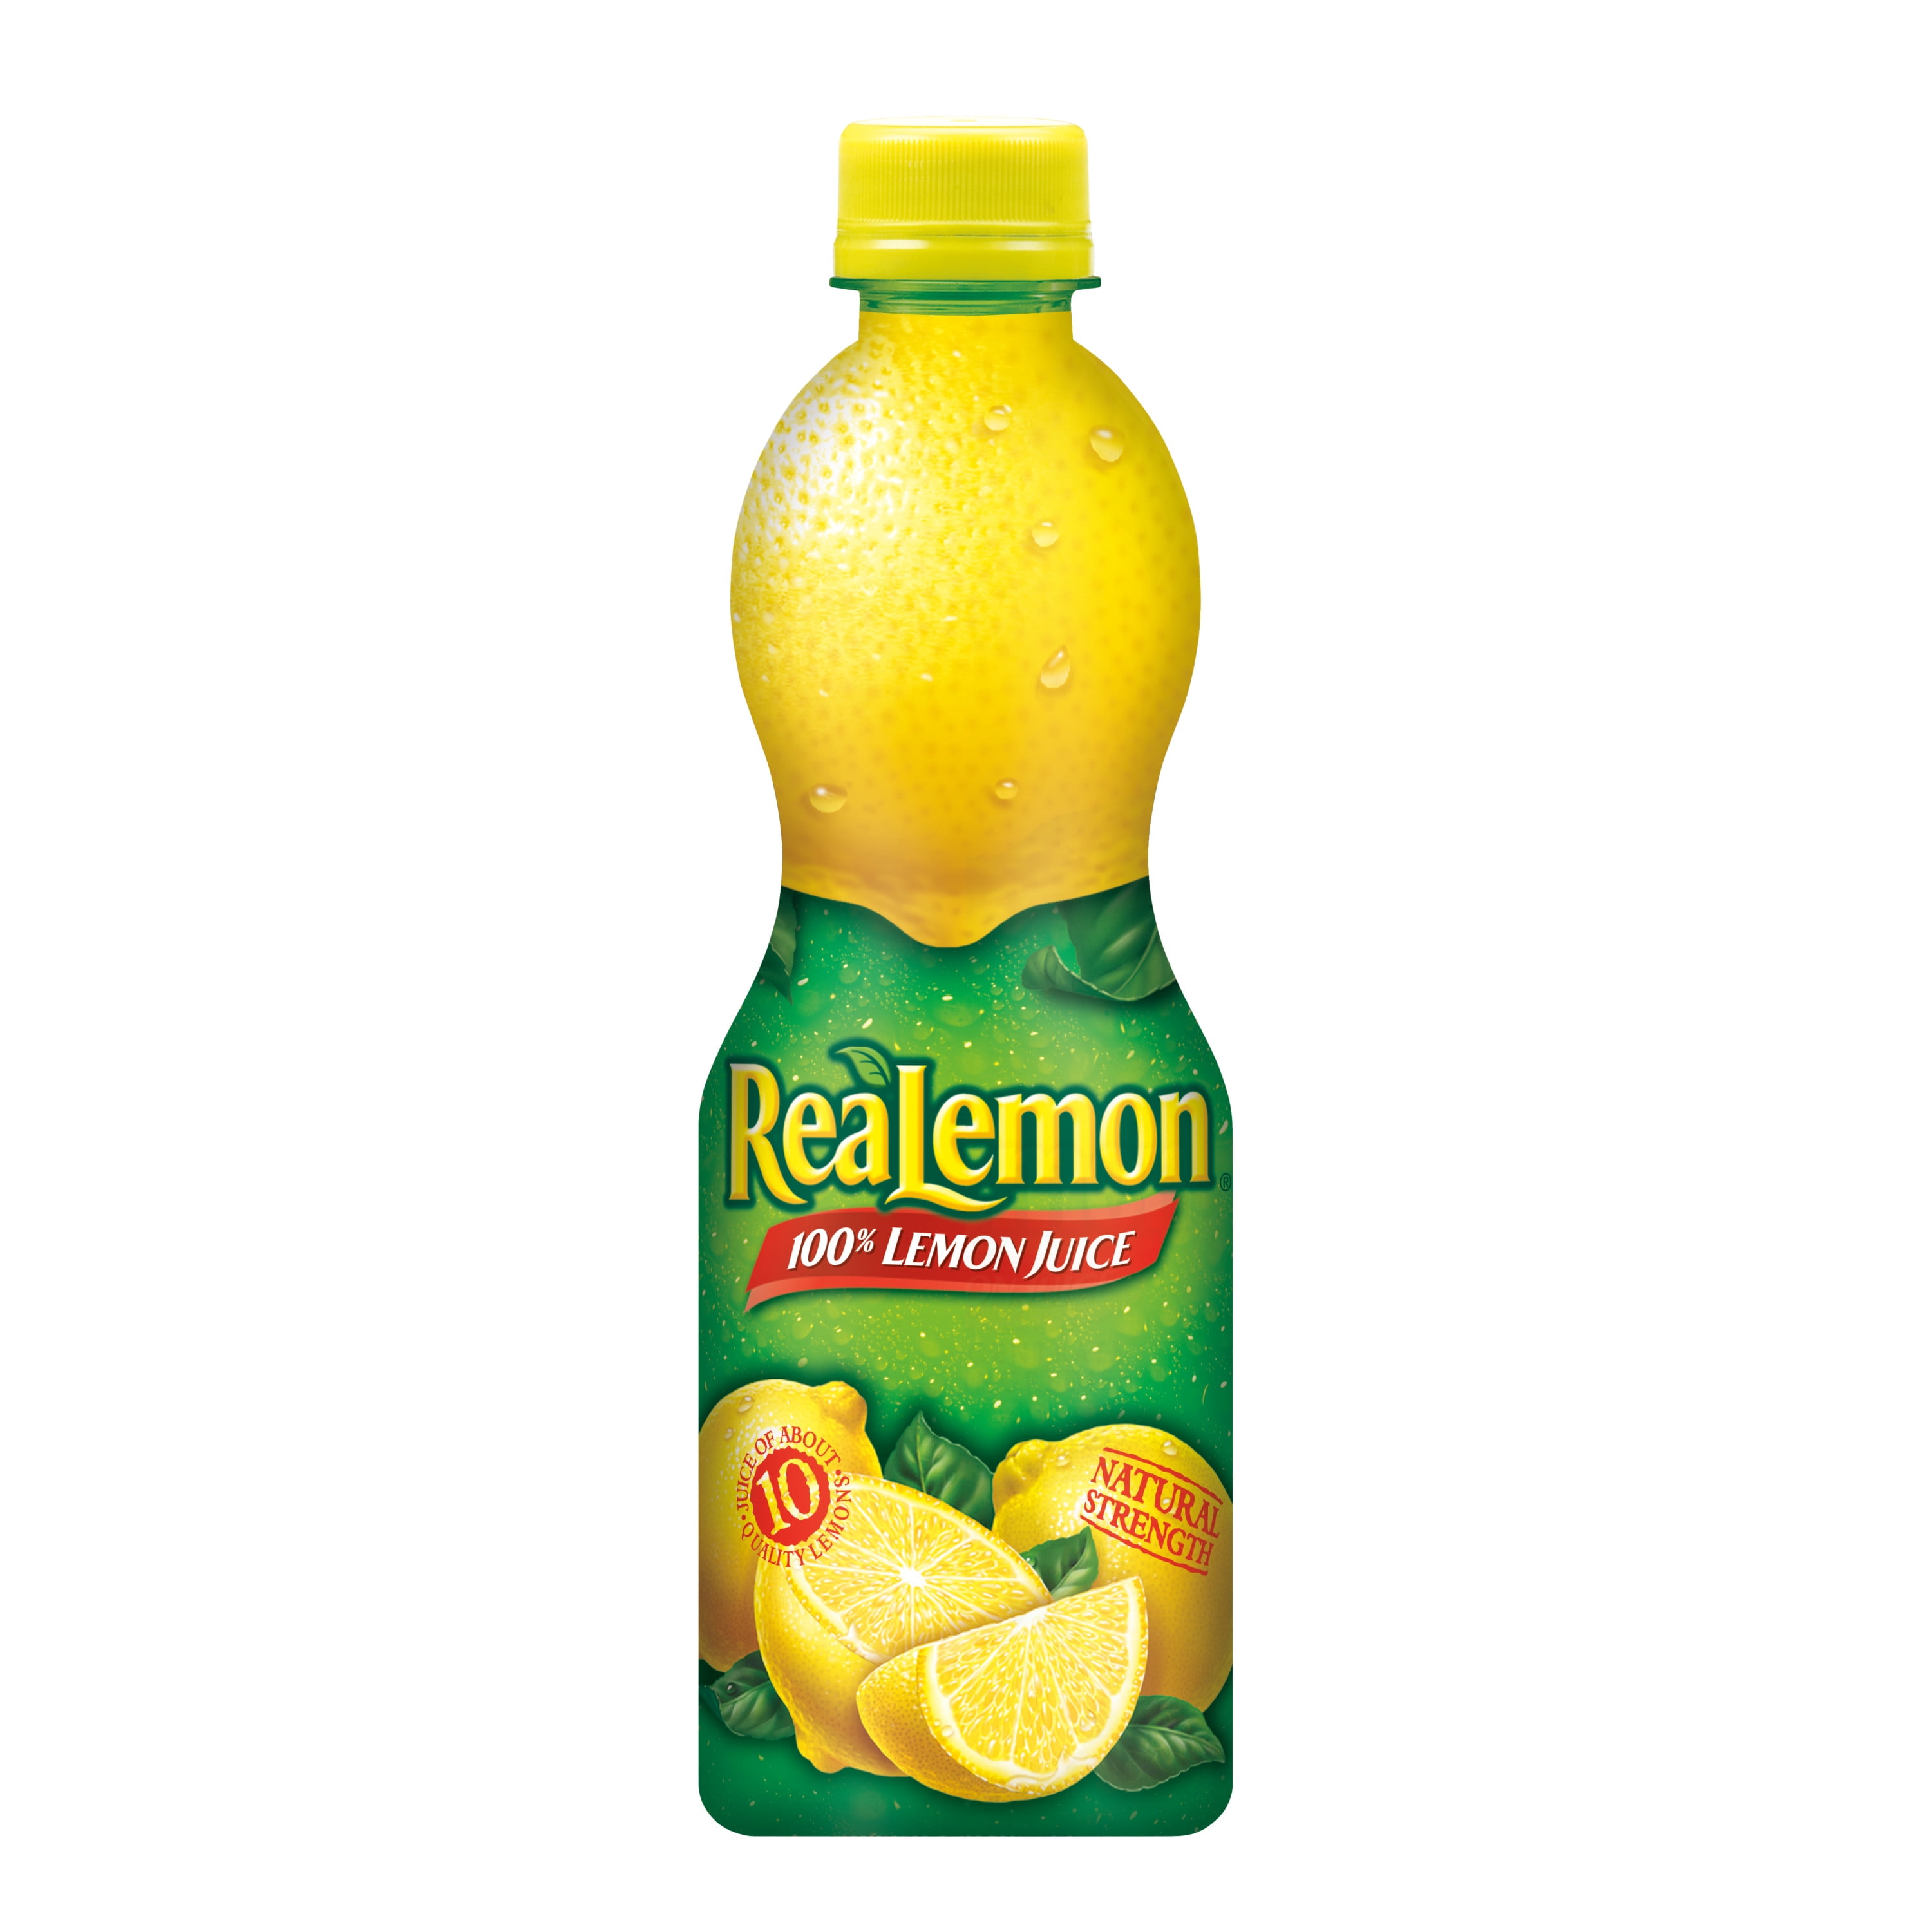
ReaLemon 100% Lemon Juice
A reliable, shelf-stable stand-in for fresh lemons. It has the same citric acid cleaning power and is great to keep on hand for cleaning and cooking.
Best for: Measure 2–3 tablespoons into your steam solution when you're out of fresh lemons.
Price Range: $3–$6
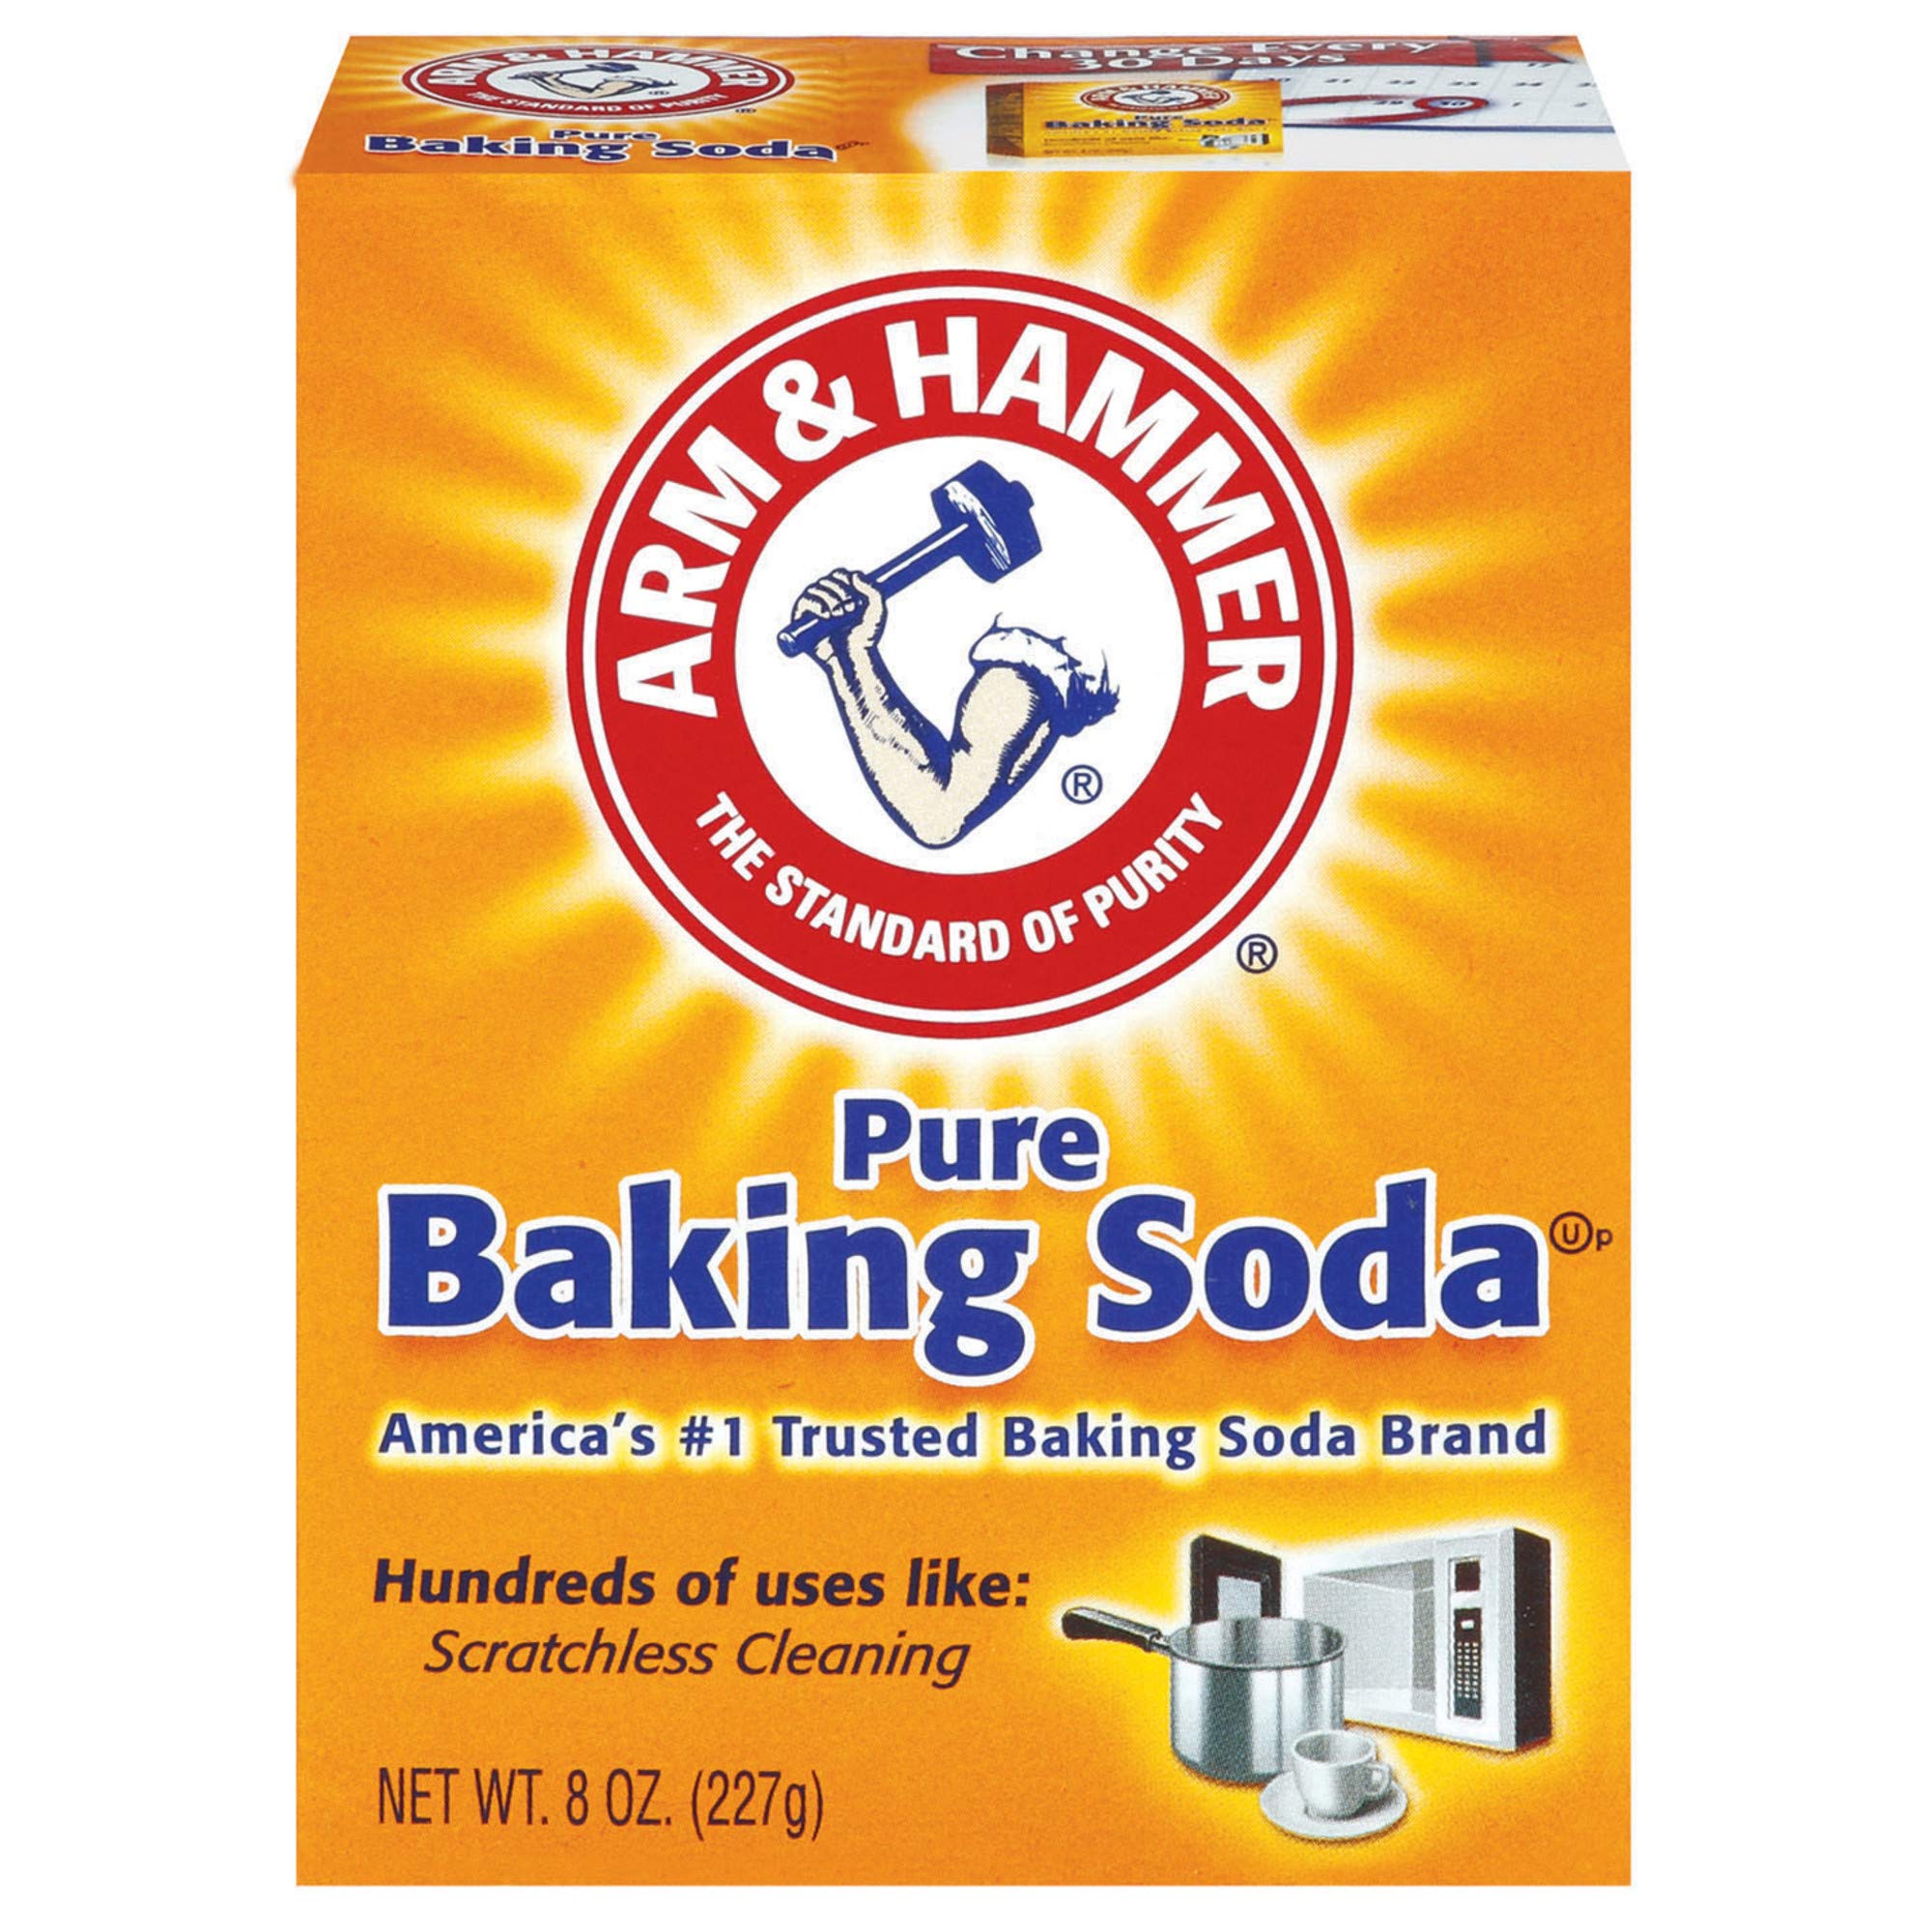
Arm & Hammer Pure Baking Soda
A gentle, non-abrasive abrasive that tackles stubborn, stuck-on food without scratching your microwave's interior.
Best for: Mix a small amount with water to make a paste for stubborn spots that the steam didn't fully release.
Price Range: $3–$8
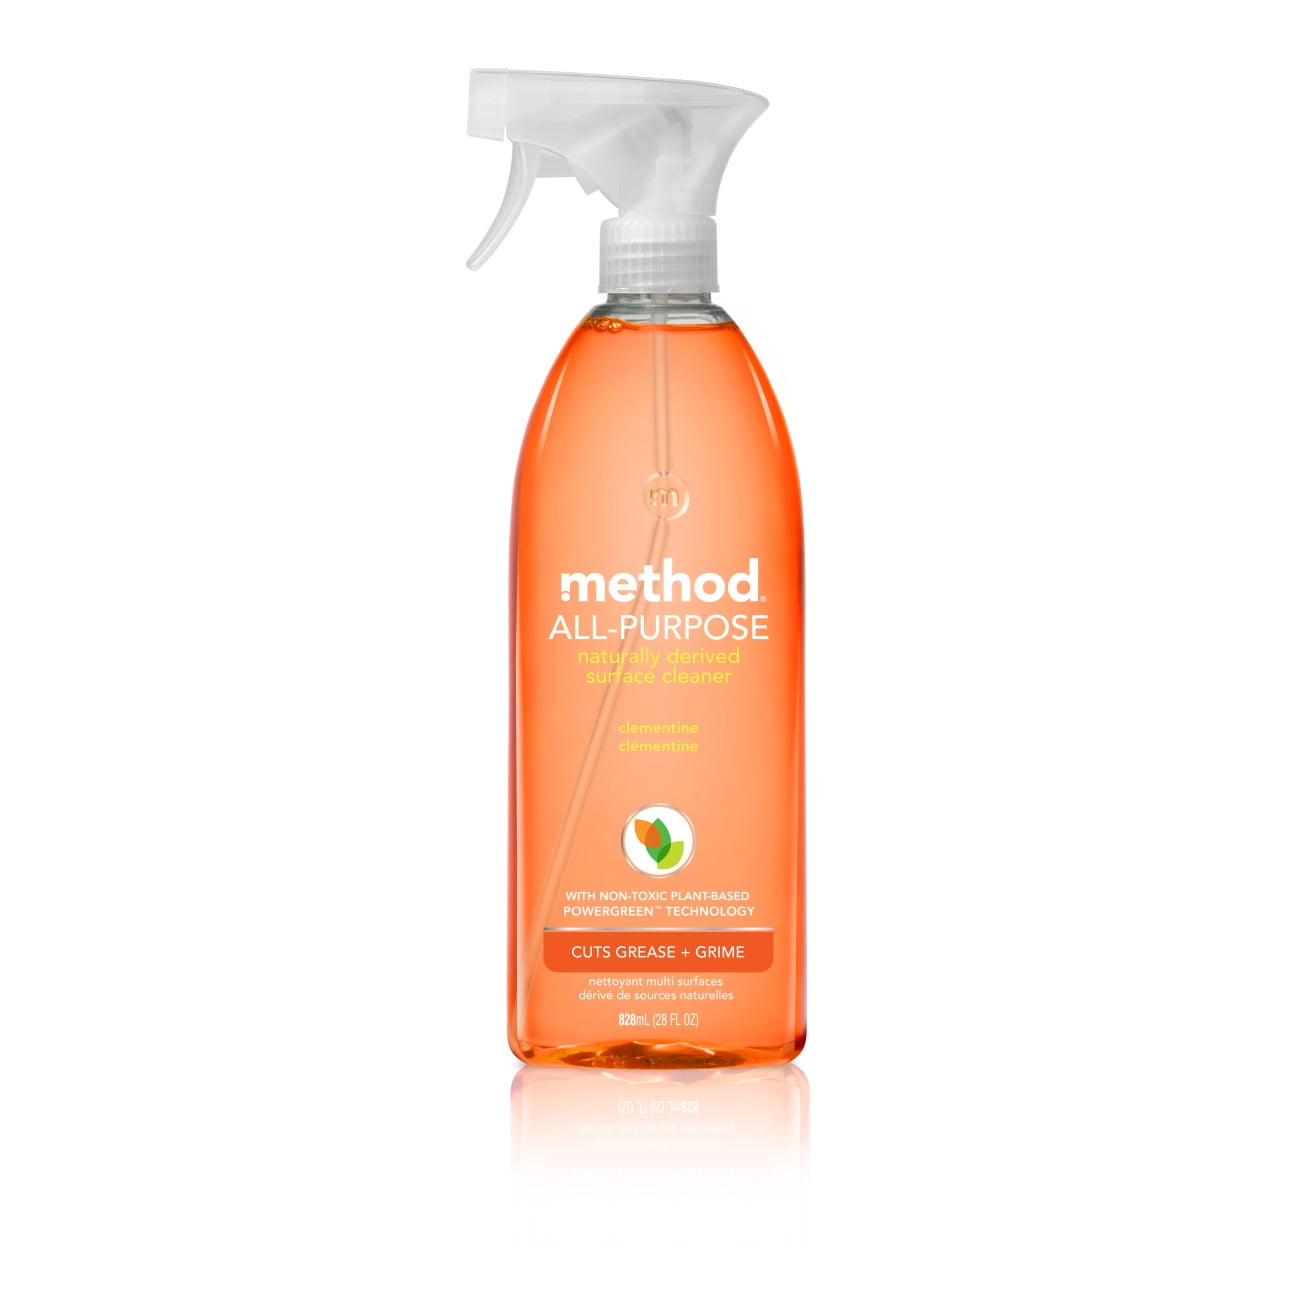
Method All-Purpose Natural Cleaner (Clementine)
Certified green and plant-based, this spray adds a pleasant citrus boost and is safe for food-contact areas when used as directed.
Best for: For weekly maintenance, spray on the exterior and interior, wipe, and shine. A helpful extra for keeping your microwave fresh between deep steam cleans.
Price Range: $5–$10