Regular cleaning is essential to maintain your guitar's appearance, playability, and longevity. While specialized guitar cleaning products are available, you likely already have everything you need at home. This guide will show you how to safely clean your acoustic guitar using gentle household items like microfiber cloths, mild soap, and olive oil. We'll cover cleaning the body, fretboard, strings, and hardware, plus tips for deep cleaning without damaging the finish. No expensive supplies required – just a little time and care. By the end, your guitar will look, feel, and sound like new.
▸What You'll Need
- •Microfiber cloths (2-3, lint-free)
- •Mild dish soap (like Dawn)
- •Distilled water
- •Olive oil or mineral oil (for fretboard)
- •White vinegar (optional, for stubborn grime)
- •Small bowl or spray bottle
- •Soft-bristled toothbrush (old, clean)
- •Q-tips or cotton swabs
- •String winding tool (optional, but helpful for removing strings)
Estimated Time: 30-45 minutes
Difficulty: beginner
▸Step-by-Step Instructions
Step 1: Prepare Your Workspace and Gather Supplies
Find a clean, well-lit area with a flat surface, like a table or desk. Lay down a soft cloth or towel to protect your guitar. Gather your microfiber cloths, mild dish soap, distilled water, olive oil (or mineral oil), an old toothbrush, and Q-tips. If you plan to clean under the strings, it's best to remove them first – you can reuse them if careful, but many players prefer to change strings after a deep clean. For this guide, we'll assume you're cleaning with strings on (easier for beginners). Ensure your hands are clean and dry to avoid transferring dirt.
💡 Tips:
- •Use distilled water to avoid mineral spots on the finish.
- •Choose microfiber cloths that are soft and non-abrasive.
⚠️ Warnings:
- •Avoid paper towels or rough fabrics – they can scratch the guitar's finish.
Step 2: Dust the Guitar Body and Neck
Take a dry microfiber cloth and gently wipe down the entire body of the guitar – top, back, sides, and neck. This removes loose dust, fingerprints, and pollen before any wet cleaning. For hard-to-reach areas around the bridge and soundhole, use a Q-tip or a soft brush (like a clean makeup brush). Work slowly and avoid pressing too hard. If your guitar has a glossy finish, you'll see immediate improvement in shine. This step alone can make a big difference and should be done regularly (weekly or after each play).
💡 Tips:
- •Always wipe in the direction of the grain (from headstock to body along the neck).
⚠️ Warnings:
- •Do not apply pressure to the guitar top – it is delicate and can warp.
Step 3: Clean the Guitar Body with Mild Soap Solution
Mix a few drops of mild dish soap into a cup of distilled water. Dip a corner of a clean microfiber cloth into the solution and wring it out until it's just slightly damp – not wet. Gently wipe the entire body, avoiding the soundhole and fretboard. Use light pressure; the soap helps lift oils and grime without harming the finish. For stubborn spots (like sweat marks or sticky residue), let the solution sit for a few seconds then wipe. Rinse the cloth in clean water, wring, and do a pass with plain water to remove any soap residue. Finally, dry the body with a fresh microfiber cloth.
💡 Tips:
- •Test the soap solution on a small, hidden area (like under the pickguard) first.
- •For a quicker clean, use a guitar-specific spray cleaner (see product recommendations).
⚠️ Warnings:
- •Never spray liquid directly onto the guitar – always onto the cloth.
Step 4: Clean the Fretboard
The fretboard (usually rosewood or ebony) can accumulate dirt, oil, and dead skin. With strings on, use a soft toothbrush to gently scrub between the frets and the wood. For deeper cleaning, you can carefully lift strings with a string winder or your fingers to access the wood. Dampen a cloth with the same mild soap solution and wipe the fretboard, then dry immediately. If the wood looks dry, apply a small amount of olive oil (or mineral oil) to a cloth and rub it into the wood. Let it absorb for a few minutes, then wipe off excess. This conditions the wood and restores its natural color.
💡 Tips:
- •Use food-grade mineral oil or lemon oil (but avoid lemon-scented oils with additives).
- •Olive oil works in a pinch but can go rancid – use sparingly and wipe well.
⚠️ Warnings:
- •Do not use water on unfinished fretboards for long – dry immediately to avoid warping.
- •Avoid silicone-based polishes or furniture oils – they can damage the wood.
Step 5: Clean the Strings
After the body and fretboard are clean, pay attention to the strings. Dirt and sweat cause strings to corrode and sound dull. Use a dry microfiber cloth to wipe each string individually from the bridge to the headstock. For a deeper clean, you can use a string cleaner or a small amount of rubbing alcohol (isopropyl) on a cloth – but test on a hidden string first. Wipe each string several times, flipping the cloth to a clean area. This extends string life and restores brightness. You can also use a specialized string cleaning tool (see recommendations).
💡 Tips:
- •Wipe strings after every playing session to prolong their life.
- •For persistent gunk, use a Q-tip dipped in alcohol to clean around the winding.
⚠️ Warnings:
- •Avoid getting alcohol on the fretboard – it can dry out the wood.
Step 6: Clean the Hardware (Tuners, Bridge Pins, Pickguard)
Dust and grime can collect on tuning pegs, bridge pins, and the pickguard. Use a Q-tip or toothbrush with a little soapy water to gently clean these areas. For chrome or nickel tuners, a dry microfiber cloth will restore shine. If the tuning peg posts are sticky, a tiny drop of oil (like 3-in-1) on the moving parts can help – but avoid getting oil on the wood. For bridge pins, you can remove them (tug gently with a pin puller or your fingers) and wipe them clean. Wipe the pickguard with a damp cloth – it's usually plastic and easy to clean.
💡 Tips:
- •Use a soft brush to clean inside the tuning peg holes.
- •If bridge pins are stuck, use a tool designed for removal (see recommendations).
⚠️ Warnings:
- •Do not use excessive force on tuning pegs – they are delicate.
- •Avoid getting moisture into the tuning machine gears.
Step 7: Final Polish and Inspection
Once everything is clean and dry, take a fresh dry microfiber cloth and give the entire guitar a final buff. This removes any smudges and enhances the shine. Inspect the guitar for any areas you might have missed, like the sides of the neck or behind the bridge. Check the strings for any remaining residue. If you removed strings, now is a good time to install new strings (see our guide on how to restring). Otherwise, tune up and enjoy your refreshed instrument. The guitar should look clean, feel smooth, and sound clearer.
💡 Tips:
- •Use a guitar polish specifically for gloss finishes if you want extra shine (see product recommendations).
⚠️ Warnings:
- •Avoid using furniture polish or household cleaners on the guitar body – they can damage the finish.
▸Pro Tips
- •Always use distilled water to prevent mineral deposits on the guitar.
- •Clean your guitar after every use with a dry cloth – prevention is easier than deep cleaning.
- •For a quick fretboard hydration, wipe with a slightly damp cloth then apply a drop of lemon oil.
- •Use a clean, soft paintbrush to dust inside the soundhole.
- •Keep your guitar in a case or stand when not in use to reduce dust buildup.
- •Change strings regularly – old strings attract dirt and are harder to clean.
▸Common Mistakes to Avoid
- •Using too much water or liquid – moisture can warp wood and damage electronics.
- •Using paper towels or rough cloths that scratch the finish.
- •Applying polish or oil to a dirty guitar – you seal in grime.
- •Forgetting to clean the fretboard – it's a breeding ground for bacteria and grime.
- •Using household cleaners like Windex or alcohol-based products on the finish – they can strip the lacquer.
▸Troubleshooting
Problem: Sticky residue on the fretboard after cleaning
Solution: Use a tiny amount of isopropyl alcohol on a cloth to remove residue, then recondition with oil.
Problem: Strings still sound dull after cleaning
Solution: Old strings may need to be replaced – cleaning only extends life temporarily.
Problem: White spots or film on the finish after cleaning
Solution: These are likely mineral deposits from hard water. Rewipe with distilled water and dry thoroughly.
Problem: Fretboard feels dry and cracks appear
Solution: Apply a few drops of mineral oil and let it soak in. If cracks worsen, consult a luthier.
Problem: Tuning pegs feel stiff after cleaning
Solution: Apply a tiny drop of 3-in-1 oil or graphite to the friction points. Do not over-oil.
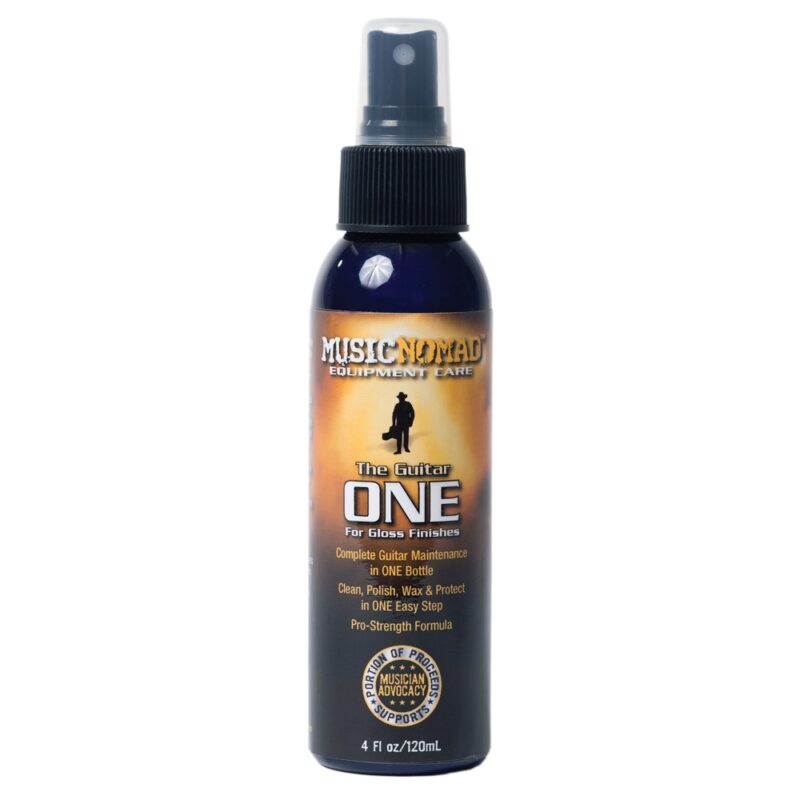
MusicNomad The One Guitar Polish and Cleaner
Safe for all finishes and contains no wax, silicone, or abrasives. Ideal for a quick polish after cleaning.
Best for: After cleaning with household items, use this to restore shine and protect the finish.
Price Range: $12-$20
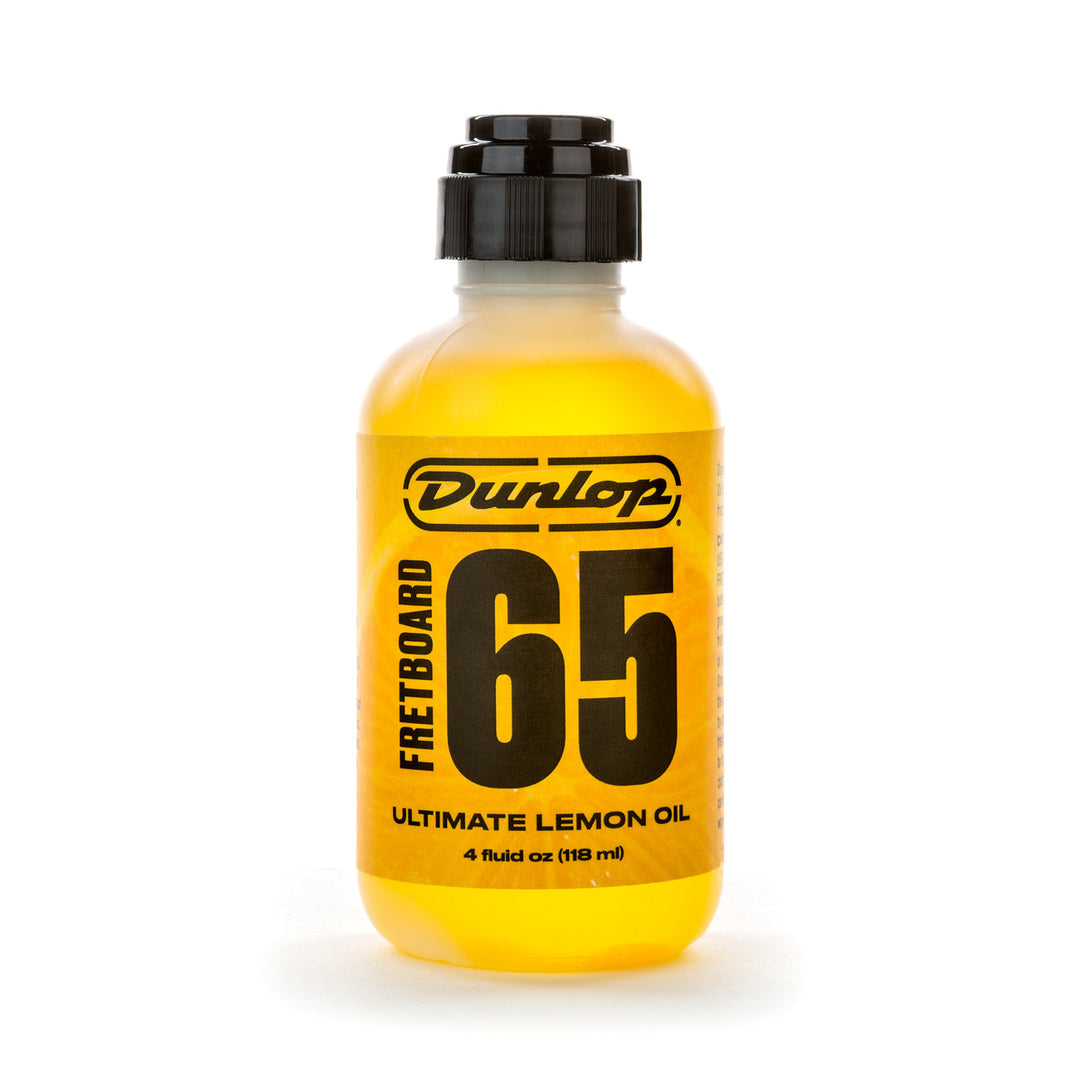
Dunlop 65 Lemon Oil Fretboard Conditioner
Specially formulated for fretboards – cleans and conditions without leaving residue. Better than household oil.
Best for: Use after cleaning the fretboard to hydrate and protect rosewood or ebony.
Price Range: $8-$12
GHS Fast Fret String Cleaner
Quick and easy way to clean strings – reduces friction and extends string life. Comes with a cloth.
Best for: Wipe on strings after playing to remove sweat and oil.
Price Range: $6-$10
String Swing CC01 Guitar Hanger
Keeps your guitar accessible and away from dust; reduces need for frequent deep cleaning.
Best for: Store your guitar on a wall hanger rather than in a case to encourage regular cleaning.
Price Range: $15-$25
MusicNomad Fret Fretboard Cleaning System
All-in-one tool to clean fretboard and frets without removing strings – perfect for beginners.
Best for: Use for deep fretboard cleaning without the hassle of string removal.
Price Range: $10-$18