A grimy fingerboard isn't just unsightly—it can slow down your fretting hand and even transfer grime into your gear. While guitars are resilient, the fingerboard (especially unfinished woods like rosewood or ebony) needs a gentle touch. In this guide, you'll learn the exact process for cleaning and conditioning your guitar's fingerboard, tailored to the most common woods. We'll cover the tools you need, simple step-by-step instructions, and common mistakes to avoid. By the end, your playing surface will feel smooth, look like new, and your guitar will thank you.
▸What You'll Need
- •Microfiber cloths (2-3, lint-free)
- •Soft-bristled toothbrush or fretboard cleaning brush
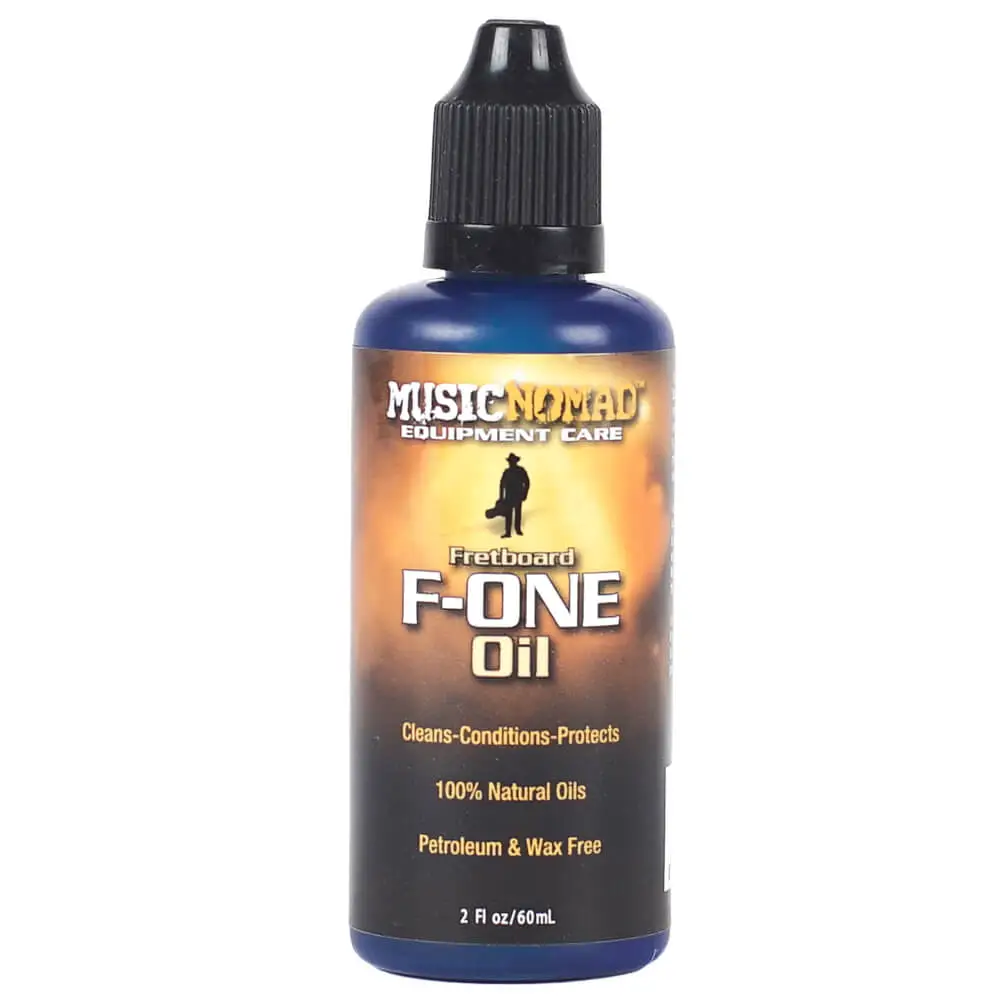
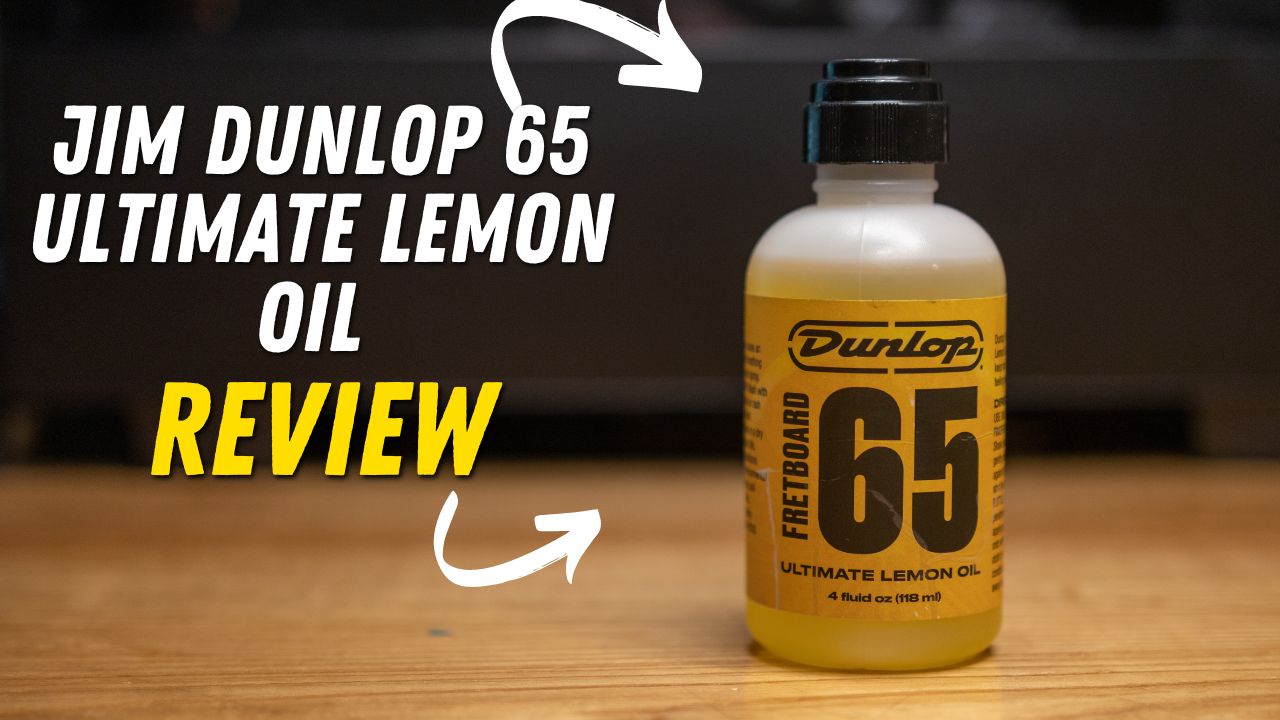
- •Lemon oil or specialty fretboard cleaner (e.g., MusicNomad F-One Oil, Dunlop 65)
- •Naphtha (lighter fluid) for heavily gunked boards (optional, not for maple)
- •Fret polishing cloth or fine steel wool (0000) if polishing frets
- •Masking tape (to protect the pickguard and body)
- •Clean work area and good lighting
Estimated Time: 15-30 minutes (plus time for drying/conditioning if needed)
Difficulty: intermediate
▸Step-by-Step Instructions
Step 1: Remove or Loosen the Strings
Start by loosening and removing the strings from the fretboard. If you're comfortable and plan to restring anyway, fully remove them. This gives you unobstructed access to every square inch of the fingerboard. If you're not replacing strings, you can alternatively loosen them and use a capo to pull them to one side, but be aware that cleaning under strings is tedious and risky—a slip can scratch the board.
💡 Tips:
- •Use a string winder to speed up the process.
- •Inspect the strings while they're off—if they're corroded, you might as well replace them.
⚠️ Warnings:
- •Never cut all strings while tight; always release tension gradually to avoid damaging the neck.
Step 2: Brush Away Loose Dirt and Debris
Using a dry soft-bristled brush (toothbrush or a dedicated fretboard brush), gently sweep away dust, skin flakes, and other loose grime from between the frets and along the wood. Work from one end of the fretboard to the other. This dry brushing prevents you from grinding dirt into the wood when you apply cleaner.
💡 Tips:
- •Use a vacuum with a brush attachment for quicker cleanup, but keep suction low.
- •Start with the dirtiest spots—usually near the first few frets and where your palm rests.
⚠️ Warnings:
- •Don't press hard; you only want to lift loose particles, not dig into the wood.
Step 3: Identify Your Fingerboard Wood
Before applying any cleaner, determine your fingerboard's finish. Maple fingerboards (common on Fender-style guitars) are usually sealed with a gloss or satin finish—using lemon oil, polishes, or conditioners can soak in and soften the finish, causing flaking. Rosewood, ebony, and Pau Ferro are open-pored, unfinished woods that benefit from oiling.
💡 Tips:
- •When in doubt, check the manufacturer's website or customer support.
- •If you see a glossy sheen, assume it's a finished board like maple.
⚠️ Warnings:
- •Never apply lemon oil to a maple fingerboard—it can permanently darken it and break down the finish.
- •Avoid using harsh solvents like acetone or window cleaner—they'll strip natural oils.
Step 4: Wipe Down with a Damp Cloth (Light Cleaning)
For light buildup, a soft microfiber cloth barely dampened with water is enough—especially for finished maple boards. Wipe along the grain, then immediately dry with a separate cloth. On unfinished woods (rosewood/ebony) you can also use a slightly damp cloth, but be careful not to over-wet the wood; it can cause swelling and fret sprout over time.
💡 Tips:
- •Use distilled water if tap water has high mineral content.
- •Ring the cloth until it's almost dry—you want a 'just moist' state.
⚠️ Warnings:
- •Never let water pool near the frets or any openings.
- •If your fingerboard is excessively dry, water alone won't condition it—you'll need oil.
Step 5: Apply a Dedicated Cleaner or Naphtha for Heavy Grime
For stubborn gunk, use a specialized guitar fretboard cleaner like MusicNomad F-One Oil or Dunlop 65 Lemon Oil for unfinished boards. Properly apply a few drops to a cloth (not directly on the board) and wipe along the grain. For the most severe buildup—like caked-on grease—naphtha (lighter fluid) is a safe solvent for unfinished woods; it evaporates quickly and won't condition, so follow up with oil later.
💡 Tips:
- •You only need a small amount—a few drops cover several frets.
- •For edges and corners, use a cotton swab dipped in cleaner.
⚠️ Warnings:
- •Work in a well-ventilated area if using naphtha; it's flammable.
- •Avoid cleaner soaking around pickup cavities or binding—protect with tape if needed.
Step 6: Scrub Gently with a Soft Brush (if Needed)
If you still see grime in the grain, dip a soft toothbrush in the cleaner (or naphtha) and gently scrub the affected areas using small circles. Focus on the spaces between frets and along the edges. This is where dead skin and sweat accumulate the most. Keep strokes short and light—pressure isn't your friend here.
💡 Tips:
- •Use a separate brush for cleaning—don't reuse it for your teeth!
- •Check the brush frequently and wipe it clean to avoid redistributing dirt.
⚠️ Warnings:
- •Steel wool can scratch maple and leave metal particles on magnets (if pickups are exposed), so stick to soft brushes for the board.
- •Don't scrub cross-grain—it can leave visible scratches.
Step 7: Wipe Away Residue
After cleaning, take a clean, dry microfiber cloth and remove any leftover cleaner or dissolved gunk. Work along the grain until the cloth comes away clean. This step ensures you don't leave a sticky film that can attract more dirt.
💡 Tips:
- •Wipe each fret cavity individually for a thorough job.
- •If you used naphtha, let it flash off for a minute before wiping.
⚠️ Warnings:
- •Don't blow on the board to dry it—spit and moisture can quickly evaporate but leave a film.
Step 8: Condition Unfinished Wood (Optional but Recommended)
For rosewood, ebony, and other unfinished fingerboards, applying a small amount of conditioning oil restores moisture and keeps the wood from cracking. Using a dedicated fretboard conditioner like MusicNomad F-One Oil (which contains lemon and mineral oils) or pure tung oil, apply a drop or two to a cloth and rub it into the wood. Let it sit for a few minutes, then buff off any excess with a dry cloth.
💡 Tips:
- •Light coats are better—too much oil can soften the wood and attract debris.
- •Allow the oil to penetrate for 3–5 minutes, but don't let it sit overnight.
- •If you use simple lemon oil, make sure it's actually for guitars, not just a household lemon oil with added sugar/scent.
⚠️ Warnings:
- •Do not condition finished maple fingerboards—they need no oil.
- •Don't use vegetable oil or cooking oils—they can turn rancid and damage the wood.
Step 9: Polish the Frets (Optional)
If your frets look dull or have oxidized tarnish, use a specialized fret polisher or make a small block with 0000 steel wool. Tape off the fingerboard with masking tape to protect it, then gently rub the steel wool along each fret, up and down. After polishing, remove the tape and wipe away metal dust with a microfiber cloth.
💡 Tips:
- •For easy handling, a fret polishing eraser (like MusicNomad's) is cleaner than steel wool.
- •Be careful near the edges—avoid scratching the binding or fretboard.
⚠️ Warnings:
- •Never use coarse steel wool (like #1 or #2); 0000 is essential for a fine polish.
- •Cover any single-coil pickups with tape—steel wool particles can stick to the magnets and ruin them.
Step 10: Restring and Tune Up
After everything is clean and dry, put your strings back on (or install a fresh set). Tune to pitch, stretch the strings, and tune again. Your freshly cleaned fingerboard should feel noticeably smoother and more responsive. Give it a final quick polish with a clean cloth to remove any fingerprints from installation.
💡 Tips:
- •Now is a great time to check the neck's truss rod—clean fretboard surfaces make relief easier to measure.
- •Wipe down the strings after playing to keep them fresh longer.
⚠️ Warnings:
- •Take care not to overtighten when tuning, especially with new strings that need stretching.
- •Make sure the board is completely dry before restringing to avoid trapping moisture.
▸Pro Tips
- •Clean your fingerboard every time you change strings—that's a simple schedule to remember.
- •Use a dedicated set of microfiber cloths for guitar care; wash them without fabric softener.
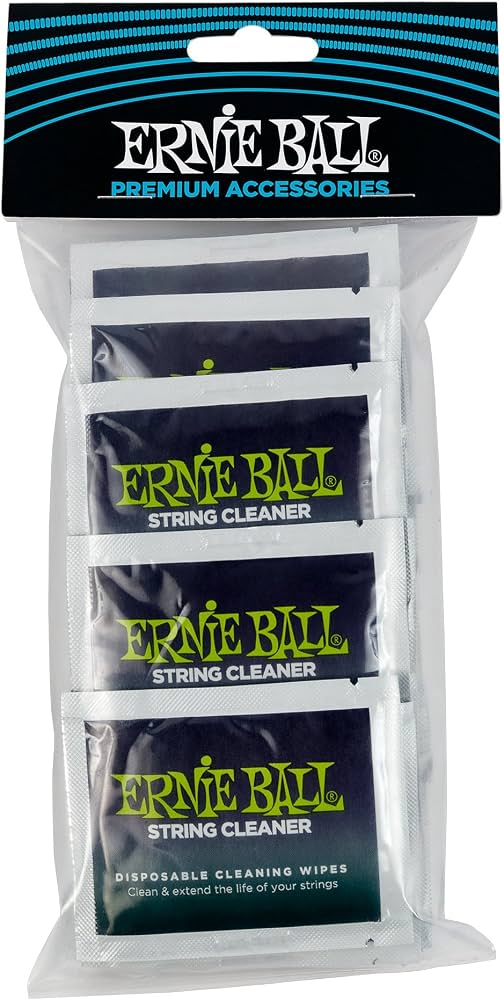
- •Keep a fretboard cleaning wipe (like Ernie Ball Wonder Wipes) in your gig bag for emergency cleanups.
- •If you use naphtha for heavy grime, follow up with a conditioner immediately, since naphtha dries out the wood.
- •To avoid getting cleaner on the pickguard, cover it with painter's tape before you start.
- •A clean fingerboard improves playability more than you'd think—fewer sticky spots means faster, smoother fretting.
▸Common Mistakes to Avoid
- •Using furniture polish or household cleaners—their silicone and waxes can damage the wood and finish.
- •Saturating the fingerboard with oil or water, which can cause swelling and fret sprout.
- •Cleaning maple fingerboards with lemon oil—it dulls the finish and makes them blotchy.
- •Skipping the brushing step and applying cleaner directly onto a dirty board, which creates a muddy paste.
- •Using excessive steel wool without protecting pickups, leading to magnet contamination and costly repairs.
▸Troubleshooting
Problem: Sticky or cloudy residue remains after cleaning.
Solution: Dampen a clean cloth with naphtha and wipe the board again, let it flash off, then wipe with a dry cloth. Avoid using extra oil until the residue is gone.
Problem: Fretboard appears cracked or very dry, especially in winter.
Solution: This is a dryness issue. Apply a small amount of high-quality fretboard conditioner (like F-One Oil) and let it soak in. If cracks are deep or the wood is splitting, take it to a luthier.
Problem: Fret ends feel sharp after cleaning.
Solution: Sometimes cleaning exposes existing fret sprout (common in dry environments). You can carefully use a crowning file or sanding block, but for best results, have a technician level and re-crown the frets.
Problem: String buzz appeared after cleaning.
Solution: If you loosened the truss rod during cleaning, the relief may have changed. Check neck relief and adjust the truss rod (or take it to a pro). Also verify the strings are seated properly in the nut slots.
MusicNomad F-One Oil
A professional-grade cleaner and conditioner that works brilliantly on rosewood, ebony, and other unfinished fingerboards. It's lemon-scented, non-toxic, and refuses to build up, making it safe for regular use.
Best for: Ideal for routine cleaning and monthly conditioning of unfinished fretboards.
Price Range: $10-$15
Dunlop 65 Lemon Oil
A widely available, trusted lemon oil formula that cleans and conditions. It's especially good at penetrating dry rosewood without leaving a greasy feel.
Best for: Perfect for DIY players who want an affordable oil for deep cleaning and hydrating rosewood/ebony boards.
Price Range: $6-$10
Ernie Ball Wonder Wipes
Pre-moistened, portable cloths that contain no petroleum or alcohol, making them safe for finished maple and unfinished boards alike. They cut through grime in one swipe.
Best for: Great for quick cleanups between string changes or when you're gigging and don't want to carry bottles.
Price Range: $8-$12
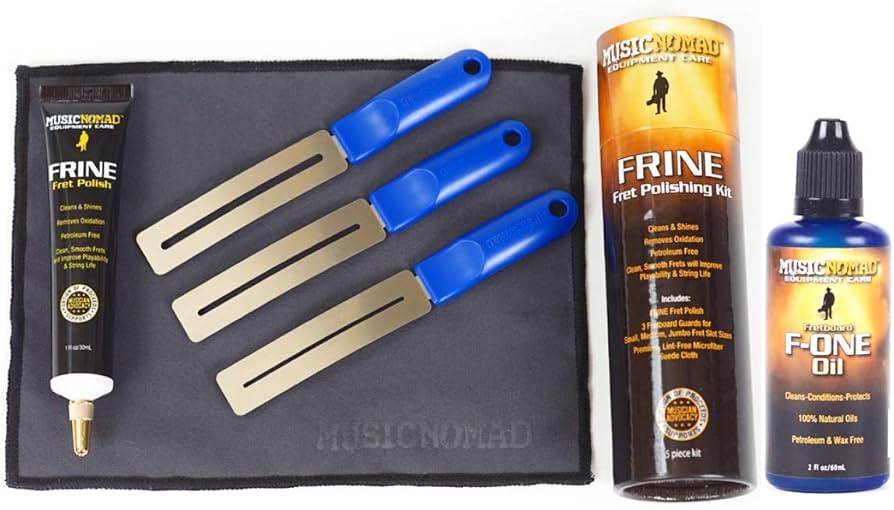
MusicNomad Fret & Fingerboard Kit
This all-in-one kit includes their F-One Oil, cleaning cloth, and a fret-polishing eraser, making it a complete solution for both fretboard and fret care.
Best for: Ideal if you want to cover all bases—cleaning, conditioning, and polishing—without buying items separately.
Price Range: $20-$30
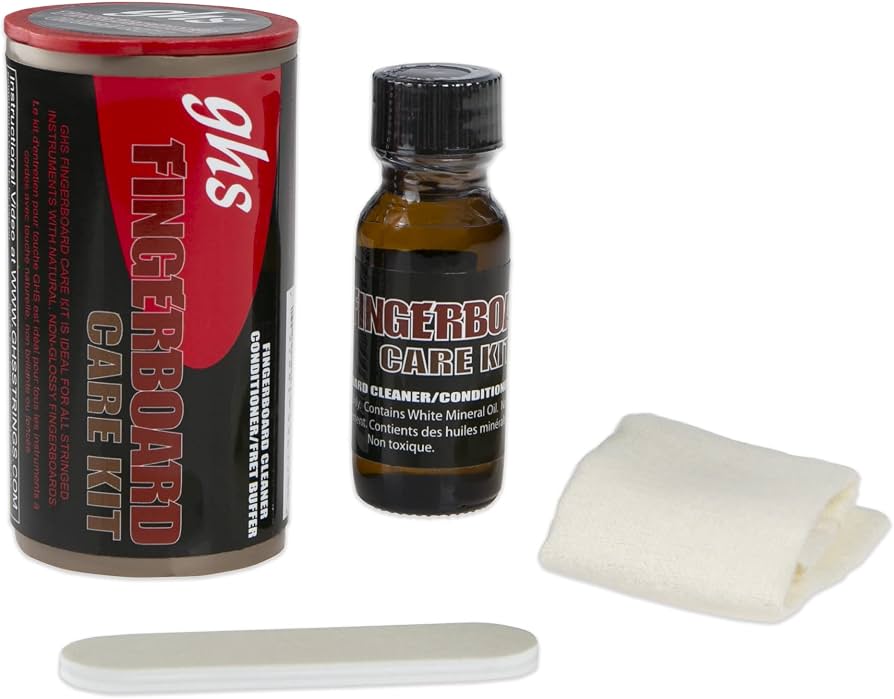
GHS Guitar Care Kit
Includes string cleaner, fretboard conditioner, and polishing cloths—basically everything you need to maintain your whole guitar. It's a budget-friendly bundle.
Best for: Great for intermediate players who want a comprehensive maintenance kit for their entire guitar.
Price Range: $15-$25