A clogged 3D printer nozzle is one of the most frustrating issues makers face, turning promising prints into stringy messes or failed jobs. It happens due to filament residue, dust, or improper temperatures, halting your creative flow. This guide walks you through proven methods like cold pulls and needle cleaning, safe for intermediate users with basic printer knowledge.
You'll learn multiple techniques to clear partial and stubborn clogs without damaging your hotend, starting with the simplest and escalating as needed. By the end, your nozzle will extrude smoothly again. The process takes 20-45 minutes, depending on clog severity, and requires minimal disassembly for most printers like Ender 3 or Prusa models.
Expect clear success indicators at each step, like clean filament pulls, so you'll know when to stop. Always prioritize safety to prevent burns or hardware damage.
▸What You'll Need
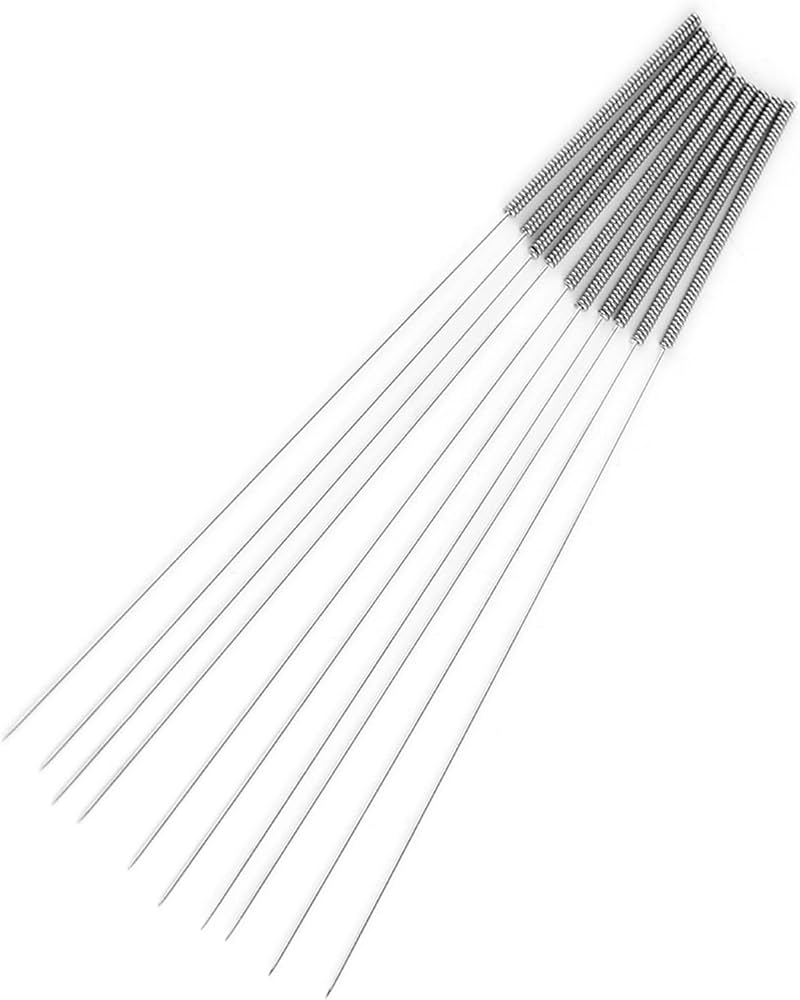
- •3D printer nozzle cleaning needle set (0.3mm-0.5mm needles, required)
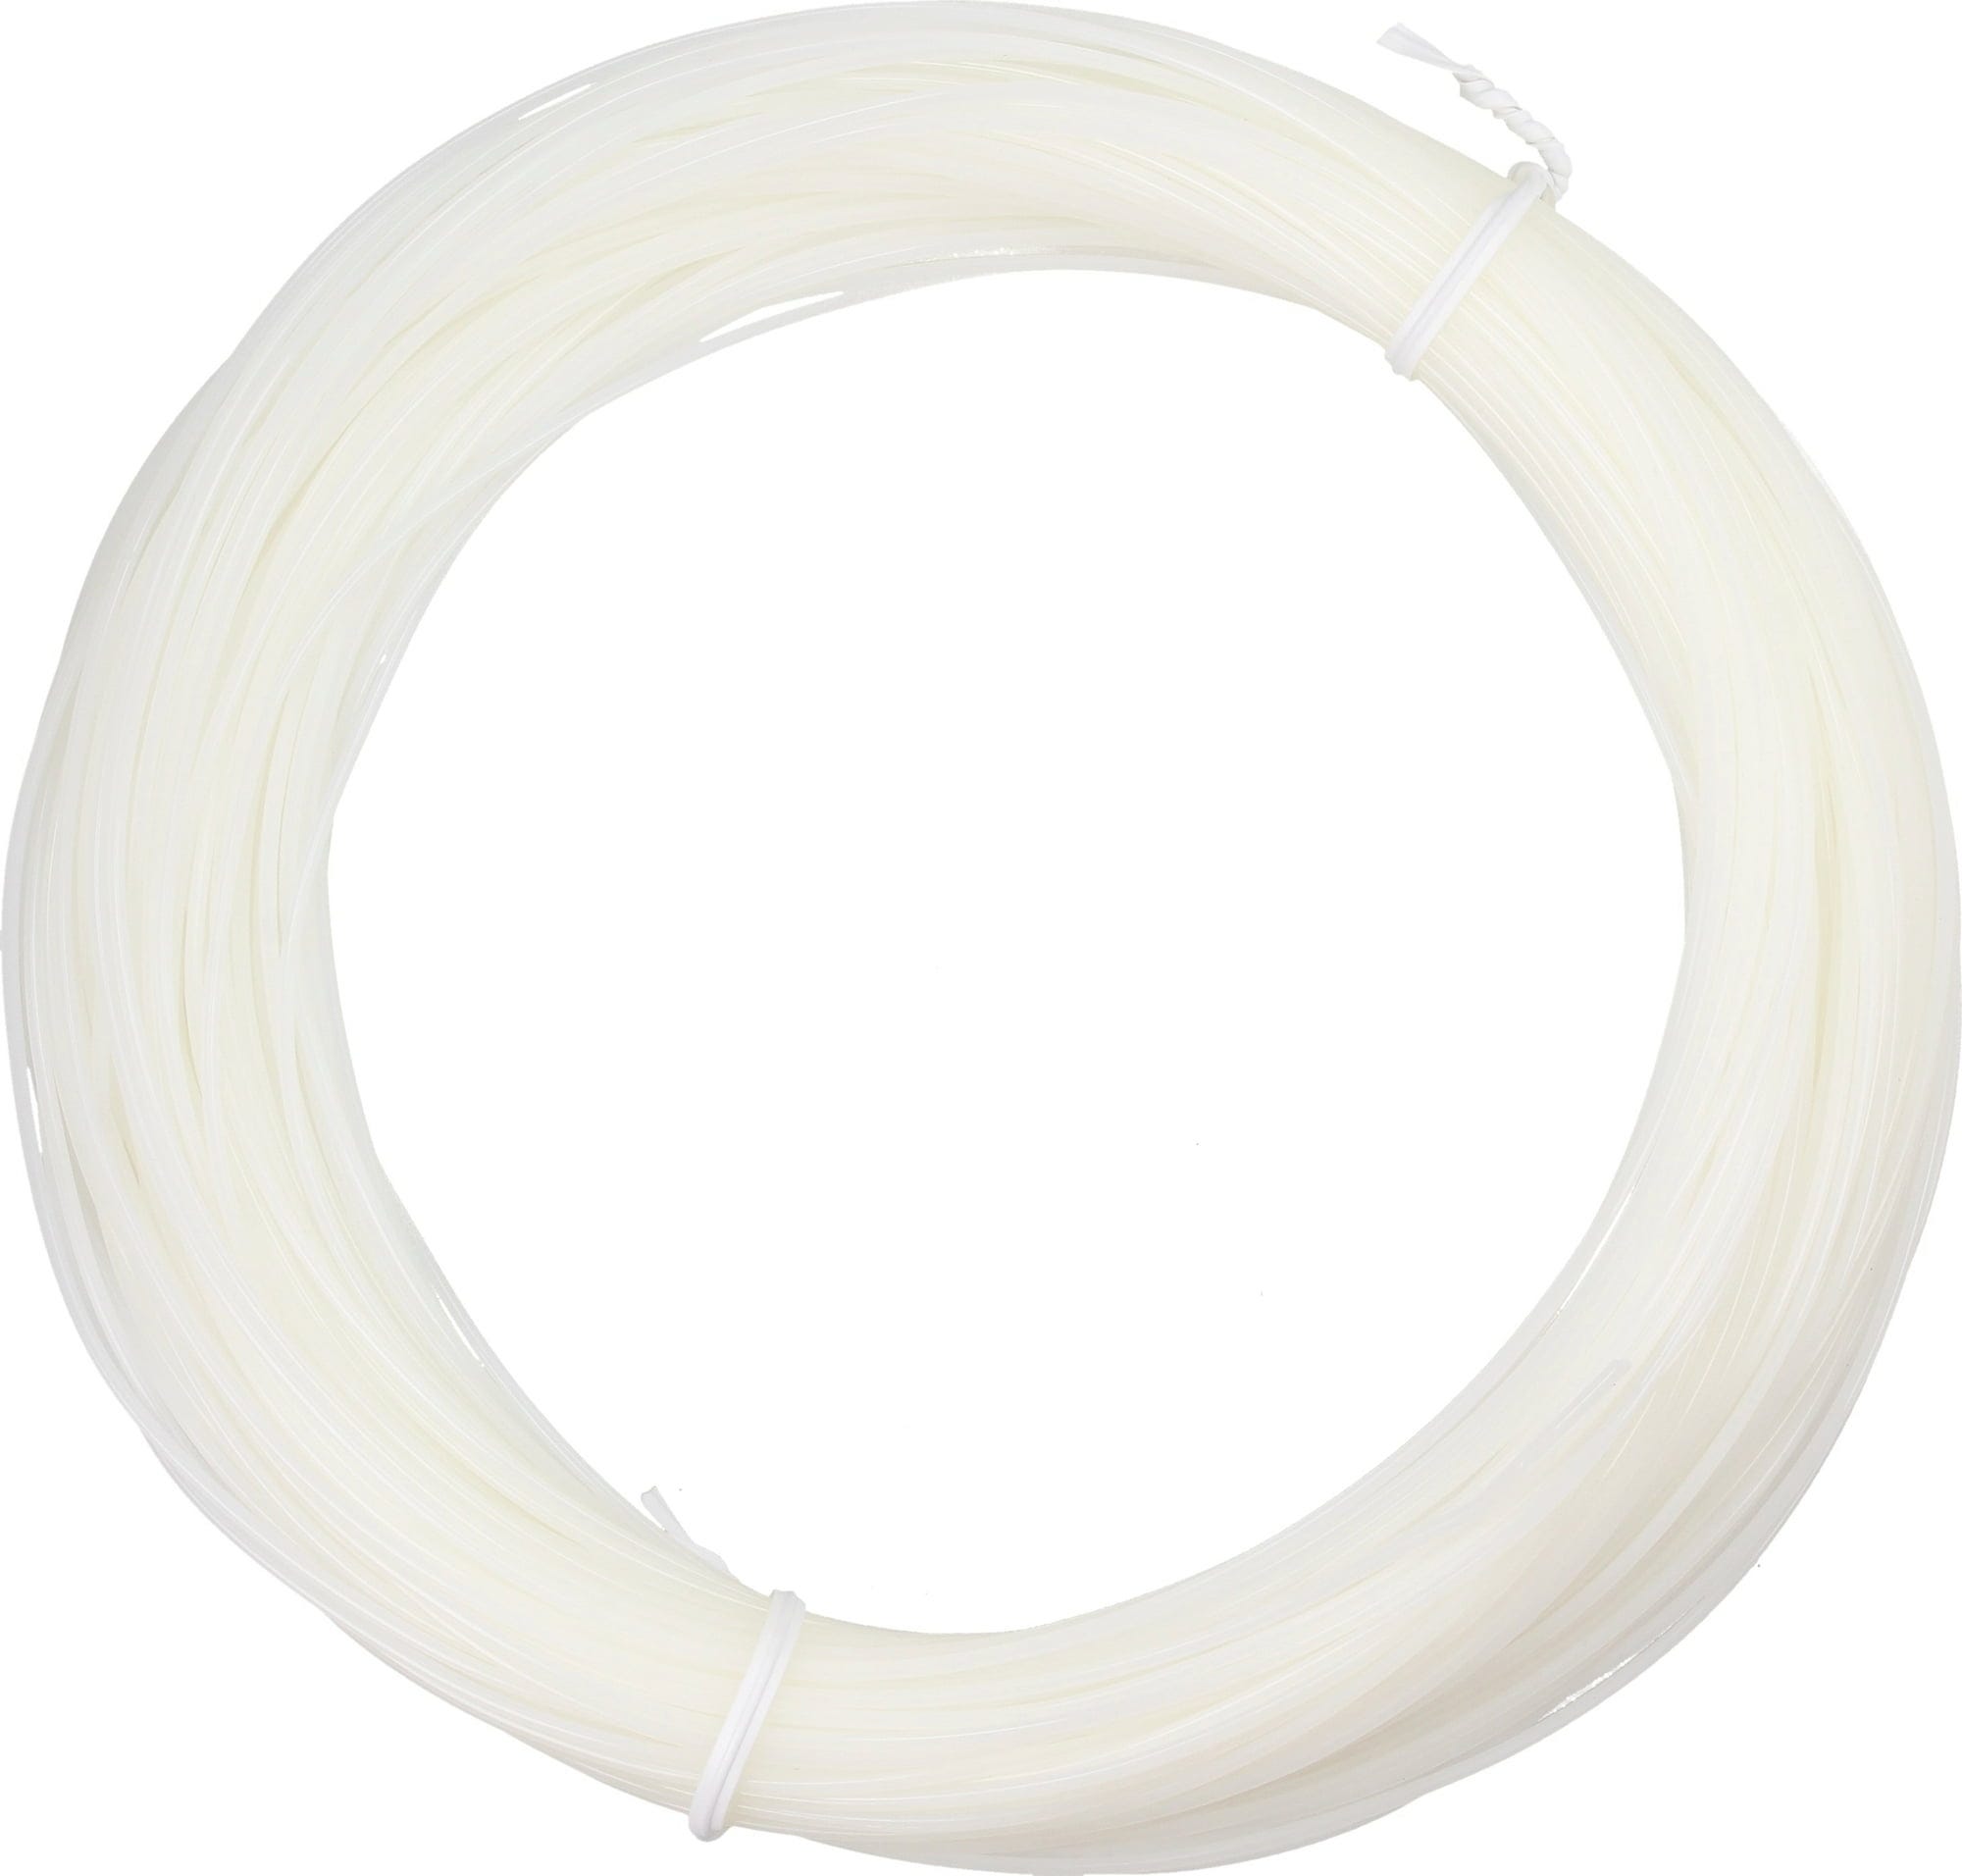
- •Cleaning filament (nylon or dedicated unclog filament, required for cold pull)
- •Needle-nose pliers or tweezers (required)
- •Brass wire brush (optional but recommended)
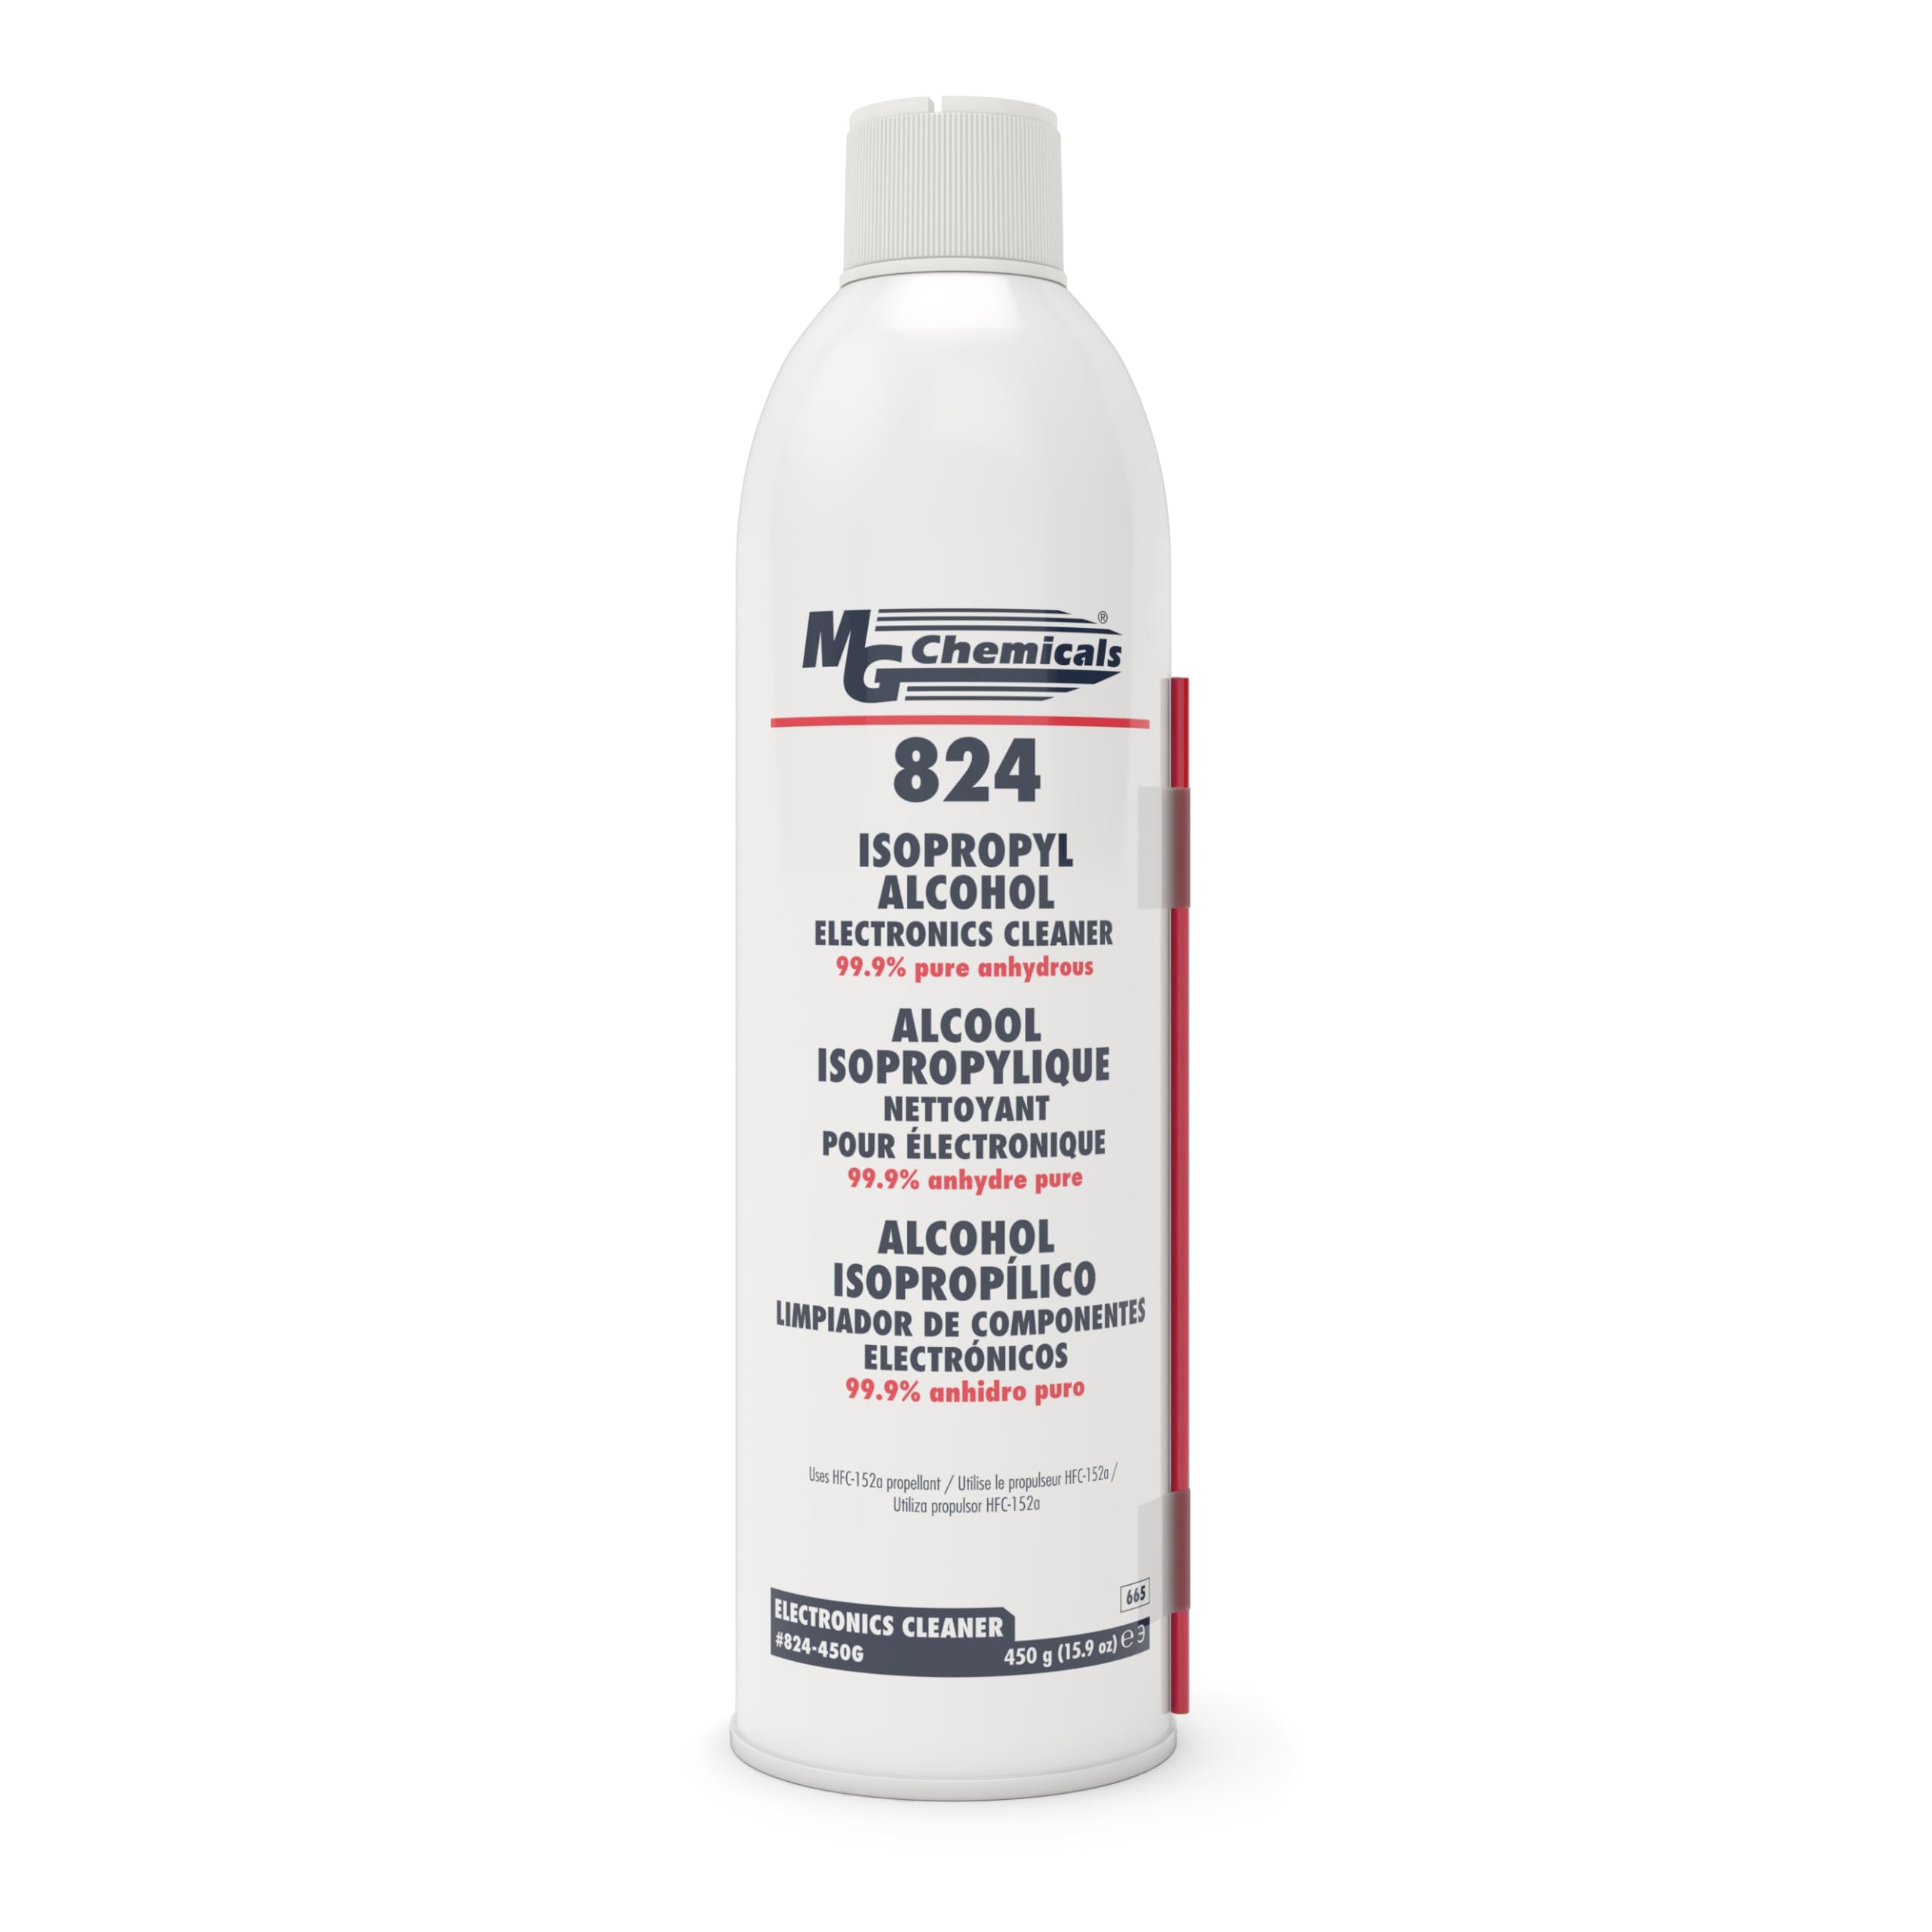
- •Isopropyl alcohol (90%+) and lint-free cloth (optional for final clean)
- •Allen keys/hex drivers (if disassembling hotend, printer-specific)
- •Replacement nozzle (0.4mm brass, recommended to have on hand)
Estimated Time: 20-45 minutes
Difficulty: intermediate
▸Step-by-Step Instructions
Step 1: Power Off and Cool the Printer
Turn off your 3D printer and unplug it from power to ensure safety. Allow the hotend to cool completely to room temperature (about 20-30°C). This prevents burns and filament softening during handling.
Why it matters: Working on a hot nozzle risks injury and can worsen clogs by melting debris further in. Expect the hotend to feel cool to the touch—no residual heat.
Success looks like: Printer fully powered down, no fans running, hotend at ambient temperature.
💡 Tips:
- •Wear heat-resistant gloves if you're impatient and can't wait for full cool-down.
⚠️ Warnings:
- •Never force filament removal from a hot nozzle—it can strip gears or create worse clogs.
Step 2: Remove Existing Filament
Heat the nozzle via the printer's menu to your filament's printing temperature (e.g., 200-220°C for PLA, 240°C for ABS). Once hot, gently push out any remaining filament using the extruder or by hand with pliers.
Cut the filament flush if needed. Purge a bit more to clear the bowden tube or direct drive path. This clears loose material for better cleaning access.
Success looks like: No filament visible in the nozzle tip; extruder turns freely without resistance.
💡 Tips:
- •Mark your max temp to avoid exceeding brass nozzle limits (around 280°C).
⚠️ Warnings:
- •Don't exceed your printer's safe temps—check your manual.
Step 3: Perform a Cold Pull (Atomic Pull)
Insert cleaning filament (cut at a sharp angle for easy insertion) into the hot nozzle at printing temp. Extrude a few mm, then cool to 90-100°C (nylon pulls best here). Once cool, firmly pull the filament out straight—this yanks out debris.
Inspect the pulled filament tip for filament bits or dirt. Repeat 2-3 times if dirty.
Why it matters: Cold pull grabs embedded clogs better than heat alone. Success looks like: Clean, smooth filament strand with no colored debris or stringies.
💡 Tips:
- •Nylon cleaning filament grips better; generic nylon works if dedicated unavailable.
⚠️ Warnings:
- •Pull slowly and straight—twisting snaps filament inside.
Step 4: Clean with Needle While Hot
Reheat nozzle to 220-250°C. Insert the appropriate needle (match to nozzle size, e.g., 0.4mm) straight down through the nozzle orifice, twisting gently 5-10 times.
Push until it stops (at the heatbreak), then withdraw slowly. Wipe needle clean and repeat 3-5 times or until no resistance.
This dislodges fine particles cold pulls miss. Success looks like: Needle slides in/out smoothly without grit or binding.
💡 Tips:
- •Dip needle in IPA first for lubrication.
⚠️ Warnings:
- •Use brass needles only—steel scratches PTFE liners.
Step 5: Brush and Wipe the Exterior
With nozzle hot (200°C+), use a brass brush to scrub the nozzle exterior and tip. This removes external buildup. Cool slightly, then wipe with IPA-soaked cloth.
Success looks like: Shiny, clean nozzle exterior free of residue.
💡 Tips:
- •Brass prevents scratching unlike steel brushes.
⚠️ Warnings:
- •Avoid touching the hot nozzle directly.
Step 6: Reassemble and Test Extrusion
Reinstall any removed parts (e.g., bowden tube). Load fresh filament, heat to print temp, and extrude manually. Check for consistent flow—no blobs or skips.
Run a test print (small cube). Success looks like: Steady, uniform extrusion lines; clean test print.
💡 Tips:
- •Calibrate E-steps post-clean if extrusion was inconsistent.
⚠️ Warnings:
- •If still clogged, consider nozzle replacement.
▸Pro Tips
- •Prevent clogs by drying filament and printing at correct temps.
- •Do cold pulls monthly for maintenance, even without clogs.
- •Upgrade to hardened steel nozzle for abrasive filaments like glow-in-dark.
- •Keep needles organized by size in a labeled case.
- •Use a digital thermometer to verify nozzle temps accurately.
- •For stubborn clogs, try a butane torch briefly on the nozzle exterior (pro only).
- •Log your print hours to schedule cleans proactively.
▸Common Mistakes to Avoid
- •Using too much force on pulls, snapping filament inside the hotend.
- •Cleaning with cold nozzle, hardening debris further.
- •Wrong needle size, either too loose (ineffective) or too tight (damages nozzle).
- •Skipping tests, leading to print failures mid-job.
- •Ignoring root causes like moist filament, causing repeat clogs.
▸Troubleshooting
Problem: Cold pull filament won't insert
Solution: Reheat higher (250°C) and bevel filament tip sharply. Lubricate with oil sparingly.
Problem: Needle won't go all the way
Solution: Partial clog higher up—disassemble heatbreak or replace nozzle.
Problem: Extrusion inconsistent after cleaning
Solution: Re-level bed, check for loose bowden fittings, recalibrate extruder steps.
Problem: Clog returns immediately
Solution: Inspect for heatbreak damage; upgrade hotend or use better filament.
BIQU 3D Printer Nozzle Cleaning Kit
Includes precision brass needles (0.2-0.6mm), brushes, and tweezers—perfect all-in-one for needle cleaning.
Best for: Essential for steps 4-5; handles most clogs without buying extras.
Price Range: $9.99
eSUN Cleaning Filament 1.75mm
Special nylon-based filament designed for cold pulls, grips debris better than standard nylon.
Best for: Core for step 3; use 50g spool sufficient for multiple cleans.
Price Range: $19.99
Creality Brass Nozzle 0.4mm (Pack of 5)
Quick-swap replacements if cleaning fails; OEM quality fits most printers.
Best for: Keep as backup; install if clog is severe to save time.
Price Range: $12.99
Aibecy 10pcs Brass Nozzle Cleaning Needles
Affordable, high-quality brass pins in multiple sizes for repeated use.
Best for: Budget option for step 4 if kit unavailable.
Price Range: $6.99
MG Chemicals 99.9% Isopropyl Alcohol
Pure solvent for safe wiping without residue.
Best for: Final clean in step 5; also degreases hotend parts.
Price Range: $24.99 (473ml)