
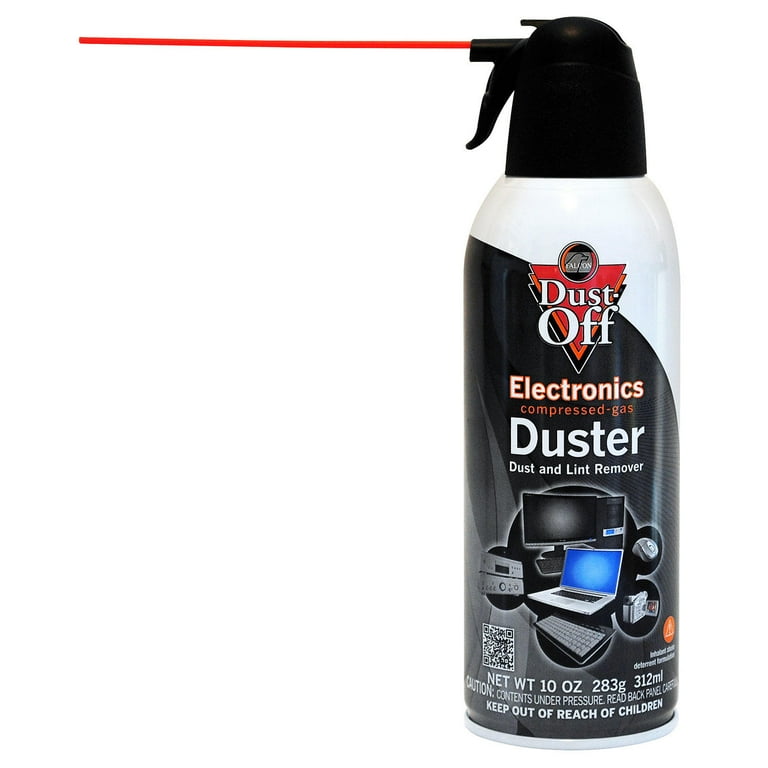
Falcon Dust-Off Compressed Gas Duster
For blowing dust out from between keys and crevices.
$8-$15
Falcon Dust-Off Compressed Gas Duster Highly reliable brand for electronics cleaning, delivers dust-free air without propellant issues.
Get the App
Better experience on mobile
Learn how to safely remove dust from your 2-in-1 laptop keyboard with simple steps and recommended tools.
Dust buildup on your 2-in-1 laptop keyboard can cause sticky keys, reduced responsiveness, and even hardware issues over time. Whether you have a detachable keyboard or a fixed one, regular cleaning is essential to maintain performance and hygiene. In this guide, you'll learn how to effectively remove dust using everyday tools and specialized products, all while avoiding common mistakes that could damage your device. The process takes about 10-20 minutes and requires no technical expertise.
Estimated Time: 10-20 minutes Difficulty: beginner
Turn off your 2-in-1 laptop completely and unplug it from the charger. If your device has a detachable keyboard, remove it gently by following the manufacturer's instructions. This prevents accidental keystrokes, static discharge, or liquid damage during cleaning.
💡 Tips:
⚠️ Warnings:
Hold the keyboard (or laptop if fixed) upside down over a trash can or sink. Gently tap the back to dislodge larger crumbs and loose dust. This step removes surface debris before any deeper cleaning.
💡 Tips:
Hold a can of compressed air upright and use short bursts to blow dust out from between keys. Move the nozzle at an angle (not directly downward) to push dust outward. Focus on the edges, corners, and any areas with visible buildup.
💡 Tips:
⚠️ Warnings:
Use a soft-bristled brush to gently sweep away any dust that remains after compressed air. Brush in a sweeping motion, angling the bristles to lift debris from under keycaps. A clean, dry paintbrush or a dedicated electronics brush works well.
💡 Tips:
⚠️ Warnings:
Apply a keyboard cleaning gel (also called slime or putty) by pressing it onto the keyboard surface and then peeling it off. The gel picks up fine dust and particles from between keys. This is optional but highly effective for 2-in-1 keyboards with tight key gaps.
💡 Tips:
⚠️ Warnings:
Dampen a microfiber cloth with a small amount of isopropyl alcohol (or use a pre-moistened electronic wipe). Gently wipe each keycap in a circular motion. Do not let liquid drip between keys. For detachable keyboards, you can also wipe the edges and underside.
💡 Tips:
⚠️ Warnings:
Allow the keyboard to air dry completely for 5-10 minutes. If you used any liquid, make sure there is no moisture left between keys. For detachable keyboards, wipe the connection pins with a dry microfiber cloth before reattaching.
💡 Tips:
⚠️ Warnings:
Once dry, reattach the detachable keyboard to the laptop (or close the laptop if fixed). Turn on the device and test all keys for proper operation. If any keys feel sticky or unresponsive, repeat the cleaning process for that area or consider professional service.
💡 Tips:
Problem: Keys feel sticky after cleaning.
Solution: The adhesive from cleaning gel may have left residue, or moisture is still present. Wipe the keycaps again with a damp cloth and dry thoroughly. Use a cotton swab with alcohol to clean around sticky keys.
Problem: Dust appears again within a few days.
Solution: You may have deeper dust in the mechanism that wasn't removed. Repeat cleaning with compressed air and consider using a keyboard cover. If the problem persists, the keyboard may need professional disassembly.
Problem: A keycap came off during cleaning.
Solution: Gently snap it back into place. If the clip or hinge is broken, you may need a replacement keycap or keyboard. Contact the manufacturer for spare parts.
Problem: Compressed air left moisture on the keyboard.
Solution: Wipe immediately with a dry microfiber cloth and let the keyboard dry completely before use. Avoid using compressed air that is low on propellant as it tends to spray liquid.
Highly reliable brand for electronics cleaning, delivers dust-free air without propellant issues.
Best for: For blowing dust out from between keys and crevices.
Price Range: $8-$15
Non-sticky, reusable gel that picks up fine dust without leaving residue.
Best for: For deep cleaning between keys without compressed air.
Price Range: $8-$12
Pre-moistened, safe for electronics, individually wrapped to prevent drying.
Best for: For wiping keycaps and surfaces without needing liquid.
Price Range: $10-$15 for 50 packs
Rechargeable, cordless alternative to canned air, stronger and more eco-friendly.
Best for: For regular cleaning if you clean multiple devices frequently.
Price Range: $30-$50
For blowing dust out from between keys and crevices.
Falcon Dust-Off Compressed Gas Duster Highly reliable brand for electronics cleaning, delivers dust-free air without propellant issues.
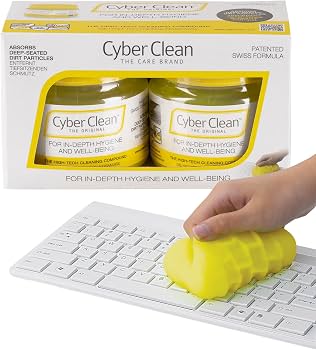
For deep cleaning between keys without compressed air.
CyberClean Keyboard Cleaning Gel Non-sticky, reusable gel that picks up fine dust without leaving residue.
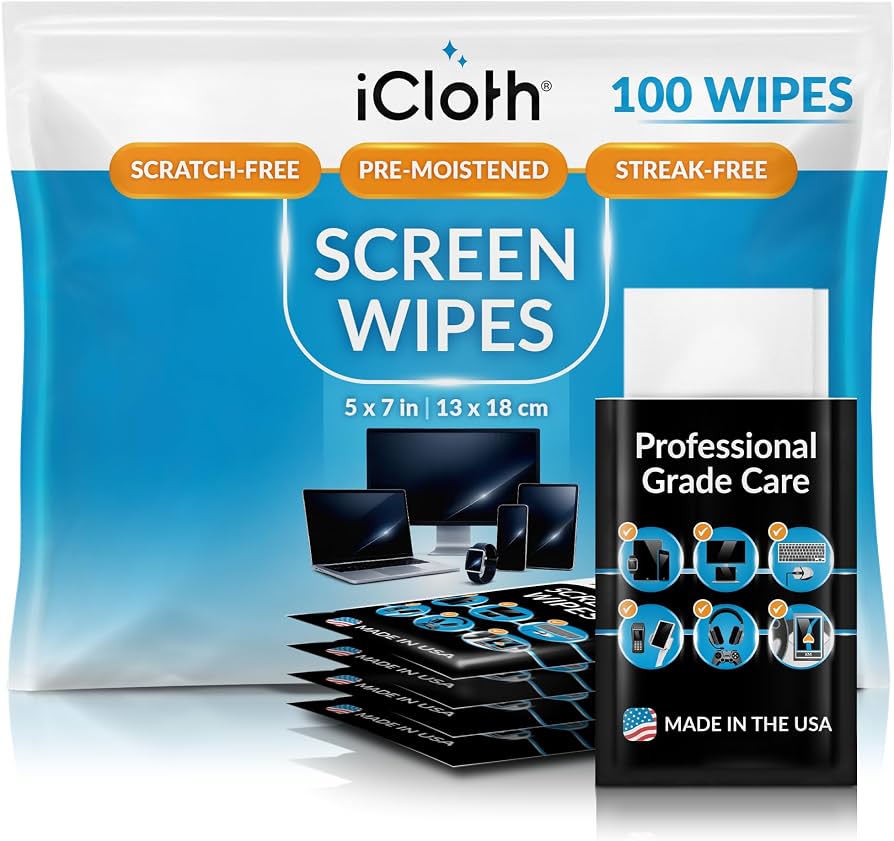
For wiping keycaps and surfaces without needing liquid.
iCloth Electronic Cleaning Wipes Pre-moistened, safe for electronics, individually wrapped to prevent drying.
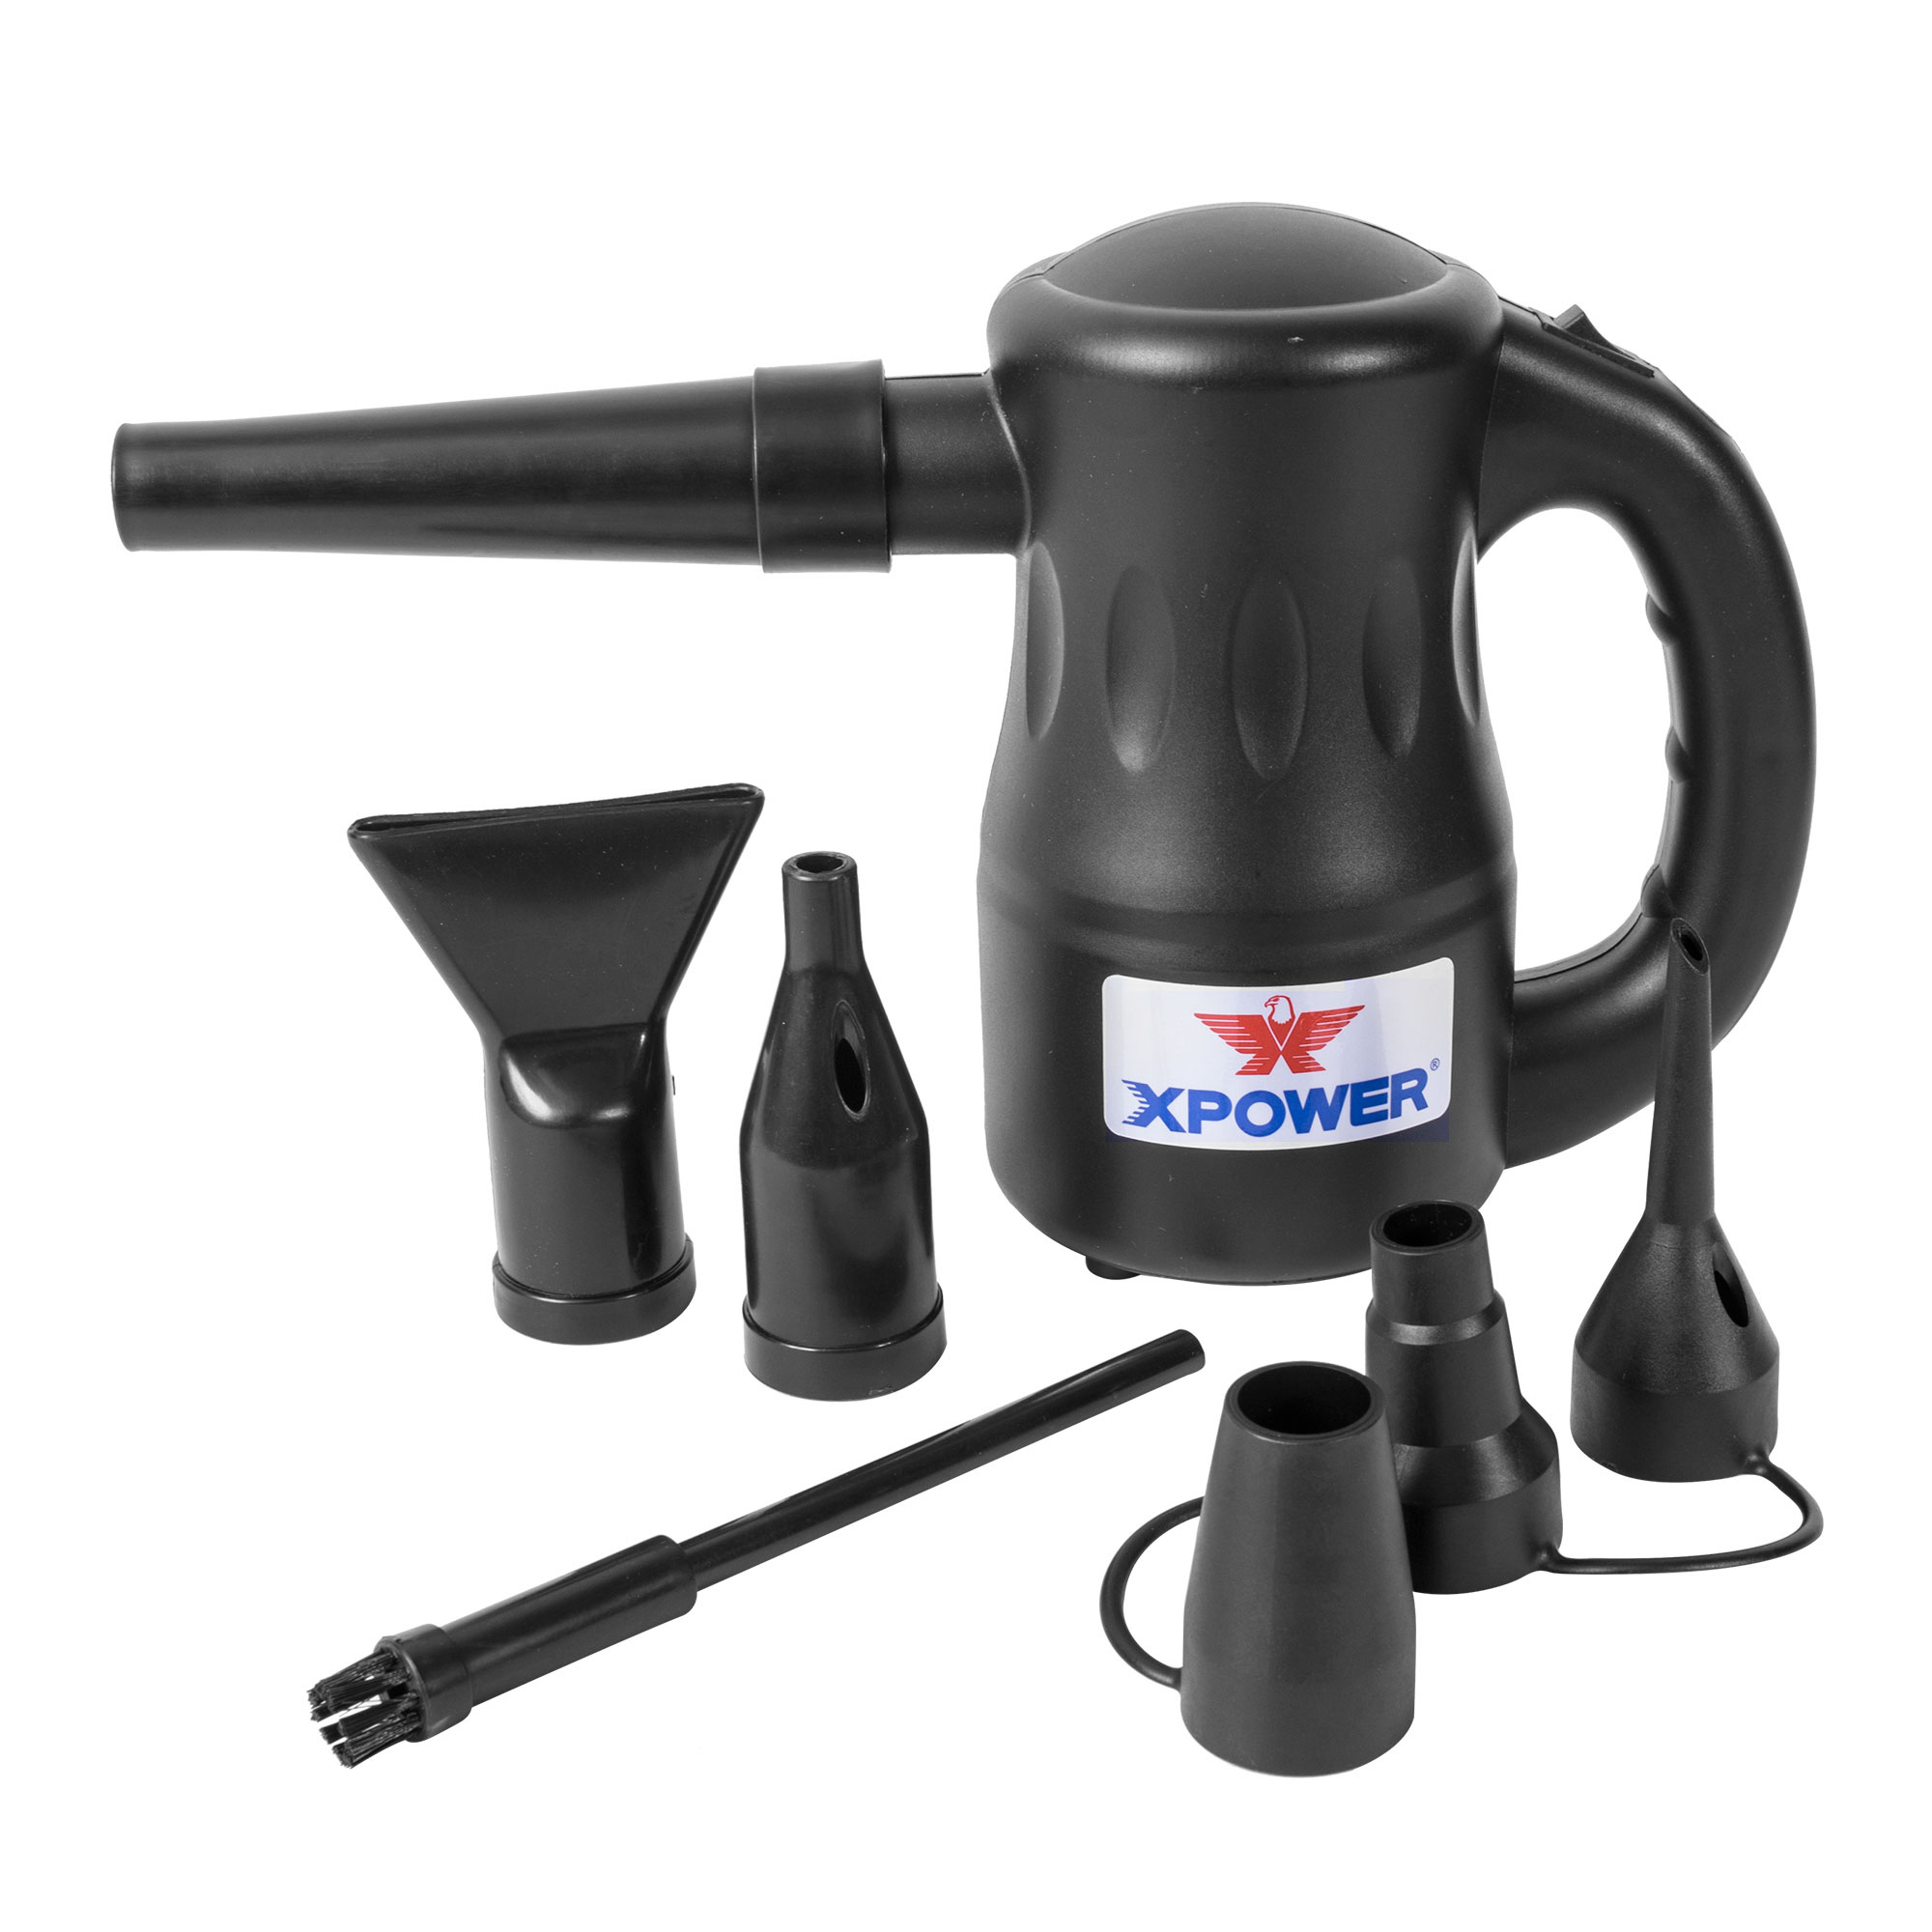
For regular cleaning if you clean multiple devices frequently.
Electric Air Duster (like OPOLAR or XPOWER) Rechargeable, cordless alternative to canned air, stronger and more eco-friendly.