
Isopropyl Alcohol 99% (16oz by MG Chemicals)
Primary cleaner for PCB and buttons.
$12-15
Isopropyl Alcohol 99% (16oz by MG Chemicals) Pure, fast-evaporating solvent safe for electronics; removes oils without residue.
Get the App
Better experience on mobile
Restore sticky buttons and grimy trackballs on your vintage 3DO controller with this beginner-friendly step-by-step guide.
If you're a retro gaming enthusiast firing up your 3DO Interactive Multiplayer, nothing kills the nostalgia faster than sticky buttons or a sluggish trackball on the controller. Over 30 years old, these controllers accumulate dust, oils from hands, and residue that makes precise inputs impossible. Regular cleaning can bring them back to life, extending their usability without buying replacements.
In this guide, you'll learn a safe, effective method to disassemble, clean, and reassemble your 3DO controller. No advanced skills required—just basic tools and patience. The process takes 30-45 minutes per controller and prevents common issues like membrane damage or short circuits.
Expect crystal-clear buttons, smooth D-pad action, and a responsive trackball afterward. Follow along closely for the best results.
Estimated Time: 30-45 minutes per controller Difficulty: beginner
Turn off your 3DO console and unplug the controller. Work in a well-lit, static-free area like a clean table covered with a soft towel to prevent scratches.
This step ensures safety—no live electricity or accidental drops. Lay out all tools so they're easy to grab. Expect a clutter-free setup ready for action.
💡 Tips:
⚠️ Warnings:
Dampen a microfiber cloth with isopropyl alcohol (don't soak it) and gently wipe the controller's plastic shell, D-pad, shoulder buttons, and trackball area. Use compressed air to blow out dust from crevices.
This removes surface grime without disassembly. The shell should look shiny and free of fingerprints; trackball should spin freely.
Why it matters: Prevents loose dirt from scratching internals during opening.
💡 Tips:
⚠️ Warnings:
Flip the controller over and remove the 6-8 Phillips screws from the bottom. Gently pry the halves apart with a plastic spudger, starting from the battery compartment. Be cautious with the ribbon cable connecting the membrane pad—disconnect it carefully.
Success: Halves separate, exposing PCB, buttons, and membrane. No broken clips or torn cables.
This reveals sticky culprits like oxidized buttons.
💡 Tips:
⚠️ Warnings:
Pop out the rubber membrane pad and individual buttons (they lift easily). Note their positions or take photos for reassembly.
Inspect for gunk underneath. The pads should detach cleanly, revealing the PCB contacts.
Why: Allows deep cleaning of contact points where stickiness originates.
💡 Tips:
Blast dust with compressed air. Dip a cotton swab in isopropyl alcohol and gently rub PCB contacts, buttons, and membrane underside. For trackball contacts, use DeoxIT if available.
Contacts turn shiny; no white residue left. Let alcohol evaporate fully (5-10 min).
This restores conductivity for crisp inputs.
💡 Tips:
⚠️ Warnings:
Remove the trackball (twists out). Clean the ball with alcohol-damp cloth, then swab the socket sensors.
Ball rolls smoothly; socket free of lint. Reinstall loosely for now.
Critical for 3DO's unique navigation.
💡 Tips:
Air-dry everything for 10-15 minutes. Use compressed air again if needed. Check for missed residue.
All parts bone-dry and spotless—no dampness or haze.
Prevents corrosion during reassembly.
💡 Tips:
⚠️ Warnings:
Reinstall membrane, buttons, reconnect ribbon, snap halves together, and tighten screws. Plug into 3DO and test all inputs in a game.
Buttons click responsively, trackball precise—no stickiness.
You're done if gameplay feels new!
💡 Tips:
Problem: Buttons still sticky after cleaning
Solution: Repeat step 5 with DeoxIT; check for membrane tears.
Problem: Trackball not responding
Solution: Deep-clean socket sensors; ensure ball seats properly.
Problem: Controller won't connect
Solution: Inspect cable pins for bends; reseat ribbons.
Problem: Cracking plastic during pry
Solution: Apply heat from hairdryer to soften; seek pro repair if broken.
Pure, fast-evaporating solvent safe for electronics; removes oils without residue.
Best for: Primary cleaner for PCB and buttons.
Price Range: $12-15
Penetrates grime on contacts better than alcohol alone; protects against oxidation.
Best for: Stubborn trackball or button corrosion.
Price Range: $18-22
Precision Phillips bits perfect for tiny 3DO screws; includes spudger.
Best for: Disassembly without stripping.
Price Range: $35-40
Lint-free, absorbent for streak-free wiping.
Best for: Exterior and drying.
Price Range: $9-12
Powerful blast removes dust without contact.
Best for: Crevice and PCB cleaning.
Price Range: $10-15
Primary cleaner for PCB and buttons.
Isopropyl Alcohol 99% (16oz by MG Chemicals) Pure, fast-evaporating solvent safe for electronics; removes oils without residue.
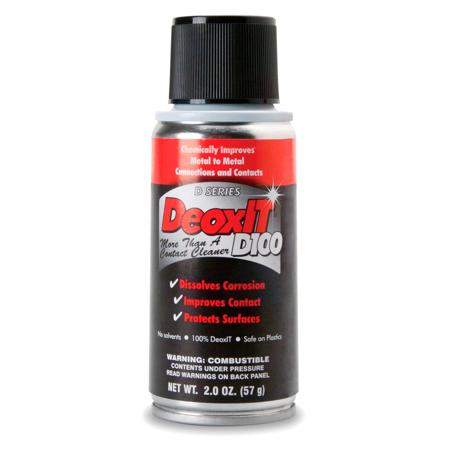
Stubborn trackball or button corrosion.
DeoxIT D5 Contact Cleaner (5oz) Penetrates grime on contacts better than alcohol alone; protects against oxidation.
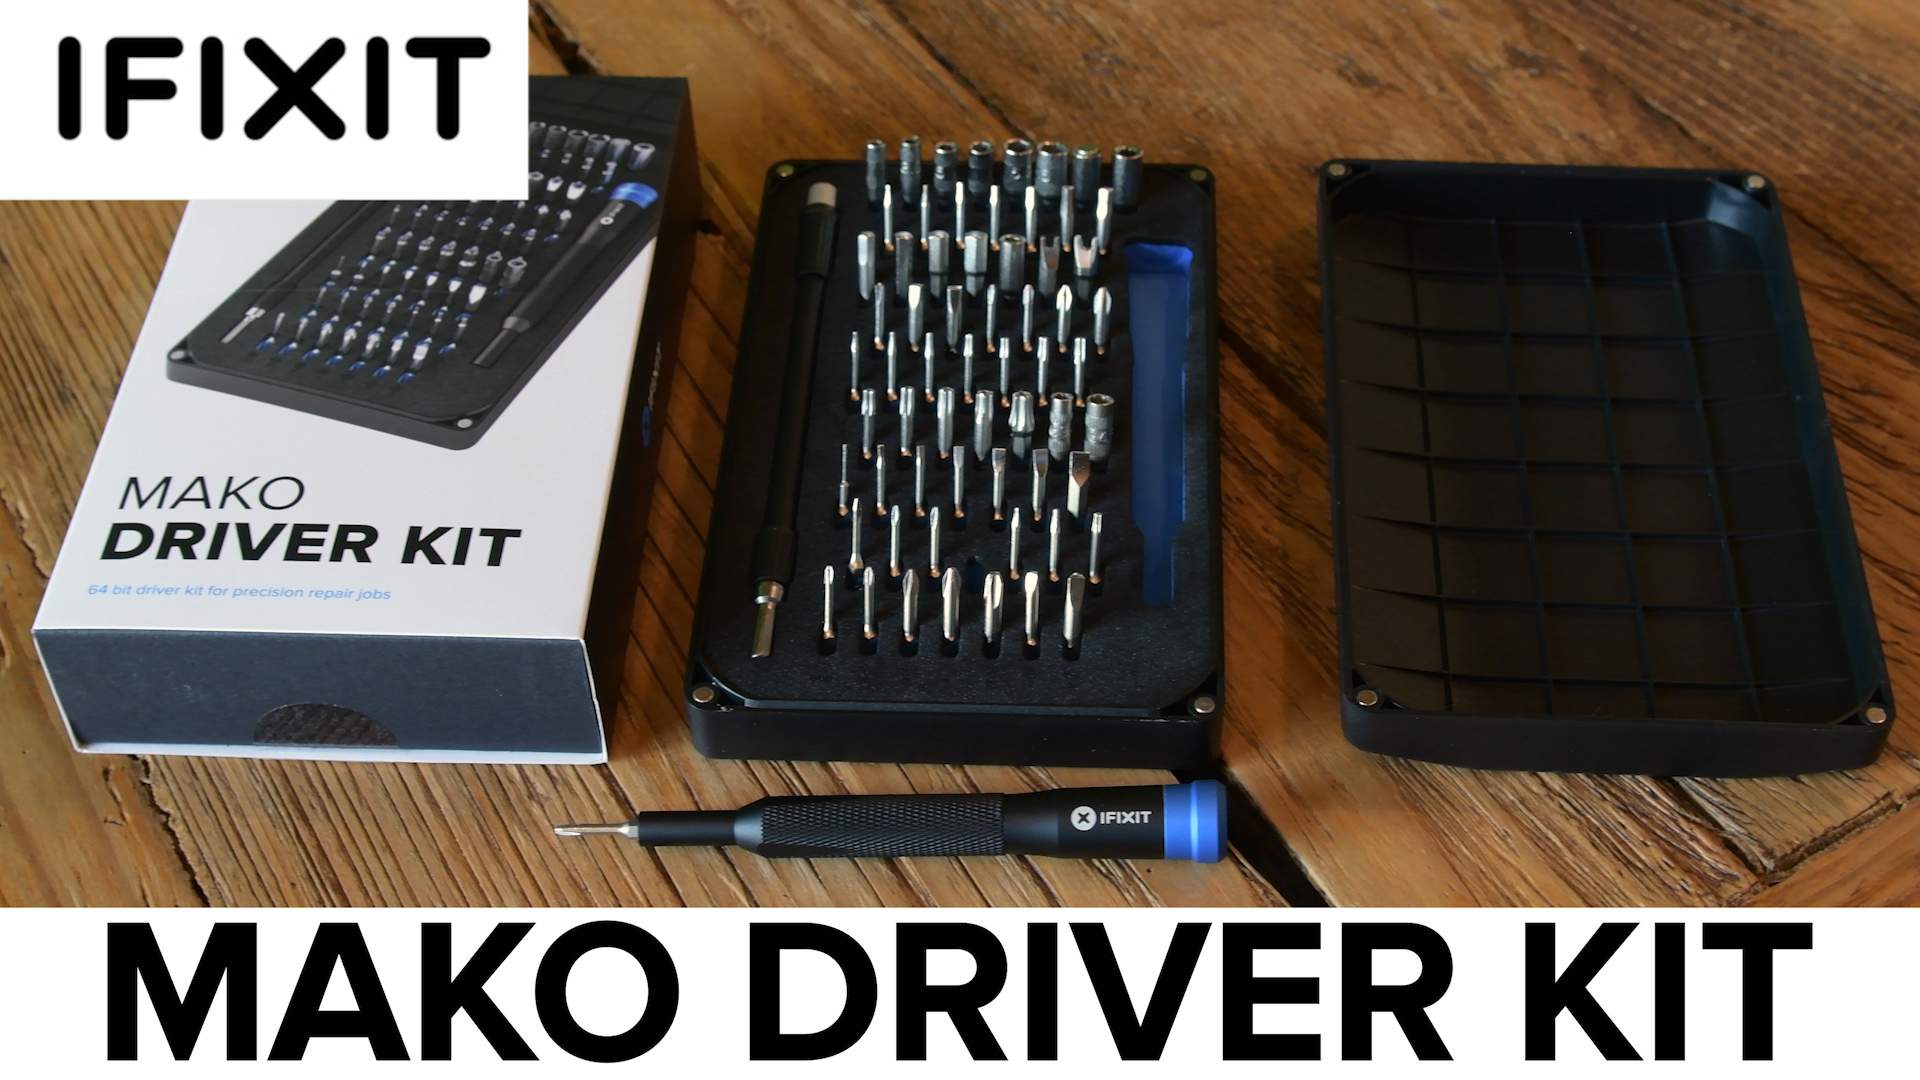
Disassembly without stripping.
iFixit Mako Driver Kit Precision Phillips bits perfect for tiny 3DO screws; includes spudger.

Exterior and drying.
Amazon Basics Microfiber Cleaning Cloths (24-pack) Lint-free, absorbent for streak-free wiping.

Crevice and PCB cleaning.
Dust-Off Compressed Air Duster (2 cans) Powerful blast removes dust without contact.