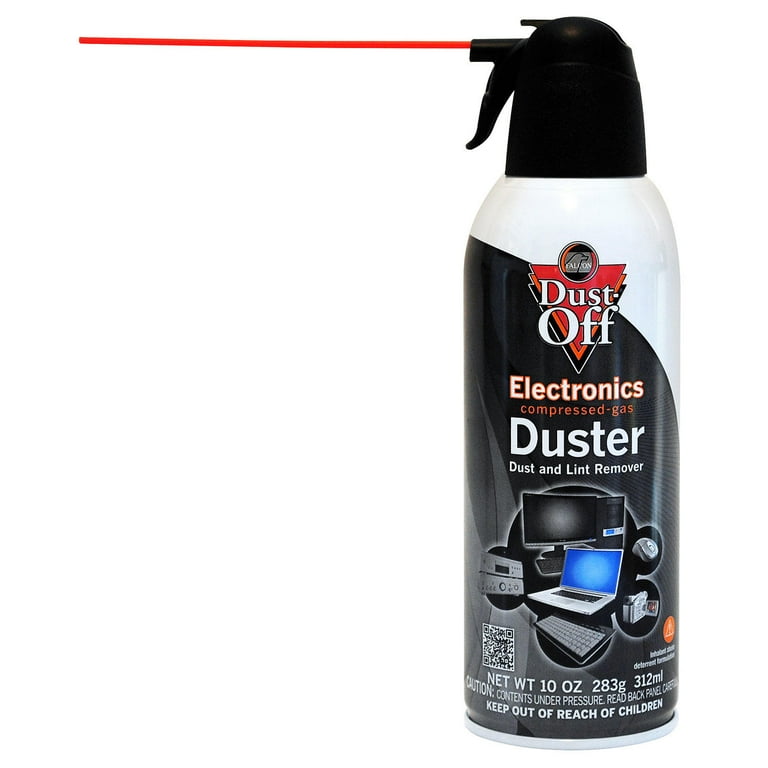
Dust-Off Compressed Gas Duster
Initial dust removal on vents and crevices.
$10-$15
Dust-Off Compressed Gas Duster Powerful, moisture-free air blasts loose dust without residue.
Get the App
Better experience on mobile
Safely remove dust from your 3D scanner in 15-30 minutes to restore accuracy and prevent costly damage.
Dust from scans of gritty objects like rocks, soil samples, or workshop parts can quickly build up on 3D scanners, leading to blurry captures, inaccurate models, and even hardware failure. If you've noticed reduced scan quality or error messages after dusty projects, it's time for a proper clean—ignoring it shortens your scanner's life and frustrates your workflow.
In this guide, you'll learn a step-by-step process tailored for intermediate users to deep-clean your structured light, laser, or photogrammetry scanner without risking delicate optics or sensors. We'll cover tools, techniques, and pro tips used by pros. Expect 15-30 minutes per session, depending on dust level—no advanced skills needed, just care and the right supplies.
By the end, your scanner will gleam, scans will be crisp, and you'll know how to maintain it for peak performance.
Estimated Time: 15-30 minutes Difficulty: intermediate
Start by completely powering down your 3D scanner and unplugging it from any power source. This prevents static electricity buildup or accidental activation during cleaning, which could damage internals.
Remove the scanner from its stand or tripod if attached. Place it on a clean, static-free surface like a lint-free mat in a well-lit, dust-free area (e.g., your workspace with windows closed).
Success looks like: Scanner fully disconnected and stable—no lights or fans running.
💡 Tips:
⚠️ Warnings:
Refer to your scanner's manual (e.g., for EinScan or Revopoint models) to remove covers, lenses, or calibration targets. Gently detach these—most twist off or use thumbscrews.
Inspect for visible dust clumps. Lay parts flat without stacking to avoid scratches.
Success looks like: All removable components separated and dust levels assessed.
💡 Tips:
⚠️ Warnings:
Hold the scanner at a 45-degree angle and use short bursts of compressed air from 6-8 inches away. Start with exterior vents, fans, and crevices, then move to optics.
Rotate the scanner to dislodge dust from all angles. Empty the canister upside down occasionally to prevent liquid spray.
Success looks like: Visible dust clouds expelled, surfaces look drier.
💡 Tips:
⚠️ Warnings:
Use a soft anti-static brush or lens pen to gently sweep remaining dust from surfaces, especially around projectors, cameras, and lasers.
For interiors, lightly brush fans or mirrors without touching sensitive areas.
Success looks like: No loose particles when you tap the scanner.
💡 Tips:
⚠️ Warnings:
Dampen (not soak) a microfiber cloth with distilled water or 50/50 isopropyl-distilled water mix. Wipe exterior housing, buttons, and cables in straight lines.
Dry immediately with a fresh dry cloth.
Success looks like: Smudge-free matte or glossy finish restored.
💡 Tips:
⚠️ Warnings:
Apply isopropyl alcohol to a cotton swab or lens tissue (never directly to scanner). Gently circle the lenses, lasers, and IR projectors.
For stubborn spots, let alcohol sit 10 seconds, then wipe. Use lens pen for final polish.
Success looks like: Crystal-clear optics with no haze or streaks.
💡 Tips:
⚠️ Warnings:
Reattach parts securely. Power on and run a test scan of a clean object (e.g., calibration plate).
Check for errors, blurry areas, or unusual noise.
Success looks like: Flawless test scan with sharp details.
💡 Tips:
⚠️ Warnings:
Problem: Streaks on lenses after cleaning
Solution: Re-wipe with fresh isopropyl and lens pen; ensure dry before use.
Problem: Static-clinging dust returns
Solution: Apply anti-static spray lightly; use in low-humidity room.
Problem: Scan errors post-clean
Solution: Full recalibration; check for loose parts.
Problem: Liquid spots inside
Solution: Air dry 24 hours in warm spot; seek pro if persists.
Powerful, moisture-free air blasts loose dust without residue.
Best for: Initial dust removal on vents and crevices.
Price Range: $10-$15
Ultra-soft, lint-free for streak-free wiping.
Best for: Exterior and light optic cleaning.
Price Range: $6-$13
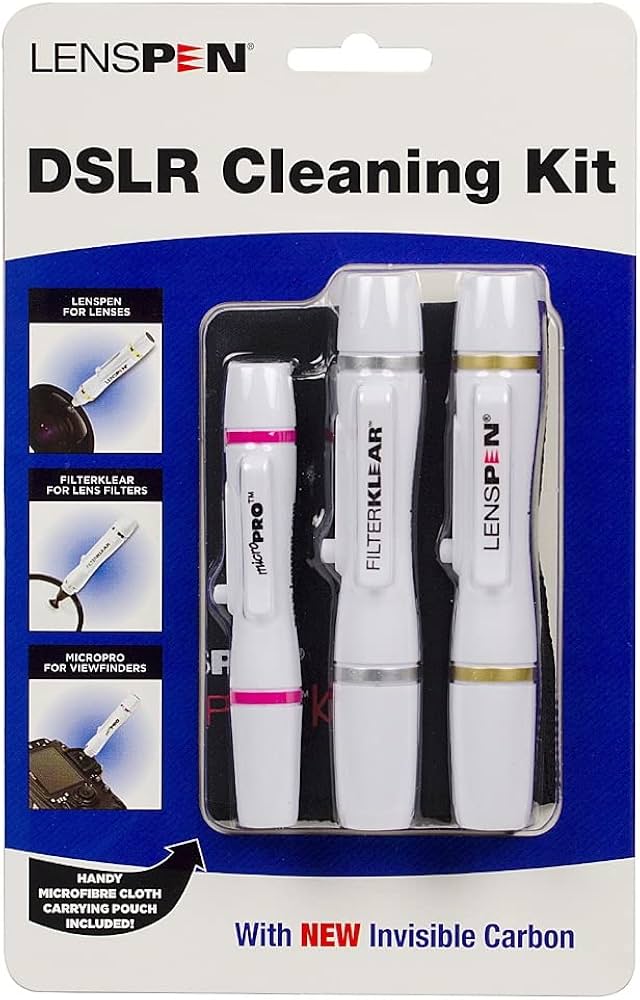
Retractable brush and refilling tip for precise optic cleaning.
Best for: Lenses, lasers, and sensors.
Price Range: $10-$15
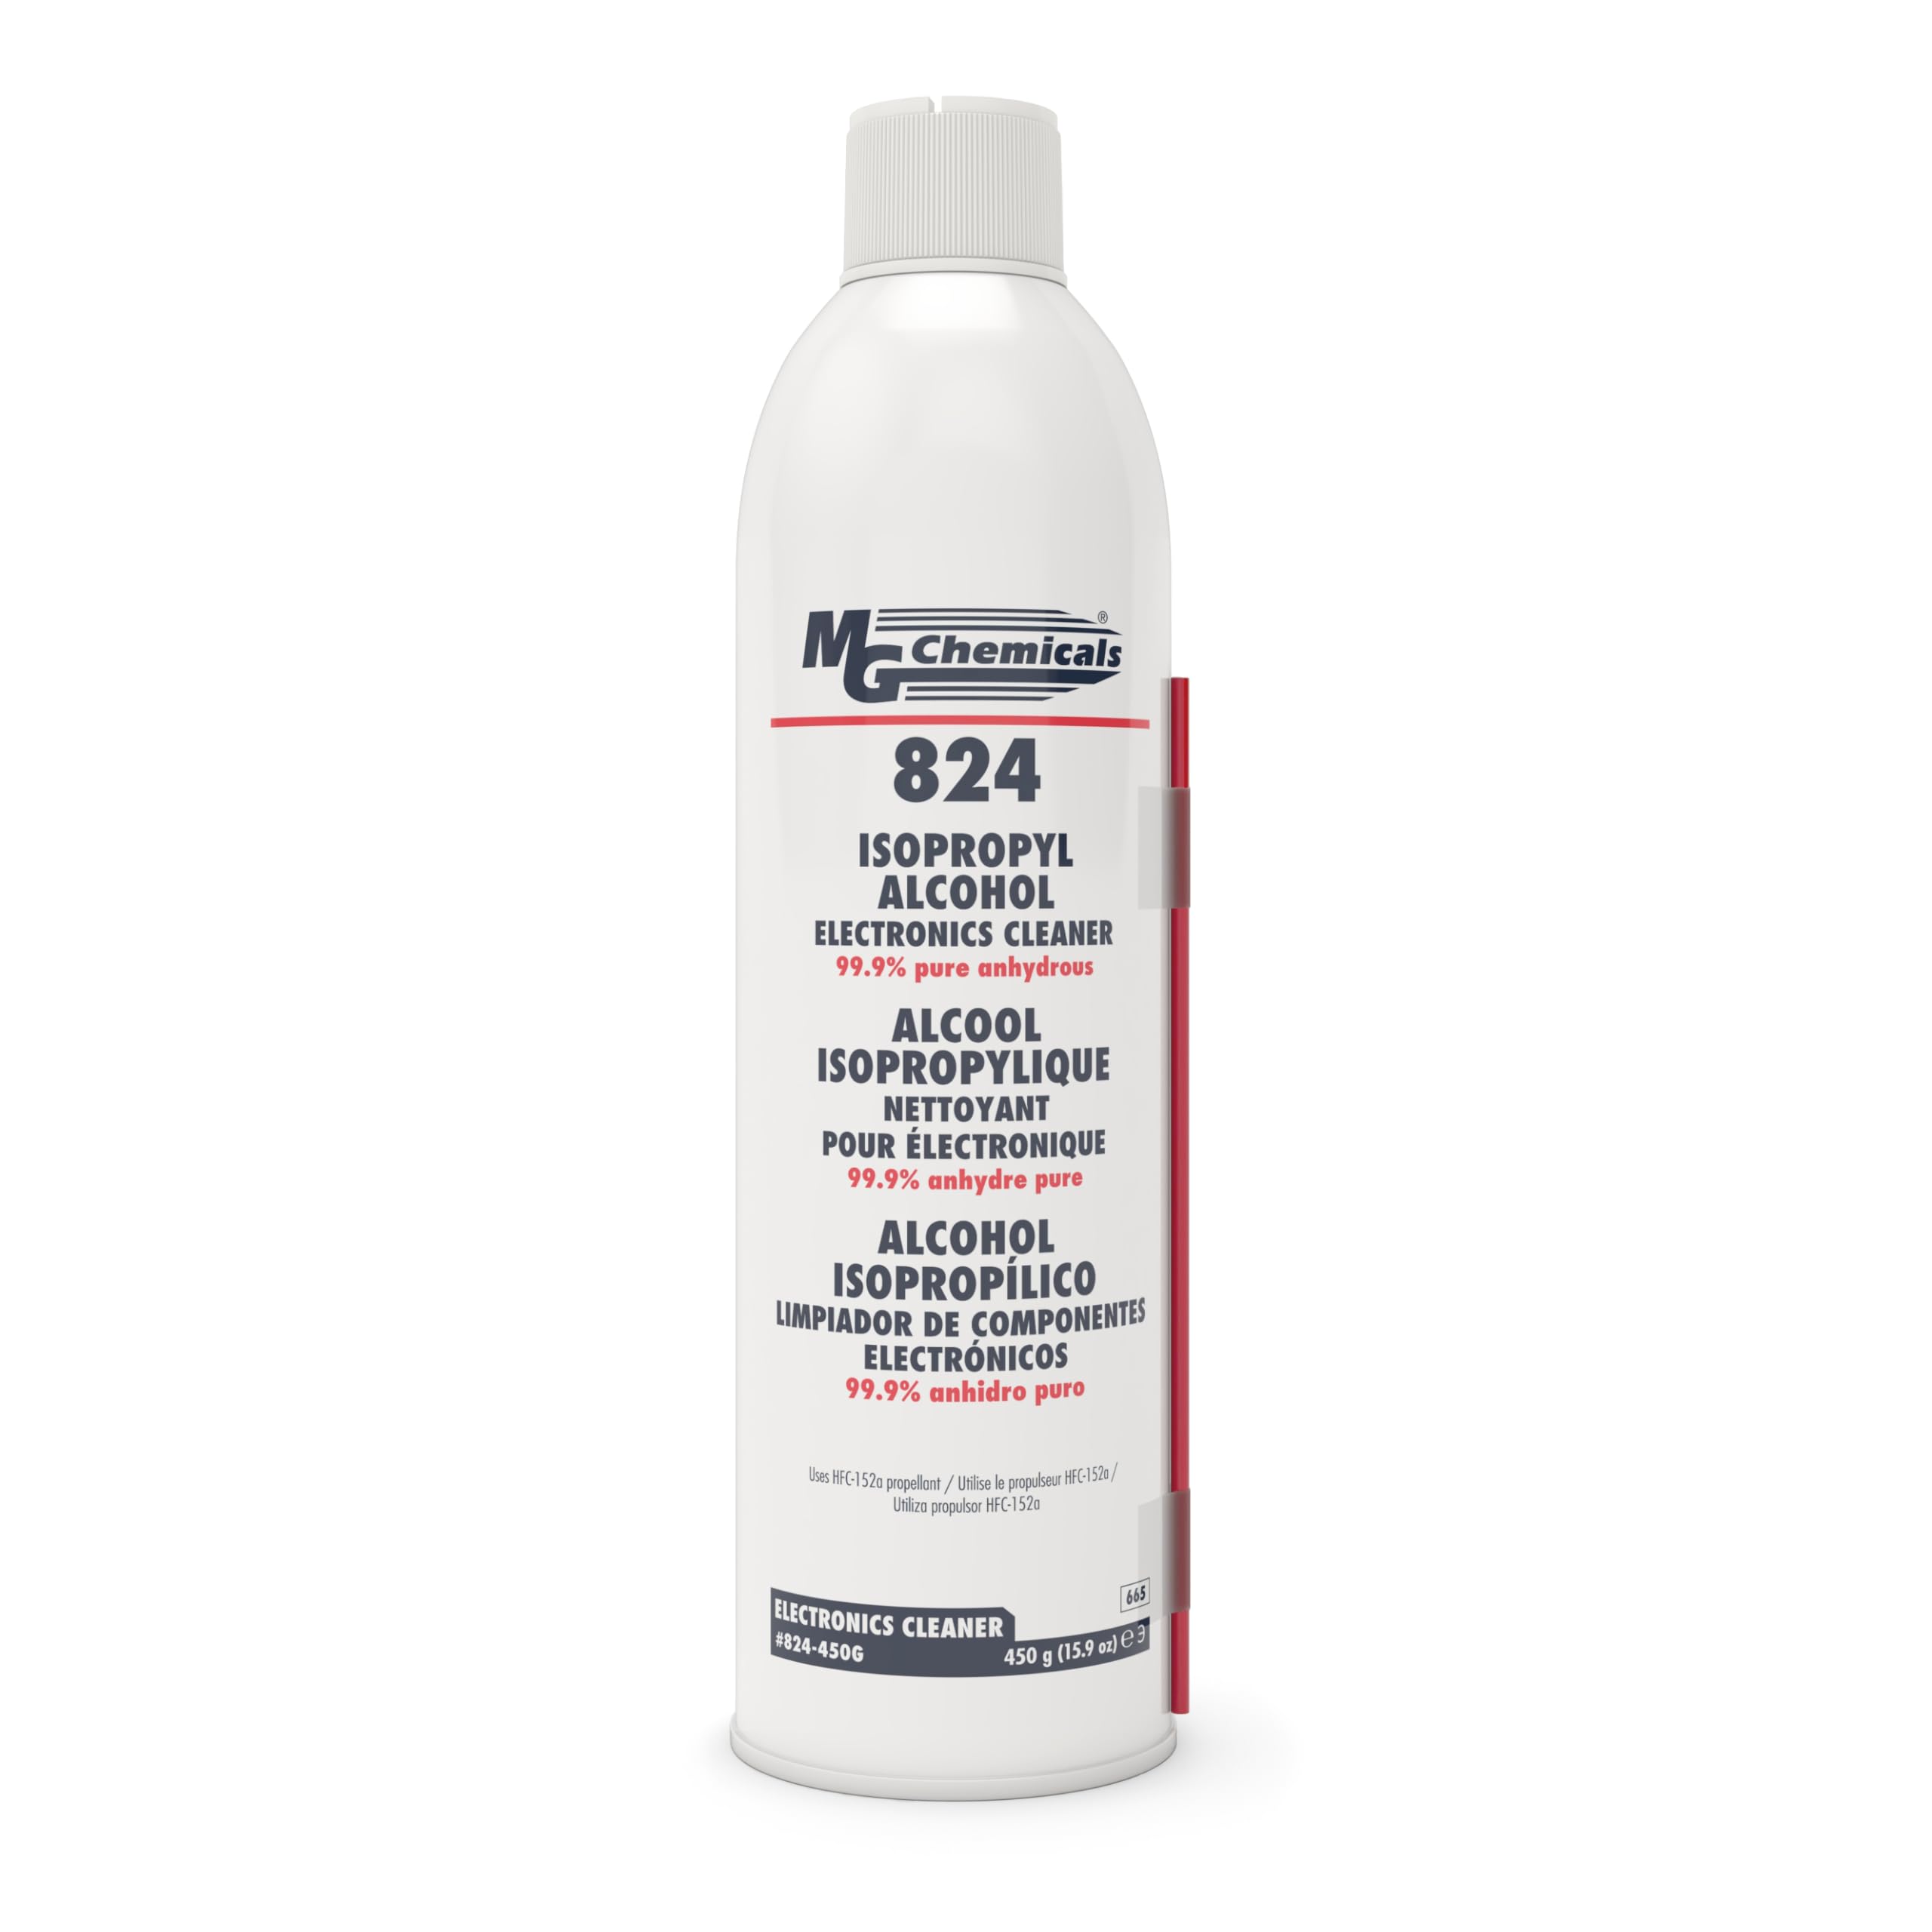
Pure, fast-evaporating for electronics without residue.
Best for: Deep-cleaning swabs for stubborn grime.
Price Range: $15-$20
All-in-one with blower, cloths, and solution for scanners.
Best for: Complete cleaning routine.
Price Range: $15-$25
Initial dust removal on vents and crevices.
Dust-Off Compressed Gas Duster Powerful, moisture-free air blasts loose dust without residue.

Exterior and light optic cleaning.
Amazon Basics Microfiber Cleaning Cloths Ultra-soft, lint-free for streak-free wiping.
Lenses, lasers, and sensors.
LensPen Pro Kit Retractable brush and refilling tip for precise optic cleaning.
Deep-cleaning swabs for stubborn grime.
MG Chemicals 99.9% Isopropyl Alcohol Pure, fast-evaporating for electronics without residue.

Complete cleaning routine.
K&F Concept Professional Lens Cleaning Kit All-in-one with blower, cloths, and solution for scanners.