Nothing kills the fun of 3D printing faster than a clogged nozzle that leaves your projects lumpy or incomplete. Regular cleaning after use prevents filament buildup, extends your pen's life, and ensures smooth drawing every time. As a beginner, you'll love how simple this is—no advanced tools required.
In this guide, you'll learn a safe, step-by-step process to clean your 3D printing pen, from unloading filament to testing the nozzle. We'll cover everything for popular models like SCRIB3D or MYNT3D. Expect to spend just 10-15 minutes, with mostly waiting for heat-up times.
By the end, your pen will extrude filament smoothly, ready for your next creative project. Let's dive in!
▸What You'll Need
- •Your 3D printing pen
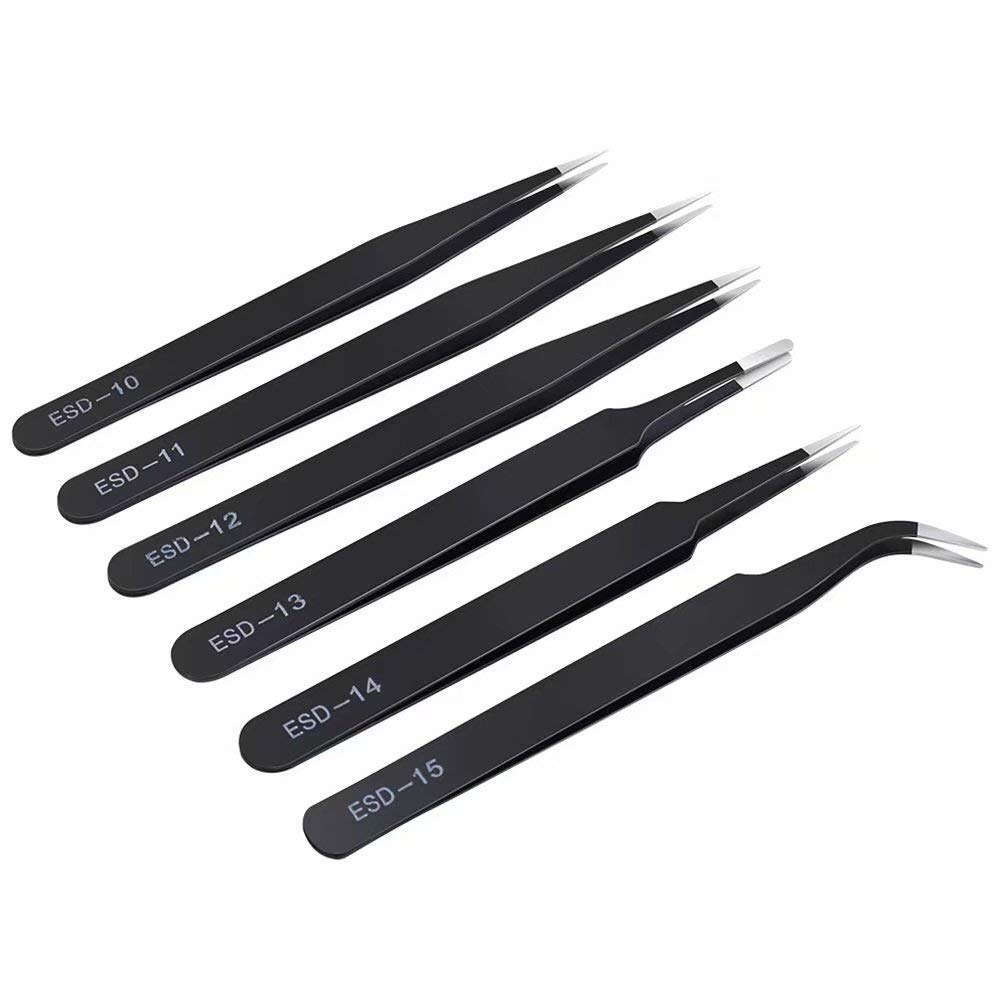
- •Tweezers or pliers (for filament removal)
- •Nozzle cleaning needle or wire (often included with pen)
- •Cleaning filament or spare PLA filament (1.75mm diameter)
- •Isopropyl alcohol (90%+ concentration)
- •Soft microfiber cloth or cotton swabs
- •Optional: Heat-resistant gloves
Estimated Time: 10-15 minutes
Difficulty: beginner
▸Step-by-Step Instructions
Step 1: Power Off and Unplug the Pen
Start by turning off your 3D printing pen using the power switch and unplug it from the power source. This prevents accidental burns or electrical issues during cleaning.
Why it matters: Safety first—hot nozzles can reach 200-250°C (392-482°F), causing serious burns. Let the pen cool for 5 minutes if it was recently used.
Success looks like: Pen is completely powered down, cord removed, and safe to handle.
💡 Tips:
- •Wear gloves if the pen is still warm.
⚠️ Warnings:
- •Never clean while plugged in or hot without precautions.
Step 2: Unload Remaining Filament
Gently pull out any filament stuck in the pen using tweezers. If it's stubborn, heat the pen briefly (see next step) to soften it.
This clears old, cooled plastic that causes clogs. Expect some resistance—be patient to avoid damaging the feeder mechanism.
Success: Filament fully removed, no pieces visible in the nozzle entry.
💡 Tips:
- •Heat to 200°C for 30 seconds if filament won't budge.
⚠️ Warnings:
- •Don't force it; twisting can bend the filament loader.
Step 3: Insert Cleaning Filament or Spare PLA
Cut a 20-30cm piece of 1.75mm cleaning filament (or regular PLA) and insert it into the pen's filament slot until it reaches the nozzle.
Cleaning filament dissolves residue better, but PLA works fine for light use. This preps for extrusion purging.
Success: Filament seats securely without slipping.
💡 Tips:
- •Use white or clear filament for easy residue spotting.
Step 4: Heat the Pen to Operating Temperature
Plug in the pen, power on, and set temperature to your filament's recommended level (e.g., 190-220°C for PLA). Wait 2-3 minutes.
Heat melts residue for easy removal. Check your pen's manual for exact temps—most auto-heat quickly.
Success: Display shows target temp reached; nozzle feels hot to touch (use caution).
💡 Tips:
- •Preheat on a heat-safe surface like ceramic tile.
⚠️ Warnings:
- •Avoid overheating PLA above 230°C to prevent degradation.
Step 5: Extrude to Purge Clogs
Press the extrude button to push out old filament. Squeeze out 10-20cm until clean filament flows steadily.
This flushes the nozzle. Dispose of dirty extrusions safely—they're hot.
Success: Smooth, consistent filament strand without bubbles or discoloration.
💡 Tips:
- •Extrude in short bursts to avoid overheating.
Step 6: Clear Nozzle with Cleaning Needle
While hot, insert the cleaning needle straight into the nozzle 1-2cm and twist gently. Wipe residue on cloth.
Removes stubborn buildup. Do this 2-3 times.
Success: Needle passes freely; no gritty feel.
💡 Tips:
- •Dip needle in isopropyl alcohol for extra cleaning power.
⚠️ Warnings:
- •Straight insertion only—bending damages nozzle.
Step 7: Wipe Down Exterior and Cool
Unplug, dab isopropyl alcohol on cloth/swab, and wipe nozzle/body. Let cool completely.
Removes fingerprints and residue. Alcohol evaporates fast, no rinsing needed.
Success: Pen shiny, residue-free, cool to touch.
💡 Tips:
- •Use Q-tips for tight spots.
Step 8: Test the Clean Pen
Load fresh filament, heat up, and draw a test line. Check for smooth flow.
Confirms success. If issues, repeat steps 5-6.
Success: Even lines, no skips or clogs.
💡 Tips:
- •Test on scrap paper first.
▸Pro Tips
- •Clean after every 1-2 hours of use to prevent buildup.
- •Keep spare cleaning filament handy for quick sessions.
- •Store pen upright in a dry case to avoid dust.
- •Use a dedicated cleaning station (tile + cloth) for mess-free work.
- •Label filament types to match pen temps easily.
- •For heavy use, clean nozzle mid-session.
- •Invest in anti-clog nozzles for long-term ease.
▸Common Mistakes to Avoid
- •Cleaning when cold: Residue hardens; always heat first.
- •Forcing filament: Bends loader gears; heat and gently pull.
- •Using water: Causes rust; stick to isopropyl alcohol.
- •Ignoring safety: Burns common; unplug and use tools.
- •Over-extruding: Wastes filament; purge just until clean.
▸Troubleshooting
Problem: Persistent clog after cleaning
Solution: Soak nozzle in hot isopropyl alcohol for 5 mins, then re-needle. If fails, check manual for disassembly.
Problem: Filament won't feed
Solution: Inspect gears for debris; lubricate lightly with pen oil if recommended.
Problem: Burnt plastic smell
Solution: Purge more filament and ventilate area. Avoid ABS if smell-sensitive.
Problem: Nozzle leaking
Solution: Tighten nozzle if model allows; replace if worn. Seek manufacturer support.
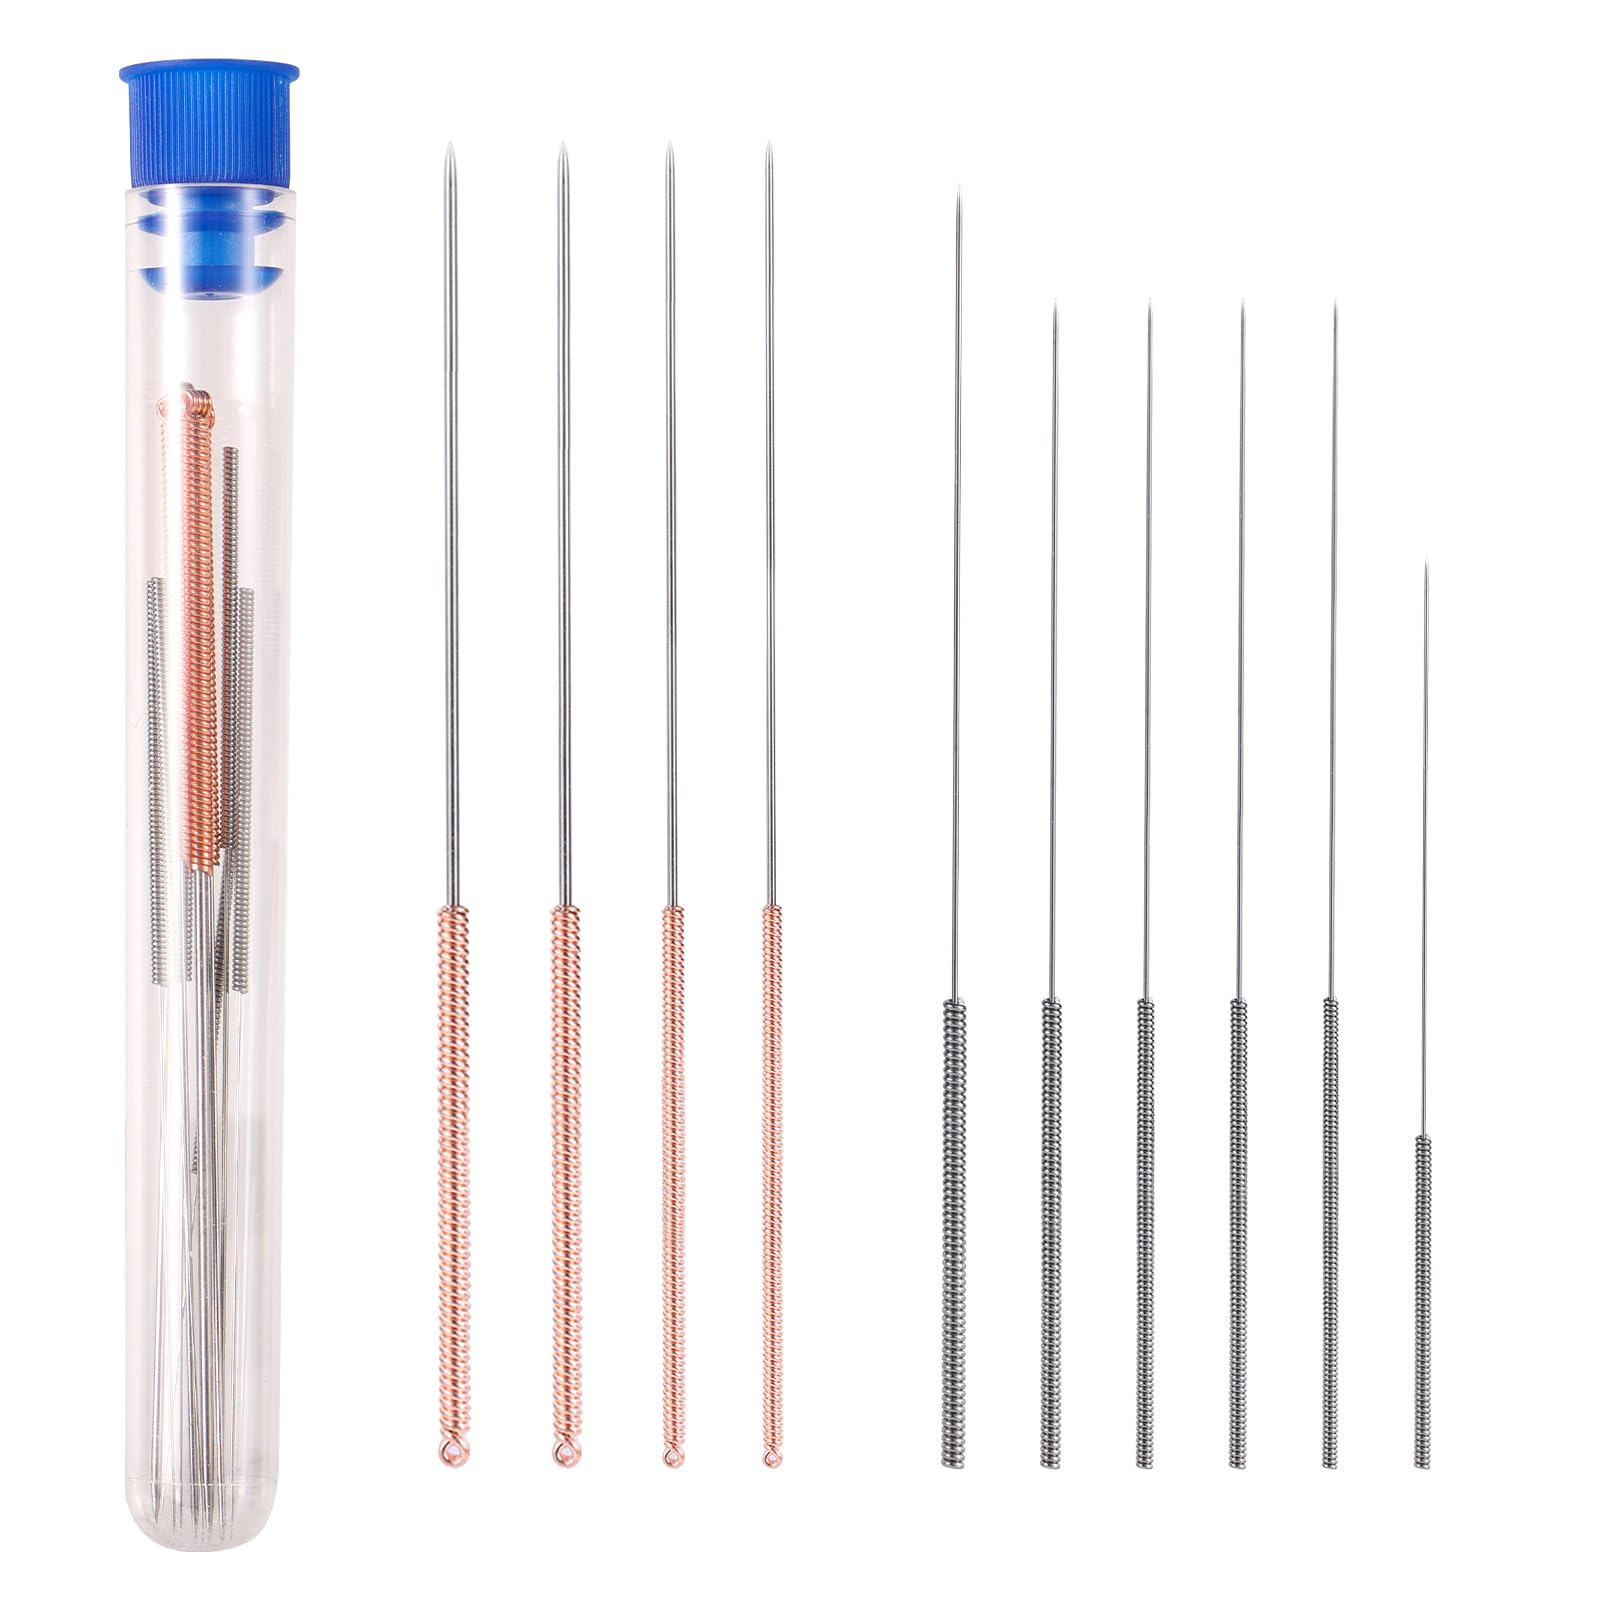
3D Printer Nozzle Cleaning Needle Kit (10 Pack)
Precision needles clear clogs without scratching delicate nozzles, essential for every clean.
Best for: Step 6: Insert into hot nozzle for stubborn residue.
Price Range: $5.99-$8.99
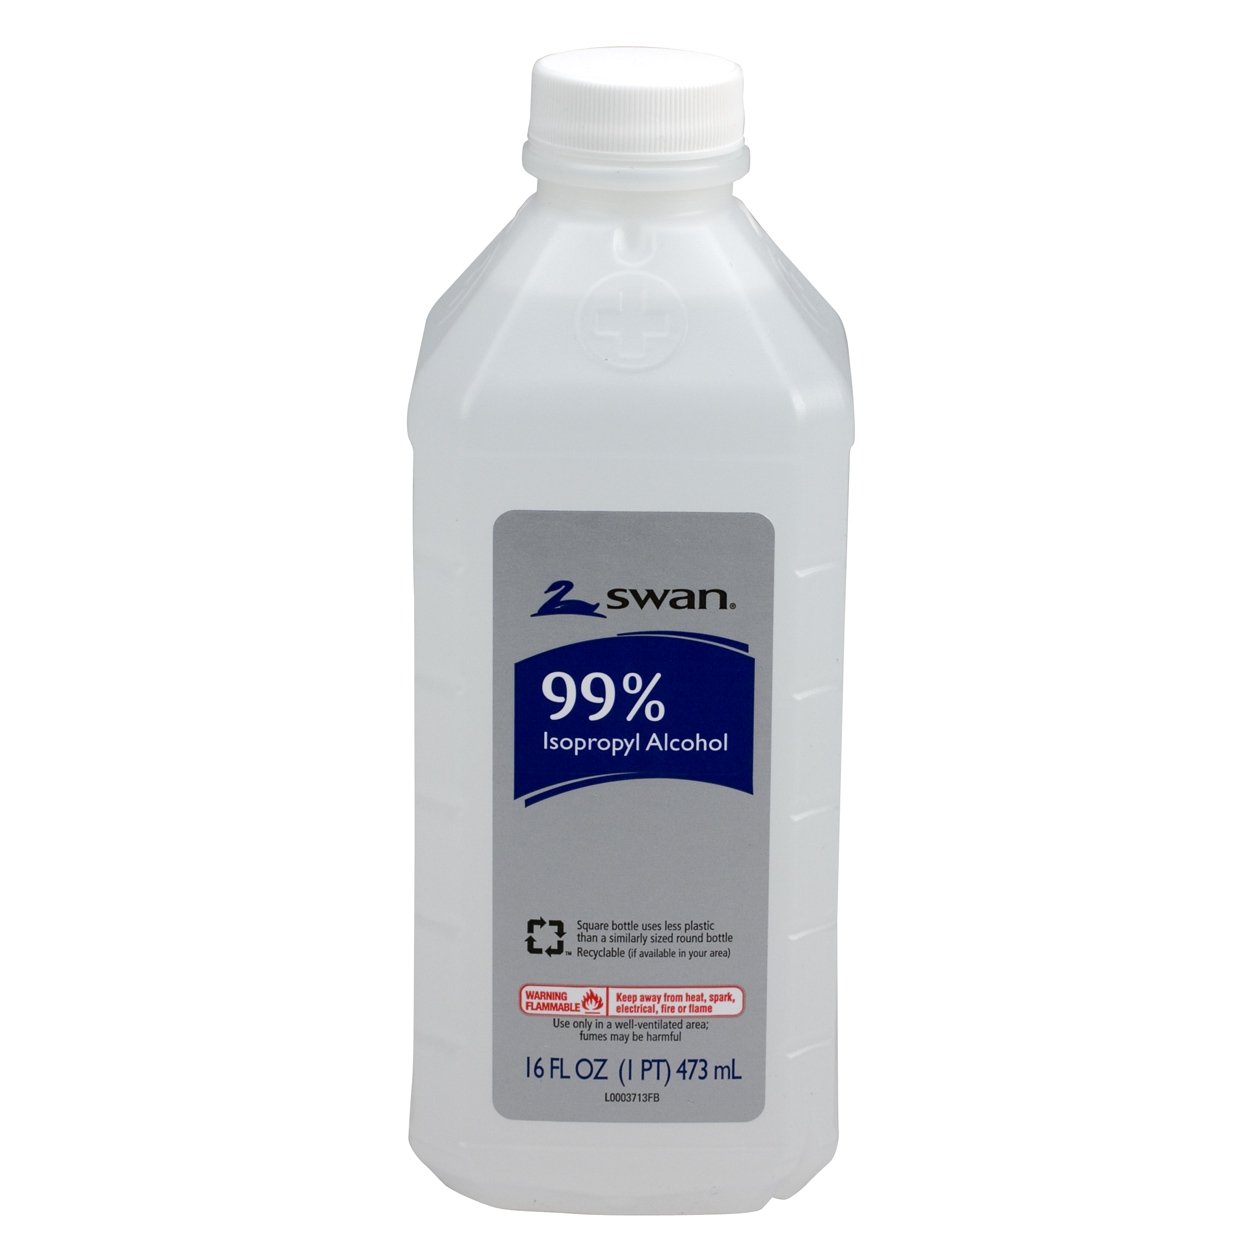
Isopropyl Alcohol 99% 16oz
High purity evaporates quickly, safely dissolves PLA/ABS residue without damage.
Best for: Wiping exterior and needle dipping in steps 6-7.
Price Range: $9.99-$12.99
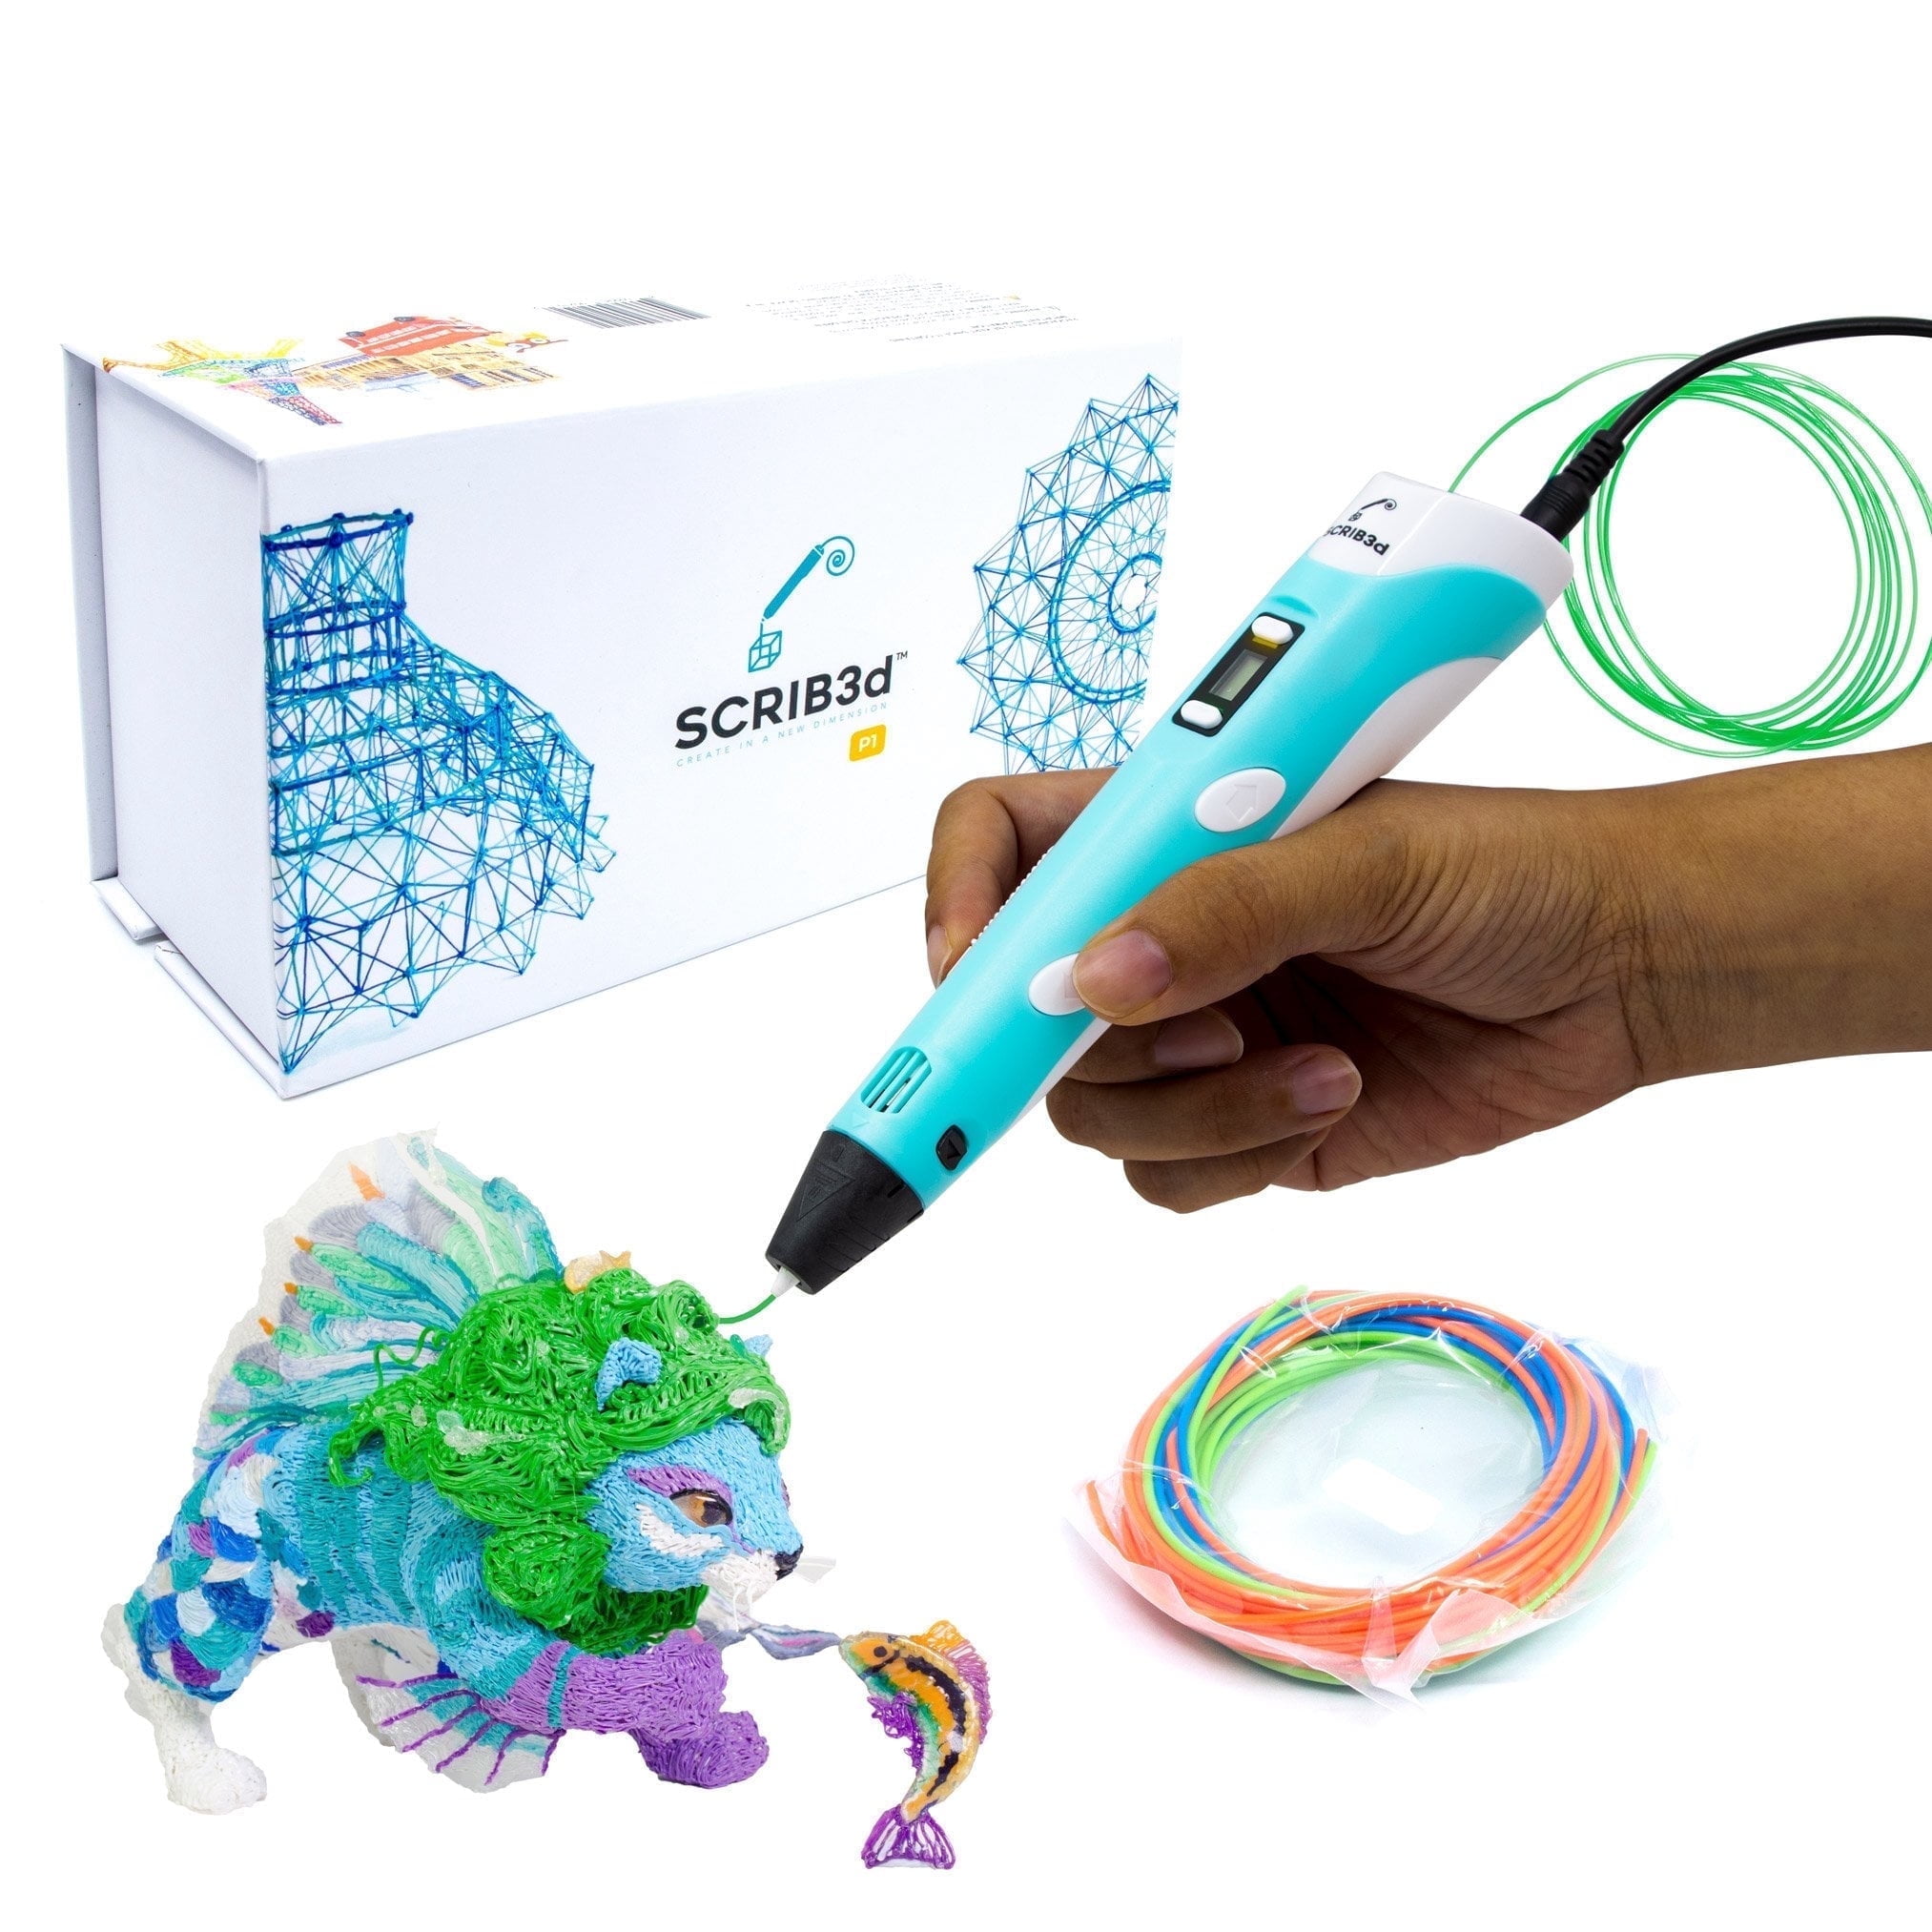
SCRIB3D P1 3D Printing Pen with Cleaning Filament
Beginner-friendly pen includes cleaning filament and tools; easy to maintain.
Best for: Overall use; cleaning filament perfect for steps 3-5.
Price Range: $25.99-$34.99
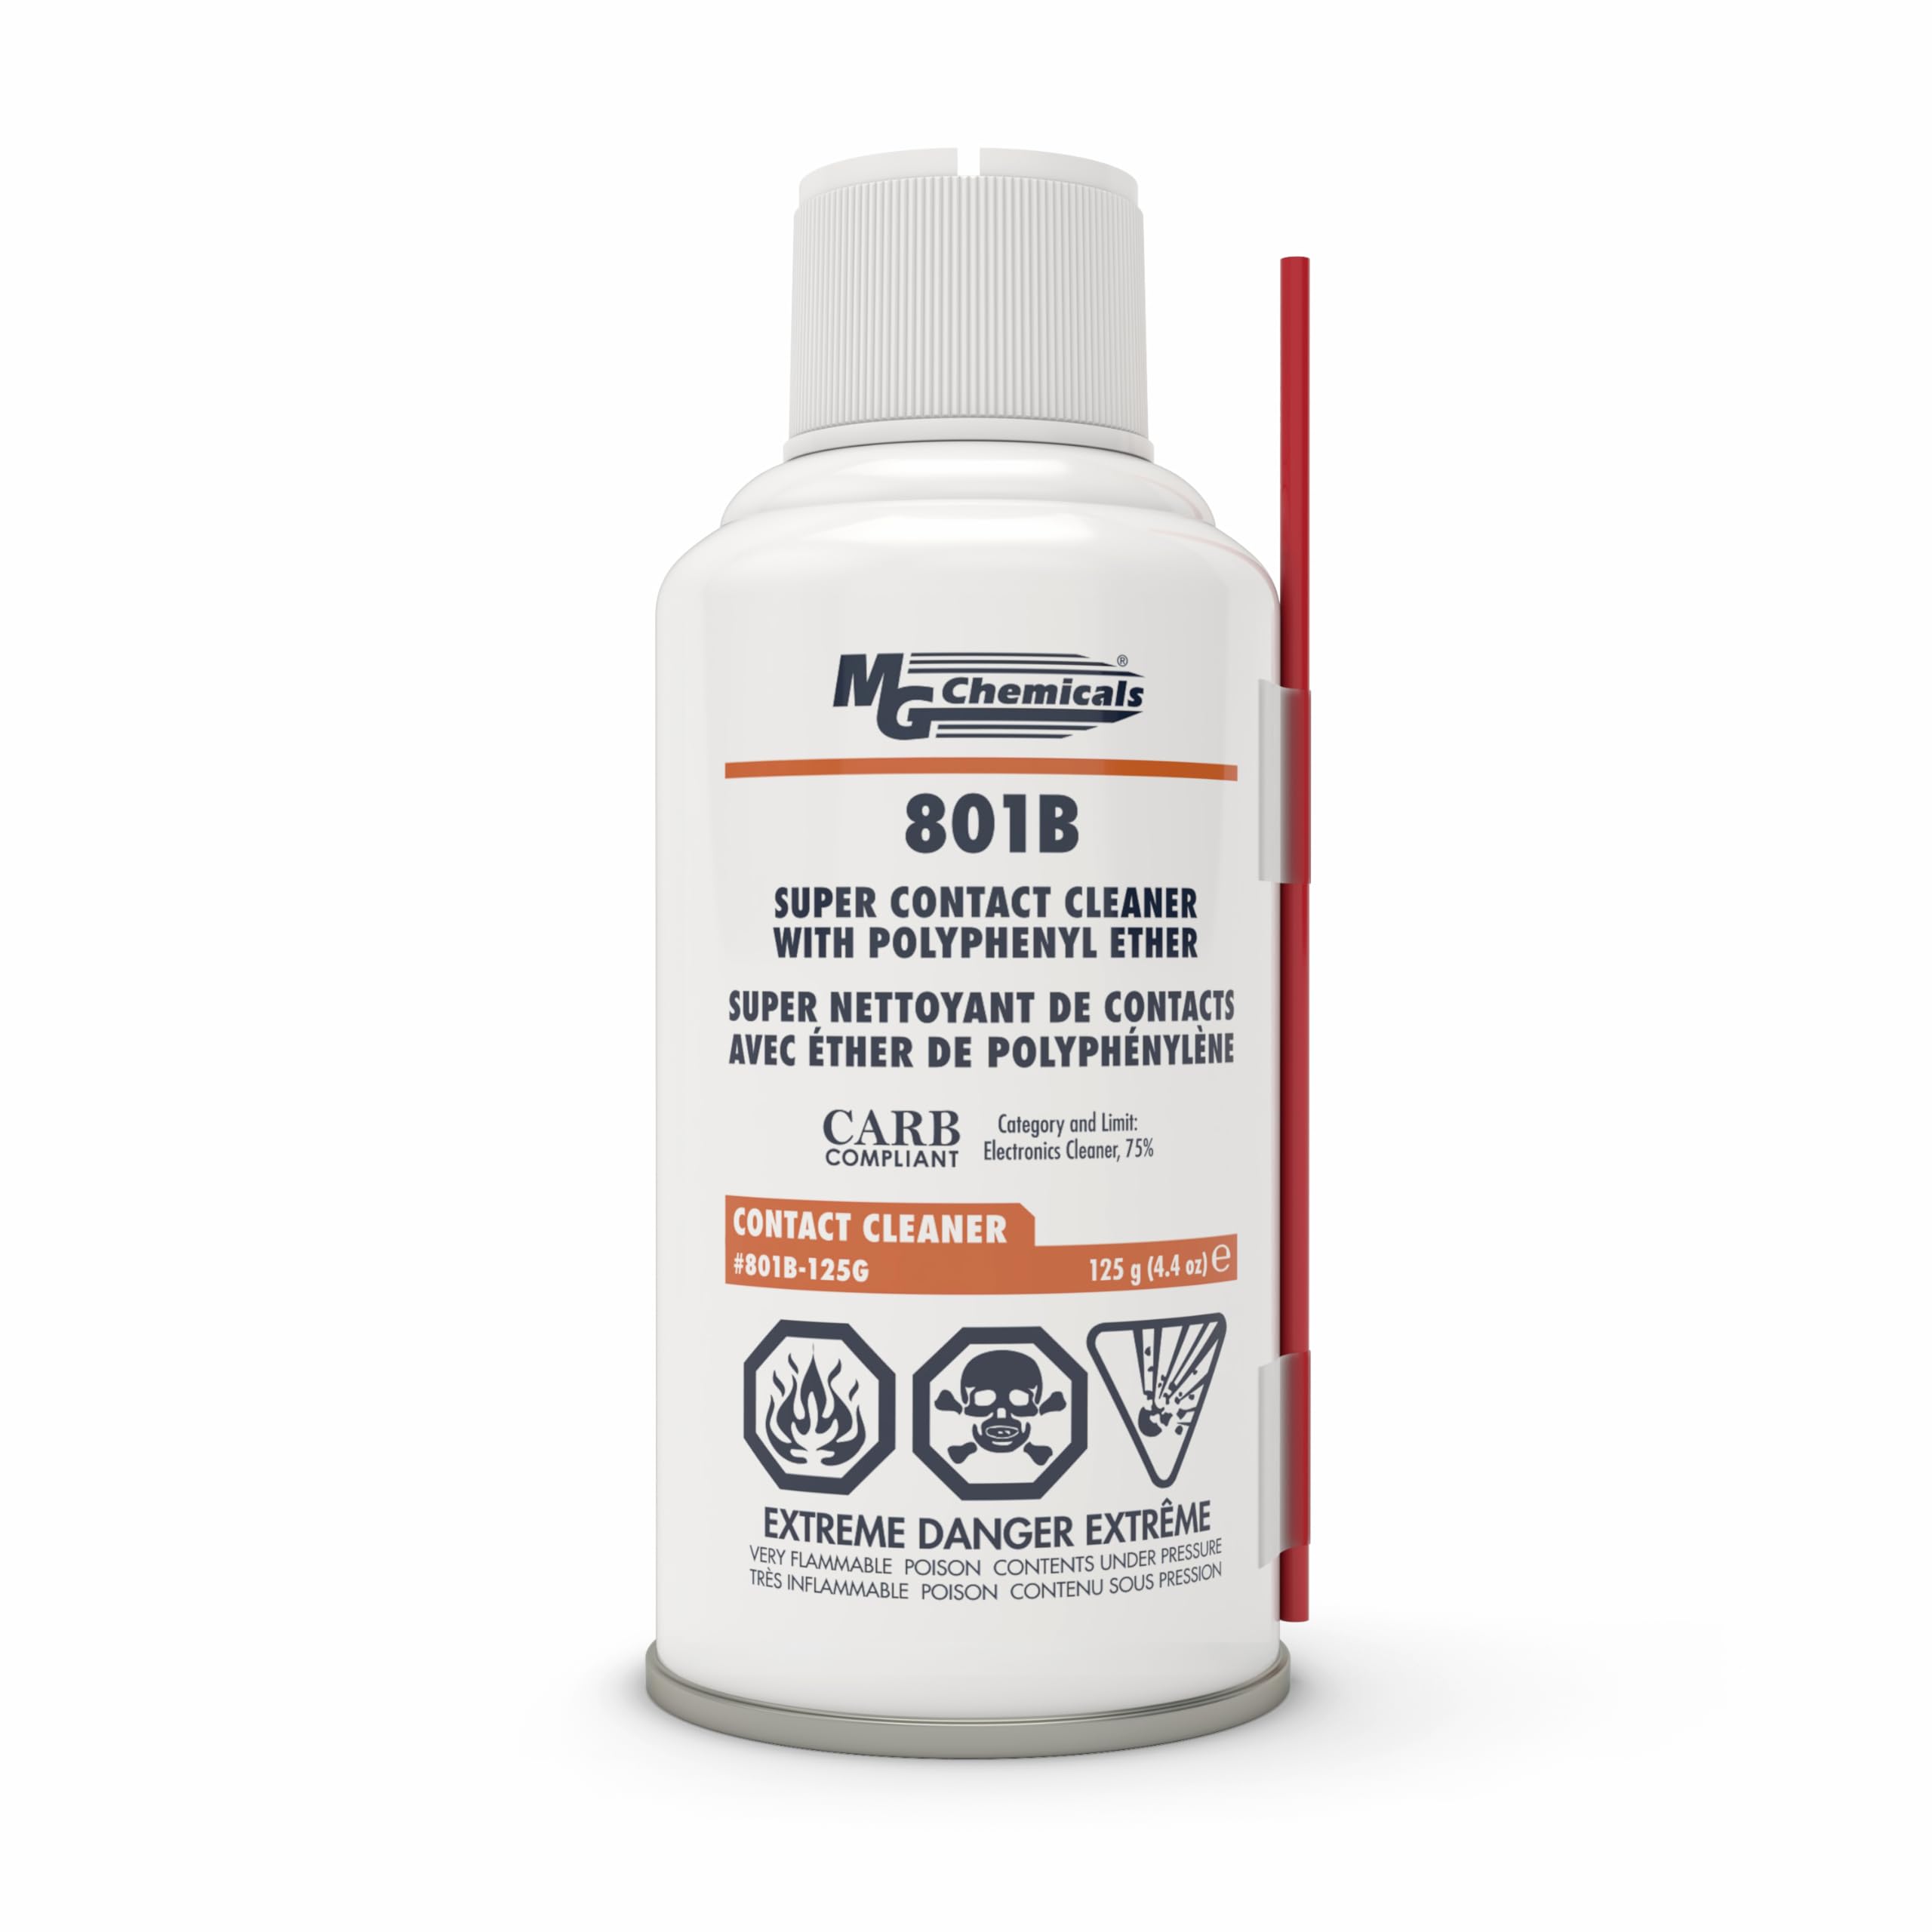
MG Chemicals 3D Printer Filament Cleaner
Specialized purging filament melts away buildup better than standard PLA.
Best for: Heavy residue; use in step 3 for deep cleans.
Price Range: $14.99-$19.99
Precision Tweezers Set for Electronics
Anti-static tips grip filament without slipping or scratching.
Best for: Step 2 filament removal and general handling.
Price Range: $7.99-$11.99