Outdoor adventures with your 2-in-1 laptop—like camping trips or beach work sessions—can leave it caked in sand, dust, pollen, and moisture. Ignoring this buildup risks clogged vents leading to overheating, sticky keys from grit, or even corrosion in ports, shortening your device's lifespan.
In this guide, you'll learn a simple, intermediate-level cleaning routine tailored for convertible 2-in-1 laptops (like Surface Pro or Lenovo Yoga). We'll cover step-by-step instructions using safe, non-abrasive methods. Expect 20-30 minutes total, no disassembly required.
By the end, your laptop will look and perform like new, running cooler and more responsively.
▸What You'll Need
- •Microfiber cloths (lint-free)
- •Can of compressed air (electronics-safe)
- •Isopropyl alcohol (70-99%, diluted if needed)
- •Soft-bristle brush (electronics cleaning brush)
- •Cotton swabs
- •Distilled water (optional, for dilution)
- •Laptop screen-safe cleaner (optional but recommended)
Estimated Time: 20-30 minutes
Difficulty: intermediate
▸Step-by-Step Instructions
Step 1: Power Off and Unplug Your Laptop
Completely shut down your 2-in-1 laptop, unplug the charger, and remove any peripherals like styluses, cases, or stands. For detachable keyboards (e.g., Surface models), disconnect them too.
Why it matters: Cleaning with power on risks short circuits from moisture or debris. Success looks like a fully powered-off device with no lights or fans running.
Let it cool for 5-10 minutes if recently used outdoors.
💡 Tips:
- •Work in a well-lit, dust-free area like a table with newspaper underneath.
⚠️ Warnings:
- •Never clean while powered on or charging—safety first!
Step 2: Shake Out Loose Debris
Hold the laptop upside down (screen closed) at a 45-degree angle over a trash bin or outdoors. Gently tap the bottom and shake to dislodge sand, dirt, or leaves from crevices, keyboard, and hinge areas.
Why it matters: Outdoor grit accumulates in hinges and keyboards of 2-in-1s due to their flexible design. Expect crumbs, sand, or pollen to fall out—success is visibly cleaner openings.
Avoid aggressive shaking to prevent internal damage.
💡 Tips:
- •Flip to tablet mode first if applicable to access more areas.
⚠️ Warnings:
- •Don't shake near sensitive surfaces; do it outside if very dirty.
Step 3: Blast Away Dust with Compressed Air
Insert the compressed air nozzle into keyboard gaps, vents, ports (USB-C, headphone jack), and hinges. Use short 2-3 second bursts while holding the can upright. Keep 2-4 inches away.
Why it matters: Vents in 2-in-1s clog easily after hikes, causing thermal throttling. You'll hear puffs and see dust fly out—vents and keys should look clear.
In tablet mode, clean screen bezels and kickstand mechanisms.
💡 Tips:
- •Tilt the laptop so debris blows downward, not back in.
⚠️ Warnings:
- •No continuous blasts—causes frosting from propellant cold.
Step 4: Brush Keyboard and Trackpad
Use the soft brush to sweep between keys and across the trackpad/touch areas. Brush in one direction to push debris toward edges.
Why it matters: Grit here causes sticky inputs common after beach or trail use. Keys should feel smooth and responsive post-cleaning.
For touchscreens in flip modes, avoid pressing hard.
💡 Tips:
- •Vacuum with a brush attachment as a pre-step for heavy dirt.
⚠️ Warnings:
- •Skip stiff brushes—they scratch surfaces.
Step 5: Wipe Exterior and Screen
Dampen (not soak) a microfiber cloth with isopropyl alcohol (1:1 with distilled water) or screen cleaner. Gently wipe the chassis, screen, and trackpad in circular motions. Use a dry section to buff.
Why it matters: Removes fingerprints, smudges, and residue without streaks. Screen should be crystal clear, body fingerprint-free.
Switch to dry cloth for final polish.
💡 Tips:
- •Screen first to avoid drips on keyboard.
⚠️ Warnings:
- •No paper towels—cause micro-scratches on matte finishes.
Step 6: Clean Ports and Hinges
Dip cotton swabs in isopropyl alcohol and gently swab USB ports, charging ports, and hinge gaps. Let alcohol evaporate fully (1-2 minutes per swab).
Why it matters: Corroded ports fail after moisture exposure. Ports should gleam without residue.
Inspect for damage during cleaning.
💡 Tips:
- •Use a flashlight for deep port visibility.
⚠️ Warnings:
- •Don't insert swabs too deep—risk dislodging internals.
Step 7: Dry and Reassemble
Wipe all surfaces dry with a fresh microfiber cloth. Let sit open (laptop and tablet modes) for 10-15 minutes in a dry area.
Why it matters: Residual moisture causes corrosion. Device should feel dry, no odors.
Reattach accessories, power on, and test inputs/fans.
💡 Tips:
- •Use a fan to speed drying if humid.
⚠️ Warnings:
- •Test before full use—if issues, don't force.
▸Pro Tips
- •Clean weekly after regular outdoor use to prevent buildup.
- •Use laptop stands outdoors to minimize direct dust intake.
- •Invest in a protective case/skin for easier wipe-downs.
- •For heavy sand, repeat compressed air step twice.
- •Track cleaning in a calendar app—prolongs battery life too.
- •Microfiber cloths last years; wash with mild soap, air dry.
- •Avoid compressed air in extreme heat—it expands dangerously.
▸Common Mistakes to Avoid
- •Using water directly: Leaves streaks and risks shorts—always dilute or use alcohol.
- •Cleaning while powered on: Sparks debris into internals—always power off first.
- •Over-wetting cloths: Seeps into gaps causing corrosion—dampen lightly.
- •Skipping drying time: Moisture traps inside leading to mold—wait 15+ mins.
- •Rough wiping on screens: Scratches anti-glare coating—use only microfiber.
▸Troubleshooting
Problem: Keys/trackpad still sticky after cleaning
Solution: Apply diluted alcohol to a swab, gently lift key if possible (check model manual), or use keycap remover tool. If persists, professional service.
Problem: Fans louder or overheating post-clean
Solution: Repeat air blasts on vents. Update BIOS/drivers. If no change, dust inside chassis—seek repair.
Problem: Screen streaks remain
Solution: Switch to dedicated screen cleaner. Polish with dry microfiber in figure-8s. Avoid cleaners with ammonia.
Problem: Moisture suspected inside
Solution: Place in bag with silica packets 24-48 hours. If won't power on, professional drying needed.
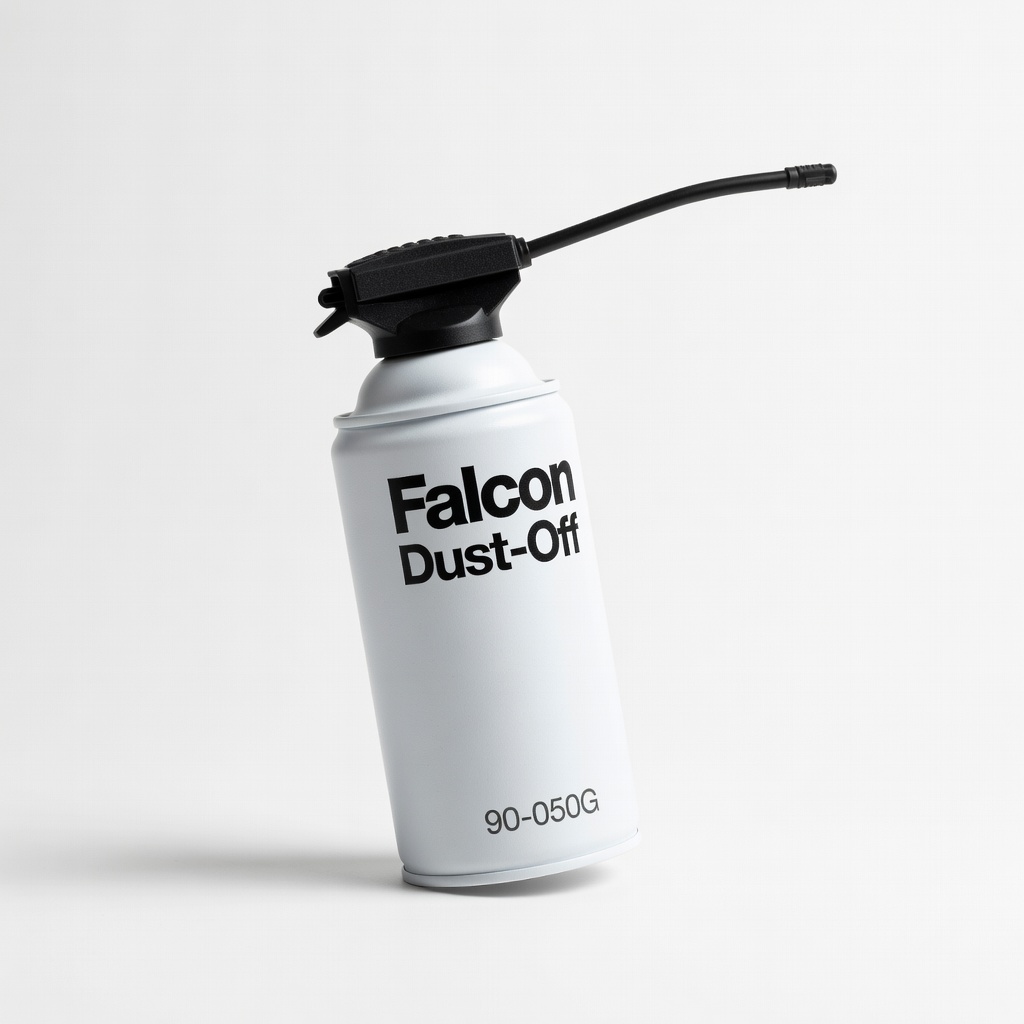
Falcon Safety Dust-Off Compressed Air Duster (90-050G)
Electronics-grade, disposable can blasts dust without residue, perfect for hard-to-reach vents in 2-in-1s.
Best for: Primary tool for steps 3 and maintenance after dusty hikes.
Price Range: $9.99
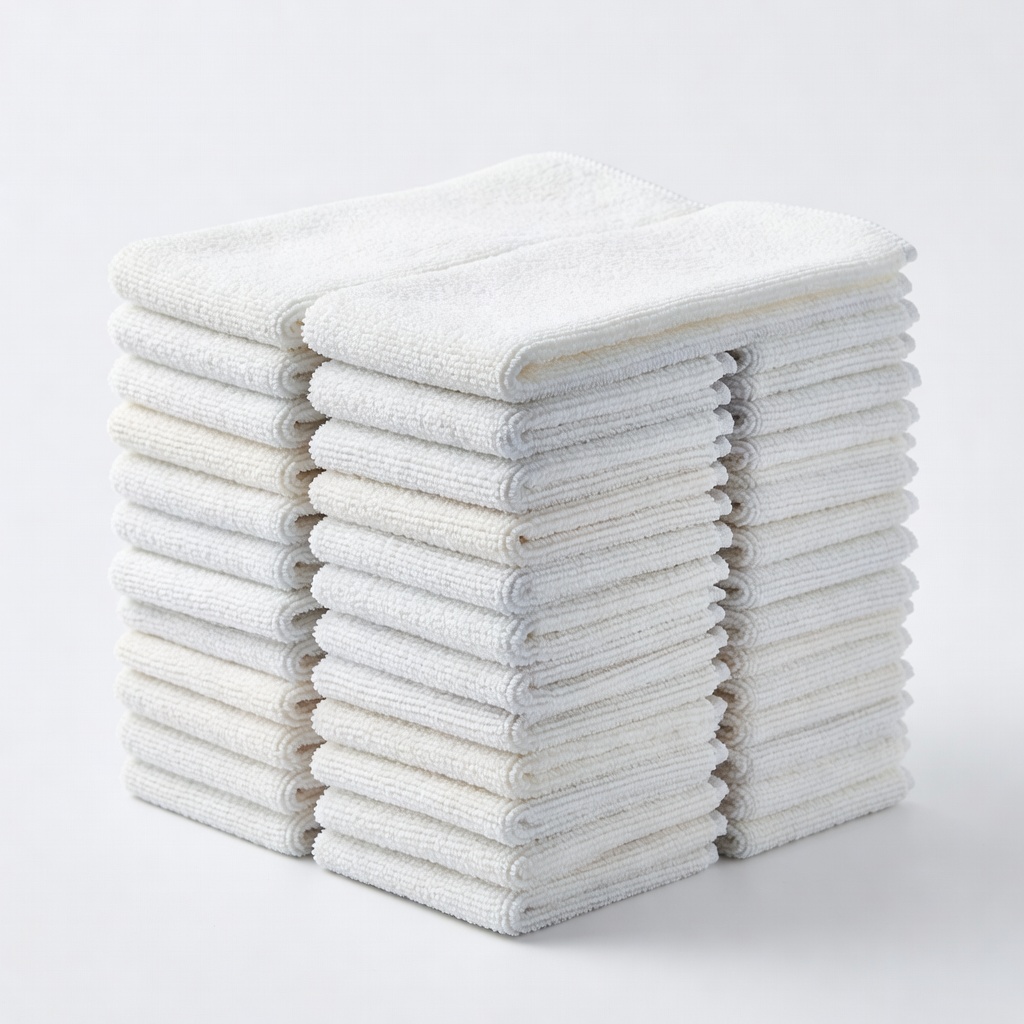
AmazonBasics Microfiber Cleaning Cloths (24-pack)
Ultra-soft, lint-free, machine-washable; ideal for screens and bodies without scratching.
Best for: Essential for wiping in steps 5 and 7, reusable for all devices.
Price Range: $12.99
Screen Mom Screen Cleaner Kit
Non-toxic, streak-free formula with cloth and spray bottle; safe for touchscreens and oleophobic coatings.
Best for: Step 5 alternative to DIY alcohol for glossy 2-in-1 displays.
Price Range: $19.99
OXO Good Grips Electronics Cleaning Brush
Dual-ended soft bristles target keyboards and crevices precisely without damage.
Best for: Step 4 for thorough keyboard debri removal post-trail.
Price Range: $9.99
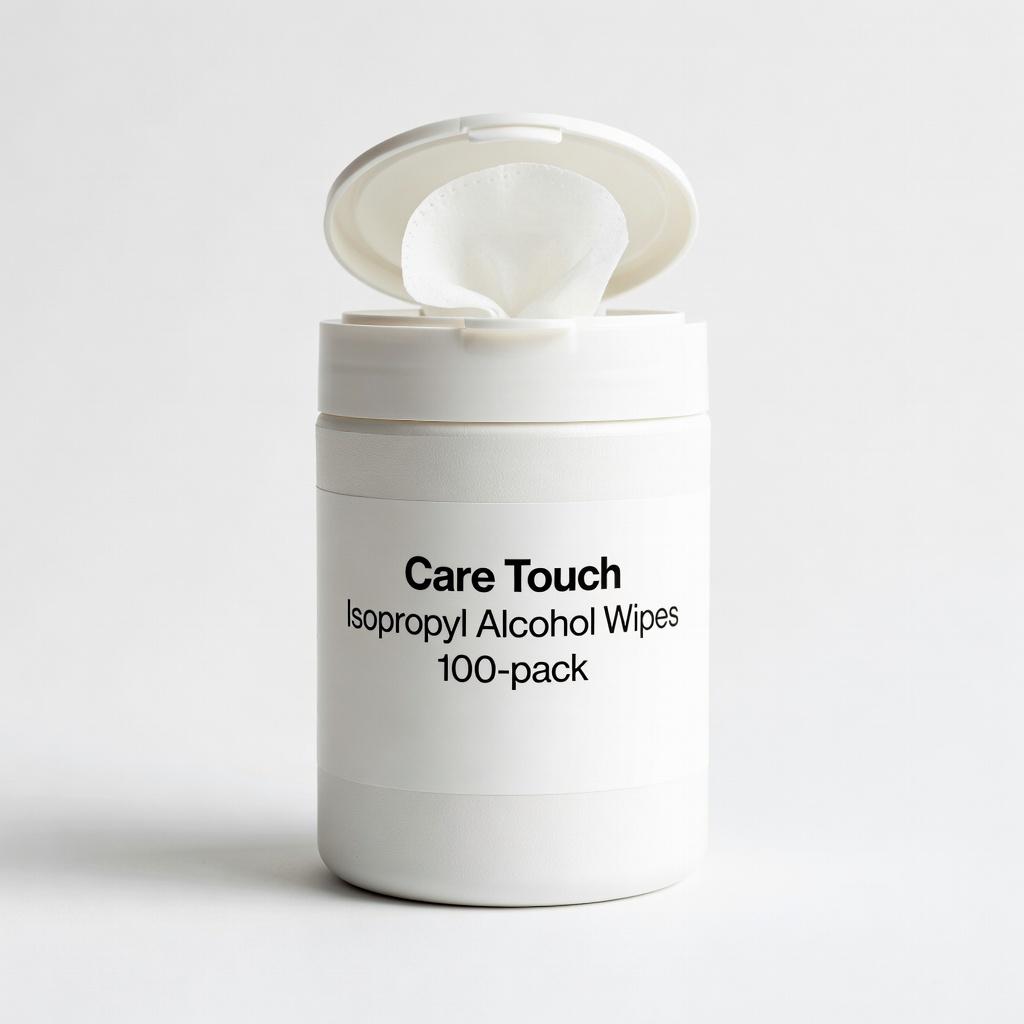
Care Touch Isopropyl Alcohol Wipes (100-pack)
Pre-moistened 70% alcohol pads for quick, mess-free port and surface cleaning.
Best for: Portable option for steps 4-6, great for travel kits.
Price Range: $11.99