
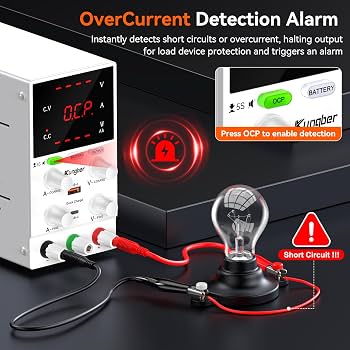
Kungber SPS3010 DC Power Supply
Prototyping and sweeping voltages without frying boards.
$45.99
Kungber SPS3010 DC Power Supply Precise adjustable output (0-30V, 0-10A) for safely testing 7V projects with current limiting.
Get the App
Better experience on mobile
Master selecting the optimal voltage for 7V electronics projects to maximize efficiency, prevent failures, and ensure component longevity in advanced builds.
In advanced electronics projects targeting 7V—common in 2S LiPo-powered drones, custom LED drivers, or sensor arrays—picking the wrong voltage can lead to overheating, erratic behavior, or instant component death. Overvolting fries semiconductors; undervolting causes brownouts and unreliable performance. This guide equips you with the expertise to nail the right voltage every time.
You'll learn to dissect datasheets, calculate tolerances, factor in real-world losses, and verify choices through measurement. By the end, you'll confidently spec 7V systems that run cool, efficient, and reliable. Expect 20-30 minutes to absorb and apply these concepts—no soldering required, just analytical skills.
We'll break it down step-by-step, from basics to pro-level considerations like ripple and transient response, tailored for advanced hobbyists and engineers.
Estimated Time: 20-30 minutes Difficulty: advanced
Start by gathering datasheets for every component in your 7V project: MCUs, motors, sensors, LEDs. Look for absolute maximum ratings (Vmax), recommended operating voltage (Vcc nom), and minimum viable voltage (Vmin). For 7V projects, 2S LiPos hover at 7.4V nominal but sag to 6V under load—ensure all parts tolerate 6-8.4V.
Why it matters: Exceeding Vmax even briefly destroys ICs via dielectric breakdown. Expect tables listing 'Supply Voltage: 3.0-5.5V' or graphs of performance vs. voltage.
Image Description: Side-by-side datasheets highlighting Vmax, Vmin, and operating range for an ESP32 and servo motor.
💡 Tips:
⚠️ Warnings:
Sum quiescent currents (Iq) and dynamic loads. For a 7V drone ESC + motor: Iq=20mA, motor peak=5A. Use I_total = ΣIq + I_peak. Power P = V * I; at 7V/5A, that's 35W—scary heat if unregulated.
This sets your supply's current rating and reveals if 7V is efficient (e.g., motors spec'd for 7.4V shine here). Expect 10-20% headroom.
Pro tip: Model worst-case with duty cycles for pulsed loads.
💡 Tips:
If input >7V (e.g., 12V adapter), choose LDO or switching regulator. Dropout voltage (Vdo) is the min headroom needed; e.g., LM1117 LDO needs 1.2V dropout, so input >=8.2V for 7V out.
Switching regs (buck/boost) are best for efficiency >85% at 7V. Why? Linear regs waste (Vin-Vout)*I as heat—fatal at high currents.
💡 Tips:
⚠️ Warnings:
Wires, connectors, and PCB traces drop voltage: Vdrop = I * R. For 5A over 1m 18AWG wire (R~0.02Ω), drop=0.1V—negligible, but scales with length.
Use 4-wire Kelvin sensing for precision. Target <5% drop to keep 7V rails stable.
η = Pout/Pin; aim >90% at 7V. Heat = (1-η)*Pin. Simulate in LTSpice.
7V sweet spot for 2S batteries avoids deep discharge.
💡 Tips:
Switching supplies add ripple (<50mV p-p ideal). Transients from motors need caps (100uF + 0.1uF ceramic).
Probe with scope for validation.
⚠️ Warnings:
Build on breadboard, sweep voltage 6-8V, monitor current/temp. Adjust to optimal (e.g., 7.2V for min power).
💡 Tips:
Problem: Components reset intermittently
Solution: Check for voltage sag >10%; add bulk capacitance or thicker wires.
Problem: Regulator overheating
Solution: Verify efficiency; switch to buck if linear. Improve airflow/heatsink.
Problem: Inaccurate sensor readings
Solution: Measure ripple with scope; add LC filter if >20mV.
Problem: Battery drains too fast
Solution: Recalc quiescent currents; optimize regulator efficiency.
Precise adjustable output (0-30V, 0-10A) for safely testing 7V projects with current limiting.
Best for: Prototyping and sweeping voltages without frying boards.
Price Range: $45.99
Efficient step-down to exact 7V with display; handles 5A continuous.
Best for: Regulating higher voltage batteries/sources to stable 7V rails.
Price Range: $12.99
Accurate DC voltage/current measurement essential for verification.
Best for: Probing rails, drops, and ripple in 7V circuits.
Price Range: $12.99
Advanced single-channel (0-160V/70W) with data logging for pro 7V testing.
Best for: High-precision lab work or long-term stability tests.
Price Range: $299
Cheap, reliable 3A regulator for quick 7V fixes.
Best for: Budget prototypes or permanent installs.
Price Range: $6.99
Prototyping and sweeping voltages without frying boards.
Kungber SPS3010 DC Power Supply Precise adjustable output (0-30V, 0-10A) for safely testing 7V projects with current limiting.
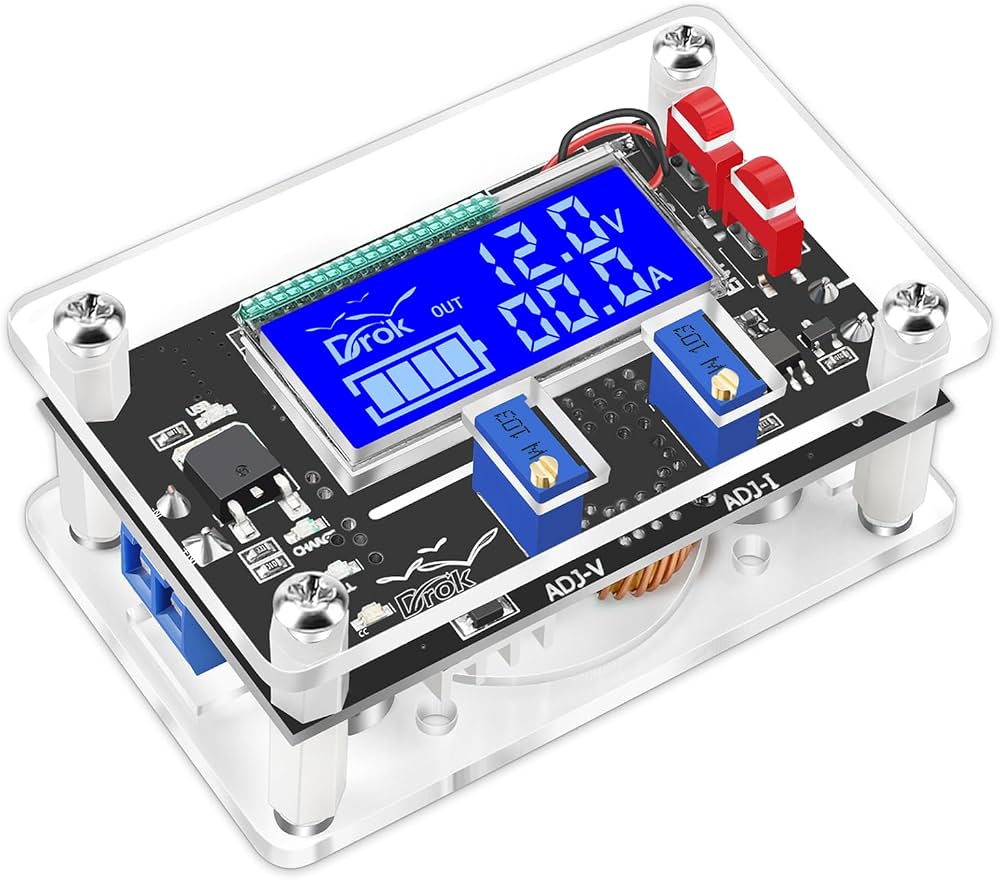
Regulating higher voltage batteries/sources to stable 7V rails.
DROK Buck Converter 6-60V to 1.25-30V Efficient step-down to exact 7V with display; handles 5A continuous.
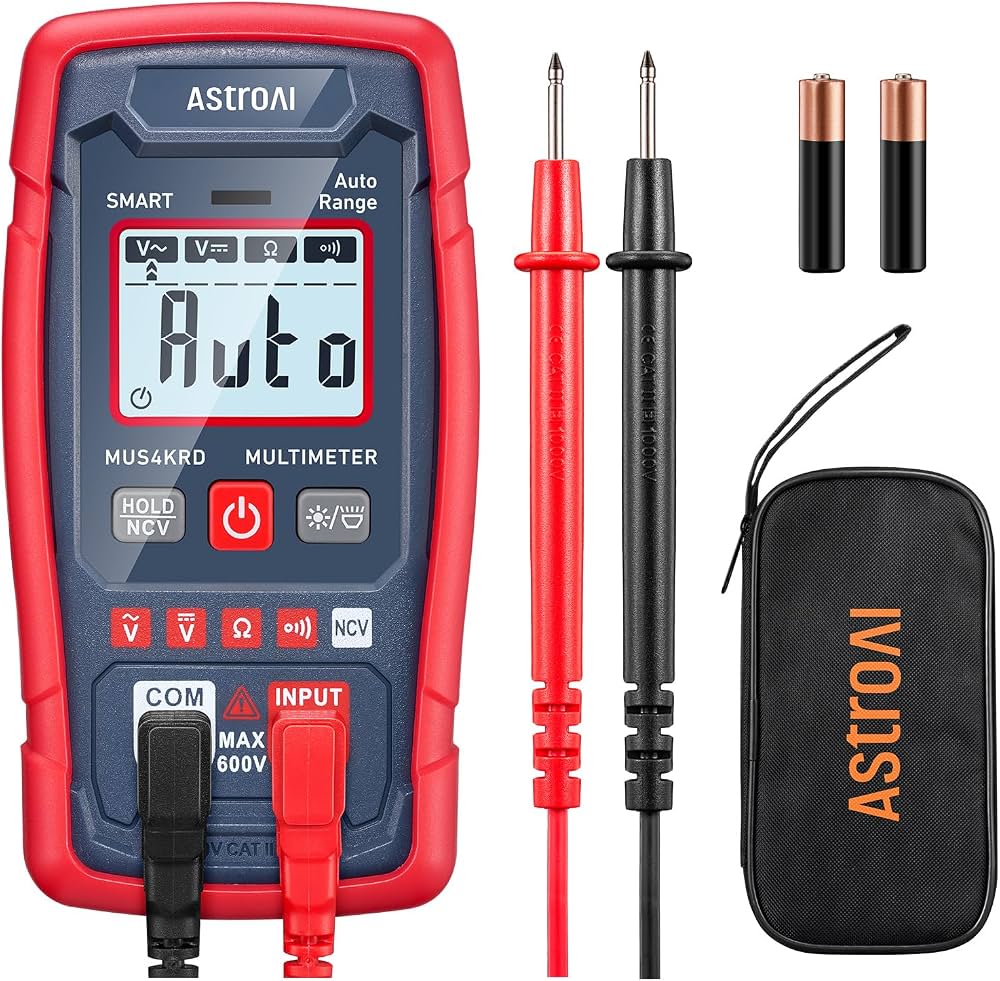
Probing rails, drops, and ripple in 7V circuits.
AstroAI Digital Multimeter Accurate DC voltage/current measurement essential for verification.
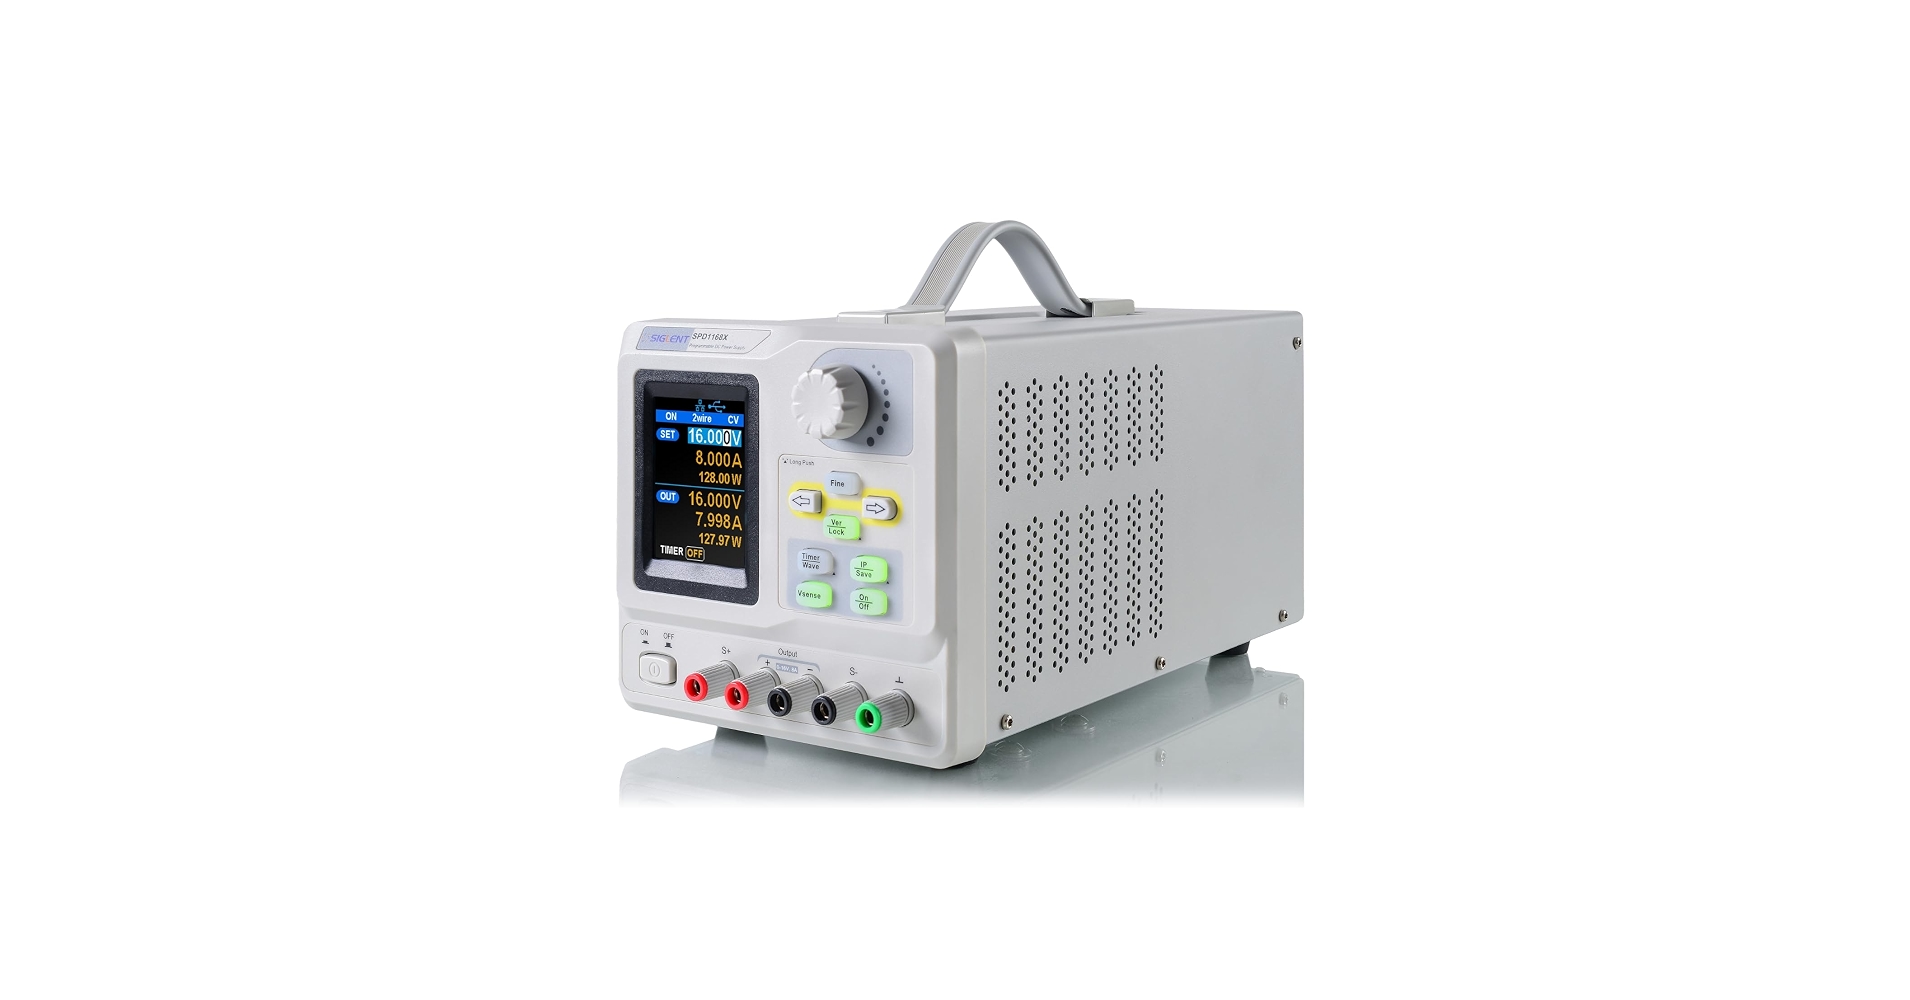
High-precision lab work or long-term stability tests.
Siglent SPD1168X Power Supply Advanced single-channel (0-160V/70W) with data logging for pro 7V testing.
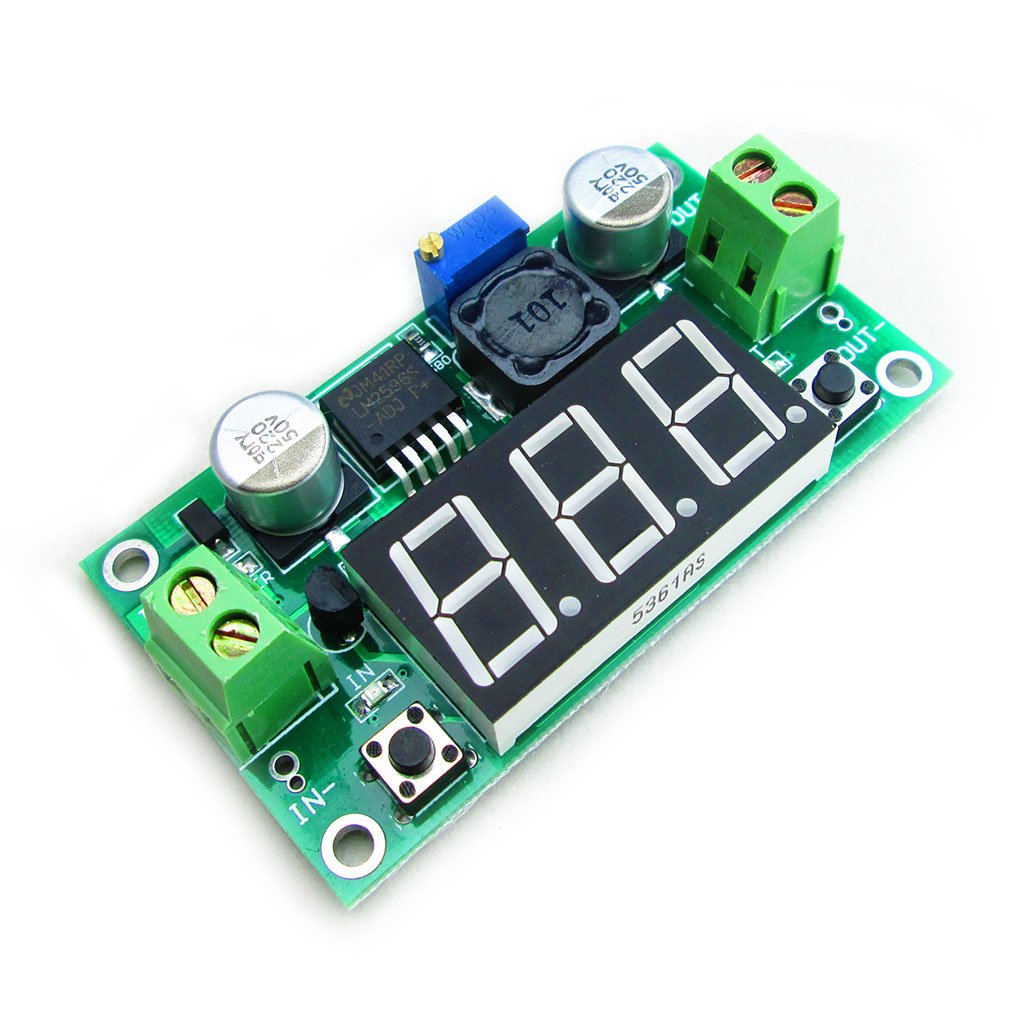
Budget prototypes or permanent installs.
HiLetgo LM2596 Buck Module Cheap, reliable 3A regulator for quick 7V fixes.