Choosing the wrong filament can lead to frustrating print failures, wasted material, and subpar results in your 3D printing projects. As an intermediate 3D printer user, you've likely encountered issues like warping, stringing, or brittle parts that derail your creativity. This guide addresses these pain points by walking you through a systematic approach to filament selection.
In this how-to guide, you'll learn the key factors to consider, from material types to compatibility, so you can make informed choices that match your project's requirements. Whether you're printing functional prototypes or decorative models, understanding filament properties will elevate your results. We'll cover everything step by step, helping you avoid common pitfalls.
Expect this process to take 20-30 minutes of reading and evaluation time. It's designed for intermediate users familiar with basic 3D printing concepts, but no advanced tools are needed—just your project specs and some research.
▸What You'll Need
- •Your 3D printer's specifications (e.g., nozzle size, build volume, heated bed details)
- •Project requirements (e.g., strength needs, environmental exposure, aesthetic goals)
- •Access to online filament retailers or stores for comparison
- •Optional: Filament samples or spools from previous prints for testing
Estimated Time: 20-30 minutes
Difficulty: intermediate
▸Step-by-Step Instructions
Step 1: Define Your Project Requirements
Start by outlining what your 3D print needs to accomplish. Consider the end-use: Is it a functional part like a gear that requires durability, or a decorative item where aesthetics matter more? Think about environmental factors, such as if the print will be exposed to heat, moisture, or UV light, as these influence material choice.
Why this matters: Mismatched filament can lead to failures, like a PLA print melting in a hot car. For example, if you're printing outdoor fixtures, opt for weather-resistant materials. Success here looks like a clear list of must-haves, such as 'high impact resistance' or 'food-safe.'
Take 5 minutes to jot down notes on size, complexity, and post-processing needs (e.g., painting or sanding). This foundation ensures all subsequent choices align with your goals.
💡 Tips:
- •Prioritize 2-3 key requirements to avoid overwhelming options.
- •Sketch a quick diagram of your model to visualize stress points.
⚠️ Warnings:
- •Don't overlook safety: For toys or food contact, choose certified filaments.
Step 2: Review Your Printer's Specifications
Check your 3D printer's manual or settings for compatibility details, including nozzle diameter (usually 0.4mm), maximum extrusion temperature, and bed adhesion capabilities. Most printers handle 1.75mm filament, but confirm this to avoid jams.
This step is crucial because incompatible filament can cause clogs or poor layer adhesion. For instance, high-temperature filaments like ABS need an enclosed printer to prevent warping. Success: A checklist confirming your printer's limits, ensuring filament choices fit seamlessly.
If your printer has a heated enclosure, note it—this opens up advanced materials. Compare against common specs: FDM printers typically max at 300°C, so avoid anything hotter.
💡 Tips:
- •Use your slicer software (e.g., Cura) to verify temp ranges.
- •Upgrade to a larger nozzle if printing abrasive filaments like carbon fiber.
⚠️ Warnings:
- •Ignoring bed temperature can lead to adhesion failures—always match filament guidelines.
Step 3: Understand Common Filament Types
Familiarize yourself with popular filaments: PLA (easy, low-warp for beginners), ABS (strong, heat-resistant but prone to fumes), PETG (durable, flexible, good for enclosures), and TPU (flexible for gaskets). Each has unique pros and cons based on melting point and strength.
Why it matters: The type dictates print quality and usability. PLA is ideal for prototypes, while PETG suits mechanical parts. Expect to narrow options to 2-3 types based on your needs from Step 1. Research via manufacturer datasheets for exact properties.
For intermediate users, experiment with blends like PLA+ for enhanced toughness. Success: Knowing which type aligns best, e.g., 'PETG for my waterproof case.'
💡 Tips:
- •Start with PLA if unsure—it's forgiving.
- •Check for bio-based options like PLA for eco-friendly projects.
⚠️ Warnings:
- •Avoid ABS in unventilated spaces due to toxic fumes.
Step 4: Evaluate Material Properties
Dive into specifics like tensile strength, flexibility, and chemical resistance. Use online databases or filament spec sheets to compare. For example, nylon offers high abrasion resistance but absorbs moisture, requiring dry storage.
This ensures longevity: A weak filament might crack under load. Success looks like selecting properties that exceed your project's demands, such as 50MPa strength for load-bearing parts.
Consider additives like glow-in-the-dark or wood-filled for creative effects, but test printability first. Balance with ease of printing—stiffer materials reduce stringing.
💡 Tips:
- •Use tools like Simplify3D's material profiles to simulate properties.
- •For precision, measure with a caliper on sample prints.
⚠️ Warnings:
- •Moisture-sensitive filaments like nylon can bubble if not dried—invest in a dryer.
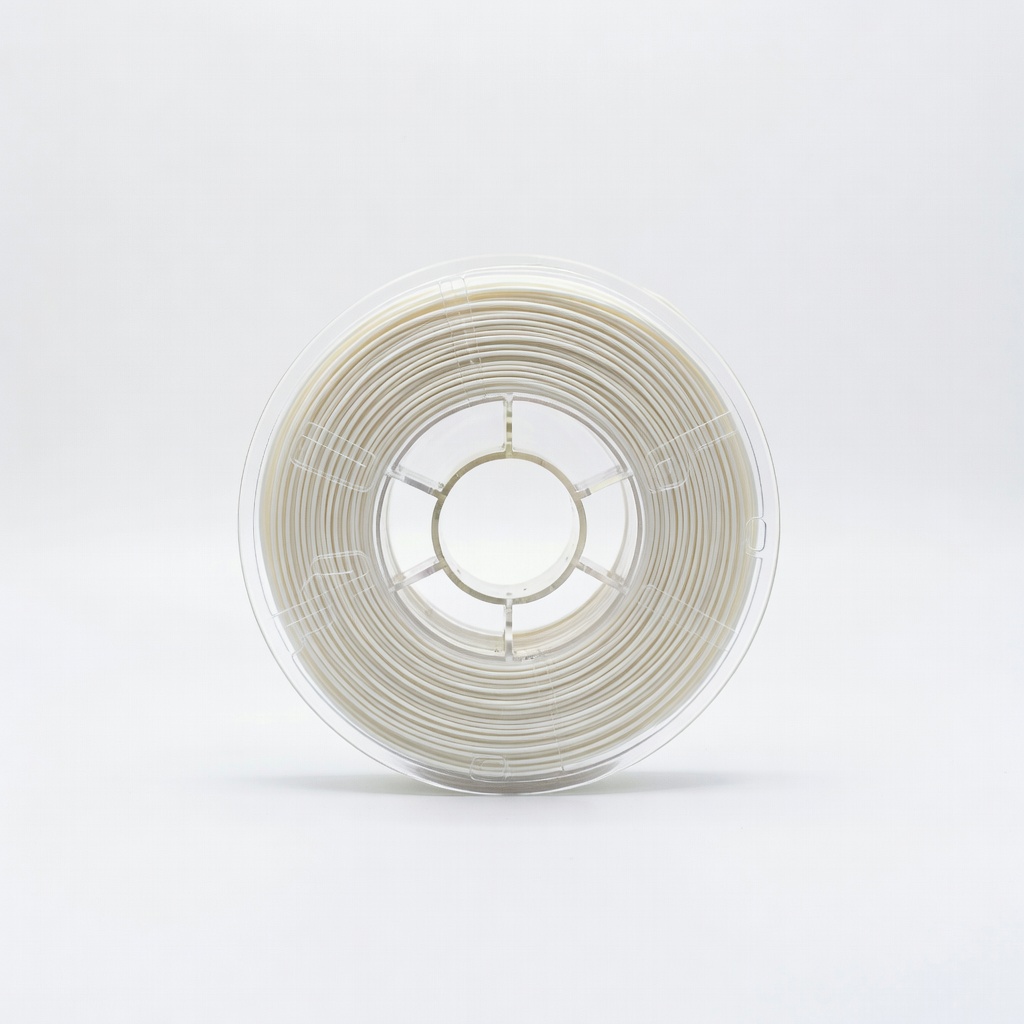
Step 5: Check Filament Diameter and Quality
Ensure the filament diameter matches your printer (1.75mm or 2.85mm). Look for tight tolerances (±0.05mm) to prevent inconsistent extrusion. Quality indicators include spool weight (1kg standard), packaging (vacuum-sealed for moisture protection), and certifications like RoHS.
Poor quality leads to jams or uneven layers. Success: Filaments from reputable brands with consistent reviews. Inspect for brittleness or color fading on arrival.
For intermediates, consider spool size—larger for big projects to minimize swaps.
💡 Tips:
- •Buy in small quantities first to test quality.
- •Read recent Amazon reviews for batch consistency issues.
⚠️ Warnings:
- •Cheap generics often have diameter variations—stick to trusted sellers.
Step 6: Factor in Budget and Brand Reliability
Set a budget: Basic PLA starts at $15/kg, specialty filaments up to $50/kg. Research brands like Hatchbox or Inland for reliability, checking user forums for consistency.
Balancing cost with quality prevents reprints. Success: A shortlist of 2-3 options within budget that meet all prior criteria.
Opt for brands with good support, like return policies. For bulk buys, calculate cost per print to optimize.
💡 Tips:
- •Subscribe to newsletters for discounts on repeat buys.
- •Compare prices across Amazon, MatterHackers, and local stores.
⚠️ Warnings:
- •Bargain filaments may save money but cost time in failures.
Step 7: Test and Purchase Your Filament
Print a test model (e.g., calibration cube) with sample filament if available. Order from a retailer with fast shipping and returns. Start with 1kg spools.
Testing validates compatibility. Success: A smooth test print confirming adhesion and detail.
Store in a dry box post-purchase. Track performance for future choices.
💡 Tips:
- •Use free test files from Thingiverse.
- •Join Reddit's r/3Dprinting for real-user feedback.
⚠️ Warnings:
- •Don't overbuy untested filament—storage can be an issue.
▸Pro Tips
- •Always dry hygroscopic filaments before use to prevent popping.
- •Mix filament colors mid-print for multi-tone effects on compatible printers.
- •Keep a filament log noting settings and outcomes for each type.
- •Buy filament in opaque packaging to block UV degradation.
- •For large projects, calculate filament usage with slicer software to avoid mid-print shortages.
- •Experiment with speed settings: Slower for detailed prints with finicky filaments.
- •Use desiccant packs in storage bins for humidity control.
▸Common Mistakes to Avoid
- •Choosing based on price alone: Leads to inconsistent quality and reprints—always check reviews.
- •Ignoring printer compatibility: Causes clogs; verify diameter and temp first.
- •Overlooking storage: Moisture ruins filaments like PETG—use airtight containers.
- •Skipping tests: Assumptions fail; always print a small sample.
- •Forgetting environmental needs: PLA warps in heat—match to use case.
▸Troubleshooting
Problem: Filament not extruding properly
Solution: Check diameter match and clean nozzle; dry filament if hygroscopic. If persists, replace spool.
Problem: Prints warping or delaminating
Solution: Use enclosure for ABS; apply adhesive like glue stick on bed. Adjust cooling fan.
Problem: Stringing or oozing between parts
Solution: Increase retraction settings in slicer; choose low-ooze filaments like PLA.
Problem: Brittle or weak prints
Solution: Ensure proper drying and storage; switch to stronger material like PETG.
HATCHBOX PLA 1.75mm 3D Printer Filament
Reliable entry-level PLA with consistent diameter and vibrant colors, ideal for intermediate users starting projects.
Best for: General prototyping and decorative prints where ease of use is key.
Price Range: $20-25 per 1kg spool
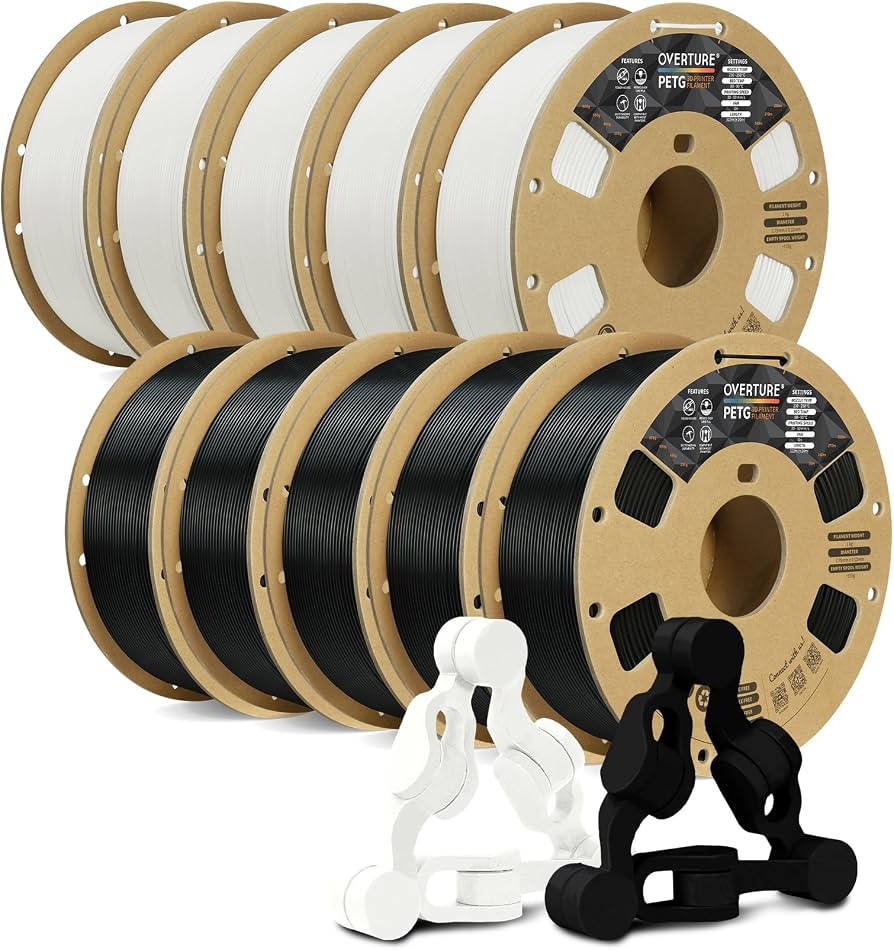
Overture PETG 1.75mm Filament
Excellent balance of strength and printability, with low warping and good layer adhesion for functional parts.
Best for: Mechanical components or outdoor items needing durability without ABS fumes.
Price Range: $18-22 per 1kg spool
Inland ABS 1.75mm 3D Printing Filament
High heat resistance and toughness from a trusted brand, perfect for advanced intermediate prints.
Best for: Enclosed prints like car parts or tools exposed to heat.
Price Range: $15-20 per 1kg spool
eSUN TPU-95A Flexible Filament 1.75mm
Flexible and elastic properties with good print speed, suitable for wearables or seals.
Best for: Soft, bendable parts like phone cases or gaskets.
Price Range: $25-30 per 1kg spool
PrintDry Filament Dryer
Essential accessory to maintain filament quality by removing moisture, preventing print defects.
Best for: For any hygroscopic filament like nylon or PETG in humid environments.
Price Range: $50-60