The adjustable bench is the unsung hero of the home gym. It transforms a basic dumbbell collection into a full upper-body studio, letting you hit every pressing angle from 15 degrees to 90 degrees, plus seated rows, curls, and supported core work. But with models ranging from $60 to $600 and features that are easy to misinterpret, many shoppers end up with a bench that wobbles, fails to lock, or sits at the wrong height for their body.
The good news: choosing the right adjustable bench is a skill you can learn in about an hour. This guide breaks the process into 10 clear, research-based steps covering weight capacity, adjustability, stability, comfort, and storage. By the end, you'll know exactly which features matter for your training, which ones are marketing fluff, and how to spot a lemon before you buy.
No special tools are needed — just a tape measure, your exercise list, and a few minutes of honest self-assessment. Let's get started.
▸What You'll Need
- •A tape measure (at least 6 feet)
- •A list of exercises you plan to perform (e.g., dumbbell presses, seated shoulder press, rows)
- •Your approximate body weight and the maximum weight you'll load on the bench
- •The dimensions of your workout space (length, width, ceiling height)
- •Your budget range
- •Optional: a smartphone or notebook to compare specs across models
Estimated Time: 1-2 hours of research and in-store testing
Difficulty: intermediate
▸Step-by-Step Instructions
Step 1: Assess Your Training Goals and Exercise List
Before you look at any bench, write down the exercises you actually plan to do. This determines the angle range and features you need. For example, incline dumbbell presses need a backrest that locks at 30–45 degrees; seated shoulder presses need 80–90 degrees; preacher curls require a steep seat setting. If you only perform flat presses, you might not need a fully adjustable bench at all — but since you're here, you likely want the versatility.
Also decide whether you truly need a decline setting. Decline benches (backrest tilts 15–20 degrees below horizontal) are heavier, bulkier, and cost more. Very few home lifters actually use decline press. In most cases, a flat-to-incline bench is enough.
Success looks like: a one-page list with 5–8 exercises and the bench angle each requires. Keep this list handy — you'll use it in Step 4.
💡 Tips:
- •Choose a bench with a backrest that reaches at least 80 degrees for seated shoulder press.
- •If you plan to do decline sit-ups, ensure the bench has a leg roller attachment or a decline setting.
- •If your list includes only dumbbell exercises, a weight capacity of 400-500 lb is more than enough.
⚠️ Warnings:
- •Don't buy based on 'maximum incline' alone — check whether the seat adjusts too. A fixed seat causes body sliding on steeper angles.
Step 2: Measure Your Space and Footprint
Use your tape measure to map out the workout area. An adjustable bench in its longest position typically spans 40–55 inches in length and 17–25 inches in width. When folded or upright (if it folds), it should fit in your dedicated corner. Add at least 24 inches of clearance on all sides for dumbbell handling and racking.
Write down the maximum length, width, and height of the bench you can accommodate. Don't forget to consider the path from your storage spot to your workout area — wheels come in handy here.
Success: a clear floor plan with the bench footprint plus clearance zones. Use masking tape to mark the footprint on the floor for a realistic sense of space.
💡 Tips:
- •If space is tight, look for benches with a compact fold (around 10 inches upright depth).
- •Measure the height to the top of the pad — many benches are 17–20 inches high, but ensure it aligns with your body height for comfort on seated exercises.
⚠️ Warnings:
- •Avoid buying a bench without measuring if you already have a rack or dumbbell stand that it must fit between.
Step 3: Determine the Weight Capacity You Need
The weight capacity of a bench is usually listed in its specs (e.g., 300 lb, 500 lb, 800 lb). This number represents the total amount of weight the bench can safely support: your body weight + the dumbbells or barbell. For example, a 200 lb lifter holding 100 lb dumbbells needs at least a 300 lb rated bench.
Here's what research and expert forums consistently show: for dumbbell-only home lifters, a 400–600 lb capacity is comfortable and safe. For barbell work or heavier athletes, look at 700–1000 lb capacities typically found on 3x3-inch steel frames. Never exceed a bench's rated capacity — the pivot/hinge points on the backrest are the most likely failure point.
Success: a rough number — e.g., 'I need at least 500 lb capacity' — based on your body weight plus your heaviest dumbbells.
💡 Tips:
- •Consider your future growth. If you plan to lift heavier in two years, buy a bench that supports at least 150 lb more than your current max load.
- •Lower weight capacities on budget benches may still be fine for light work, but wobble usually appears first at the hinge, not the center.
⚠️ Warnings:
- •Do not buy a bench with a capacity below your body weight + 50 lb, even for light dumbbell work.
Step 4: Examine Backrest Adjustment Range and Locking
The backrest angle adjustments define the bench's versatility. A great adjustable bench offers multiple notches between -15 and 90 degrees. Pay attention to the 'notch map': you want common angles such as 15, 30, 45, and 80 degrees. Some benches print degree markings, which make it easy to remember your preferred settings.
The locking mechanism matters more than the number of angles. Look for a solid ladder-style or gas-shock locking system that clicks firmly into place with zero play. A backrest that flexes or rattles when you apply pressure is a dealbreaker.
Success: you can sit on the bench, put your back against the backrest at a 45-degree angle, and push hard — no movement, no clicking back.
💡 Tips:
- •Test every notch, not just three or four spots. Cheap benches sometimes have a weak middle notch.
- •Look for a quick-release lever near the top of the backrest; it makes angle changes much faster.
⚠️ Warnings:
- •Avoid benches where the backrest only adjusts with a pull-pin that requires removing your hand from the weight.
Step 5: Evaluate Seat Adjustability
This is the most overlooked feature on adjustable benches. A good adjustable bench allows the seat to tilt independently of the backrest — usually 2–5 seat positions. Why does that matter? On incline presses, an upward-tilting seat prevents your hips from sliding down and takes pressure off your lower back. On seated shoulder presses, an angled seat keeps your torso upright.
Check that the seat foam is dense and that the adjustment mechanism is as solid as the backrest. In budget benches, the seat hinge is often the first joint to wobble.
Success: sit on the bench at a 75-degree backrest position; your pelvis stays planted and you feel stable.
💡 Tips:
- •Try the seat at the highest tilt setting and make sure the angle aligns naturally with the backrest.
- •Look for a seat with a nice groove or contour that grips your glutes during heavy pressing.
⚠️ Warnings:
- •If the bench has no seat adjustment, skip it if you plan to do incline or shoulder work regularly.
Step 6: Stress-Test Stability and Frame Construction
Stability is king. A wobbly bench is not just annoying — it's dangerous. When evaluating a bench, apply lateral (side-to-side) pressure and forward pressure with your body weight. The bench should not shift or flex more than a centimeter. Walk around to the side and see if the frame uses a wide, supportive base (e.g., an H-shape or A-shape) instead of a narrow triangle.
Frame material is also part of the equation. Look for commercial-grade 2x2-inch or 3x3-inch square steel tubing, and check the welds. Some premium brands use 11-gauge steel. Wheels, if present, should be recessed so they don't cause rocking during lifts.
Success: the bench stays rock-solid even when you press down on the front edge with your hands.
💡 Tips:
- •If you're shopping online, look for review videos that show real users pressing heavy weights on the bench.
- •Place your palm on the frame while lifting — you should feel zero vibration.
⚠️ Warnings:
- •Avoid benches with plastic locking parts or plastic frame connectors at the hinge.
- •Do not rely on rubber feet alone to fix wobble — check structural integrity first.
Step 7: Inspect Upholstery, Pad Width, and Grips
The pad is where comfort meets functionality. Look for high-density foam that won't bottom out when you press on it with your hands. A wider pad (11–12 inches) supports your back better, but too wide can interfere with dumbbell handling. Medium width is a safe default, and a slight decline angle in the flat position helps keep you locked in.
The upholstery should be a durable, non-slip vinyl or 'bamboo composite' leather-like material. Check the stitching and seams for loose threads. Also, look at the frame handles: foam-covered grip points are essential for decline sit-ups or step-ups, and for helping you reposition yourself.
Success: press a fist into the pad at the lumbar area; it should feel firm yet slightly forgiving, and it should return to shape immediately.
💡 Tips:
- •If the pad has a gap between the backrest and seat, check whether it's adjustable or padded; an overly large gap is uncomfortable.
- •Wipe the pad with a damp cloth after workouts to extend its life.
⚠️ Warnings:
- •Avoid benches with thin, cheap foam that compresses to the frame instantly — they cause back pain over time.
Step 8: Consider Height, Footprint, and Ergonomics
Bench height is the distance from the floor to the top of the cushion. Standard benches range from 16 to 20 inches. Your ideal height depends on your leg length and exercise type. For flat dumbbell press, most people prefer 17–19 inches. For seated shoulder press, a slightly higher bench can keep your feet and back at the right angle.
Don't forget the folded footprint. If you plan to store the bench upright or lean it against a wall, check the folded dimensions and the presence of a carrying handle. A bench with wheels at one end and a handle at the other is dramatically easier to move.
Success: you can sit on the bench with feet flat on the floor and thighs parallel — your knees should be at a 90-degree angle for most exercises.
💡 Tips:
- •Order a sample pad or check the manufacturer's drawing of the back pad height to ensure your elbows don't hit the upper backrest on narrow pressing angles.
- •If you have long legs, look for benches with an optional height-adjustable seat pad.
⚠️ Warnings:
- •A bench that is too low forces excessive hip flexion in seated overhead press, which can stress the lower back.
Step 9: Look for Storage and Portability Features
For a home gym, storage can be the deciding factor between a bench you use and a bench you trip over. Many adjustable benches fold flat or upright in seconds. Look for a compact vertical storage mode that takes up only about a square foot of floor space. Thick rubber backrest protector grips on the floor are a nice extra so the foam doesn't get damaged when stored upright.
If you plan to move the bench between rooms, check the weight. Benches range from 35 to 100 lbs. Some heavy-duty models are too heavy to comfortably move daily; others have built-in transport wheels with a handle.
Success: you can fold and roll the bench into its storage spot in under 10 seconds without straining.
💡 Tips:
- •Test the wheels by rolling the bench over a carpet seam or threshold — small wheels may struggle.
- •Check that the locking mechanism also secures the bench in the folded position.
⚠️ Warnings:
- •If you're short on space, avoid benches with no folding or vertical storage capability.
Step 10: Set Your Budget, Read Research, and Buy with Confidence
Once you've narrowed down your requirements, it's time to decide how much to spend. Realistic price points for adjustable benches in the current market are: budget ($80–150), mid-range ($150–300), and premium ($300–600). Budget benches are fine for light resistance (<300 lb total) but often have weaker lock mechanisms. Mid-range options typically add seat adjustment, wider pads, and better stability. Premium units use thicker steel and offer 1000 lb capacities plus commercial warranties.
At this point, read long-term reviews and search specifically for durability complaints: reports of wobble after 6 months, upholstery ripping, or hinge failure. Reddit and YouTube reviews are often more honest than Amazon review sections alone.
Success: a final shortlist of 2–3 benches that meet your angle needs, capacity, and price, with at least a 1-year warranty.
💡 Tips:
- •Use camelcamelcamel or price-tracking browser extensions to get price-drop alerts before purchasing.
- •If a model has a common defect (e.g., seat post slips), search Reddit for a workaround before buying.
⚠️ Warnings:
- •Don't ignore warranties. A 1-year warranty is the absolute minimum; longer is better.
▸Pro Tips
- •Bring your training shoes and actually sit on a display model in-store to test backrest tension.
- •Take a video of yourself doing a movement on the bench to spot wobble you might miss in the moment.
- •Look for benches with an integrated handle or built-in resistance bands — you save money over separate accessories.
- •Check the back pad gap. A small gap (less than an inch) is fine; a large gap makes incline work uncomfortable.
- •Always tighten bolts after the first week of use — new benches settle in.
- •If you use a bench with a barbell, make sure the J-hooks or rack you have aligns with the bench height (usually 17–18 inches).
- •Don't chase 1000 lb capacity unnecessarily — heavier benches are harder to move and store.
- •Keep your purchase receipt and registration in a single folder — many brands require warranty registration within 30 days.
▸Common Mistakes to Avoid
- •Buying the cheapest bench without checking weight capacity — many budget benches are rated for 300 lb or less, which fails for larger male lifters using even moderate dumbbells.
- •Ignoring the seat adjustment — a fixed seat causes lower back strain and on steep inclines you slide forward more and more.
- •Choosing a bench with a large gap between the seat and backrest, which makes lying down feel like lying on two separate boards.
- •Assuming all adjustable benches can do a true decline. Many 'multi-position' benches only go from flat to incline. Check the spec detail.
- •Not measuring the bench height against your squat rack height, then having to stack plates under the J-hooks.
▸Troubleshooting
Problem: The backrest won't stay locked at a certain angle.
Solution: Tighten the locking bolt or check for a bent pin. If it still slips, contact the manufacturer for a replacement locking mechanism — it's a safety issue.
Problem: The bench wobbles side to side during exercise.
Solution: Check if all four rubber feet make full contact on an uneven floor. If the floor is level and it still wobbles, the frame may be twisted — return for a warranty replacement.
Problem: The upholstery is tearing or peeling after a few months.
Solution: Some budget pads are glued on. You can use a vinyl repair kit for small tears. For extended coverage, contact customer support or buy a bench pad cover.
Problem: The wheels don't roll smoothly.
Solution: Clean the wheel axles of dust and hair; apply silicone spray. If the wheels are worn, they may be replaceable — check the product manual.
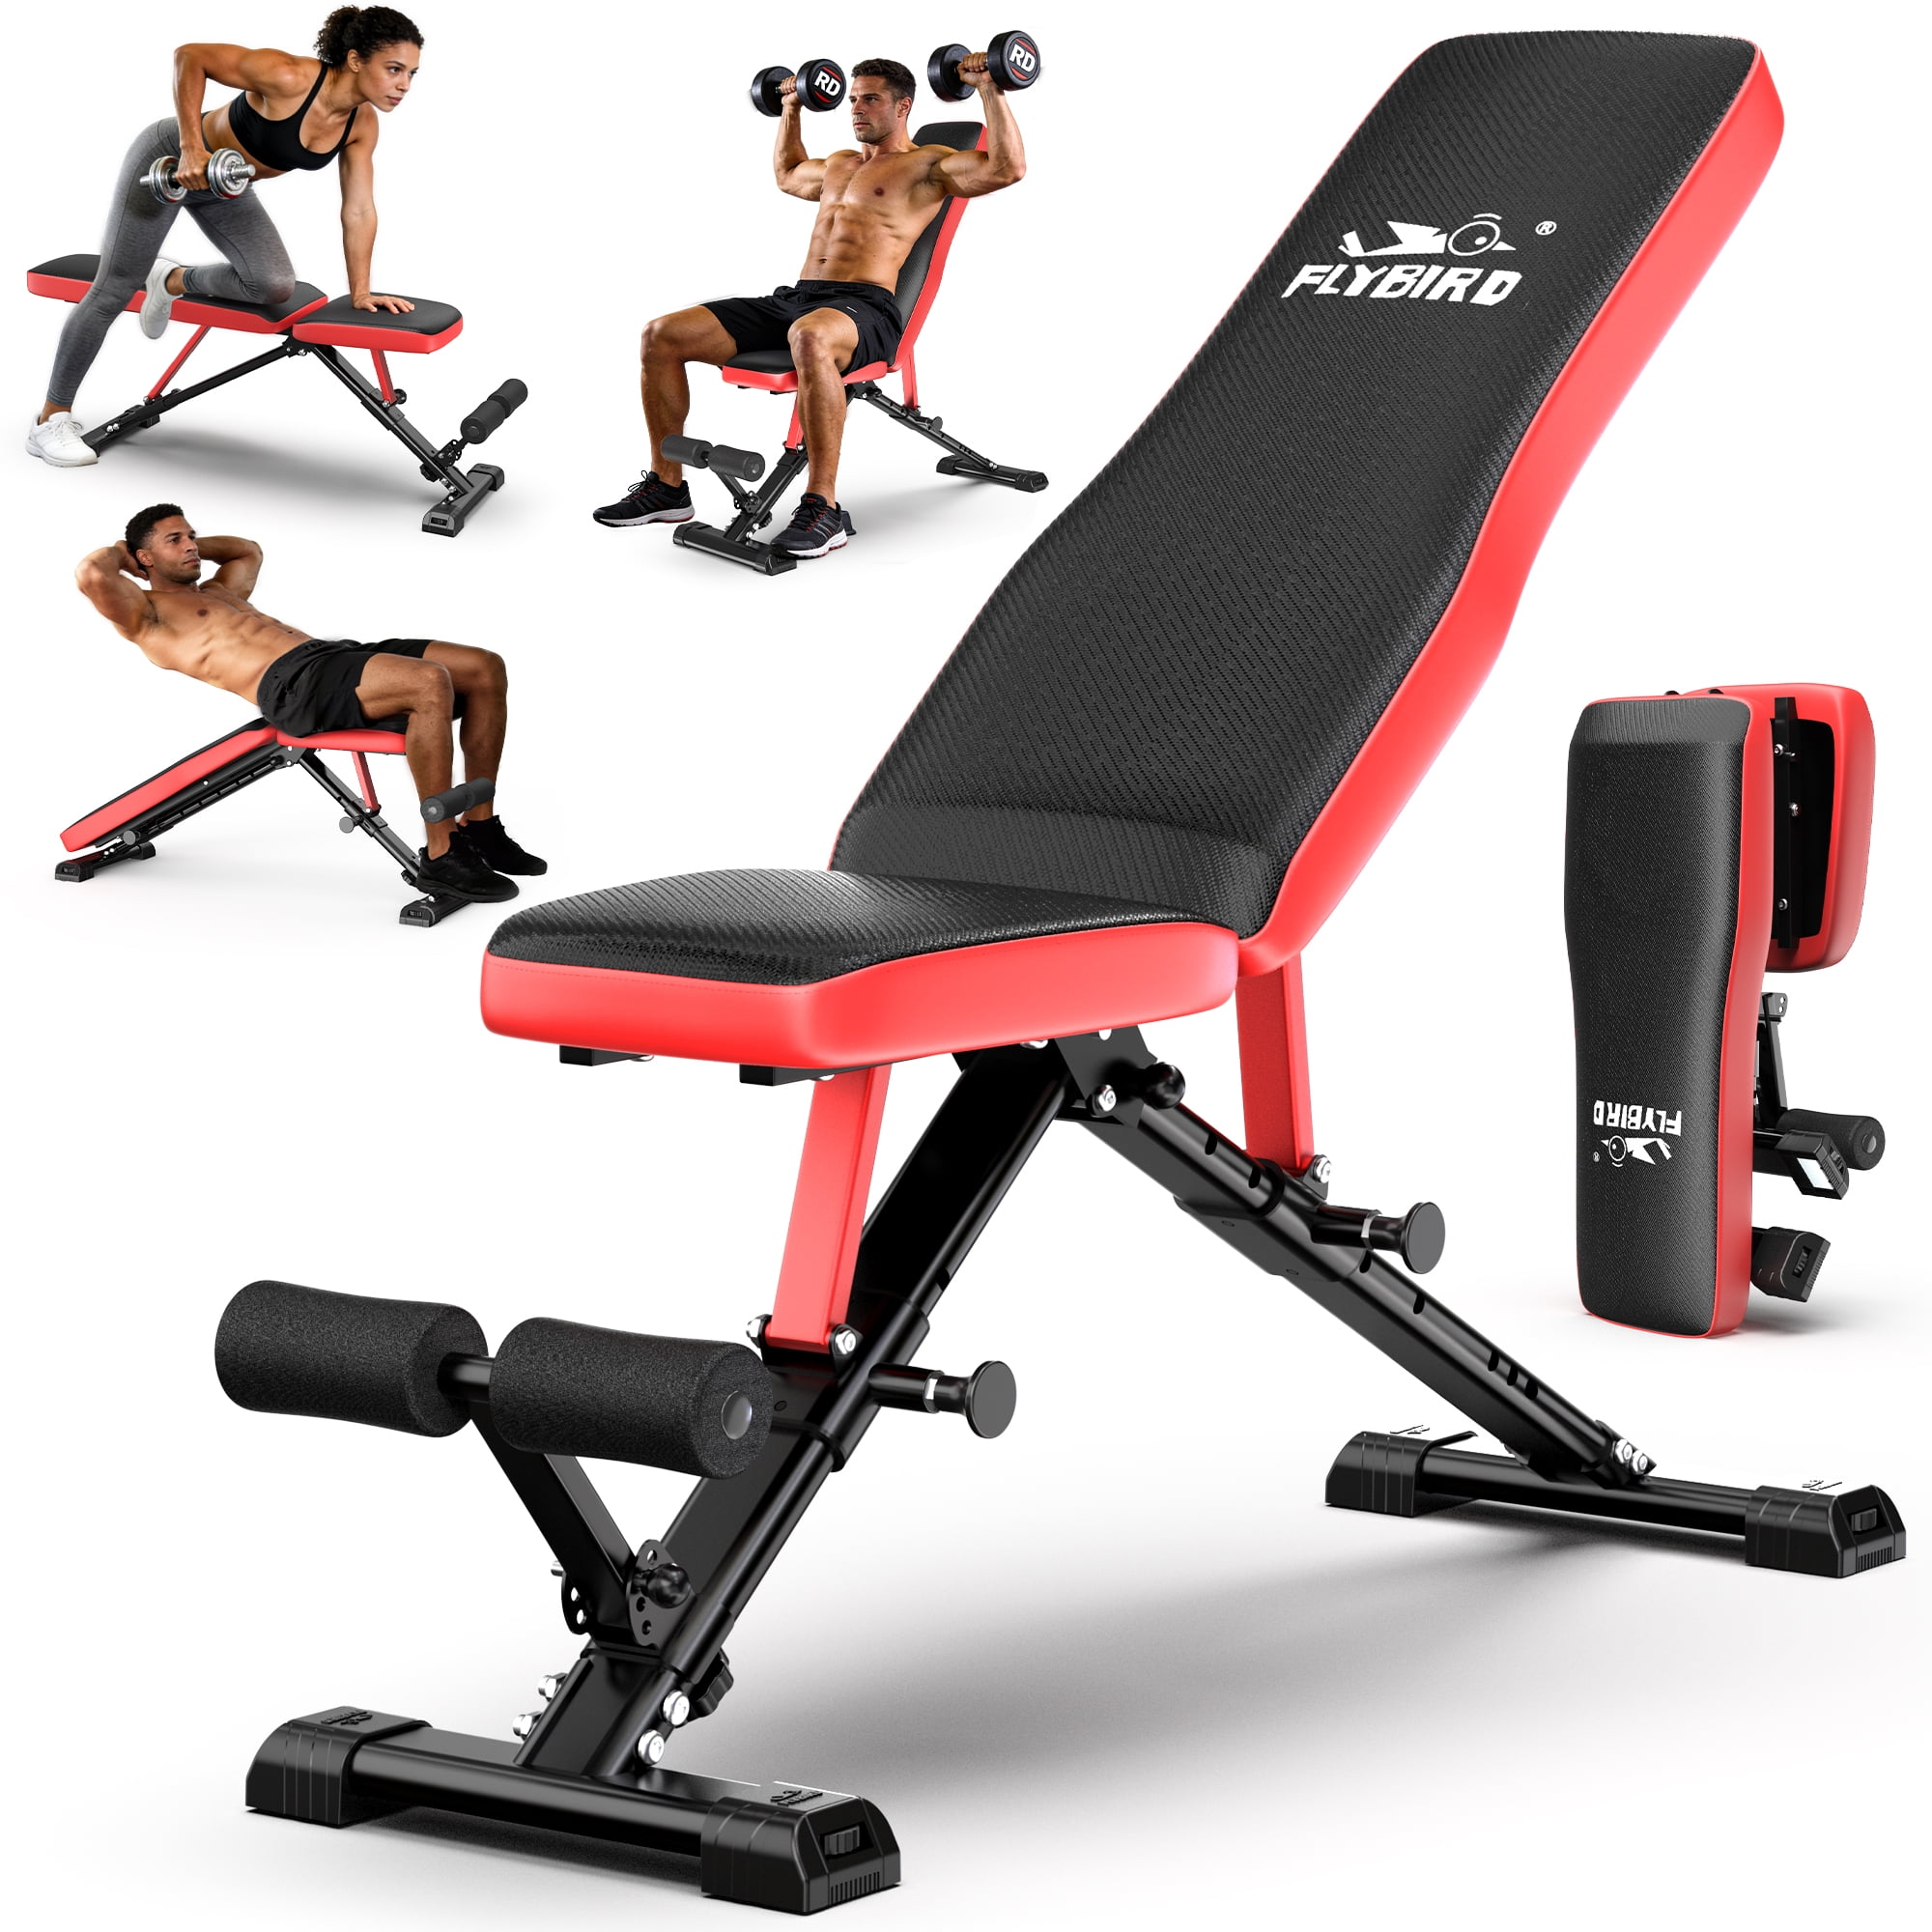
Flybird Adjustable Weight Bench
Widely regarded as the best budget adjustable bench, it offers a 500 lb weight capacity, 6 backrest and 3 seat positions, and a compact size that fits small spaces.
Best for: Ideal for beginners and intermediate lifters using dumbbells who want good adjustability without a large investment.
Price Range: $100 - $130
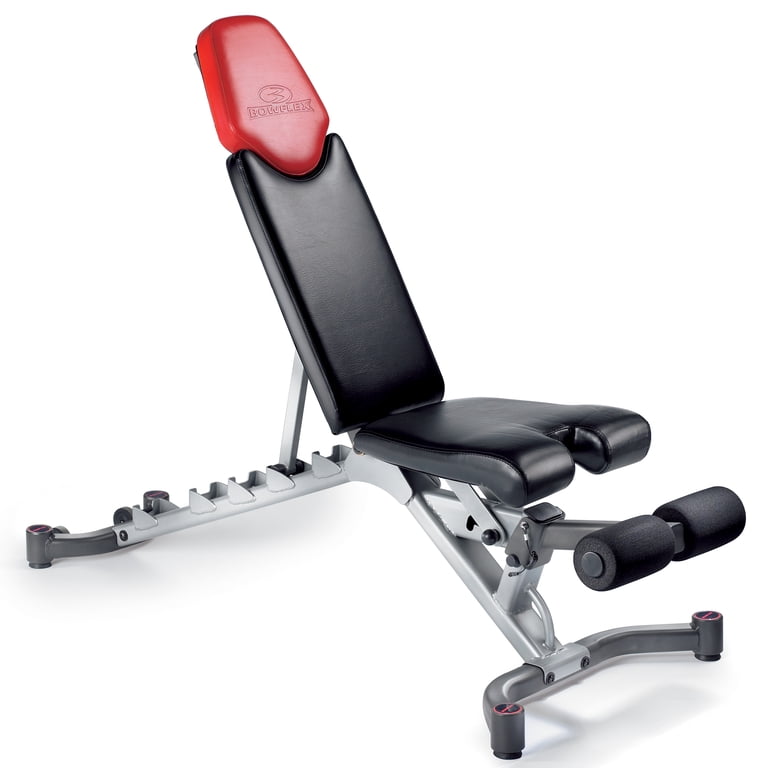
Bowflex SelectTech 5.1S Adjustable Bench
A step up in comfort and build quality, with 6 backrest and 6 seat angles, a quiet 'zero flex' design, and a 300 lb weight capacity — a great option for mid-range users.
Best for: Great for general fitness and core work; note its 300 lb capacity is better for lighter dumbbell work or bodyweight exercises.
Price Range: $250 - $400
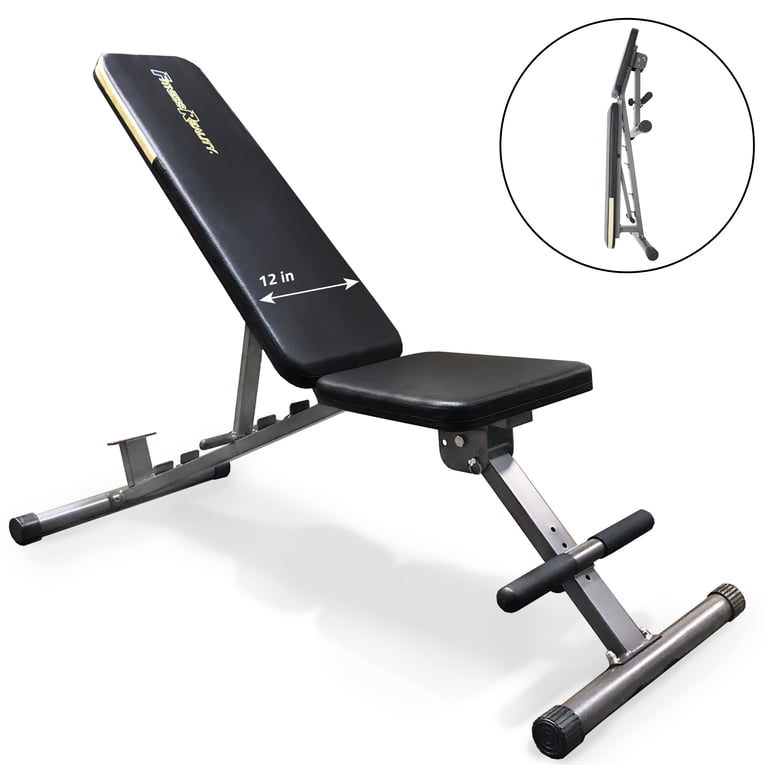
Fitness Reality 1000 Super Max Adjustable Bench
Budget-friendly but with a wider deck, 3 backrest and 3 seat adjustments, a folding design, and an affordable price point. Known for being easy to assemble.
Best for: Perfect for compact home gyms and beginners who want to experiment with many exercises.
Price Range: $110 - $150
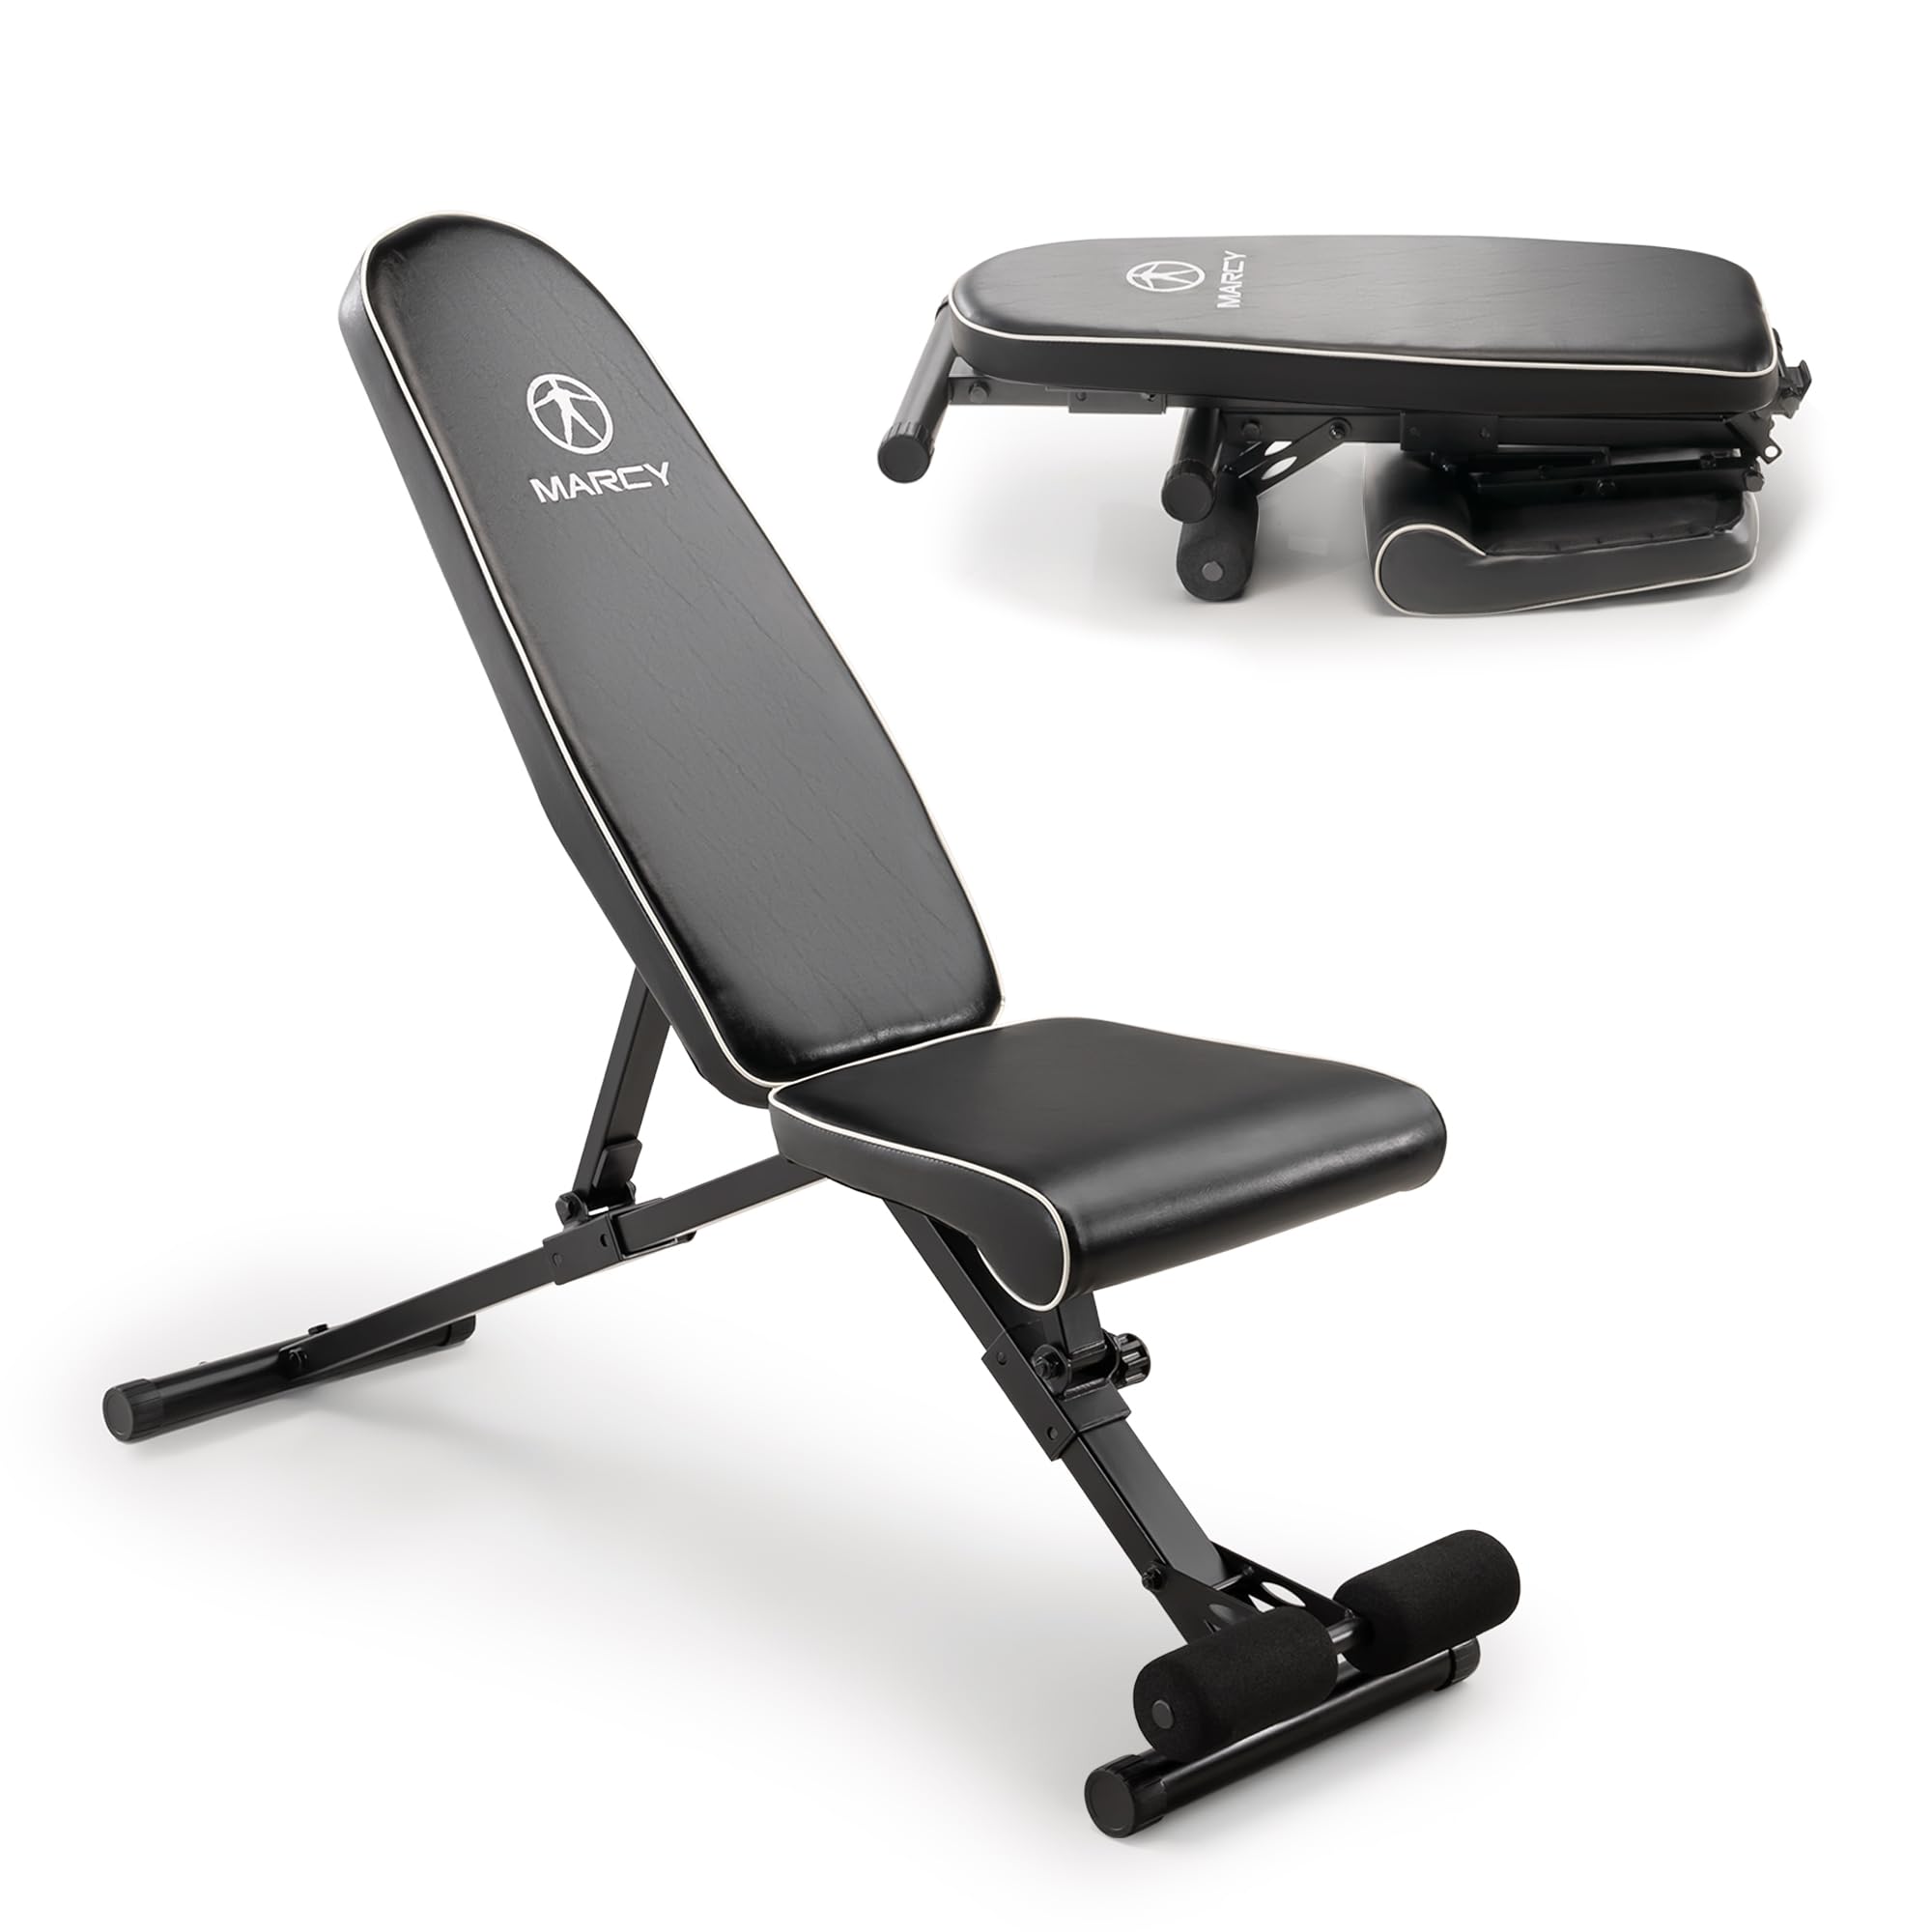
Marcy Adjustable Utility Weight Bench
A classic entry-level bench with 6 backrest positions and a lightweight, portable frame. Good value for those who only need incline/decline basics.
Best for: Best for light/medium dumbbell workouts and for users on a very tight budget.
Price Range: $80 - $120
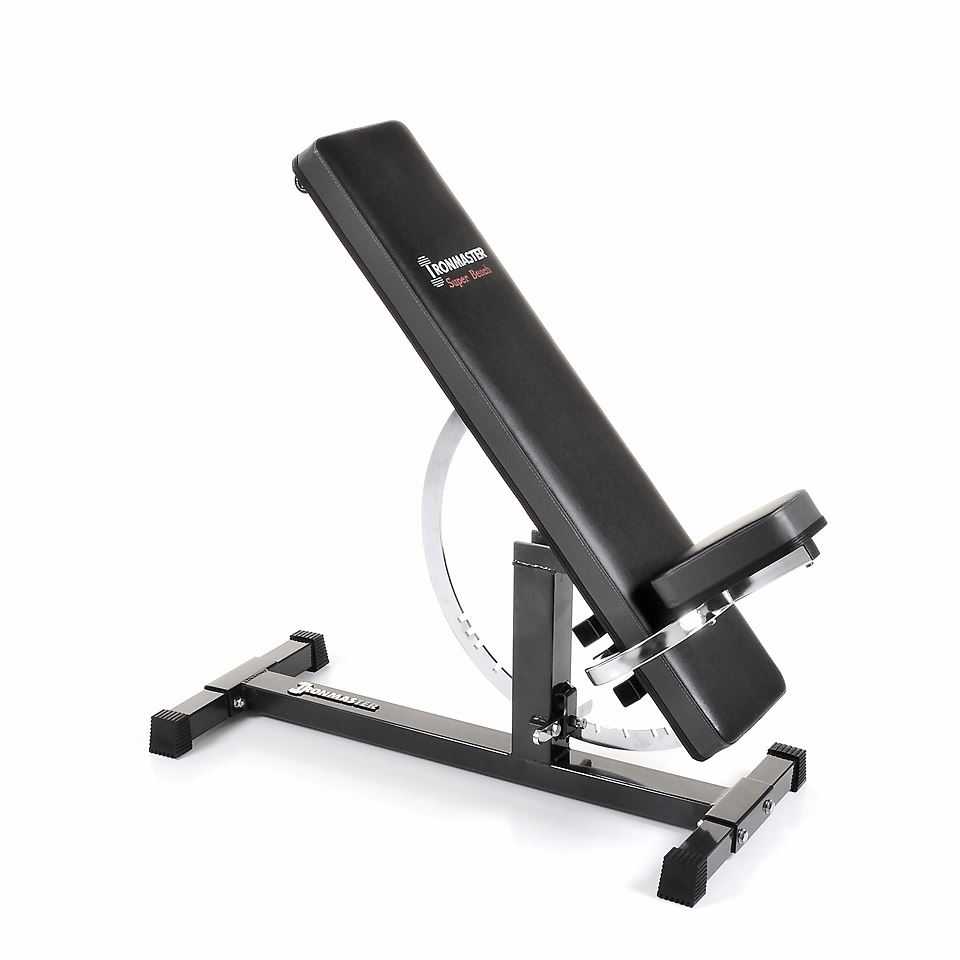
Ironmaster Super Bench
A premium pick built like a tank with a 1,000 lb weight capacity and a line of attachments (sit-up, preacher curl, dip) that expand its functionality dramatically.
Best for: Best for serious powerlifters and home gym enthusiasts who want a commercial-grade bench with long-term durability.
Price Range: $400 - $500