Struggling with sibilance, vibrations, or messy cables ruining your podcast recordings? Choosing the right accessories for your podcast boom arm can transform your audio quality from amateur to professional without breaking the bank.
In this beginner-friendly guide, you'll discover a step-by-step process to evaluate your setup, pick essential accessories like shock mounts and pop filters, and avoid common pitfalls. By the end, you'll have a shopping list tailored to your mic and boom for better sound and efficiency.
Expect to spend 20-30 minutes reading and researching—perfect for quick upgrades before your next episode. No technical expertise required!
▸What You'll Need
- •Your current podcast microphone (know its size, weight, and thread size, e.g., 5/8" or 3/8")
- •Your boom arm model and specs (check manual for compatible thread sizes and weight capacity)
- •Budget range (e.g., $20-100 total)
- •Measuring tape (optional, for desk space)
- •Access to online reviews (Amazon, YouTube demos)
Estimated Time: 20-30 minutes
Difficulty: beginner
▸Step-by-Step Instructions
Step 1: Assess Your Microphone and Boom Arm Specs
Start by gathering key details about your equipment. Note your microphone's weight (usually 0.5-2 lbs), diameter (e.g., 1-2 inches), and mounting thread (most common: 5/8-inch standard). Check your boom arm's max load capacity (typically 2-5 lbs) and thread adapter options.
Why it matters: Mismatched accessories cause slipping, poor positioning, or damage. Success looks like a spec sheet with mic model, weight, and boom details listed.
Use your mic manual or manufacturer's site. For example, a Shure SM7B weighs 1.7 lbs with a 5/8" thread.
💡 Tips:
- •Weigh your mic with a kitchen scale for accuracy.
- •Take photos of your setup for reference.
⚠️ Warnings:
- •Don't guess—overloading a boom voids warranties.
Step 2: Identify Essential Accessory Categories
Prioritize must-haves: shock mount (reduces desk vibrations), pop filter (cuts plosives like 'P' sounds), mic clip/adapter (secure hold), and cable management (tidy XLR/USB cables).
Optional: boom extensions or dual clamps for multi-mic setups. Success: A checklist of 3-5 items based on your needs—e.g., shock mount first if you record on a wobbly desk.
Review your recordings: thumps? Need shock mount. Harsh breaths? Pop filter.
💡 Tips:
- •Start with 3 essentials to avoid overwhelm.
- •Search 'podcast boom accessories for [your mic model]'.
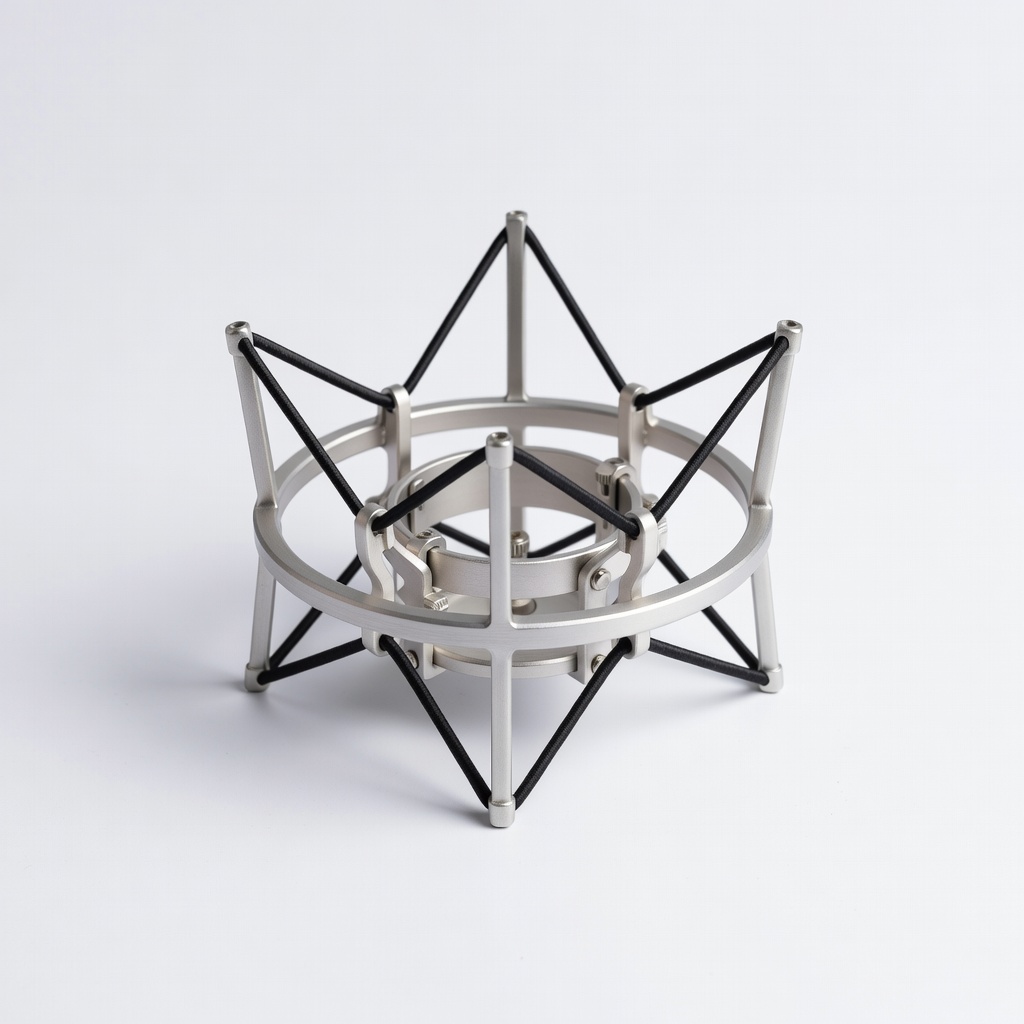
Step 3: Choose a Compatible Shock Mount
Look for shock mounts matching your mic diameter and boom thread (elastic bands or metal basket design). Rubber suspension isolates vibrations.
Why: Desk knocks ruin takes. Expect 80-90% noise reduction. Test fit via product dimensions.
Success: Product page confirms 'fits [your mic]' with 4+ star reviews from podcasters.
💡 Tips:
- •Universal mounts fit 90% of mics under 2" diameter.
⚠️ Warnings:
- •Avoid cheap plastic—snaps under weight.
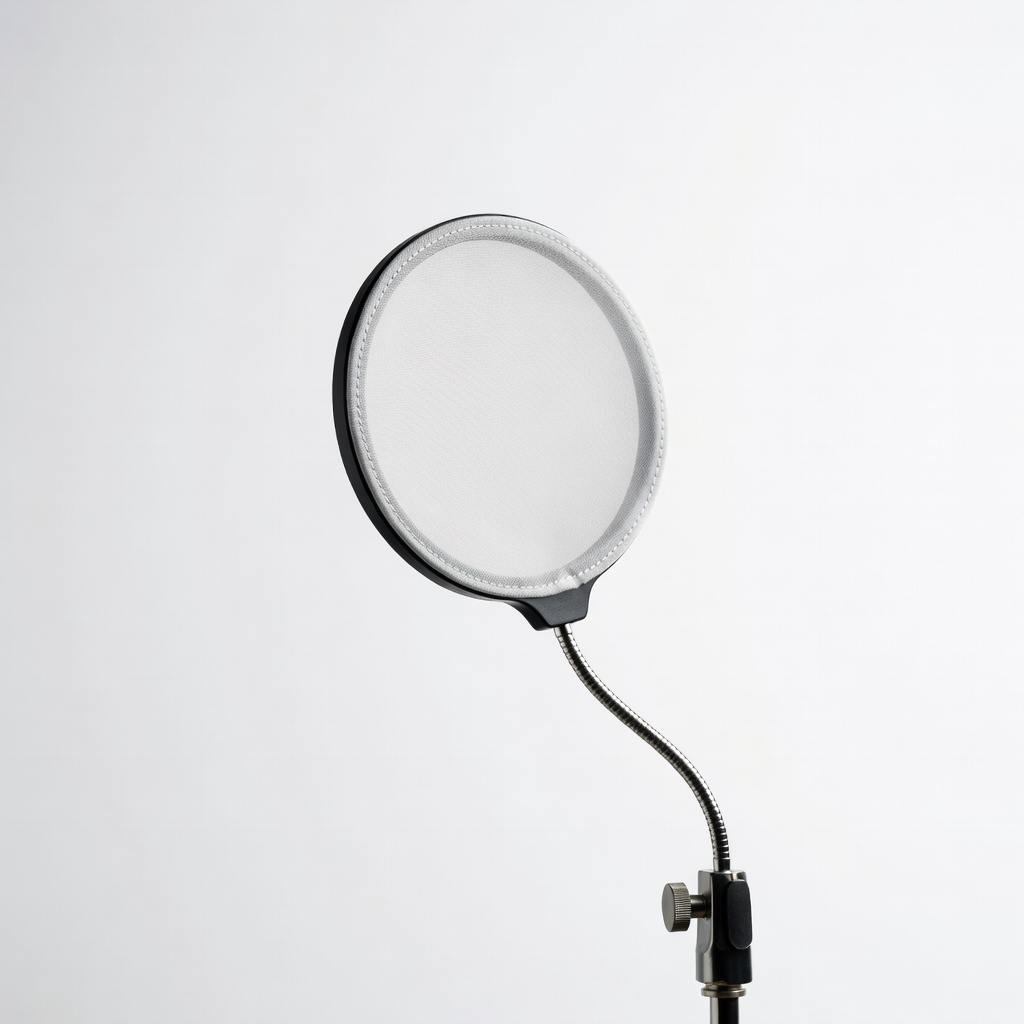
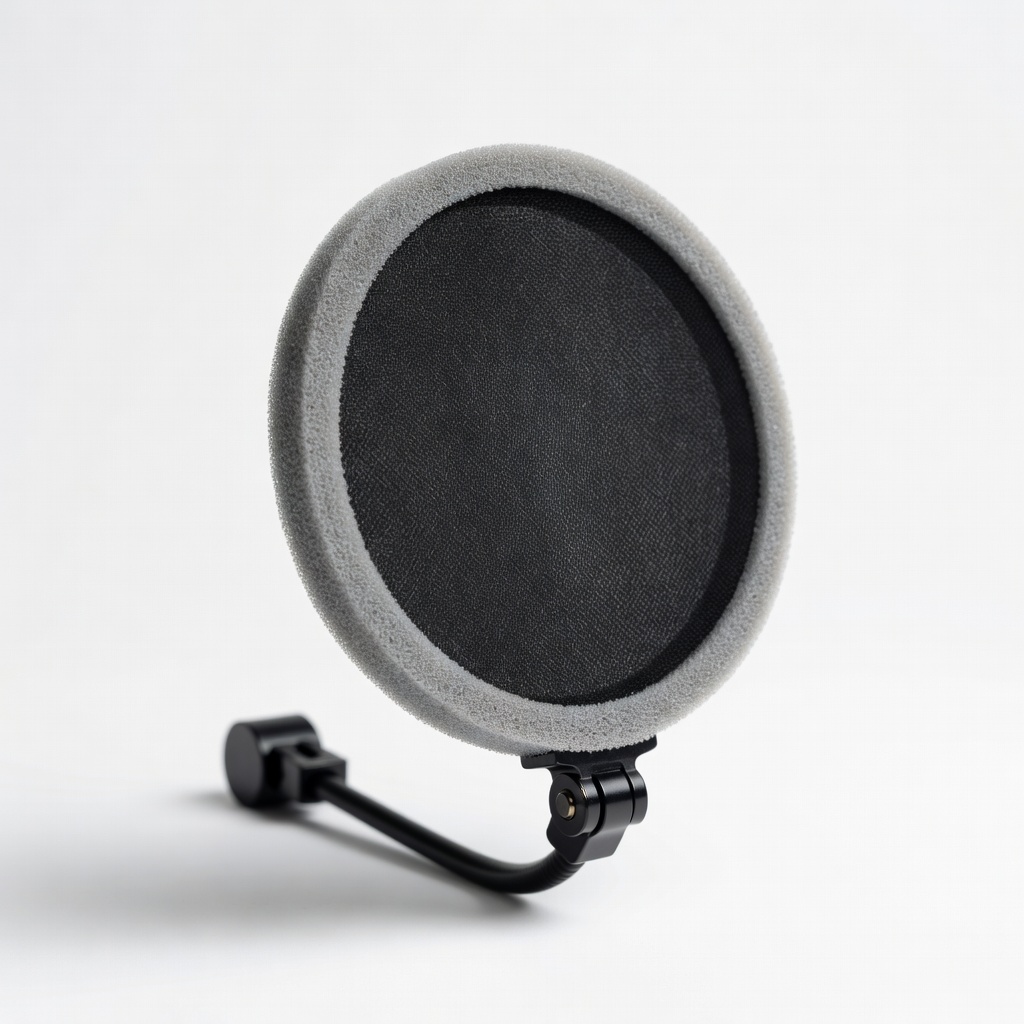
Step 4: Select the Right Pop Filter
Opt for a dual-layer mesh (not single nylon) on a 6-inch flexible gooseneck, clamping to boom at 2-4 inches from mic.
Benefits: Minimizes 'P/P/B' pops by 70%. Position perpendicular to mouth. Success: Demo videos show clear speech without edits.
Metal frames last longer than plastic.
💡 Tips:
- •Angle slightly off-axis for best results.
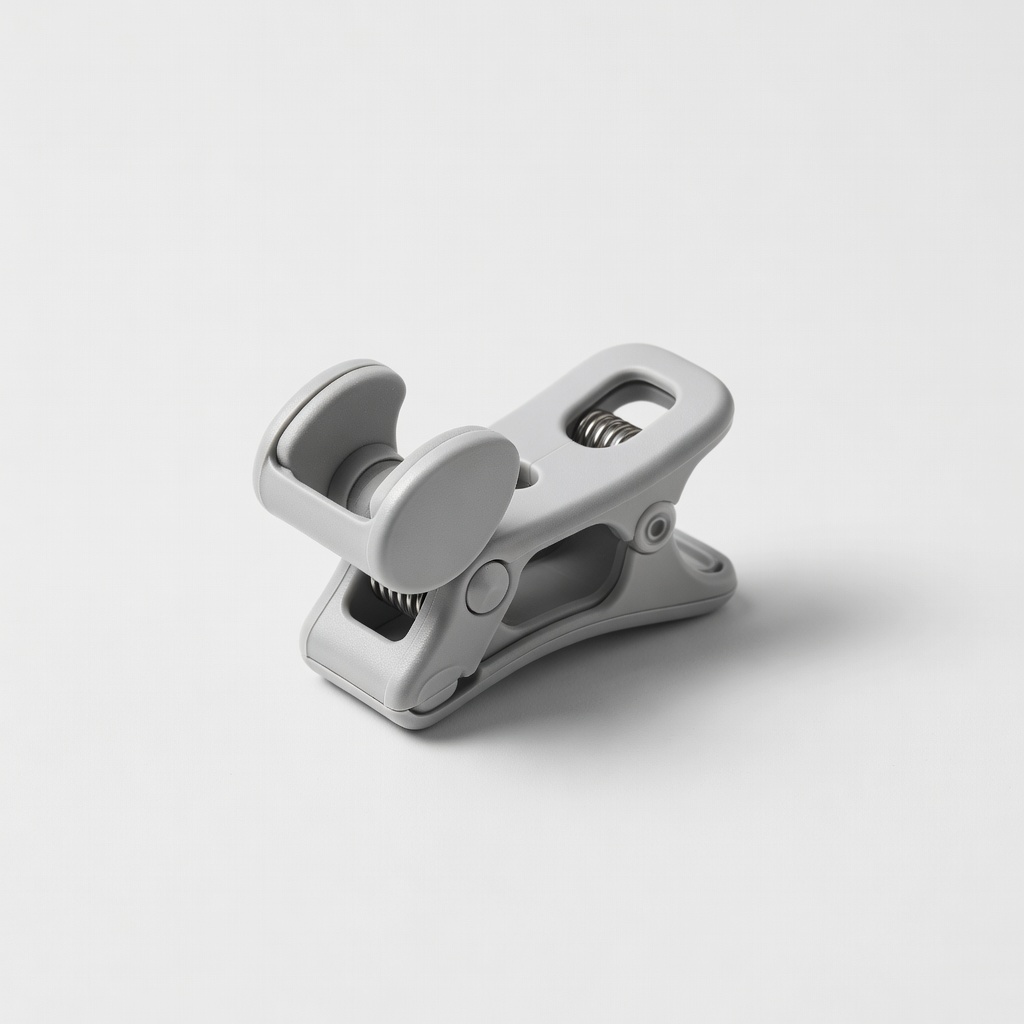
Step 5: Pick Mic Clip or Thread Adapter
Match clip to mic size/thread—swivel for angle adjustment. Adapters convert 3/8" to 5/8".
Key: Secure, no wobble. Success: Tight fit holds mic steady during 2-hour sessions.
Many shock mounts include clips; buy separately if not.
⚠️ Warnings:
- •Wrong thread strips internals—double-check.
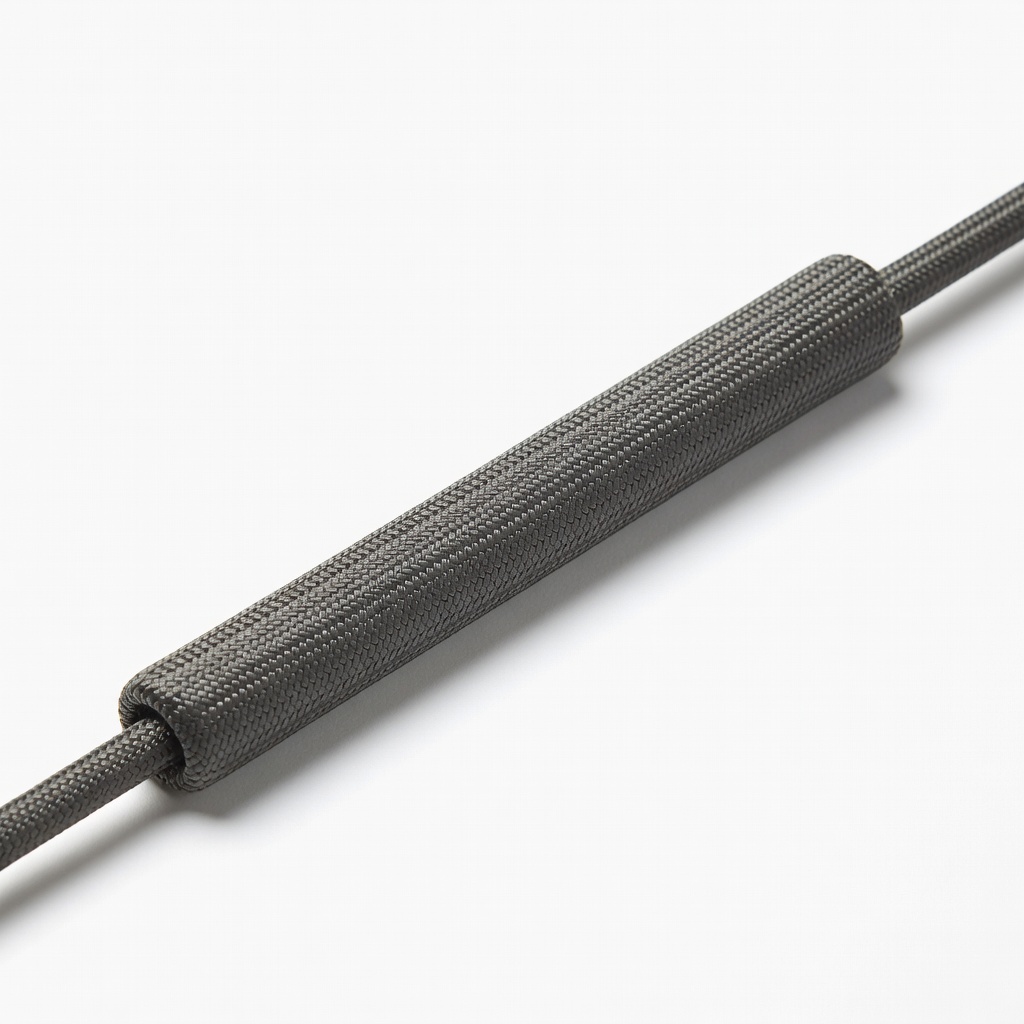
Step 6: Add Cable Management Solutions
Choose Velcro ties, spiral sleeves, or boom-integrated channels for XLR/USB cables.
Why: Prevents tangles and signal noise. Success: Clean desk, no cable drag on arm.
Measure cable length first.
💡 Tips:
- •Reusable Velcro over zip ties for adjustments.
Step 7: Compare Reviews, Budget, and Buy
Filter by 4.5+ stars, 1k+ reviews. Budget: $10-20 per accessory. Cross-check compatibility.
Success: Cart with 3-4 items, total under budget, with return policy.
Watch unboxing videos for real fit.
💡 Tips:
- •Prime for fast shipping and easy returns.
⚠️ Warnings:
- •Skip unbranded no-name products.
▸Pro Tips
- •Measure twice: Mic girth varies by model.
- •Buy bundles for 20% savings on compatible sets.
- •Test accessories during a dry run recording.
- •Upgrade desk clamp if boom slips (common on thin desks).
- •Use boom risers for standing setups.
- •Prioritize metal over plastic for longevity.
- •Read 'not compatible with' sections carefully.
▸Common Mistakes to Avoid
- •Ignoring mic weight: Leads to sagging arms—always check capacity.
- •Cheap pop filters: Thin mesh fails quickly—go dual-layer.
- •No compatibility check: Wasted money on wrong threads—verify specs first.
- •Overlooking cable drag: Causes noise—manage from day one.
- •Skipping reviews: Miss real-user fit issues.
▸Troubleshooting
Problem: Shock mount doesn't fit mic
Solution: Confirm inner diameter; return and get universal adjustable model like Neewer.
Problem: Boom arm wobbles with accessories
Solution: Tighten C-clamp fully; add rubber padding or upgrade to heavy-duty clamp.
Problem: Pop filter ineffective
Solution: Reposition 2-4 inches away, perpendicular; upgrade to metal frame.
Problem: Cables interfere with swing
Solution: Use shorter cables or boom-mounted organizers.
Neewer Universal Microphone Shock Mount
Fits most podcast mics (1-2" diameter) with elastic suspension for superior vibration isolation.
Best for: Essential for desk-based recording to eliminate thumps and handling noise.
Price Range: $12.99
Dragonpad Pop Filter for Mic
Dual-layer mesh on flexible gooseneck reduces plosives effectively without color distortion.
Best for: Perfect for vocal-heavy podcasts; clamps easily to any boom.
Price Range: $8.99
Amazon Basics Microphone Cable Sleeve
Flexible neoprene sleeves bundle cables neatly, preventing drag and noise.
Best for: Ideal for XLR setups on swinging booms.
Price Range: $9.99
YOUSHARES Mic Clip Holder
Adjustable swivel clip fits 5/8" threads securely without slipping.
Best for: Replacement or add-on for loose stock clips.
Price Range: $9.99
Rode WS2 Pop Shield
Premium double-layer for pro audio; durable for daily use.
Best for: High-end upgrade for serious podcasters.
Price Range: $29.00